Website caching is a central way to boost your site’s performance, and it’s what keeps the internet on its feet. A cache, by definition, is a temporary storage of data that helps your website load faster for returning visitors (or even new ones) by holding onto static files like images and CSS. And it does that in a mostly low-cost fashion.
Users expect near-instant loading speeds, and if your site takes more than 3 seconds to load, it increases the chance of a bounce by more than 30%!
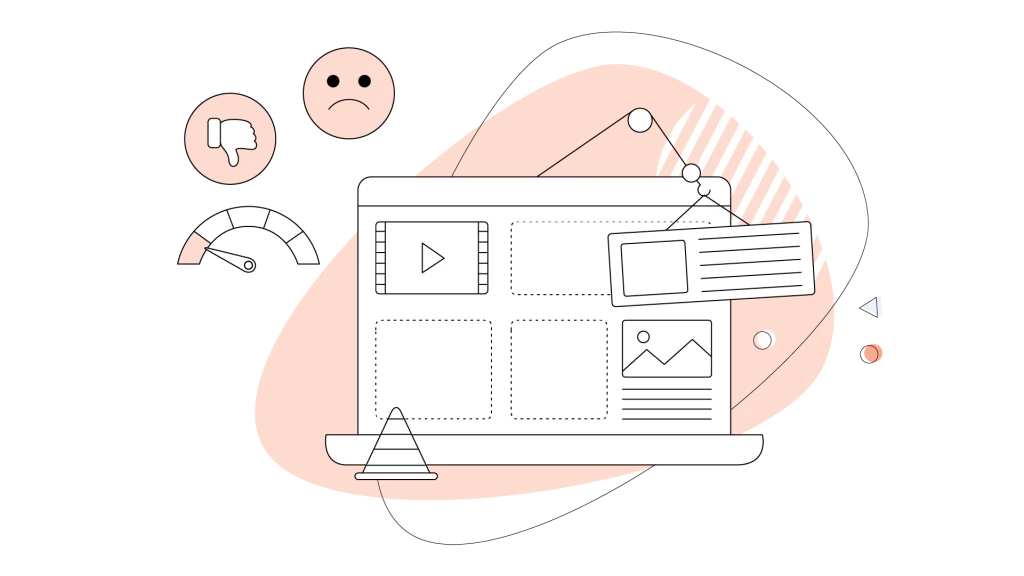
While a cache located within your web server or in a server close to the user can make a huge difference, sometimes you need to clear it to see the latest changes on your site. And to also fix any rendering errors that appear.
This guide will walk you through what a cache is, how to clear it on your browser and website, and how to use it to your advantage.
And don’t worry; we’ll also cover how to make certain your cache is working for you and not against you!
- What Is a Website Cache? A Look at the Basics
- How to Clear Your Website & Browser Cache: A Step-by-Step Guide
- Best Practices for Cache Management

What Is a Website Cache? A Look at the Basics
A cache is a small storage space that saves a copy of your website’s files, normally on a web server other than the one you rent or within the same server where your website resides.
And what about cookies? Aren’t those the same thing?
Unlike a cache, a cookie is a small file stored by your browser to remember information about your visit, such as login status or preferences, and is used to enhance user experience and track activity.
Cache is also different from browsing history, which records the websites you have visited and helps you recall past web pages, but does not store website data like cache does.
The cache process goes like this: The first time you visit a site, your browser downloads all of the files it needs to display the page, the images, stylesheets, and scripts.
This takes a little while. To prevent this from happening on every visit, the browser stores those files in a cache on your computer. The next time you visit, it loads the site from the cache, which is much faster. Browser cache is typically stored for each domain separately, so cached files are specific to the website or domain you visit.
However, there are two main types of caching:
- Browser cache: This is what we just described. Your web browser, for example, Chrome, Safari, or Firefox, saves a copy of a website’s static content locally on your device. It’s on your end, meaning it helps you load sites you’ve visited before.
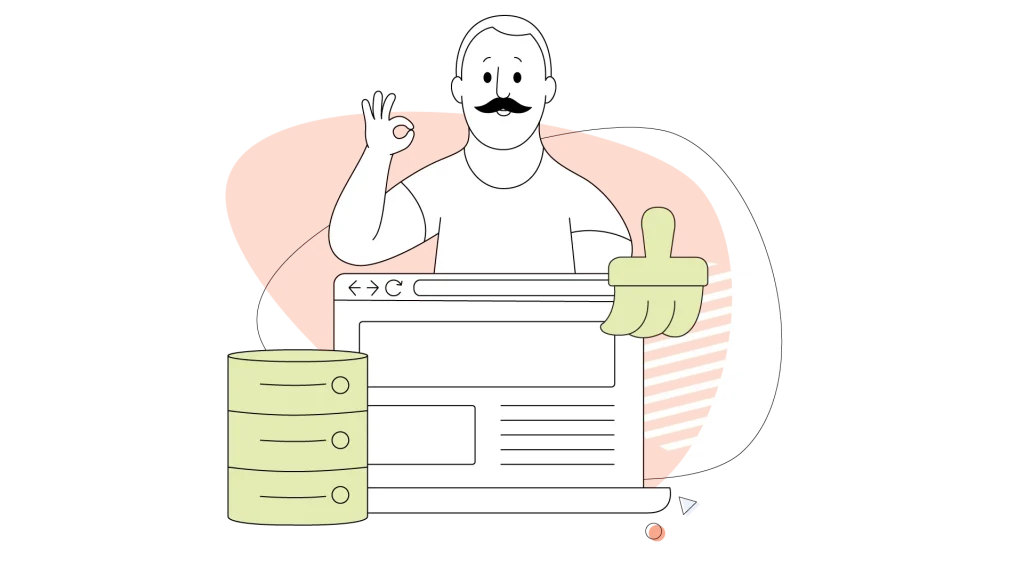
- Server-side cache: This is on the web hosting side or the CDN side. When a user first visits a site, the server builds the page and serves it to them. To prevent the server from doing this again for every visitor, a copy of the finished page is saved in a server-side cache on systems spread all over the world. That’s how a CDN works, and it means every subsequent visitor gets a much faster response.
Caching Is Imperative: Why?
Caching is imperative for a simple reason: Speed. A faster site provides a better user experience, encouraging visitors to stay longer and browse more pages.
For eCommerce, speed paired with spot-on product recommendations will keep visitors coming back to buy more.
This also helps with SEO, as search engines like Google factor page speed into their ranking algorithms.
- Performance: A faster site provides a better user experience. Visitors stay longer, browse more pages, and are more likely to convert.
- User experience: No one likes waiting for a page to load. Caching removes that frustration, making your site feel responsive and professional.
- SEO: Search engines like Google factor page speed into their ranking algorithms. A faster site can result in better search engine rankings and more organic traffic.
How to Clear Your Website & Browser Cache: A Step-by-Step Guide
While caching is helpful, it can also cause issues. For example, you might make a change to your site, but your visitors can’t see it because their browsers are loading the old, cached version. Deleting cached data is a simple and quick fix that can resolve these issues.
Now, here’s the first confusion most people face when dealing with caches.
Browser cache refers to the website files that are stored in your device (whether your laptop or smartphone), while the website cache is the rendered files stored within your website’s folder, or on the visitor’s closest server, as we mentioned earlier.
To initiate the website cache clearing process, log in to your website and trigger the process through your caching plugin. On our Managed WordPress plans, clearing the website cache is a fairly easy process as defined in our Knowledge Base, and it only involves a few clicks from the HostPapa Dashboard.
If you need to delete a WordPress site, you can also do this easily from your Managed WordPress Dashboard.
The following sections will provide clear instructions for deleting cache and related data. Now, let’s look at simple steps to clear the website and browser cache.
1. Clearing Your Browser Cache
This is the most common form of clearing a cache, and it’s a simple process that varies slightly by browser. Clearing your browser cache after you clear website cache is recommended so you can get the latest files from your website and see changes quicker.
Google Chrome:
To clear the browser cache in Google Chrome, follow these steps:
- Click the three dots in the top-right corner to open Chrome’s menu.
- Select More Tools, then Clear Browsing Data.
- You can also clear browsing history and delete cookies along with cached files; clearing browsing history removes your record of visited sites, while deleting cookies removes saved login and site data.
- After selecting Clear Browsing Data, a dialog will appear where you can choose what to clear.
- Choose a time range (for example, All Time).
- Make sure the Cached images and files checkbox is selected.
- Click Clear data.
- Pressing Ctrl+Shift+Delete will also open the dialog for clearing cache.
- After clearing, use the refresh button or perform a hard reload (Shift+F5) to ensure changes are visible.
- For troubleshooting a specific site or specific website, you can clear cache and cookies for just that site by opening Chrome, navigating to the address bar, and entering chrome://settings/siteData or using a direct link. Make sure you have the website open in the current tab when performing certain cache-clearing actions.
- Opening Chrome’s Developer Tools (F12) gives you access to advanced cache management options, such as disabling cache for development purposes. Some cache clearing options are hidden in advanced settings or developer tools.
- You can also perform a hard reload by right-clicking the refresh button with DevTools open and selecting Empty Cache and Hard Reload.

Mozilla Firefox:
- Click the three horizontal lines in the top-right corner.
- Select Settings, then Privacy & Security.
- Under Cookies and Site Data, click Clear Data….
- Make sure Cached Web Content is selected, then click Clear.
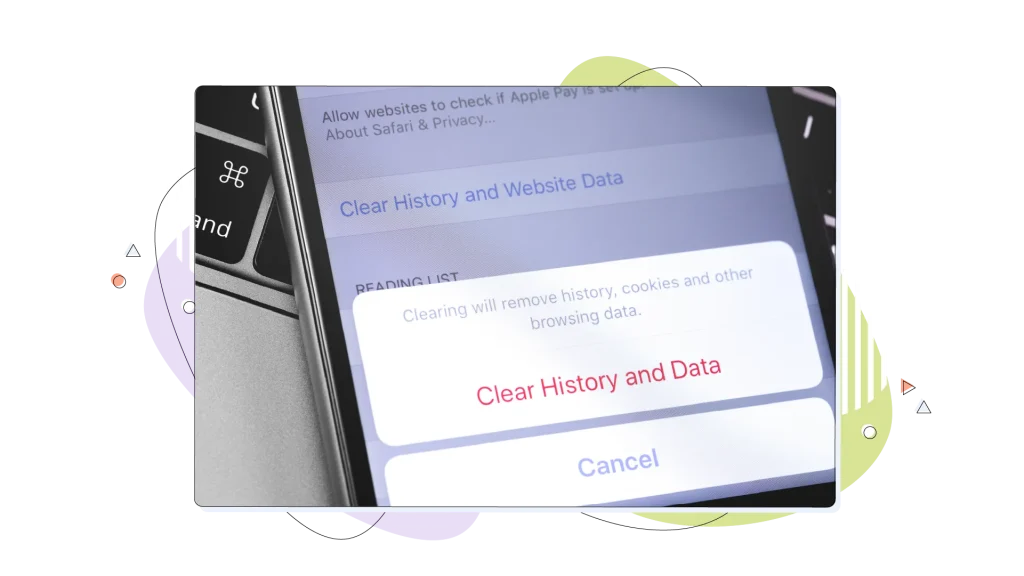
Safari:
- Go to Safari in the top menu and select Settings.
- Click the Advanced tab and check Show features for web developers.
- Now, in the Develop menu, click Empty Caches.
2. Clearing a WordPress Website Cache
If you’re using WordPress, your site probably uses a caching plugin. We talked about caching plugins in a different article. These plugins handle the server-side caching for you, and they usually have a simple button to clear the cache from the site’s frontend or backend.
Here’s how to do it with some popular plugins:
- WP Rocket: Go to Settings and then WP Rocket. On the dashboard, click Clear Cache.
- W3 Total Cache: Go to Performance and then Dashboard. Click Empty All Caches.
- LiteSpeed Cache: Go to LiteSpeed Cache and then Dashboard. Click the Clear All button.
3. Clearing a Server-Side Cache
Sometimes, the cache needs to be cleared at the hosting level or from the backend of the Content Management System (CMS) you use.
Many hosting providers, including HostPapa, provide a dashboard or a button to help with this. This exists on our Managed WordPress plans.

Source: As seen on our Managed WordPress KB.
- With HostPapa, you can make certain your site is running as fast as possible by accessing your HostPapa Dashboard. From there, you can manage your server settings and clear the cache.
- From your custom CDN provider’s panel. If you use a custom CDN provider like Cloudflare on your Web Hosting plan, you can clear the cache directly from its dashboard.
Note: Clearing the server or CDN cache is separate from clearing your browser cache. If you use browsers like Internet Explorer (tip: stop using it!), make sure to clear your browser cache there as well to see the latest version of your website.

Best Practices for Cache Management
That’s how to clear your cache. Now let’s look at how to make the most of it. Caching is a powerful tool, and with a few best practices, you can make certain it’s always working for you.
- Setting the right expiration dates: Cache expiration dates, also known as cache headers, tell browsers and servers how long to store a file before getting a new copy. For things that don’t change often, like your logo, a long expiration date is great. For things that change frequently, like blog posts, a shorter one is better.
- Leveraging a CDN: A Content Delivery Network, or CDN, is a network of servers around the world that store copies of your website’s content. When a user visits your site, the CDN serves the content from the server closest to them. This considerably reduces loading times. HostPapa provides a free CDN on many of its plans, so you can harness the power of this technology without any extra cost.
- Using caching plugins and tools: As we mentioned before, caching plugins are a must-have for any WordPress site. They automate the process of caching and provide useful features that will help you manage your site more streamlined.
Checking If Cache Works
After you have cleared your browser and website cache, you will want to ensure it’s working properly. This is a simple but required step to guarantee all the changes you’ve made are visible to visitors.
There are a few ways to check:
- Hard refresh: The simplest way is to perform a hard refresh on your web page. On Windows, press Ctrl + F5. On a Mac, press Cmd + Shift + R. This forces your browser to download the latest files from the server, bypassing the cache. If you see your changes, the cache is working correctly.
- Incognito/private window: Another option is to open an incognito or private browsing window and visit your website. These windows don’t use your browser’s cache or cookies, so you are seeing your site as a brand-new visitor would.
- Tip: Sign out of your account before clearing cache and cookies to prevent data synchronization across devices.
- Online tools: There are also free online tools, for example, GTmetrix or Google PageSpeed Insights, that will analyze your site’s performance. They can tell you if your site is being cached correctly and what improvements you can make.
Troubleshooting Cache-Related Issues
Even with the best practices, you might run into some problems. Here are some common cache-related issues and how to fix them.
Common Problems:
- Updates not appearing: You made a change to your site, but it’s not showing up for you or your visitors.
- Broken layouts: After an update, the layout of your site looks wrong.
- Old content: A visitor sees old content on your site, even though you have published a new version.
- The Power of a Hard Refresh: When you’re troubleshooting, the first thing to do is a hard refresh. This forces your browser to download all of the latest files and ignore the cache.
- On Windows: Press Ctrl + F5.
- On Mac: Press Cmd + Shift + R.
After clearing your cache, you may see a message or notification confirming the action.
This simple step is often the solution to many cache-related problems. We hope these troubleshooting steps help you resolve any cache issues you encounter.
Are you tired of slow-loading sites and cache headaches? HostPapa’s Web Hosting plans are designed for performance and easy-to-use cache management.
Most of our plans also include a free CDN to guarantee your site loads at lightning speed for visitors worldwide.
FREQUENTLY ASKED QUESTIONS
What is the difference between browser cache and server cache?
A browser cache stores a copy of your site’s files on a visitor’s computer, helping them load the site faster on return visits. A server cache, on the other hand, stores a copy of the finished page on the web server itself. This means your website is served to all visitors much faster because the server doesn’t have to rebuild the page for every request.
How often should I clear my website’s cache?
You don’t need to clear your cache on a regular schedule. It’s needed only when you make updates to your site and want to make certain that everyone sees the latest version. For example, if you change a photo or update a CSS file, you should clear your cache.
Will clearing my cache delete any important data?
No, clearing your cache will not delete any personal data from your website or computer. It simply removes the temporary files that were created and stored to speed up your browsing experience. It won’t affect your saved passwords, bookmarks, or other personal settings.
Why is my website still slow even after I’ve cleared the cache?
If your website is still slow after clearing the cache, it could be because it’s recreating some important files. This is especially noticeable if you delete your browser and website cache simultaneously. However, we must acknowledge other potential issues.
The issue might be with your web hosting provider, large images that aren’t optimized, or too many plugins. A powerful Web Hosting plan from HostPapa can make certain your site is running at its best.