While the technology and specific details of website caching can be complex, the underlying concept is quite simple. It’s the process by which your browser/server stores copies of files in temporary storage locations for easier and faster access.
For example, your browser may save HTML files, images, and JavaScript code to help your website load faster. The website saves reusable resources to speed up subsequent requests and fetch from the server.
So, technically, it’s a temporary file in your storage or server’s storage for easier and faster internet browsing. Caching allows you to reload previously retrieved data more efficiently.
When you click on a website, your browser must download a large amount of data for the website to be displayed. The download times may cause the page loading to be delayed, which is frequently a slow loading experience.
A cached file on the server enables you to access web pages as soon as you make an access request. As a result of caching, the next visit to the website will be much faster.
- Advantages of Web Caching
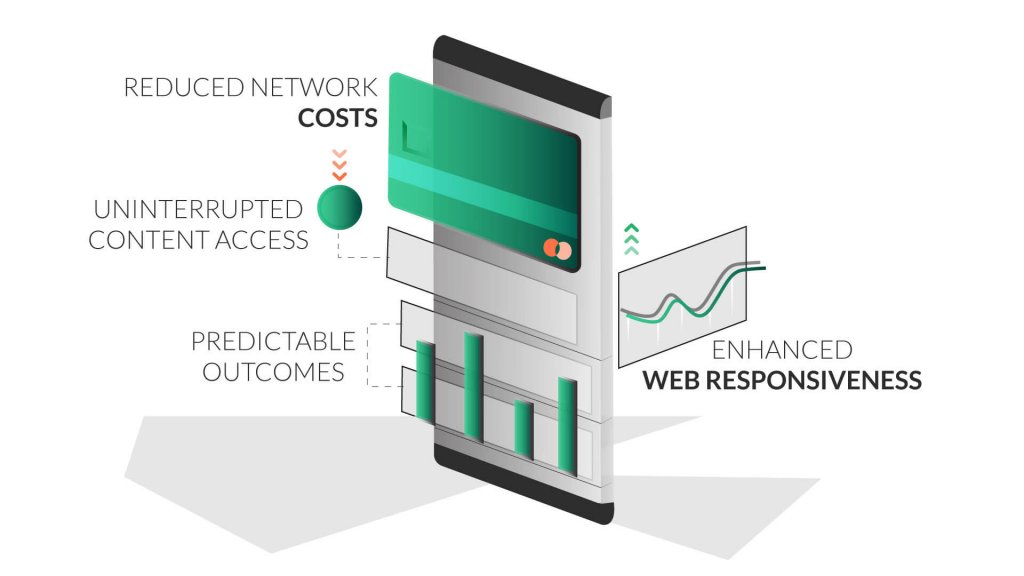
- Enhanced Web Responsiveness
- Uninterrupted Content Access
- Reduced Network Costs
- Predictable Outcomes
- Types of Website Caching
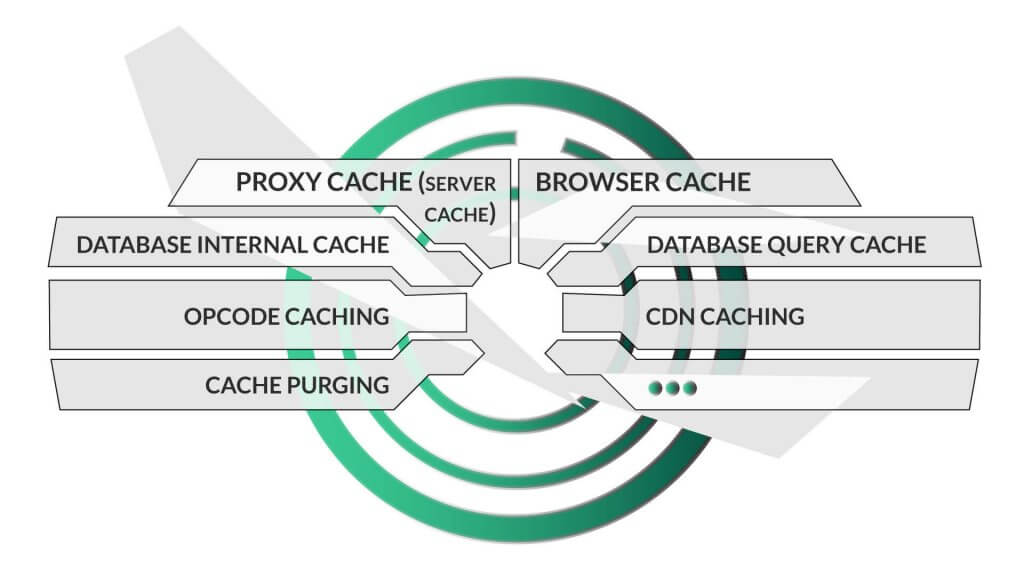
- Proxy Cache (Server Cache)
- Browser Cache
- Other Caching Mechanisms
- Database Caching
- Opcode Caching
- CDN Caching
- Cache Purging
Advantages of Web Caching
Enhanced Web Responsiveness
As we’ve mentioned before, web caching helps your network respond faster by reducing server round trips. With the cache files stored close to the user, retrieving information from the website becomes easier and faster.
Uninterrupted Content Access
Servers occasionally fail to meet expectations. However, if the website had previously downloaded cache files, you will be able to access the information without interruption.
Reduced Network Costs
If you can implement aggressive caching, you will require less server space. This way, cached files are close to the users in the content path. As a result, the server will not be overburdened by content access requests, resulting in lower costs.
Predictable Outcomes
It can be challenging for websites that deal with app usage spikes at certain times, such as Black Friday sales. Websites suffer from latencies that make their overall performance unpredictable if no preparations are made. However, you can mitigate these issues with a well-executed in-memory caching strategy.
Types of Website Caching
Proxy Cache (Server Cache)
Server caching improves website performance for all visitors, not just repeat visitors.
This is how it works:
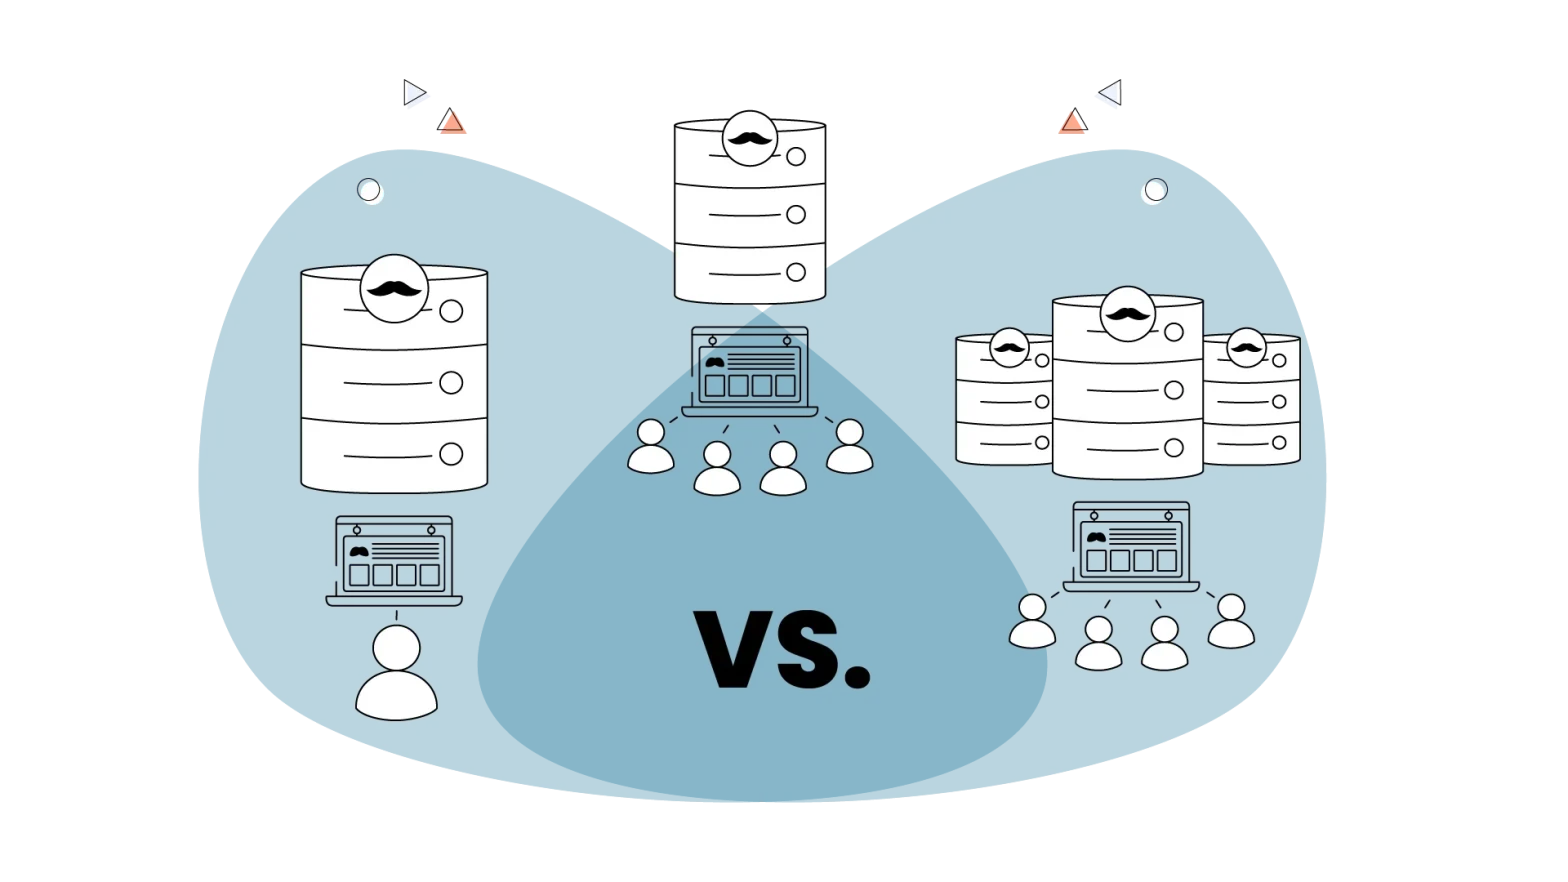
When a browser requests a web page, the server must process the request. When the first request (from any user) is fulfilled, the server “caches” it and delivers the same data to anyone faster the next time.
One of the most significant advantages of proxy caching is that it allows millions of users to access the website at the same time without causing it to crash.
On top of the hosting servers, there is a DNS (domain name system) caching system. DNS is often referred to as the Internet’s phonebook. It connects web addresses like 10web.io to the hosting server’s IP address, like 28.56.8.252.
The system is run by a slew of servers known as nameservers, which keep track of these addresses. Caching nameservers (also known as DNS cache) keep information about DNS queries for as long as the administrator specifies.
TTL (time to live) is the term for this period and is required when changing your domain name or hosting provider.
Most of the managed hosting service providers come with proxy server cache pre-installed.
While some give you the option to enable/disable it from the dashboard, others think you should keep it enabled and provide no option to disable it.
Among the most popular proxy server cache options are Varnish and Nginx. Varnish is said to be the best option in the industry.
If you’re with a hosting company that does not have a proxy cache on their server, you can request it to be installed. However, this is not possible with shared hosting, and you can only make the request on a VPS or a dedicated server.
Browser Cache
When you visit a website, you don’t just need to retrieve the page’s content; you also need a slew of resources like Javascript files, stylesheets, fonts, and so on, which your browser downloads in addition to the page’s content.
Browser caching allows your browser to store these files for some time so that they do not need to be retrieved every time you visit the site.
When a user visits your website, the browser saves some of the data to be displayed later without contacting your server again. As a result, the browser cache accelerates your website for returning visitors.
You’re probably wondering what happens to cache when you update your website. Do visitors continue to see the previous version? The answer is no, not if you do it correctly.
Most websites use ETag and Expire Tag to avoid this situation. The first method, ETag, is a token that compares the cached version of the website to the one on the actual server. When they differ, the browser requests the most recent website version.
The second, Expire Tag, specifies when the cached version is removed from the browser. This tag is managed by website owners/administrators, who choose the average time between updates. Users can also clear their cache manually to avoid problems.
Browser caches are pre-set by hosting companies nowadays, and if not, you can always install them using a third-party plugin if you are using WordPress.
If you would like to enable it without a plugin, just go to your .htaccess file and paste the code below:
# BEGIN Expire headers
<IfModule mod_expires.c>
# Turn on the module.
ExpiresActive on
# Set the default expiry times.
ExpiresDefault “access plus 2 days”
ExpiresByType image/jpg “access plus 1 month”
ExpiresByType image/svg+xml “access 1 month”
ExpiresByType image/gif “access plus 1 month”
ExpiresByType image/jpeg “access plus 1 month”
ExpiresByType image/png “access plus 1 month”
ExpiresByType text/css “access plus 1 month”
ExpiresByType text/javascript “access plus 1 month”
ExpiresByType application/javascript “access plus 1 month”
ExpiresByType application/x-shockwave-flash “access plus 1 month”
ExpiresByType image/ico “access plus 1 month”
ExpiresByType image/x-icon “access plus 1 month”
ExpiresByType text/html “access plus 600 seconds”
</IfModule>
# END Expire headers
Other Caching Mechanisms
Database Caching
A database cache is a system that caches database results to return them faster the next time.
There are two types of database caches:
Internal cache: Based on usage patterns, it keeps things ready that it thinks you might need. You have no say in the matter.
Query cache: If you make a query more than once (for example, for a user profile), the result is cached and returned from RAM rather than the disc.
The oldest query is deleted when the allocated RAM is depleted to accommodate new ones.
The cache is cleared when the underlying data changes, either on a table or row/document level, depending on the database.
Opcode Caching
A type of opcode caching is OPcache.
This type of caching converts PHP code into opcode, which your server understands. This happens when the PHP file is loaded for the first time on a web page. The information is then saved to the server’s memory for faster loading on subsequent page visits.
Bytecode cache engines like OPcache, APC, and Xcache all complete this process the first time the PHP file is executed, without needing to do it again.
When a PHP script is executed, the cache memory on your server is checked to see if the script has already been cached. If it hasn’t, the code is parsed, which means it is analyzed.
The script is then compiled into opcode, allowing the server to read the file. After that, the opcode is saved in the server’s memory.
In other words, it’s cached on your server. The cached code is executed and loaded much faster when visitors load the page with the PHP script.
On the other hand, if the script is loaded on the page and the cache is checked for opcode and finds it, it is loaded quickly.
CDN Caching
A CDN ( content delivery network) is made up of several servers located all over the world.
They cache the most frequently requested files on a webpage, and when a user enters a query, the closest server responds with the ready-to-display content.
The servers are intelligent enough to recognize the device type, cookie settings, and other information about the user to cache and display only the required pages. CDNs can also deliver dynamic content that is unique and not cached.
The best and the most popular CDN service is Cloudflare. The best part is that Cloudflare is free. Some of the other best CDN options are StackPath and Key CDN. All of the options could be easily integrated with just a plugin on WordPress.
Cache Purging
A caching mechanism generates static HTML copies of your pages. When a page is viewed, it saves a static HTML copy and displays that static HTML copy to your users.
As a result, it does not have to retrieve the information from the server every time. When loading pages, it saves time and resources.
This could explain why, when you change to one of your posts, you don’t see the changes right away; it means you’re still viewing the old “copy” rather than the live version retrieved from the database on the fly.
If you clear the cache, the next time you visit your page, it will generate the page using information from the server (the original method). The page will then be recopied to create a new, static HTML copy.
This process of clearing the cache is commonly referred to as Cache Purging. It’s a good practice to purge the cache every time you change the website.
With WordPress, this purging can be automatically triggered on every website update (for example, publishing or updating a post) simply by using a plugin.
About Author
Nirbhay Singh is a top-tier content marketer who helps companies create valuable & insightful content. On the side, he writes about Blogging & SEO on his blog nirbhysingh.com.
