You can install WordPress in a variety of ways, with options for those seeking simplicity or ultimate flexibility. In this guide, we’ll walk through each method, step by step.
Installing WordPress with the Softaculous App Installer
The Softaculous App Installer, available from My cPanel, supports an easy, one-click installation of the WordPress platform. Log in to your HostPapa Dashboard and select My cPanel from the top menu, then scroll down to the Softaculous App Installer section.
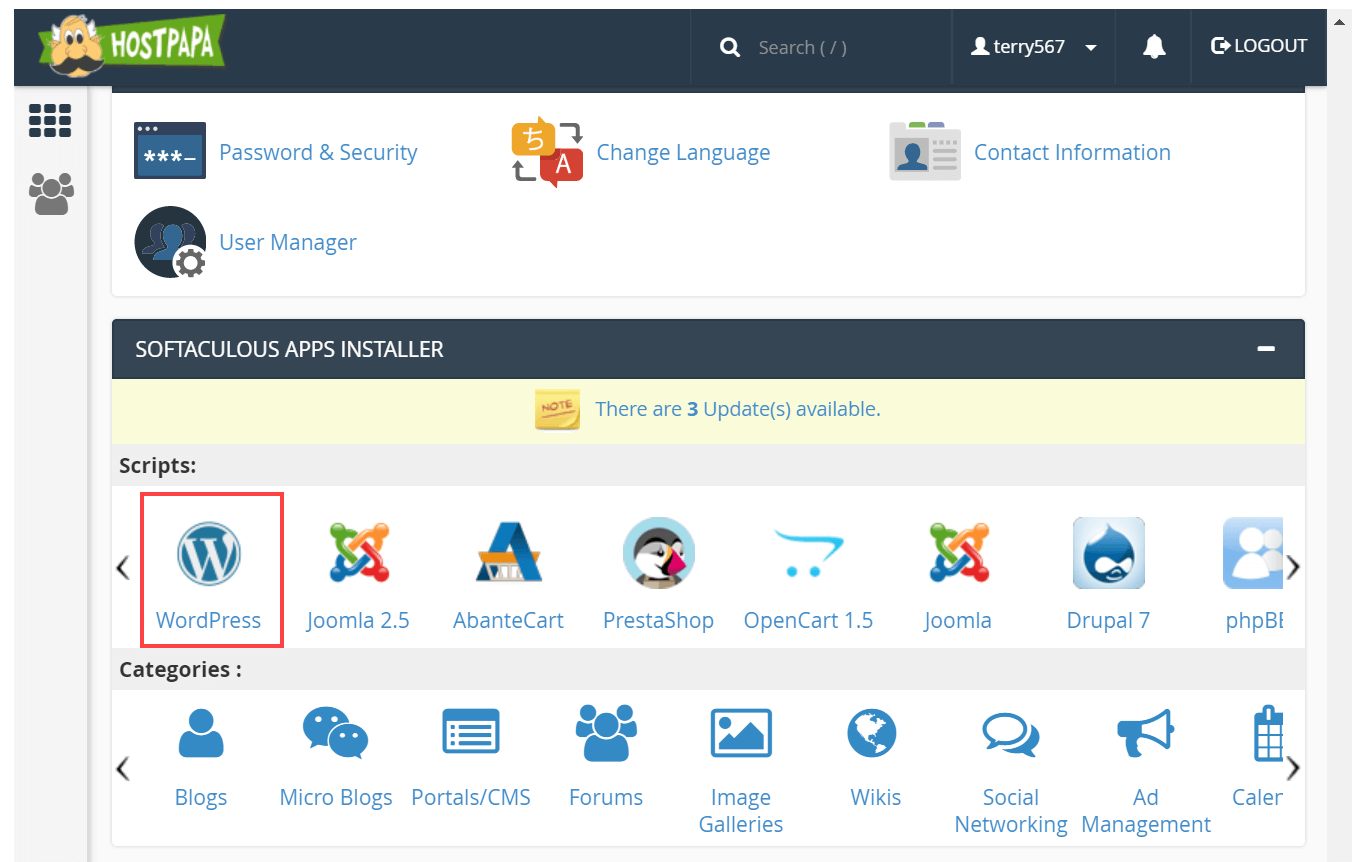
Look for the WordPress icon and click it to proceed.
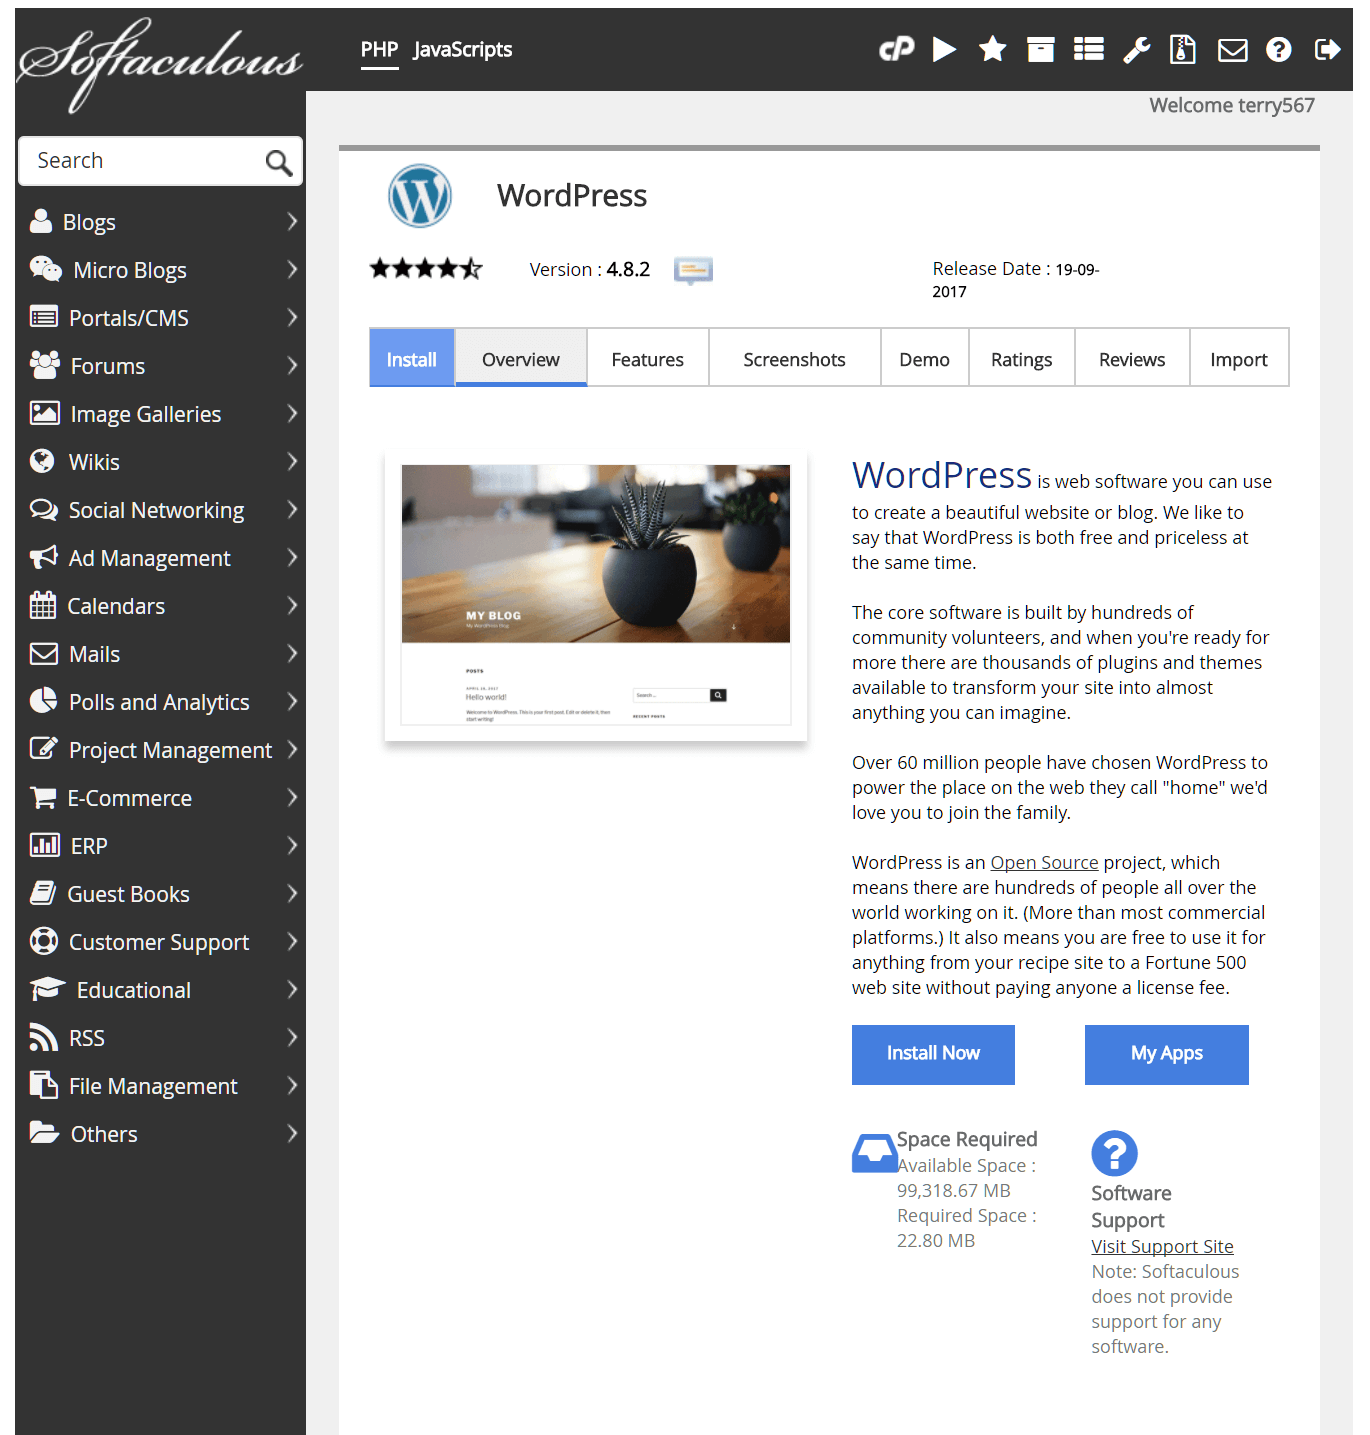
You’ll see a description of your selected application. Use the tabs at the top of the page to find out more about the WordPress platform, then click Install Now to proceed.
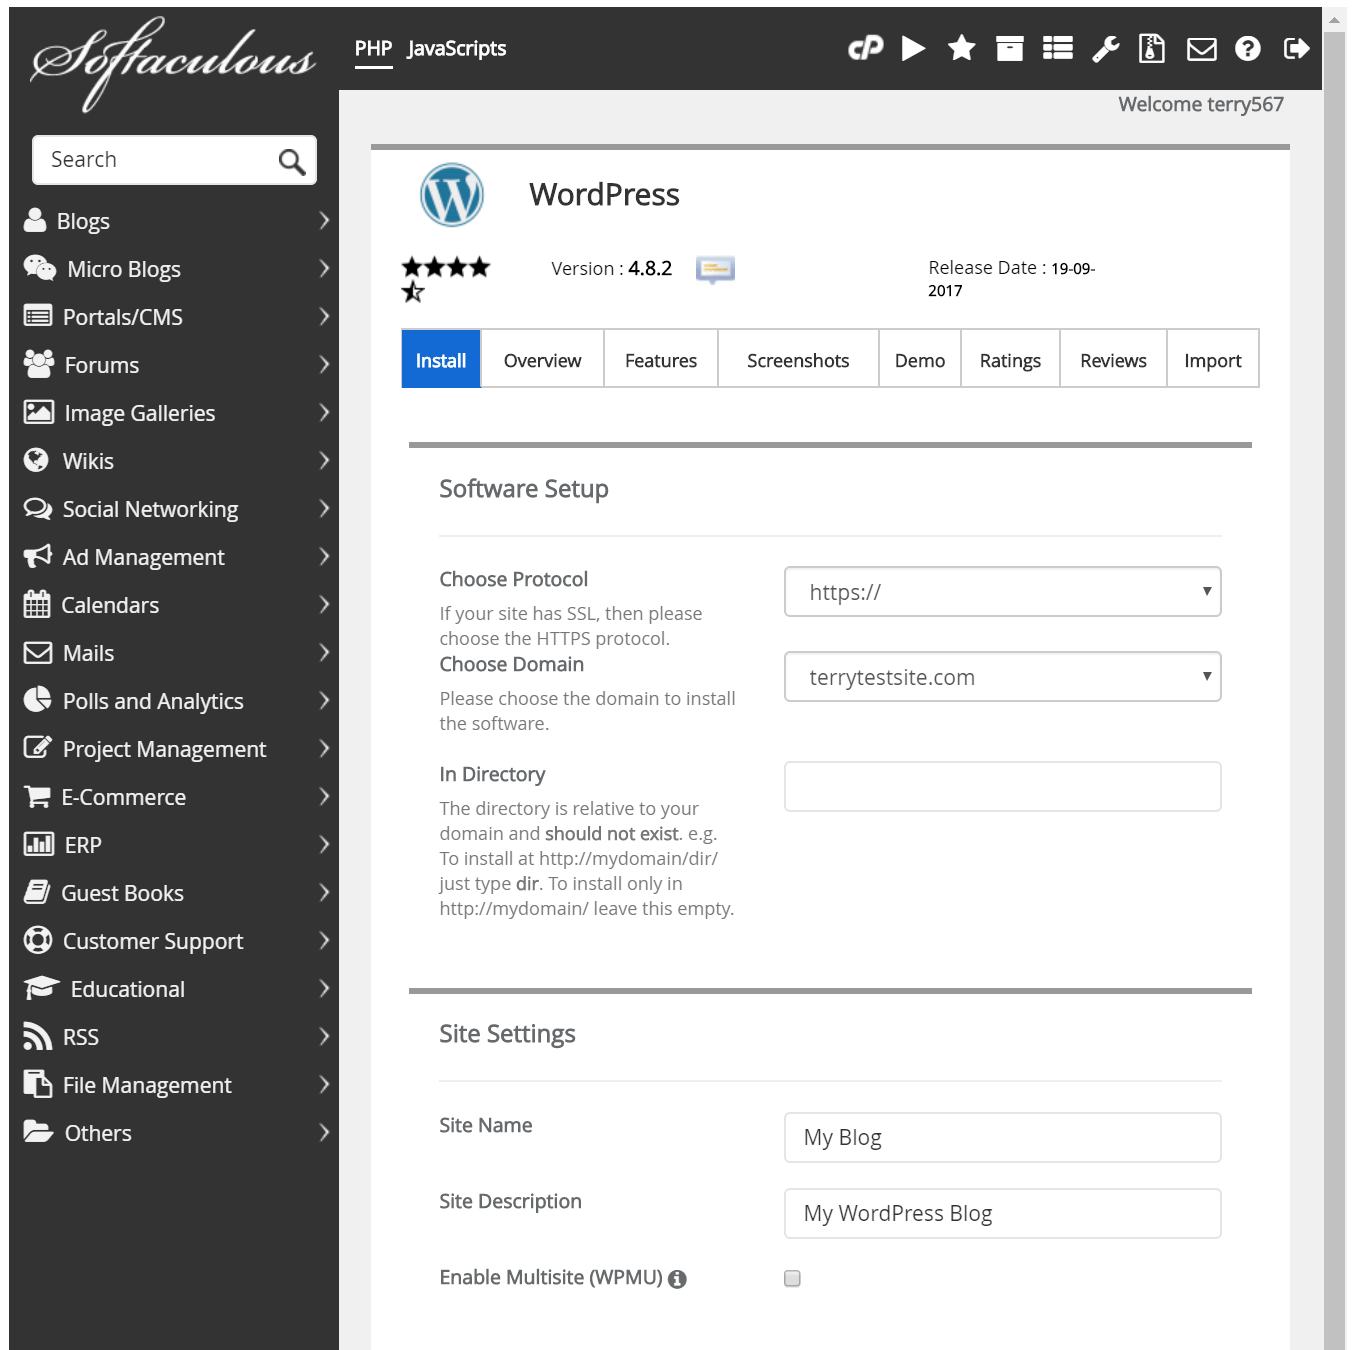
Work through the Software Setup form to configure your installation settings.
- Choose Protocol – select the standard https:// or secure https:// for your WordPress installation if you have an SSL certificate.
- Choose Domain – select the domain on which you wish to install WordPress. If you wish to use a subdomain, see the note below.
- In Directory – select the directory for your WordPress installation. This directory should be new and should not exist.
- Site Name – enter a name for your WordPress blog.
- Site Description – enter a description for the blog.
- Enable Multisite (WPMU) – check this box if you wish to create a WordPress Multisite installation. Find out more about WordPress Multisite in this HostPapa knowledge base document: How to install a WordPress multisite network on your HostPapa account
- Admin Username – enter a username for your WordPress administrator account.
- Admin Password – enter a password for your WordPress administrator account.
- Admin Email – enter an email address for use with your WordPress administrator account. This account must be valid and active.
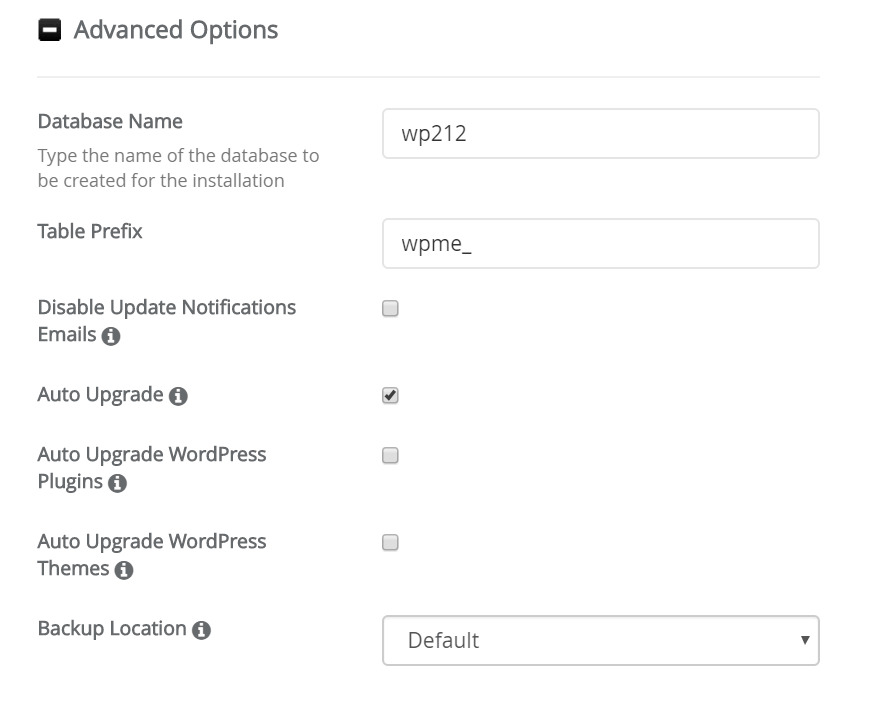
By default, Softaculous will automatically configure the Database Name and Table Prefix associated with your WordPress account. Click the Advanced Options link if you wish to configure this yourself, along with your software upgrade preferences.
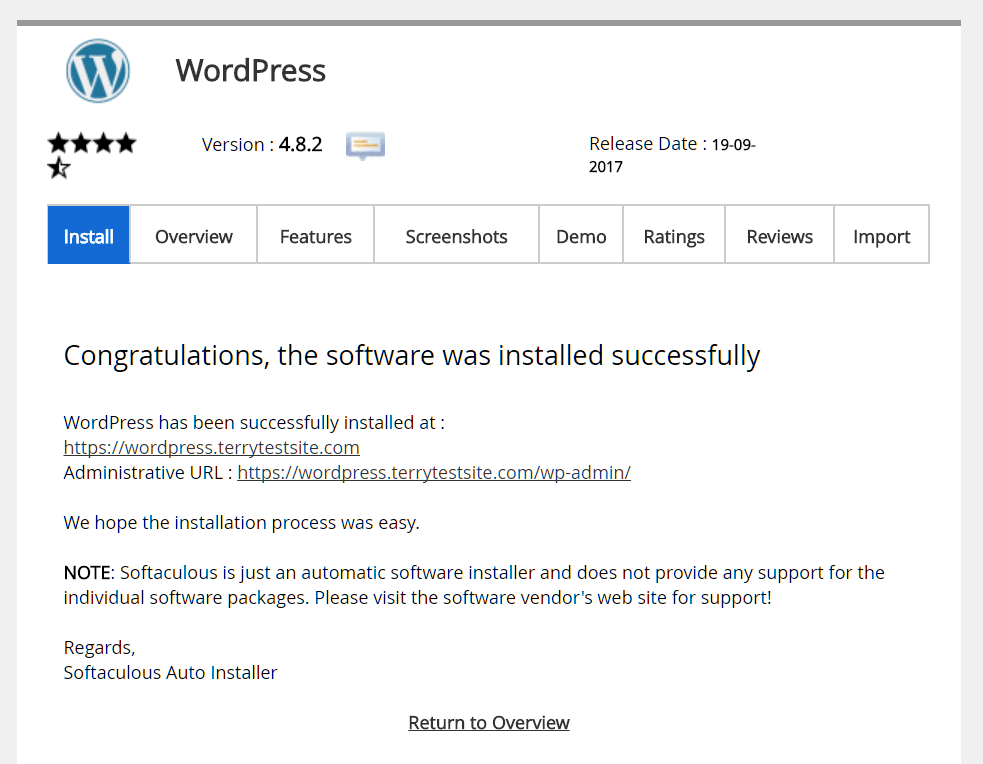
Select a theme, then click Install to proceed. The installation takes a few seconds, after which you’ll be shown a link to the WordPress administration dashboard. Click the link and log in to the dashboard to begin working on your site.
Using a subdomain for WordPress
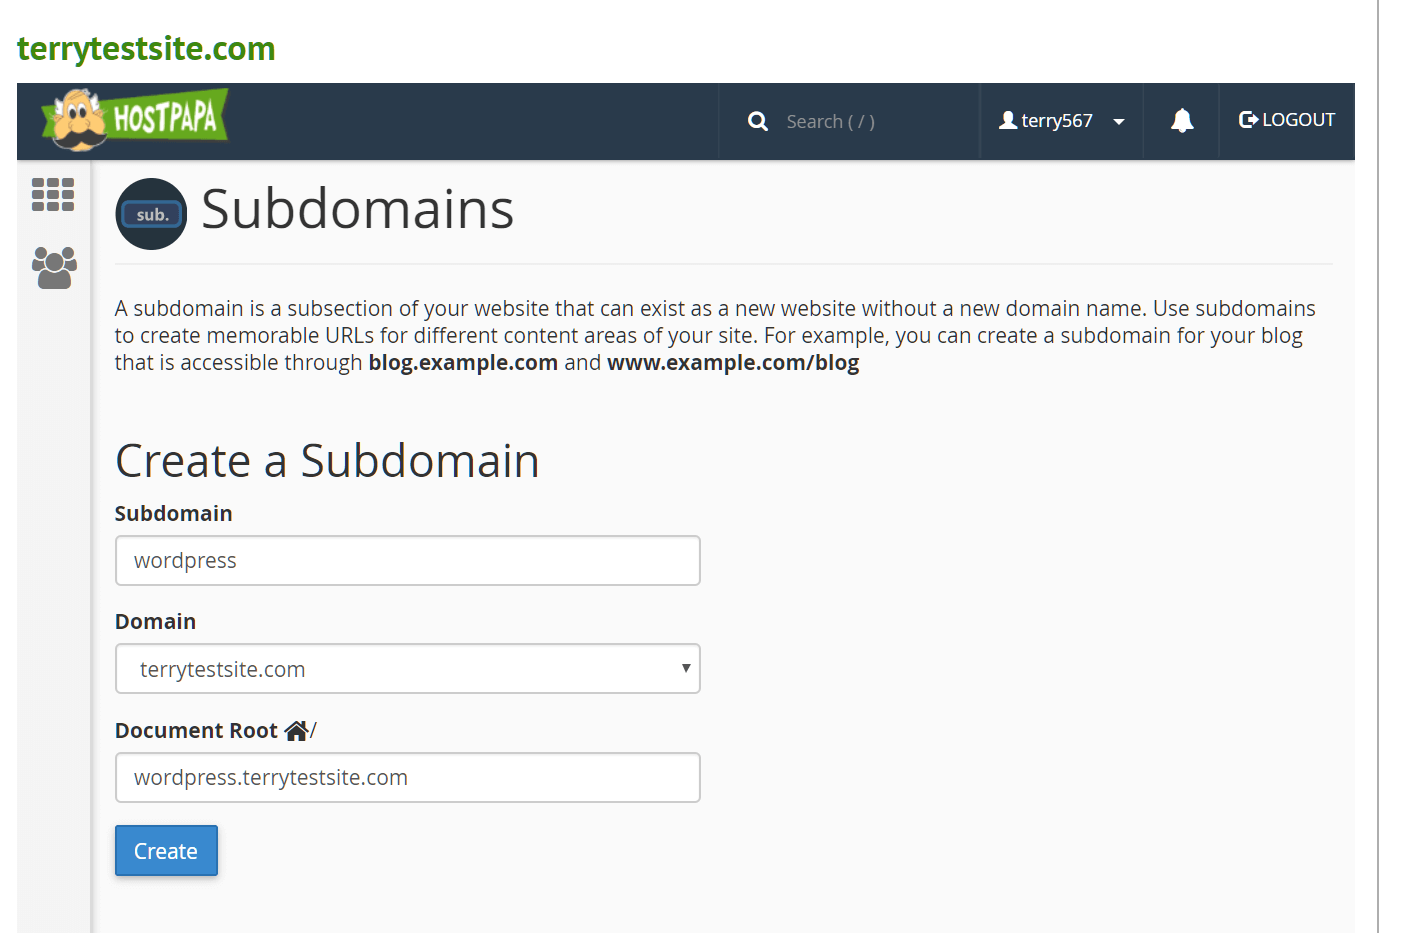
If you wish to install your WordPress blog using a subdomain, this needs to be created before you configure site settings in Softaculous. From the cPanel menu, select Subdomains and enter your desired subdomain prefix. Click Create to continue.
Installing WordPress manually with FTP/cPanel File Manager
Manual installations of WordPress can be completed by uploading files directly to your web server using an FTP client, or via the cPanel File Manager.
Download and unzip the latest version of WordPress from the developer’s website.
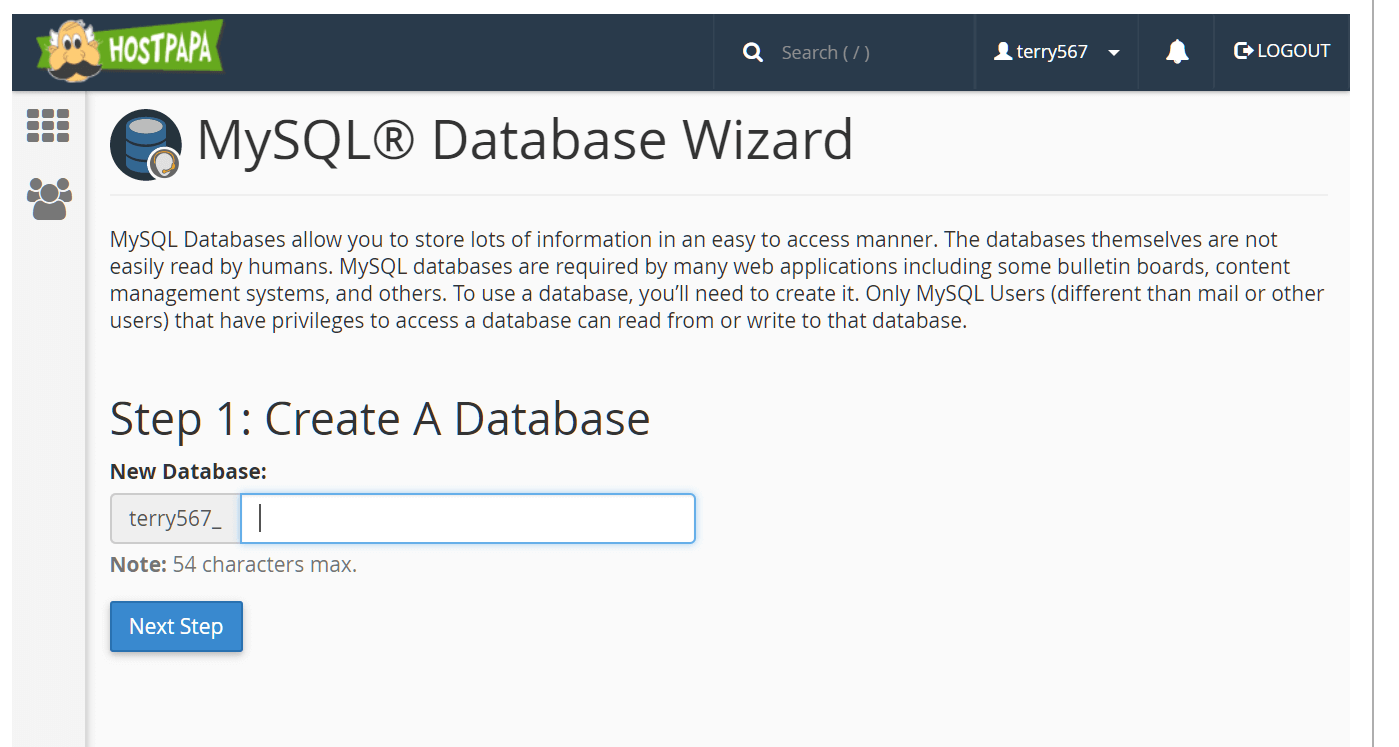
In My cPanel, head to MySQL Database Wizard and follow the prompts to create a new database and database user for your WordPress installation.
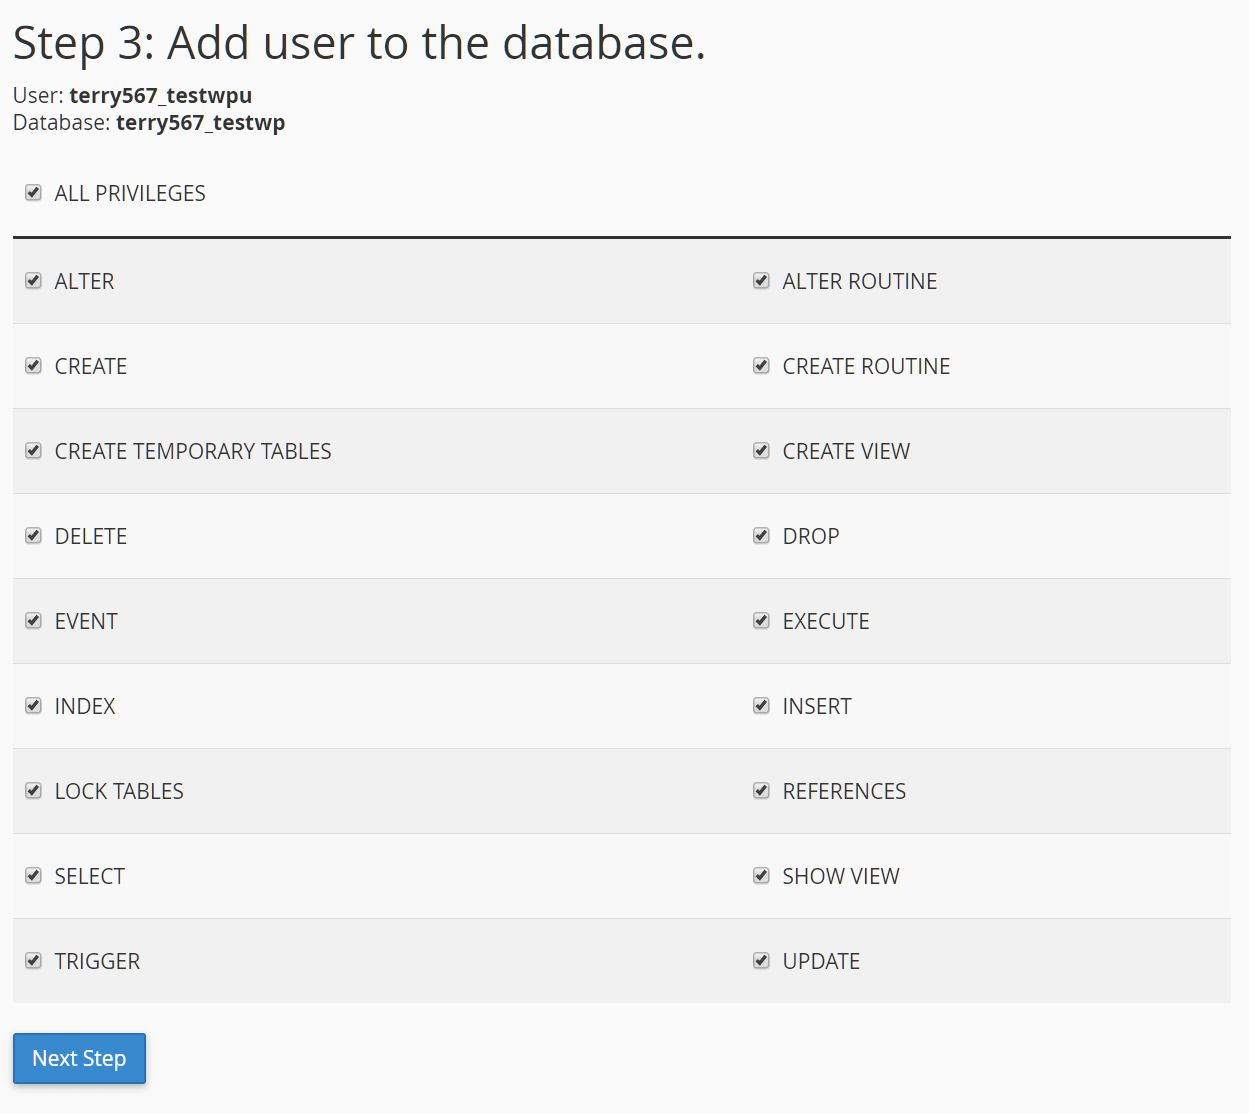
Ensure that you select ALL PRIVILEGES when adding the user to the database.
Upload the WordPress files to the desired location on your server.
If you wish to integrate WordPress into the root of your domain (e.g. https://example.com/), move or upload all contents of the unzipped WordPress folder (excluding the WordPress directory itself) into the public_html folder of your server.
If you wish to have your WordPress installation in its own sub-folder on your website (e.g. https://example.com/blog/), create the folder on your server (inside the public_html folder) and upload the contents of the unzipped WordPress package to the folder via FTP or cPanel File Manager.
Run the WordPress installation wizard by accessing its URL in a web browser. If you installed WordPress in the root folder, you should visit: https://example.com/
If you installed WordPress in its own sub-folder called blog, for example, you should visit: https://example.com/blog/
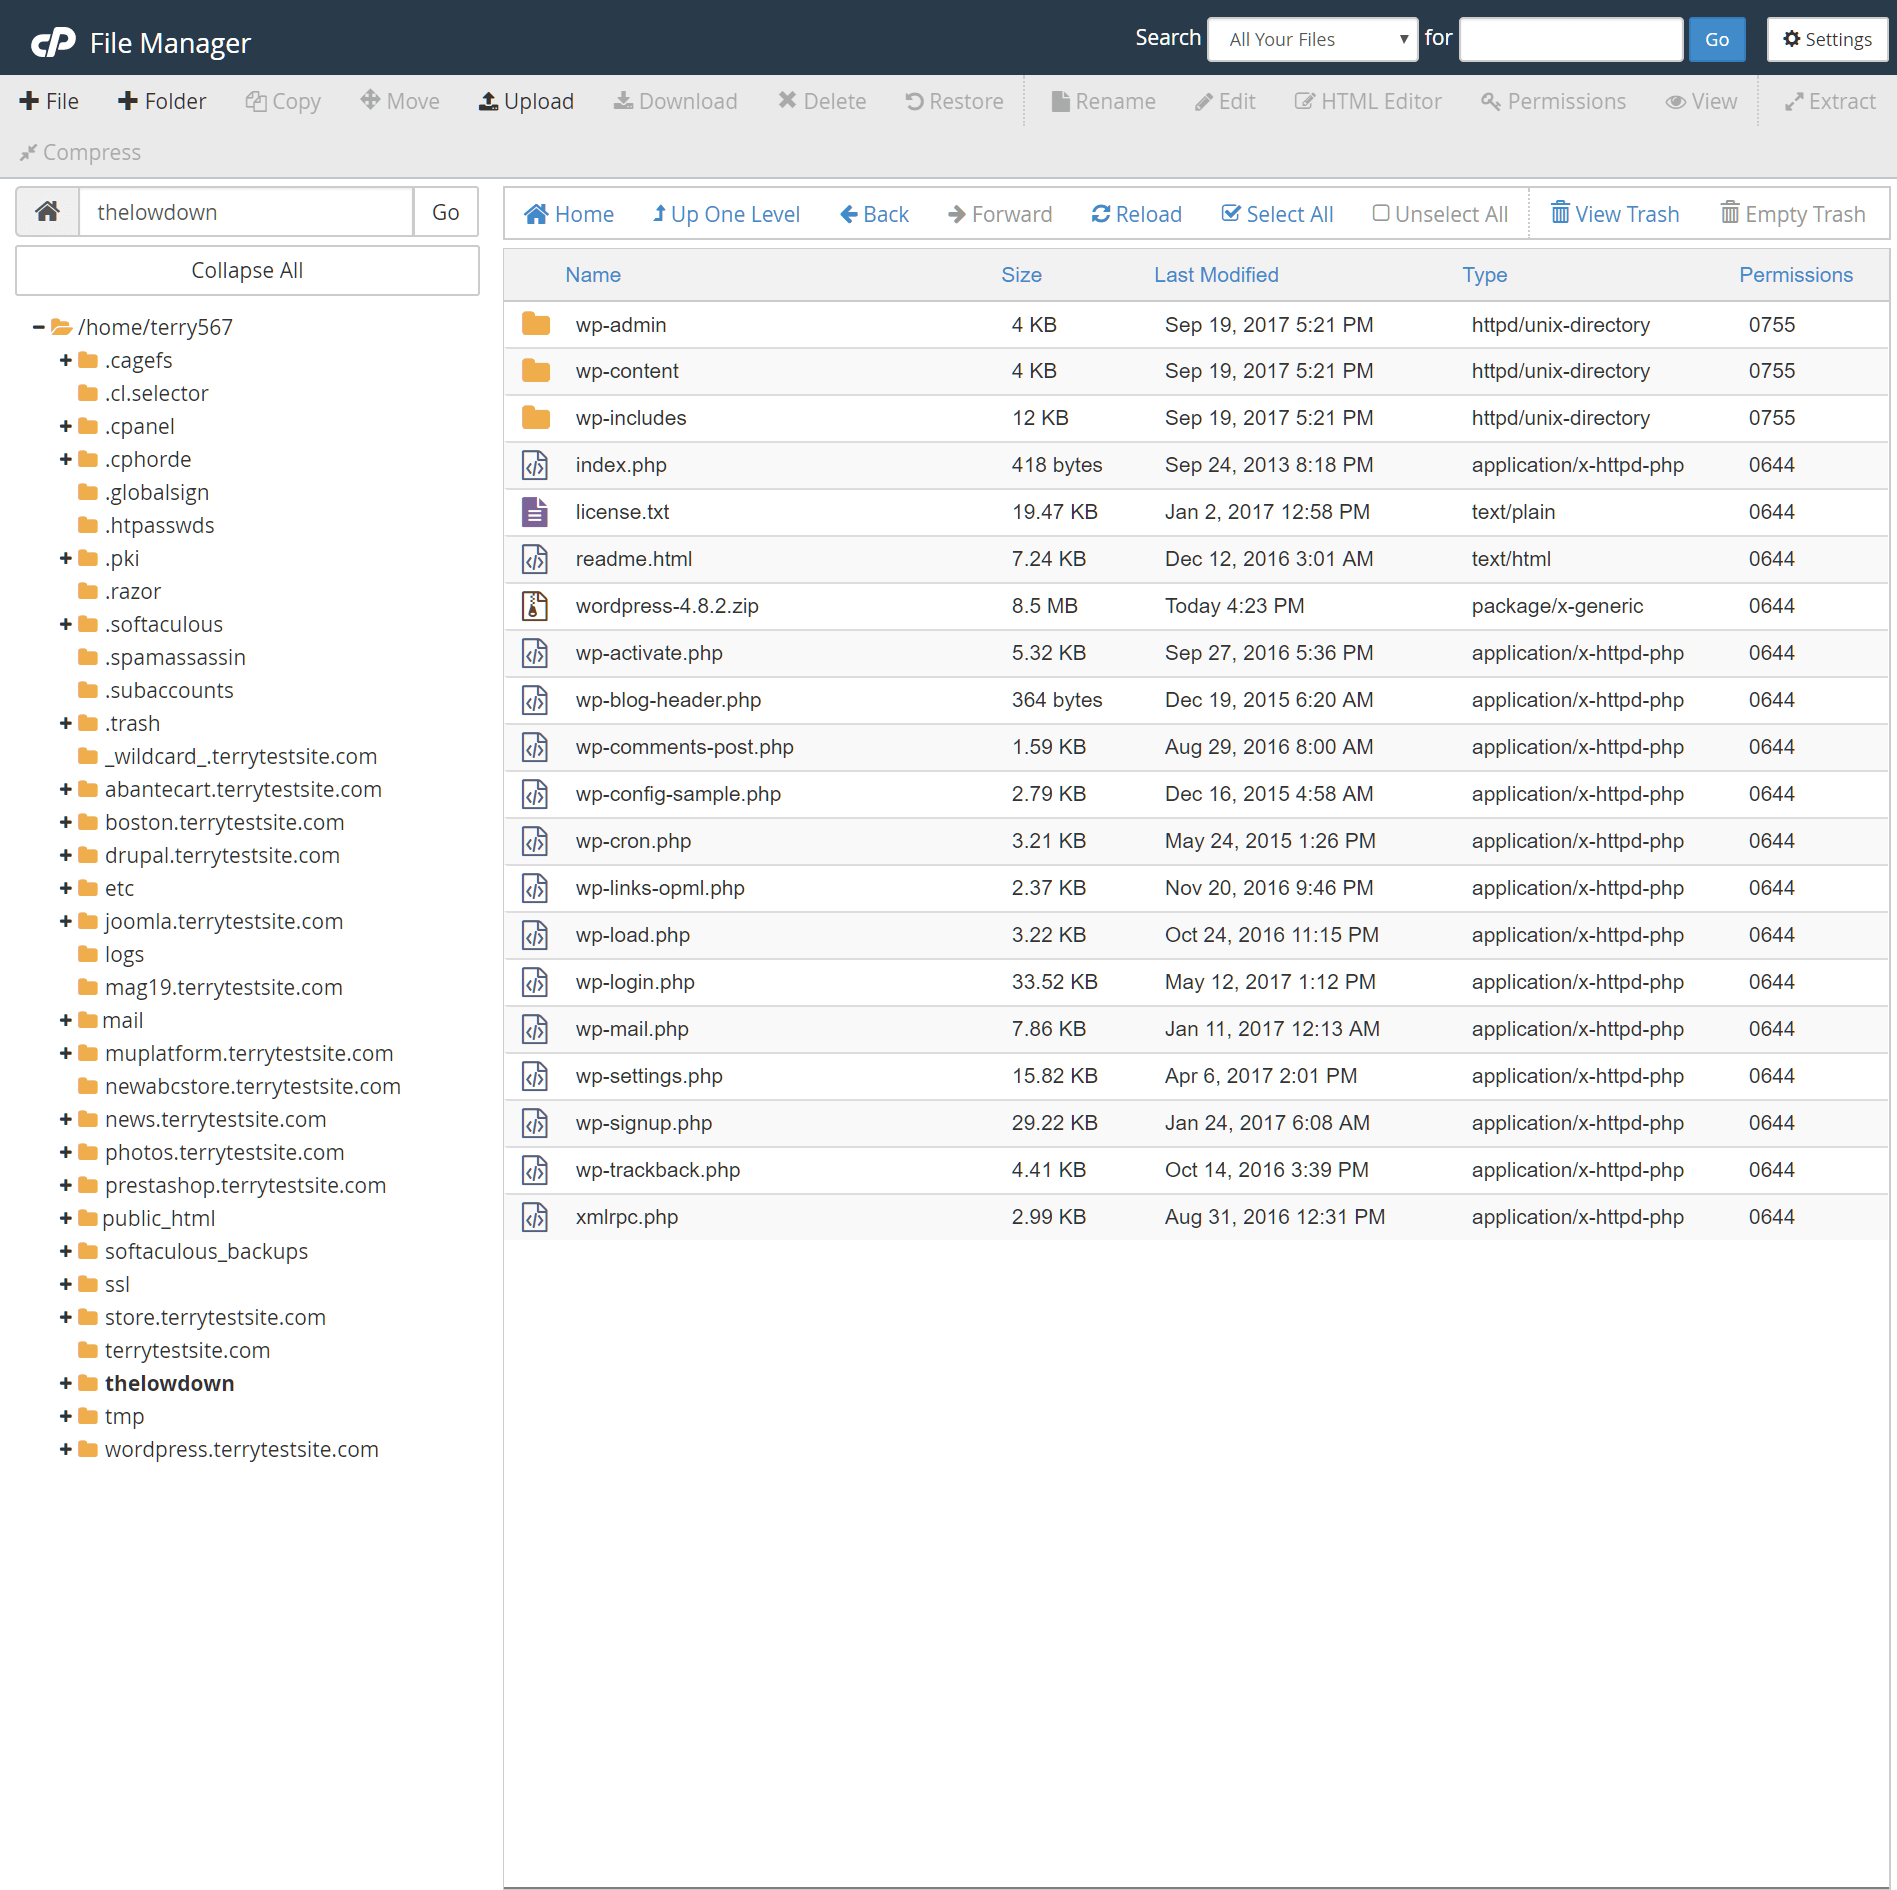
If you’re using cPanel File Manager, you may find it easier to upload the compressed WordPress zip file, then use the Extract icon in the toolbar to unpack the files.
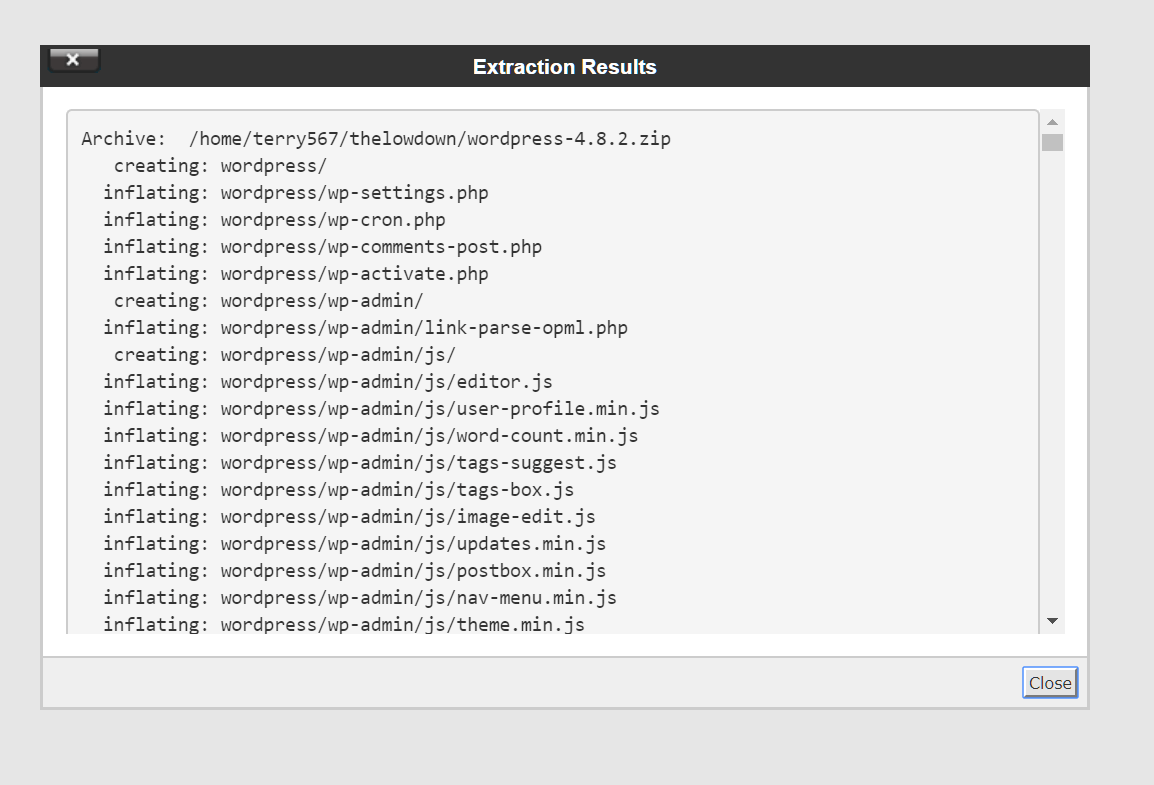
Once extracted, use the Move button to move the files from the extracted WordPress sub-folder into your installation folder.
Run the WordPress installation script by accessing its URL in a web browser. If you installed WordPress in the root directory, you should visit: https://example.com/. If you installed WordPress in its own subdirectory called blog, for example, you should visit: https://example.com/blog/
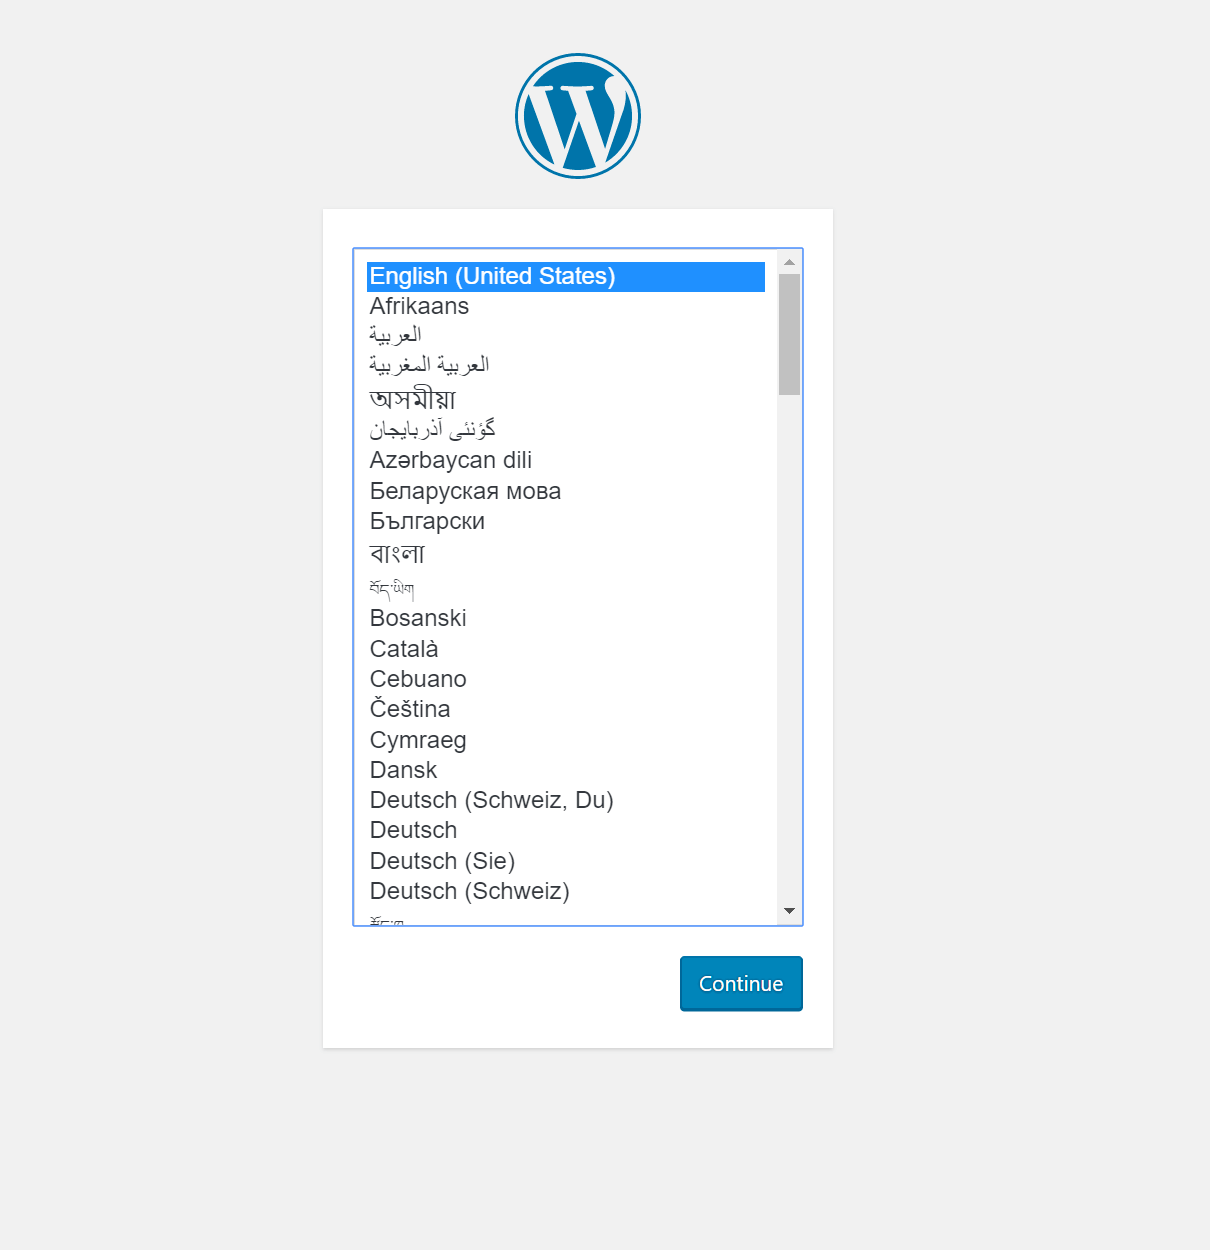
Follow the onscreen instructions.
First, select a language.
WordPress will then request the information required to configure the installation. This is:
- Your Database Name
- Your Database Username
- Your Database Password
- Your Database Host
- An optional Database Table prefix
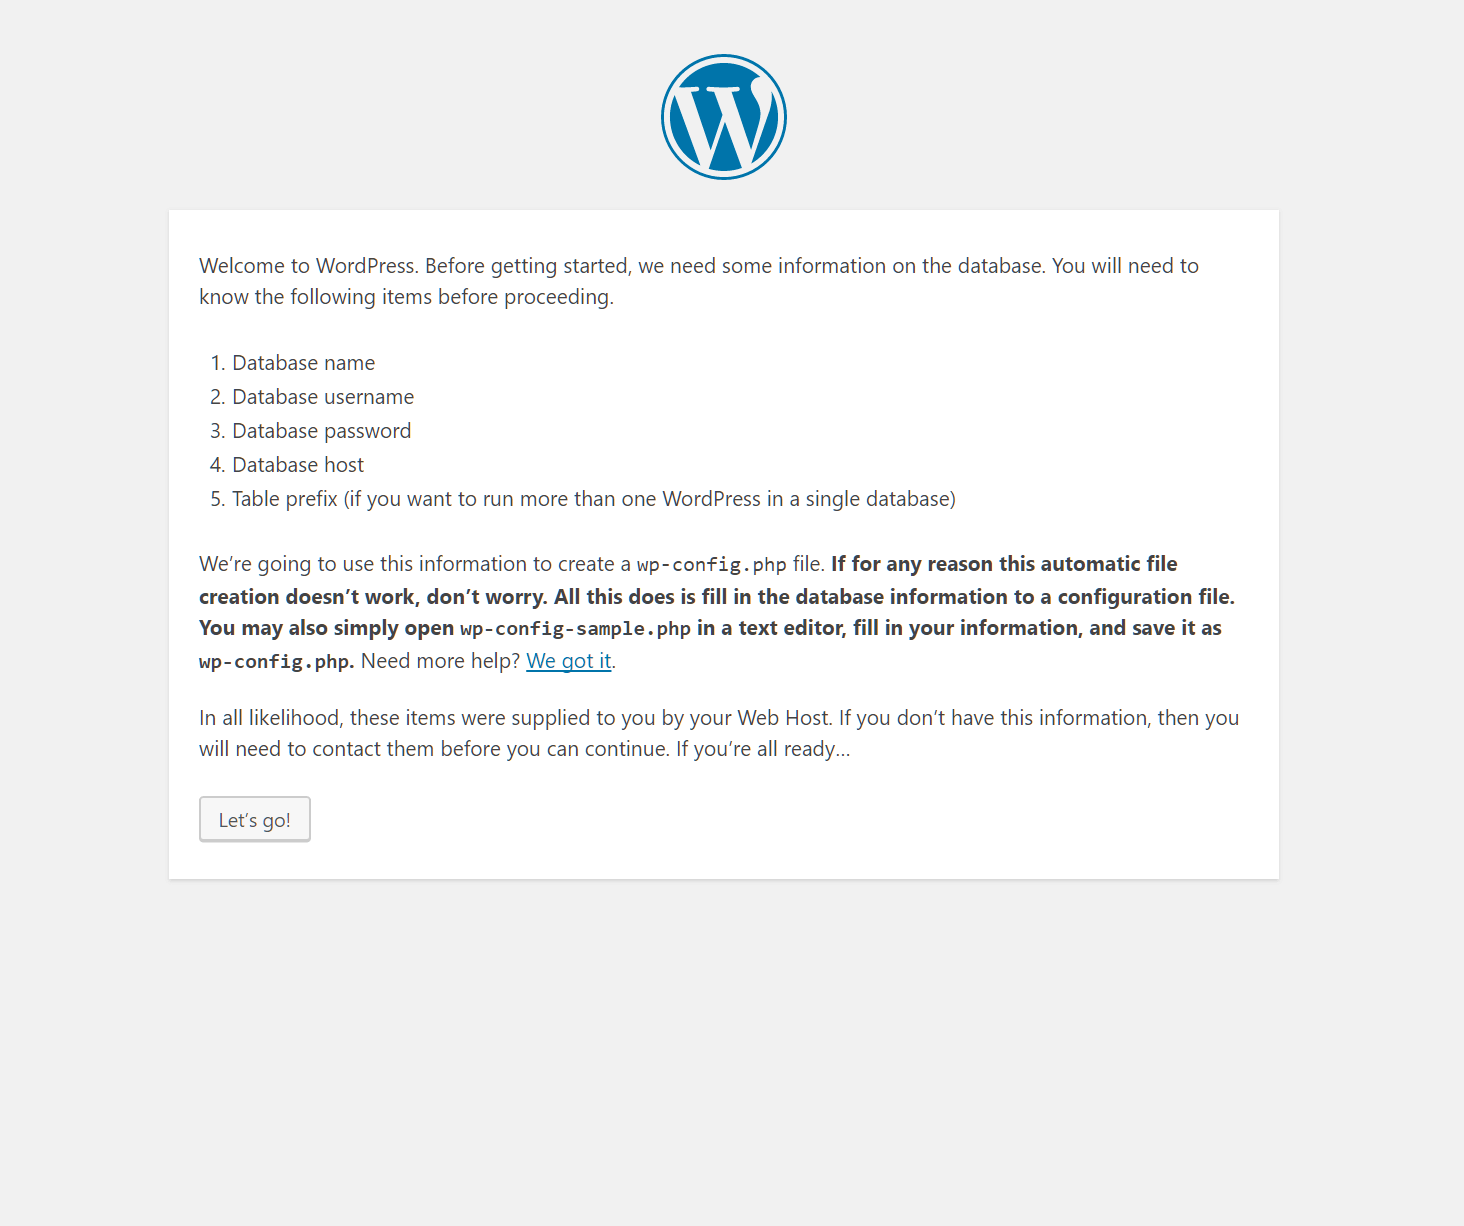
Click Let’s go! then enter the information for the database you created earlier. If you can’t find the information, head to My cPanel > MySQL Databases to review or reset your database configuration. Use localhost for the database hostname.
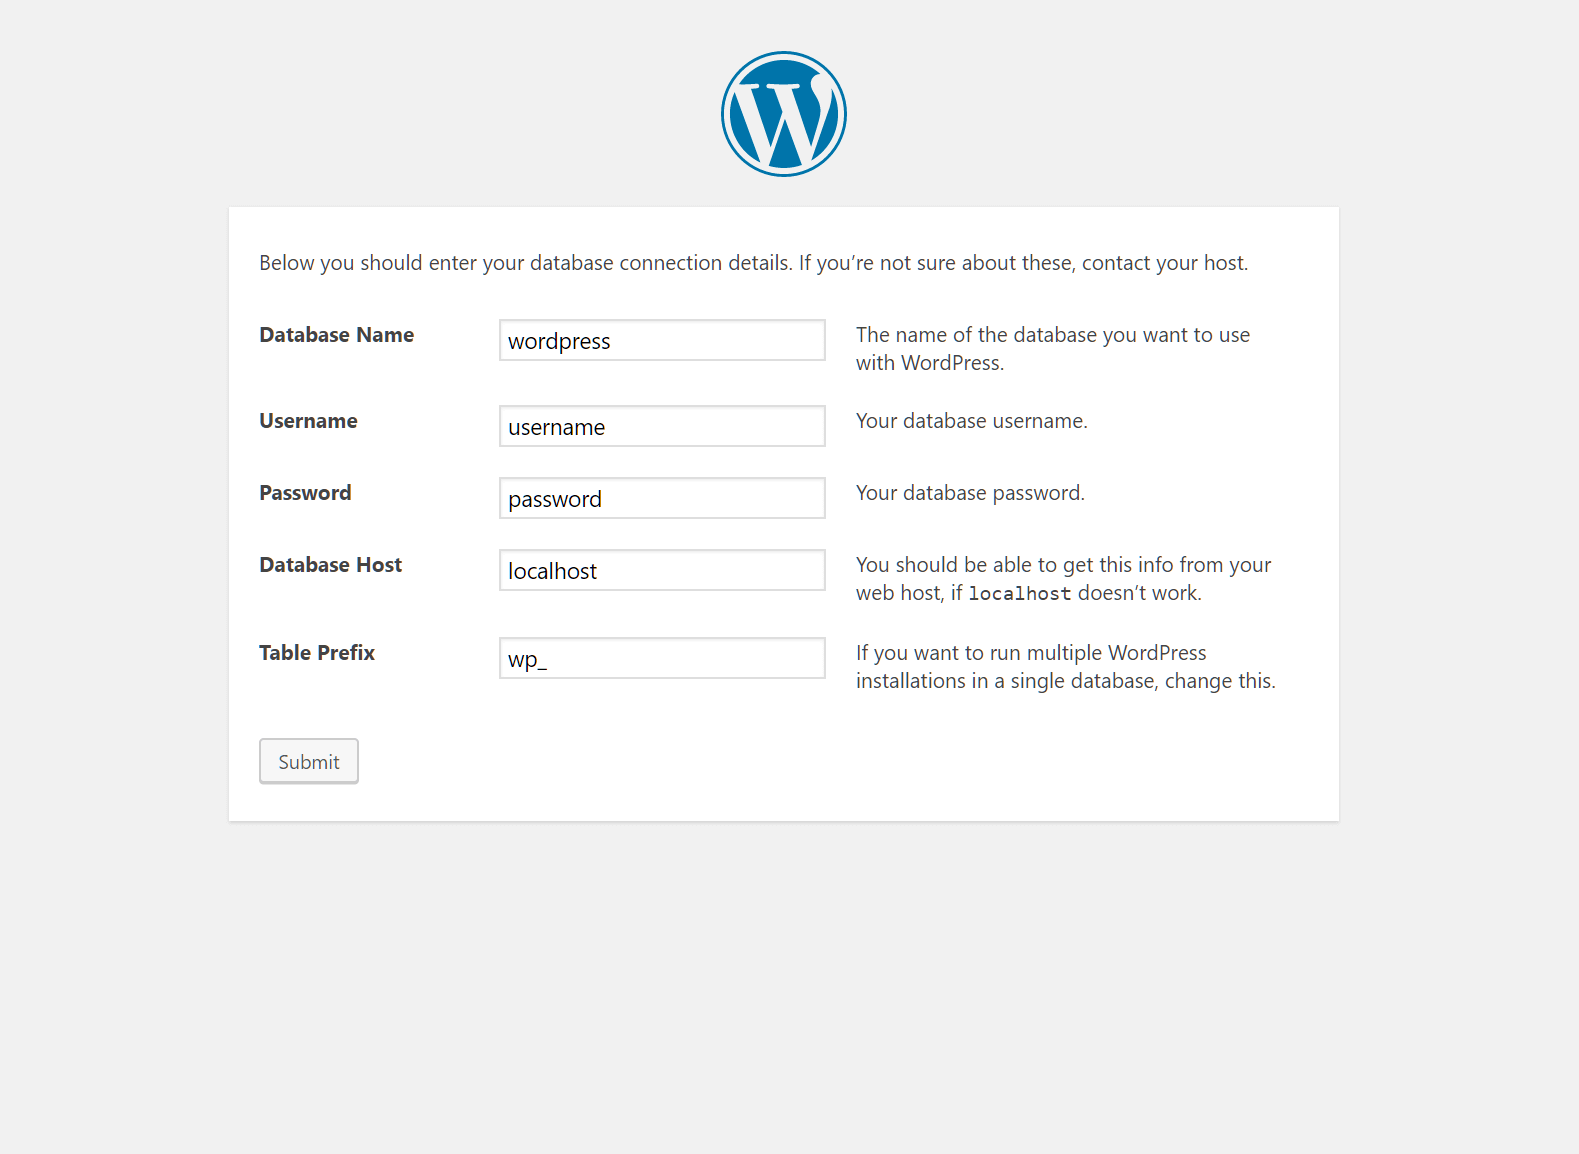
Click the Submit button to continue.
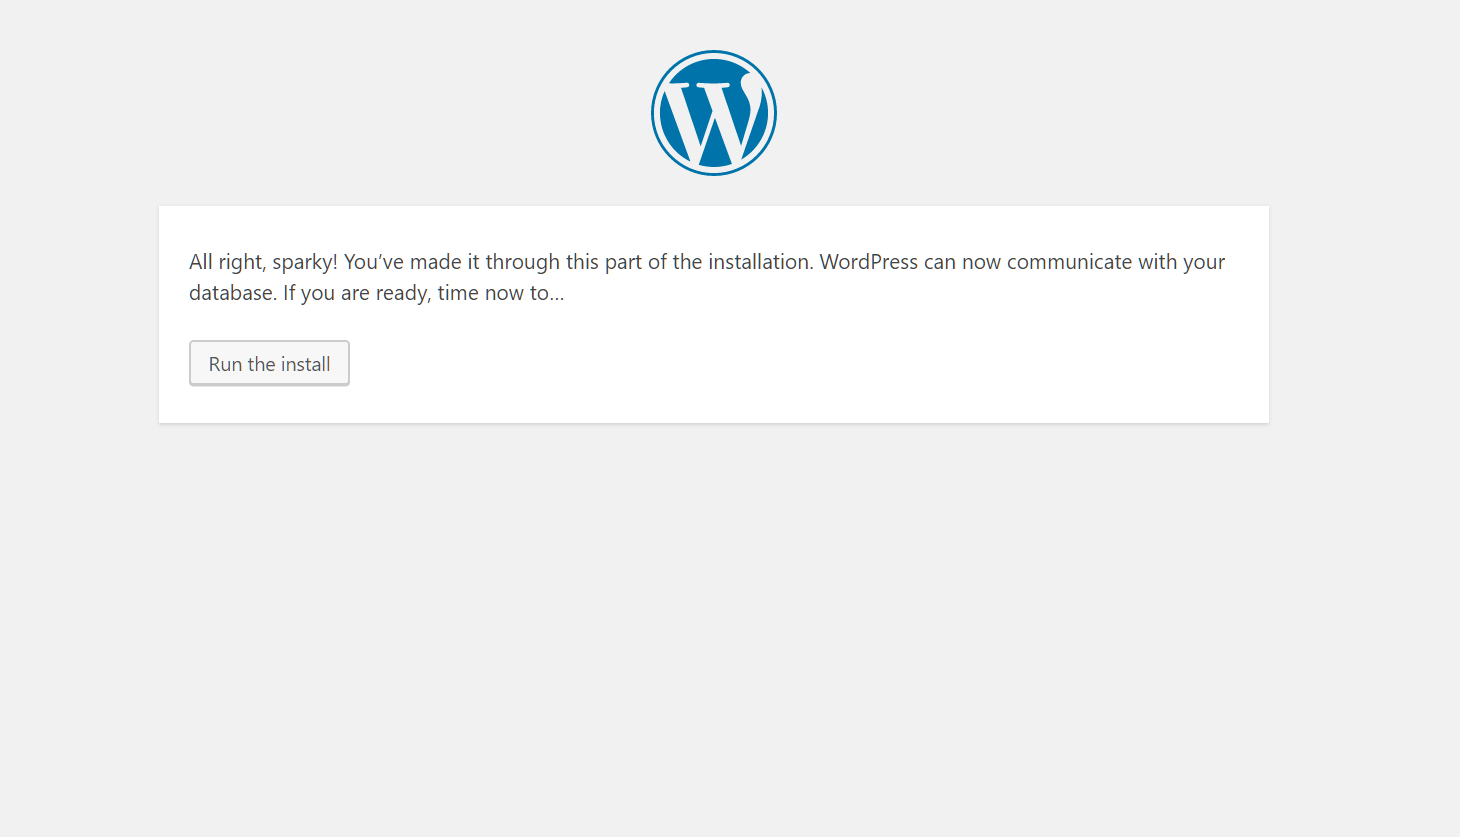
Once WordPress has checked your database details, click Run the install to proceed. After a few seconds, you’ll see the Welcome screen. Enter your Site Title and desired administrator account details, then select Install WordPress to complete installation.
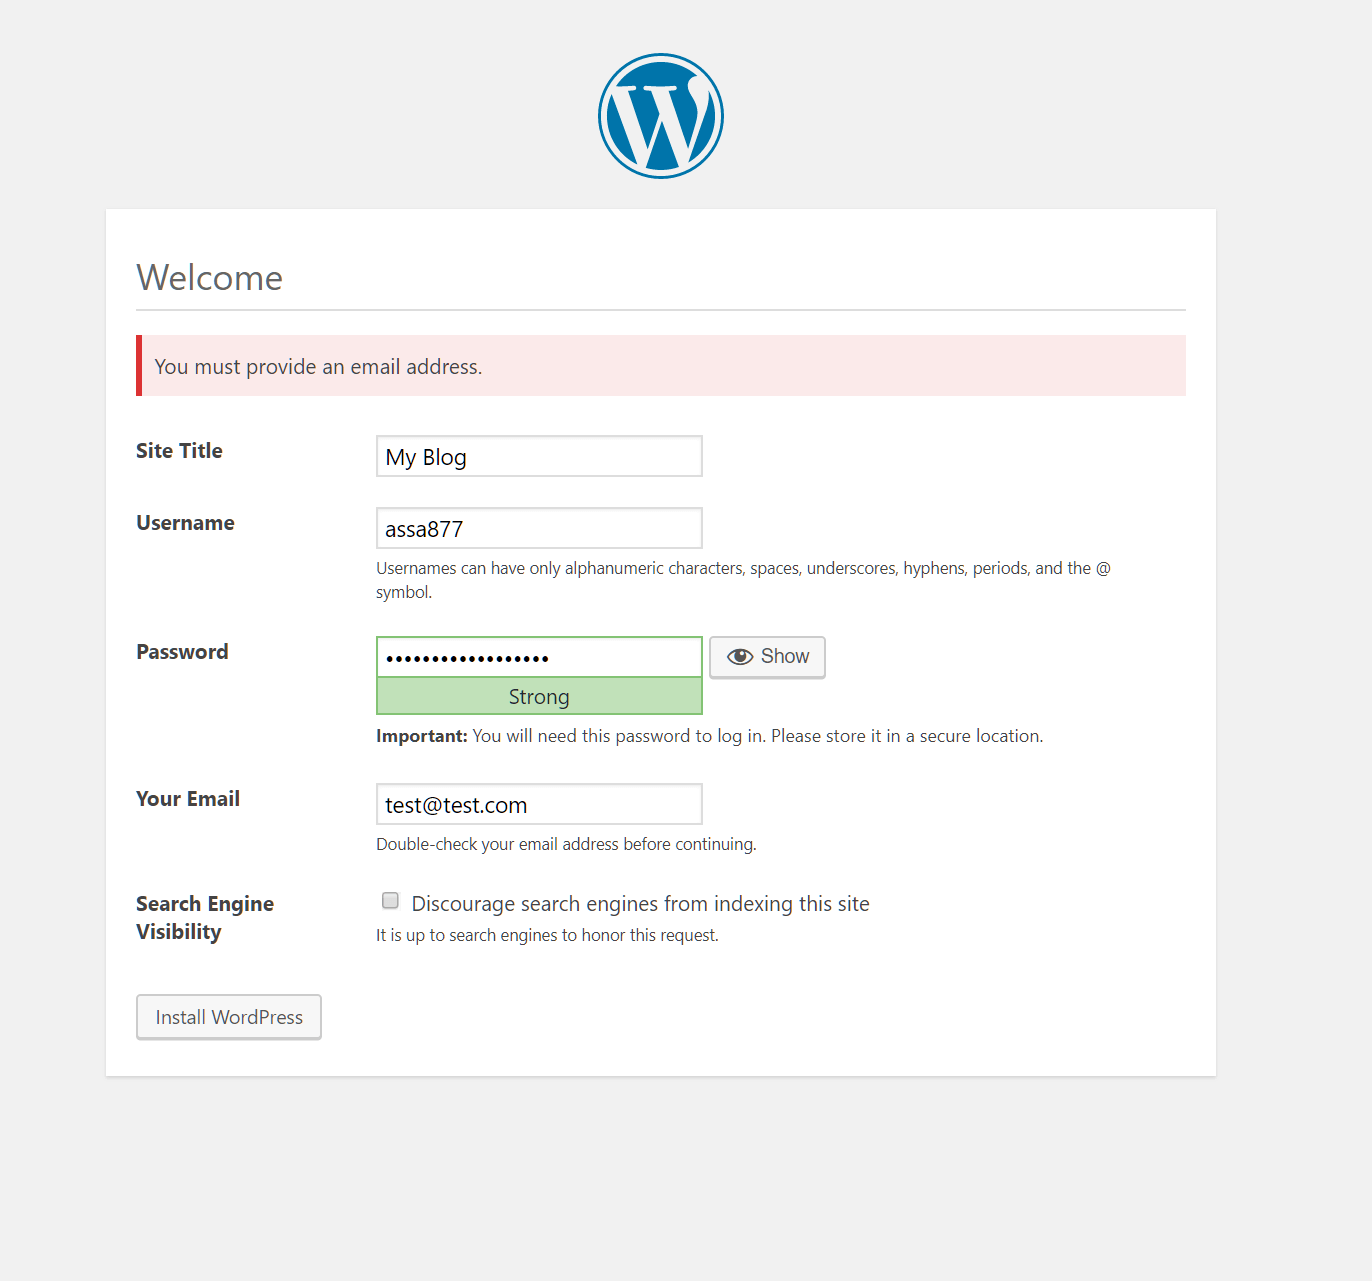
The installation takes a few seconds, after which you’ll be shown the WordPress administration dashboard. Log in to the dashboard to begin working on your site.
Optimizing and maintaining your WordPress installation
Once you’ve installed WordPress, you can begin to explore the vast array of features and customization options available in the dashboard. For the fastest page load times, follow our optimization guide for WordPress: How to optimize WordPress with caching.
You should also ensure your WordPress installation is regularly updated with the latest software patches and security fixes. Find out how to update WordPress in this HostPapa knowledge base guide: How to upgrade my WordPress application.
For further questions, or if you need help, please open a support ticket from your HostPapa Dashboard. Follow this link to learn how.
