WordPress is a really great tool. It’s simple and easy to-use. Let’s take a quick step-by-step guide through your WordPress site and see how the different functions work and how to make your new site your own.
Login
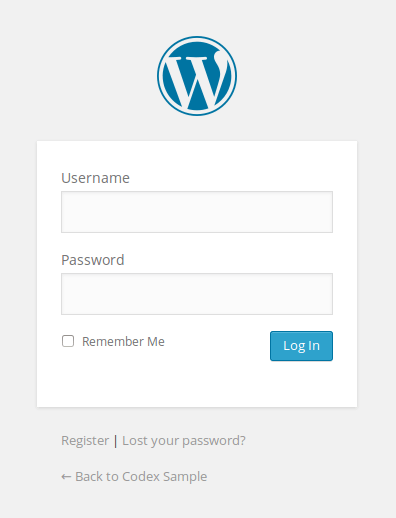
The first step in customizing your site is to log into the administration or Dashboard of your website. To do this go to your site’s login page. You can find this at yoursitename.com/wp-admin or yoursitename.com/wp-login.php. To log into WordPress, enter your username and password into the appropriate fields and click Log In.
The Dashboard
After you log in the first page you will see is called the Dashboard. This is where you can manage every aspect of your site, from adding new pages to writing blog posts.
At the top of the screen is the area called the toolbar. Click on the link that is your site name. This will take you to a view of your new WordPress site.
In the side menu you will see navigation links to all the tasks you can perform.
The default links are as follows (some themes and most plugins will also add more links to this menu):
- Dashboard
- Posts
- Media
- Links
- Pages
- Comments
- Appearance
- Plugins
- Users
- Tools
- Settings
Read this article for more detailed information on the WordPress Dashboard.
The front of your site
The front end of your site is what visitors will see when they visit your site. The appearance of your site is controlled by themes. The default theme is called Twenty Sixteen.
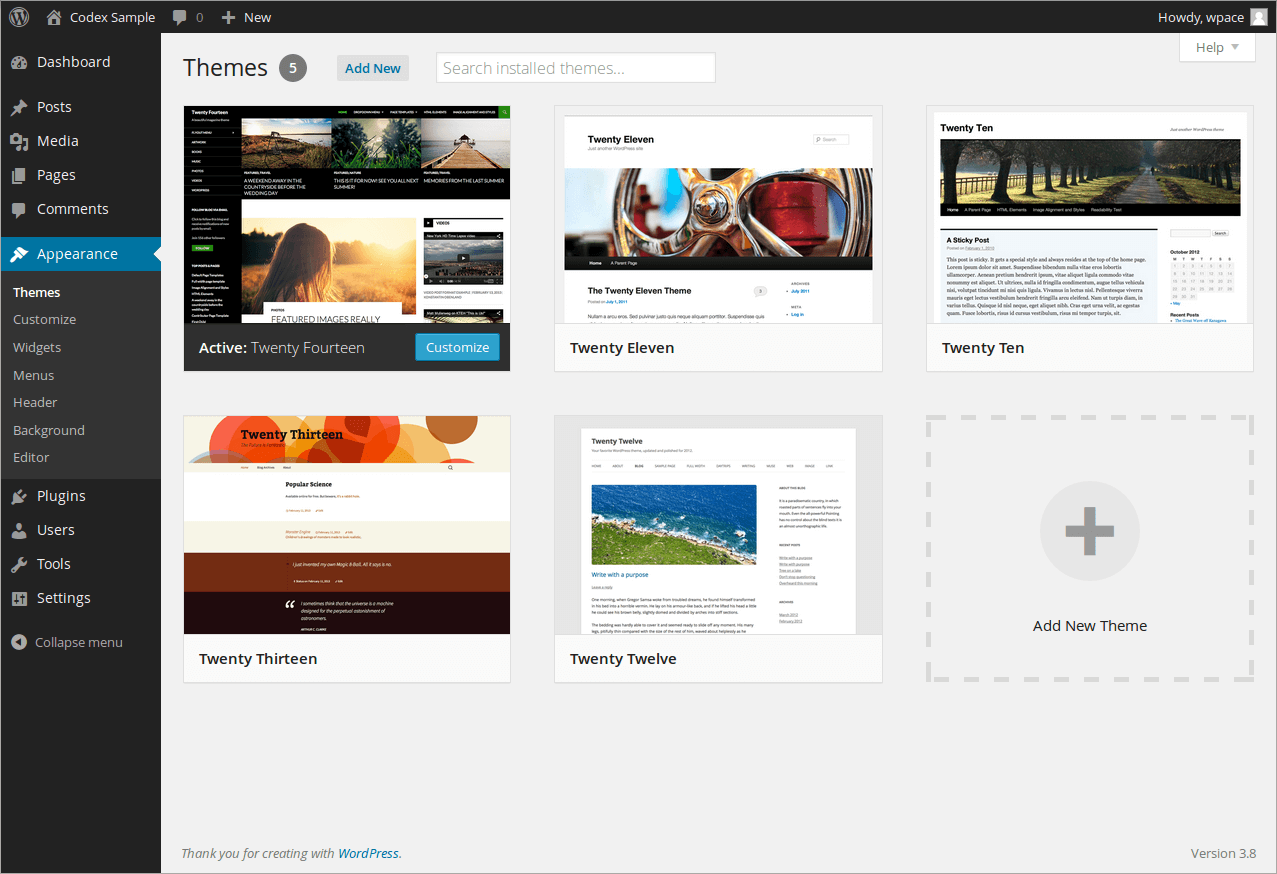
To change the theme go to Appearance > Themes. Themes are presentation styles that completely change the look of your site. Designed by WordPress developers and users, there are hundreds of themes available for you to choose from. In your Appearance Screen, you will see a list of currently installed themes, including the WordPress Twenty Sixteen theme. To quickly change the theme, simply click on the Activate button under one of the themes listed, then click on your site name in the top toolbar to see how it looks. For detailed instructions on how to change your theme read this article.
Writing your first blog post
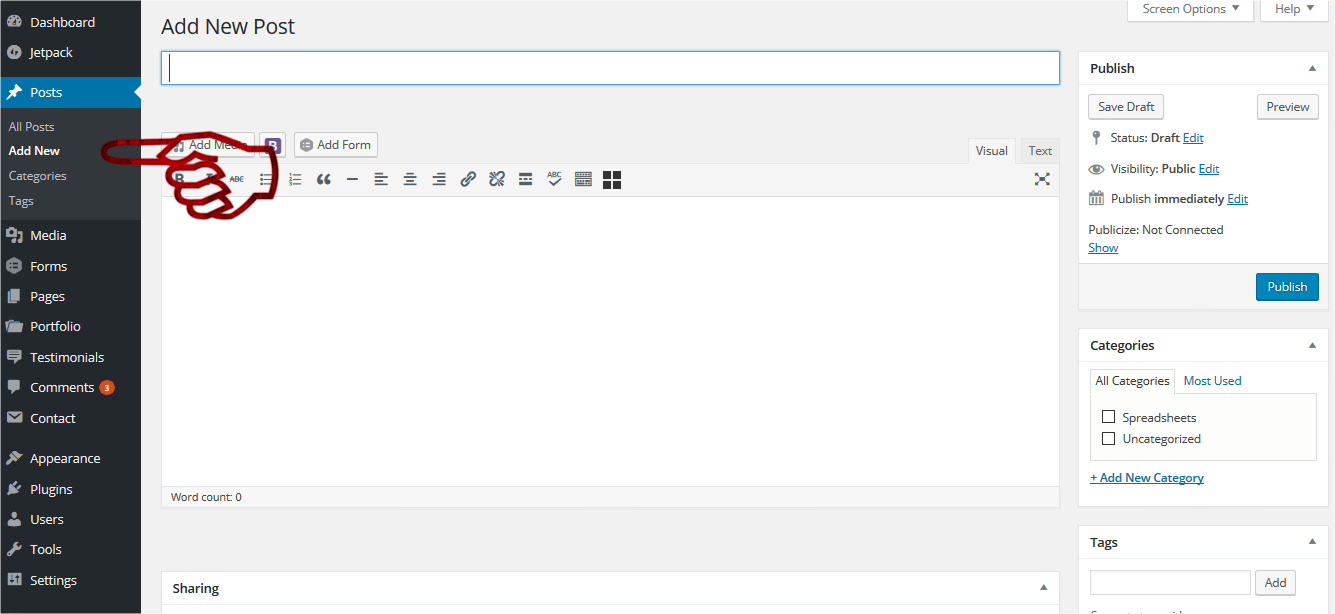
To write your first Blog Post go to Posts > Add New.
Fill in the blanks with the appropriate details and when you are done click the Publish button located to the right of the post entry window. Read this article for more detailed instructions on writing a Blog Post.
Settings
Changing your site title
Your website title is the name of your website and, in most themes, is displayed at the top of every page. To change the title of your WordPress website go to Settings > General and change Site Title to your new title.

Then click Save Changes.
Changing your site subtitle
A subheading is additional information about your site, such as a tagline, that in most themes is displayed below the site title. To change the subheading of your WordPress website go to Settings > General and change Tagline to your new subheading.
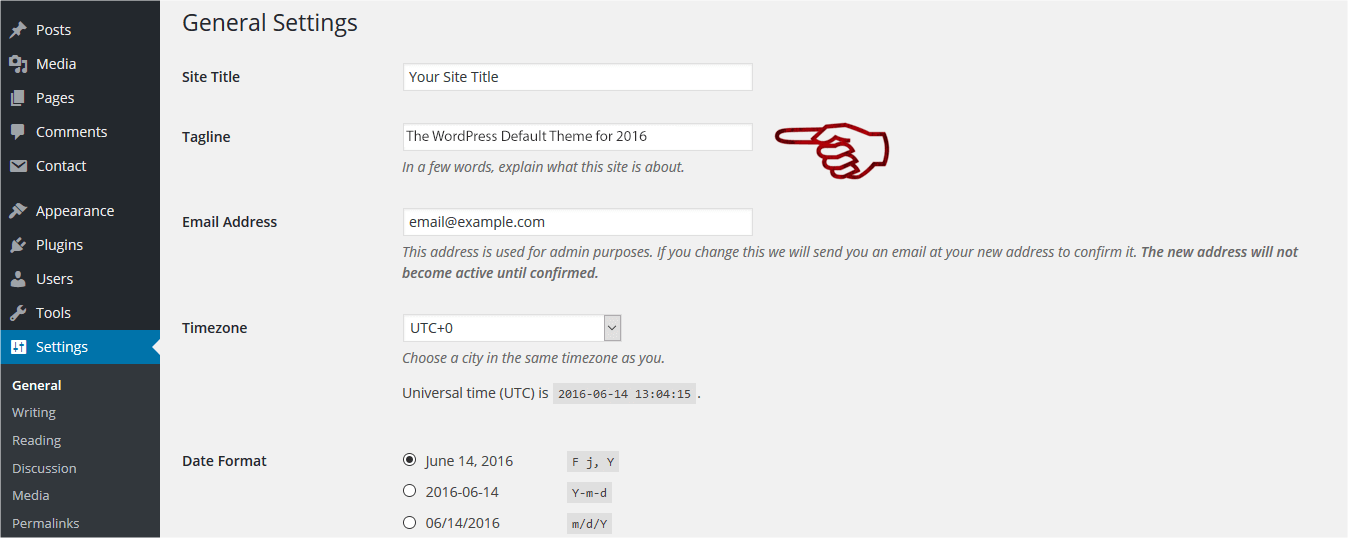
Then click Save Changes.
Changing your site’s permalink structure
A Permalink is the permanent URL or web address (hence the name perma-link) to your pages, posts and author, category and tag archive pages. You can change the permalink structure by going to Settings > Permalinks. You can choose from common settings or create your own custom URL structures.
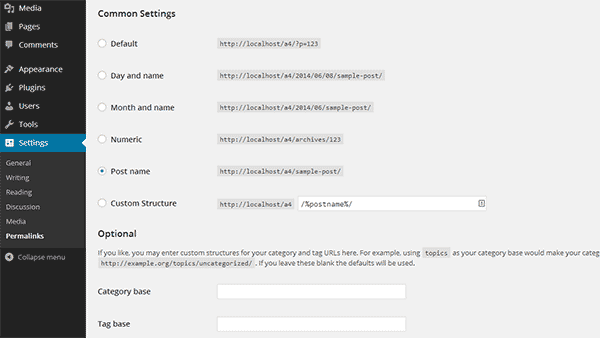
Once you have selected your desired structure click Save Changes.
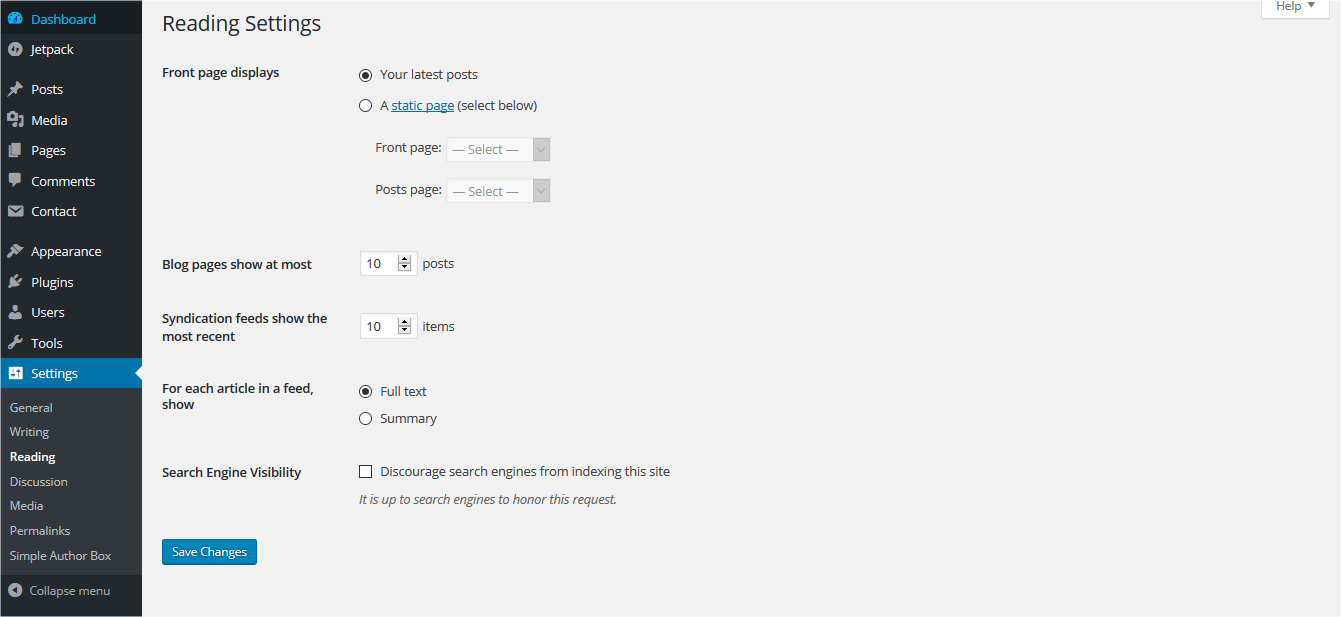
Changing privacy settings
To stop Search Engines from indexing your site go to Settings > Reading and check Discourage search engines from indexing this site. This will discourage search engines from indexing your site (including your site in search results), but it is up to the search engines to honour this request.
For more information on WordPress security read:
