This tutorial describes how to add Microsoft 365 email to Outlook 2016.
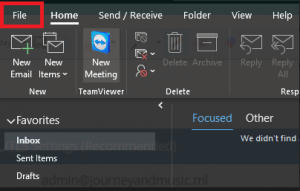
Open Outlook 2016, then click on File and choose Add Account.

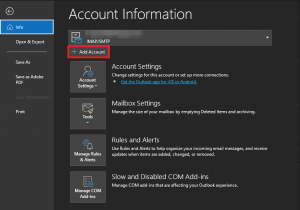
In the Account Information window, ensure that you’re on the Info tab, then click the + Add Account option.

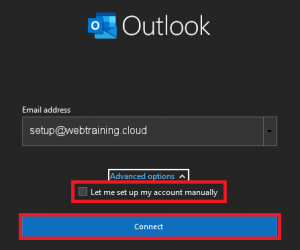
On the screen that follows, enter the email address you are setting up.
NOTE: For this tutorial, we will use setup@webtraining.cloud as our test email account. You will need to change some of the settings to match your setup.
Ensure that Advanced Options is expanded and that the Let me set up my account manually option is unchecked (blank) as shown, then click Connect.

Outlook will recognize an exchange email account, and will create the account without requiring you to enter the details manually.
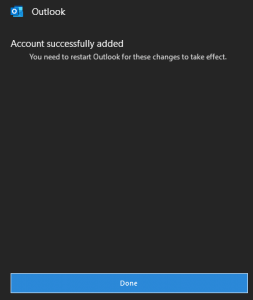
Once the account is set up, you’ll receive a message confirming it was successfully added. Click Done to finish the setup.

If you prefer to set up your Office 365 email account manually or wish to confirm the local settings for your setup, you can use the settings below.
Default Email Account Settings (Microsoft Office 365)
Secure SSL/TLS Settings (Recommended)
| Username: | Use the full email you are setting up. |
| Password: | Use the email account’s password. |
| Incoming Server: | outlook.office365.com
|
| Outgoing Server: | smtp.office365.com
|
| IMAP, POP3, and SMTP require authentication. | |
If you need help with your HostPapa account, please open a support ticket from your dashboard.
