We know that making the switch from a simple web hosting solution or Virtual Private Server (VPS) hosting is a major step for you and your business. Overcoming the restrictions of shared hosting plans is the primary focus for growth companies.
A dedicated server, however, is your own modern, private home. All the resources, the space, the power, and the utilities are yours and yours alone. No more shared resources and hundreds of websites running from the same machine. You gain access to a single system, along with root access and fortified security, ready for your resource-intensive applications.
It means you get complete control over your server’s environment and isolation from the activities of other users, which in turn provides much greater performance, flexibility, and security.
However, the idea of setting up your own server can seem complex at first. That’s why we’ve put together this thorough guide.
We’ll walk you through every important step, from choosing the right plan to securing your server and keeping it running smoothly.
- Choosing Your Own Dedicated Server Hosting Plan: Managed or Unmanaged?
- Getting Your HostPapa Server Ready for Action
- The Central Steps to Configure Your Dedicated Server
- Building a Secure & Strong Foundation
- Installing & Configuring Essential Software
- Long-Term Management & Maintenance

Choosing Your Own Dedicated Server Hosting Plan: Managed or Unmanaged?
Before we start with any technical setup, we need to address the most deciding factor of all: choosing between a Managed and an Unmanaged plan.
Selecting a Managed or an Unmanaged plan determines the entire process that follows and the level of responsibility you take on. We offer these two main approaches to ensure we have a tailor-made plan for your needs.
Our Unmanaged Dedicated Server Hosting plans are for those with a higher degree of technical knowledge and a desire for absolute control. With an unmanaged plan, you take full responsibility for all server management, including software installation, updates, maintenance, and security hardening.
This option gives you the freedom to build a truly custom environment from the ground up, whether you prefer cPanel or a command-line interface. It’s an outstanding do-it-yourself experience for those who are self-reliant and want to engage in server customization and be fully hands-on.
On the other hand, our Managed Dedicated Server Hosting plans are our solution for those who want the power of a dedicated server without the technical workload.
With this option, our expert PapaCare team handles the majority of the heavy lifting for you, including initial server setup, security hardening, and ongoing maintenance. This allows you to focus on your business and projects, confident that the technical aspects are in capable hands.
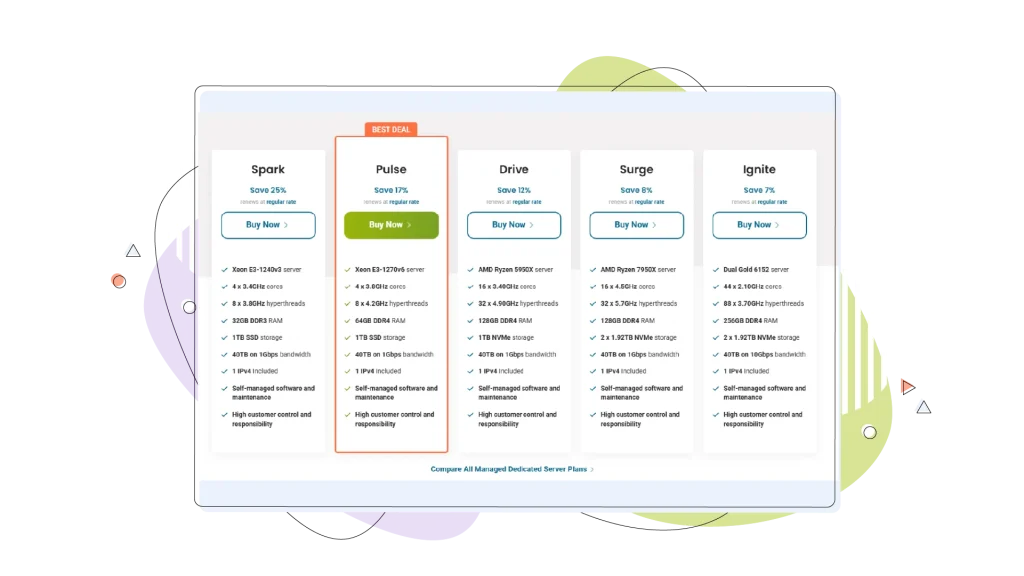
To help you make this fundamental choice, we’ve prepared a comparison of our dedicated server plans. This information is imperative for helping you understand the different choices and what they include.
HostPapa Dedicated Server Plans
| Plan Name | Server & CPU Cores | RAM | Storage | Bandwidth | IP Address | Managed Included Features |
| Spark | Xeon E3-1240v3 (4 cores) | 32GB DDR3 | 1TB SSD | 40TB on 1Gbps | 1 IPv4 | N/A |
| Pulse | Xeon E3-1270v6 (4 cores) | 64GB DDR4 | 1TB SSD | 40TB on 1Gbps | 1 IPv4 | N/A |
| Drive | AMD Ryzen 5950X (16 cores) | 128GB DDR4 | 1TB NVMe | 40TB on 1Gbps | 1 IPv4 | N/A |
| Surge | AMD Ryzen 7950X (16 cores) | 128GB DDR4 | 2 x 1.92TB NVMe | 40TB on 1Gbps | 1 IPv4 | N/A |
| Ignite | Dual Gold 6152 (44 cores) | 256GB DDR4 | 2 x 1.92TB NVMe | 40TB on 10Gbps | 1 IPv4 | N/A |
| Managed Spark | Xeon E3-1240v3 (4 cores) | 32GB DDR3 | 1TB SSD | 40TB on 1Gbps | 1 IPv4 | cPanel, Wildcard SSL, 1TB Backup, Immunify360, Softaculous |
| Managed Pulse | Xeon E3-1270v6 (4 cores) | 64GB DDR4 | 1TB SSD | 40TB on 1Gbps | 1 IPv4 | cPanel, Wildcard SSL, 1TB Backup, Immunify360, Softaculous |
| Managed Drive | AMD Ryzen 5950X (16 cores) | 128GB DDR4 | 1TB NVMe | 40TB on 1Gbps | 1 IPv4 | cPanel, Wildcard SSL, 1TB Backup, Immunify360, Softaculous |
| Managed Surge | AMD Ryzen 7950X (16 cores) | 128GB DDR4 | 2 x 1.92TB NVMe | 40TB on 1Gbps | 1 IPv4 | cPanel, Wildcard SSL, 1TB Backup, Immunify360, Softaculous |
| Managed Ignite | Dual Gold 6152 (44 cores) | 256GB DDR4 | 2 x 1.92TB NVMe | 40TB on 10Gbps | 1 IPv4 | cPanel, Wildcard SSL, 1TB Backup, Immunify360, Softaculous |

Getting Your HostPapa Server Ready for Action
After you’ve selected and purchased your HostPapa dedicated server plan, the next step is to prepare it for use.
An elementary list of things includes:
- Changing or setting account passwords.
- Creating cPanel accounts for users who will be using those accounts.
- Configure any extra cPanel customer accounts.
Unlike building a dedicated server from scratch, which involves purchasing and assembling individual hardware parts like a CPU, RAM, and hard drive, our service simplifies everything. We’ve already taken care of the complex hardware assembly, so you can move directly to the software installation!
This process begins in your HostPapa Dashboard, your central location for managing your account. From there, you’ll have the choice to get your preferred operating system up and running.
Our operating systems (OS) are based on Linux, which is used on many server systems and provides excellent security and performance. You can also tailor the partitioning scheme of your OS, allowing you to configure RAID and other options.
This user-friendly, abstracted approach to server setup is a major benefit of using a hosting provider like HostPapa.
While this installation is a compulsory step you must complete, we’ve made it as straightforward as possible, turning a complex, command-line-driven process into a simplified, graphical interface-based one.
In case you’re already a VPS Hosting customer, HostPapa will ensure the chosen operating system is compatible with your applications. If needed, a HostPapa support rep will contact you to discuss the specifics.

The Central Steps to Configure Your Dedicated Server
With the operating system installed, it’s time to hone your server’s settings to get it ready for your website or application. This involves two principal initial configuration tasks: securing your connection and setting up your network configuration.
Connecting Securely to Your Server
To access and manage your new server remotely, you’ll utilize a tool like Secure Shell (SSH) or log in using the WHM (WebHost Manager), which is the administrative control panel that controls and manages individual cPanel accounts.
Server admins can create user accounts, web hosting packages, and set firewall settings in that menu. The specific link is provided after you purchase a VPS Hosting service from HostPapa.
The SSH, however, is your server’s main door to the command line, allowing you to execute commands and configure settings. For the utmost security, we recommend that you disable password-based logins and deploy SSH keys instead.
What are the benefits of using an SSH key for authentication instead of passwords?
Passwords can be guessed, cracked, or stolen. An SSH key is a pair of long, complex cryptographic files that provide a much more secure way to authenticate. Using keys is like trading a simple key for a complex, unique biometric scan that no one can replicate.
You can access your server either through a command-line interface or a graphical control panel, and your SSH keys must be set up if you have disabled password authentication.
Setting Up Your Network & DNS Records
This isn’t your typical local network settings. Every dedicated web server requires a public IP address to be accessible on the internet. Your HostPapa dedicated hosting plan includes a static IP address, which is used by a single hosting account: yours.
This has several noteworthy benefits, including the ability to use a private SSL certificate, access your files via FTP by the server’s unique IP address, and protect your website from being blacklisted due to the actions of other server users.
The next imperative step is to point your domain name to your new server. You will accomplish this by updating your domain’s DNS records. Specifically, you need to change the A Record to match your server’s new IP address.
This action connects your domain name to the physical server, ensuring that when people type your domain into a web browser, they are directed to the correct location.

Building a Secure & Strong Foundation
The power and freedom that a dedicated server provides come with a binding duty: security. While we provision your server in a secure state, a default setup is just a starting point.
True dedicated server security stems from the custom configurations and ongoing best practices you implement, especially when managing multiple servers.
The Core Pillars of Dedicated Server Security
A secure server isn’t merely a single tool or action. It’s a complete, layered strategy. Our research indicates that a successful security strategy is built on six core pillars:
- Changing default settings and locking down your server.
- Controlling who has access to your server.
- Setting up a security alarm system.
- Protecting your websites and customer data.
- Creating a safety net with backups.
- Keeping your server updated.
Securing Access & Accounts
The first action in this strategy is to harden your server’s access points. This is where you make it much more difficult for a cybercriminal to gain entry.
- Change the default SSH port: Every new server has default settings that hackers know and look for. The default SSH port is 22, and bots constantly check it for vulnerabilities. Moving it to a different, random port is like moving your front door to the side of the house. Bots that only check the default location won’t even find it.
- Disable direct root login: The ‘root’ user is the super-admin with absolute power. Allowing direct login as root is a risky practice. It’s a best practice to create an individual user account and then switch to the root user only when you need to perform administrative tasks.
- Use SSH keys instead of passwords: As we discussed in a previous section, SSH keys are a much more dependable and secure method of authentication than passwords.
- Create limited user accounts: We advise against allowing everyone to use a master account. Instead, create individual user accounts and give them just enough power to do their job, not full control.
- Require two-factor authentication: Force users to verify their identity with a second device, like their phone, before they can log in. This is a worthy of attention barrier against hackers.
- Enforce strong passwords: For any accounts that still use passwords, be sure to check they are long, complex, and difficult to guess.
Configuring Your Digital Gatekeeper: The Firewall
A firewall is your server’s digital gatekeeper. Proper firewall configuration is an important part of your security setup.
The most effective approach is to follow a “deny-all” strategy: block all incoming traffic by default, then explicitly open only the ports you absolutely need (for example, for your own web server, email, and your custom SSH port). The default ports are listed in the configuration files, and can be changed for even greater security.
Anything not on the guest list simply doesn’t get in, which substantially shrinks your server’s attack surface.
Installing & Configuring Essential Software
With the security foundation in place, you can now deploy the necessary applications to run your website or business. The two core software components are your web server and your database management system.
A web server, such as Apache, Nginx, or LiteSpeed, is the software that delivers your website’s content to visitors’ browsers. You’ll also need a database management system, for instance, MySQL or MariaDB, to store your website’s data, for example, user information, blog posts, or product details.
For users on our Managed plans, a control panel like cPanel is an included feature.
We recommend a control panel because it provides an easy-to-use graphical interface that streamlines the management of your files, domains, email accounts, and databases without needing complex command-line prompts. It’s a powerful tool that makes server administration much more accessible.

Long-Term Management & Maintenance
Building and configuring your server is just the beginning. The requisite steps for keeping it running smoothly and securely over the long term include regular maintenance. This is where the power of a dedicated server comes with an ongoing responsibility.
- Regular updates: Make certain that your operating system, web server software, and all other applications are fully patched with the latest software updates. Running outdated software can become a major security risk, especially in high-traffic websites.
- Monitoring: Regularly go over your server’s usage and performance. You can use monitoring tools or the statistics panel in a control panel like cPanel to check disk space, CPU power, and bandwidth consumption.
- Backup and recovery: A durable backup strategy is imperative. We put to use the industry-standard “3-2-1 rule” like gospel: three copies of your data, on two different media sources, with one copy off-site (for instance, on a cloud platform). You should also run restore drills at least quarterly to verify your backup strategies are sound.
For those who choose a Managed plan, our PapaCare team handles this entire section for you. This is the ultimate way to get the power and performance of a dedicated server without the responsibility of ongoing maintenance.
Conclusion: Taking Control of Your Digital Destiny
Setting up a dedicated server is an investment in your project, business, and online presence. It’s a decision to take control of your performance, security, and flexibility.
From choosing the proper server hardware specifications to implementing strong security protocols and maintaining your server over time, each step is integral to harnessing the full power of your new environment.
Whether you prefer the hands-on control of an Unmanaged plan or the peace of mind that comes with our Managed plans, we have a tailor-made solution for you. We’re confident that with this guide and our unparalleled customer support, your dedicated server setup will be a resounding success.
FREQUENTLY ASKED QUESTIONS
Can I host multiple websites on a single dedicated server?
Yes, absolutely. A dedicated server gives you the power and resources to host multiple websites or applications. This makes them a good selection for agencies and developers who manage multiple client projects, as it provides unparalleled control and resource isolation.
How much RAM do I need for my server setup?
For a small personal site or blog with low traffic, a starting point is 8-16GB of RAM. For growing sites with moderate traffic, we recommend 16-32GB, while high-traffic websites or servers hosting multiple sites should consider 32GB or more.
Small stores with a few hundred products can start with 16GB, while medium stores with thousands of products should aim for 32GB.
Can I easily host a game server on HostPapa’s Dedicated Hosting services?
Dedicated servers are a perfect fit for hosting a game server. They provide low latency and the high-performance CPUs and uninterrupted bandwidth needed to create a smooth, frustration-free experience for players.