Would you like to update your WordPress website design, but just can’t find the perfect theme for it?
Not to worry.
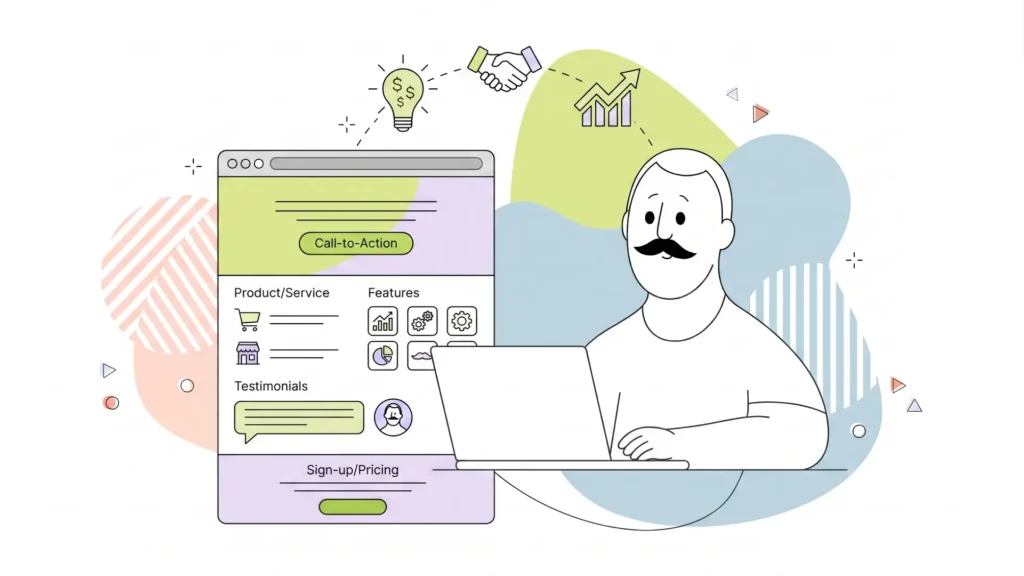
In this article, we are going to review Elementor. It’s a powerful WordPress page builder that lets you design beautiful websites.
Maybe you’ve already used Elementor to create a great looking site, but now you need to move it to a new host.
We have you covered there too. Below, you’ll find tips on how to migrate your website without losing any of the design elements.
Let’s get started.
Elementor: A Powerful Website Design Tool
There are so many WordPress website builders out there. What makes Elementor different?
It comes down to two things:
- Flexibility: With Elementor, you get one of the most versatile WordPress editors on the market. You can change anything on your website quickly and easily.
- Design choices: With Elementor, you don’t have to pick a single theme for your entire site. You can apply custom design features for each individual section, including headers and footers.
Those are just the top two features of this awesome tool. There’s a lot more.
Elementor is easy to use, allowing anyone to quickly create a beautiful website, but it isn’t just for beginners. This tool is also for experienced designers who want the ability to create their own themes.
To meet that need, Elementor offers advanced design features, including the ability to:
- Customize and design every page on your website (including the search results and the 404 pages);
- Add cool effects to your site’s background, edit images, and put in animations to make your website stand out;
- Design custom pop-ups to get more conversions;
- Put widgets on your site, for example, a Facebook “Like” button or a countdown timer.
- Integrate with your favorite marketing tools, like Hubspot, Mailchimp, or ConvertKit.
If, like so many site owners, you just chose a free WordPress theme and ran with it, your website might look too much like everyone else’s. Even if you purchase a professionally created theme, in the end, your site design still probably won’t be all that unique.
Elementor empowers you to design your own unique WordPress website—one that truly looks different!
If you want to use Elementor on your current hosting server and domain name, all you need to do is install the Elementor plugin from here to your WordPress dashboard and start modifying your website.
For those of you who are already using Elementor and need to migrate your site, the next section will discuss how you can easily do that, and not lose any valuable content or design elements.
How to Migrate Your Elementor Website
If you want to migrate your website and move your Elementor content from one hosting provider to another, you have two options:
Option # 1: Use the Duplicator plugin.
Option # 2: Manually export your content.
In this section, we’ll explore how both options work.
Before we get started, here are a couple of precautions you should take:
- Create a backup of your current WordPress website. With the help of plugins like Jetpack or UpdraftPlus, you can create a copy of your important WordPress files, including your Elementor content.
- Make sure your hosting server is connected to the right domain, and that you have the username and password.
Using the Duplicator Plugin to Migrate Your Site
This section will explain the steps involved in migrating your site using the Duplicator plugin. Of the two ways to migrate your WordPress site and its Elementor content, this is the easiest way.
First, install the Duplicator plugin on the WordPress site you want to migrate from, and on the site you want to migrate to. Then, follow the steps below.
Step 1: Generate a Package for Duplicator to Migrate
In the Duplicator plugin, a backup of your WordPress website is called a package. That’s what you’ll have to create before you can successfully migrate your site to another hosting server.
To create a package, open the Duplicator plugin from the left-hand menu on your WordPress dashboard.
After the plugin opens, click the Create New button.
A configuration window will appear. We recommend that you accept the default settings and simply click the Next button to move on.
In the next window, Duplicator will scan your website for errors and report the results. If there aren’t any errors, it will display “Good” for your whole website, at which point, you can click the Build button to create the package.
In the final window, simply download the package. You’ll receive two files:
- The .zip package file.
- The installer.php installation file.
Once you get these files, it’s time to move on to the next step.
Step 2: Create a MySQL Database
The next step in migrating your WordPress website is to create a database on the new hosting server. This will allow you to copy over your website files in the Duplicator package.
To create the database, follow these steps:
1. Open your new hosting server cPanel, scroll down until you see MySQL Databases and select it.
2. Specify a name for your new database and click Create Database.
3. In the next window, you’ll be asked to create a new user account. Do that, and then assign the new database you just created to that user.
4. In the last window, select the All Privileges checkbox and then click Make Changes. This will save your newly created MySQL database.
That’s it. With the database created, it’s on to the last step.
Step 3: Install the Package on Your New Hosting Server
Open the cPanel of the hosting server where you want to migrate your website. Find the file explorer and paste the two files, i.e., the .zip package and installer.php.
Note: If you don’t have cPanel, you can move the files using an FTP client such as FileZilla (on your Windows PC), or CyberDuck (on Mac OS). After you install an FTP client, simply sign into your hosting server and copy the two files.
If you’re using the same domain name but a different hosting server, you’ll need to edit the host file. This article explains how to do that.
Basically, you have to open the host file in a text editor and add your new hosting server’s IP address next to your domain name. This will connect your existing domain with the new hosting server where you’ll migrate your website.
Once that’s done, simply type in your domain name with “/installer.php” at the end, for example, yourwebsite.com/installer.php. This will open the Duplicator plugin, and you’ll be able to install the package on your new hosting server.
1. In the first window, click Next to extract the files.
2. A new window will open, where you must enter the login credentials of the MySQL database you created. Enter the details and click the Test Database button.
3. If everything is ok, you’ll see a “Good” status, and you can click Next to install the package on your new hosting server.
4. In the final step, you’ll be prompted to update the URL field with the new domain address where you’ve imported your website data.
After you enter this information and click Next, you’ll see a link to the admin page of your new website.
When you click the link, you’ll be taken to the login page of your new WordPress website.
Manually Migrating Your Site and Elementor Content
If you want to migrate your site without the use of the Duplicator plugin, the manual steps are fairly straightforward. Let’s take a look at how you can manually migrate your website (and its Elementor content.
Note: This method is only for people who have moderate-to-high technical expertise.
You’ll need to download the free WP Migrate DB plugin and install it on your WordPress dashboard. Put it on the hosting server you’re moving from and on the new hosting server that you plan to migrate your site to.
With the plugin installed in both places, you can begin the process of manually migrating your WordPress site, along with the Elementor content. Here are the steps:
1. Login to the cPanel of your current hosting server. Select the public_html folder and click the Compress button.
2. Open the WP Migrate DB plugin on your current hosting server and select Export File. Here, you’ll also find the option to search and replace references to the old domain address. When you’re ready, click the Export button to download the compress_html.zip file.
3. Create a MySQL database on the new hosting server, as described in Step 2 of the Duplicator migration steps above.
4. Open the cPanel on your new hosting server and go to Databases → phpMyAdmin. In the Import tab, select the public_html.zip file you downloaded from WP Migrate DB, then click the Go button.
5. At this point, your website’s files and the new database should be on your new hosting server. Go to the root folder of your hosting server and open wp-config.php. Replace the information of your old database with the details of the new one you created, including the IP address, username, and password.
6. Connect an FTP client like FileZilla or CyberDuck to your new hosting server and extract the public-html.zip file in the root folder. This will copy over your website to your new server, along with the pages you’ve created in Elementor.
A Few Final Steps
Using one of the two methods we discussed, you’ve migrated your WordPress website from your old server to your new one, along with the Elementor content.
Now, it’s time for some cleanup:
- Open the WordPress dashboard of your new website. Go to Elementor → Tools → Replace URL and update your site address to the new domain (if you’ve changed domains).
- Go to Elementor → Tools → General and click Regenerate Files, forcing Elementor to refresh its CSS files so that everything loads properly.
With the migration of your WordPress website complete, you’re ready to continue using Elementor on your new hosting server.
If you haven’t tried Elementor yet, to sign up for a free trial and experience it yourself, click here.