Jetpack offers a range of tools that will keep your website secure on all fronts.
If your hosting plan comes with Jetpack Premium, you will have access to a one-click malware removal tool.
Here are the steps to clean a WordPress site using Jetpack Premium
1. Access your WordPress dashboard
- You can use Softaculous to log in automatically if you forget your password.
2. Run a malware scan
- Navigate to the Jetpack menu in your WordPress dashboard and click on settings.
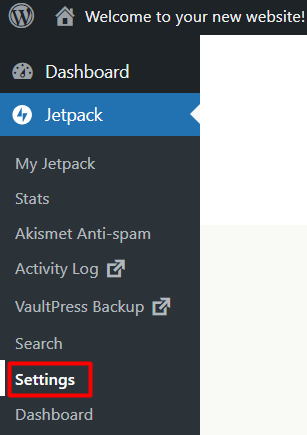
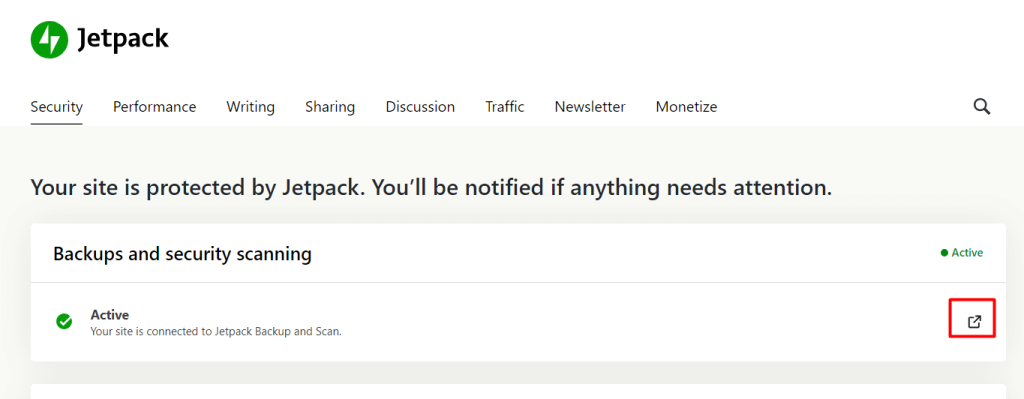
- Click on the Security tab, and you will see the arrow on the right of the Jetpack console.
- On the console, click Scan and then Scan Now under the security tab. After that, you need to wait for the results to appear.
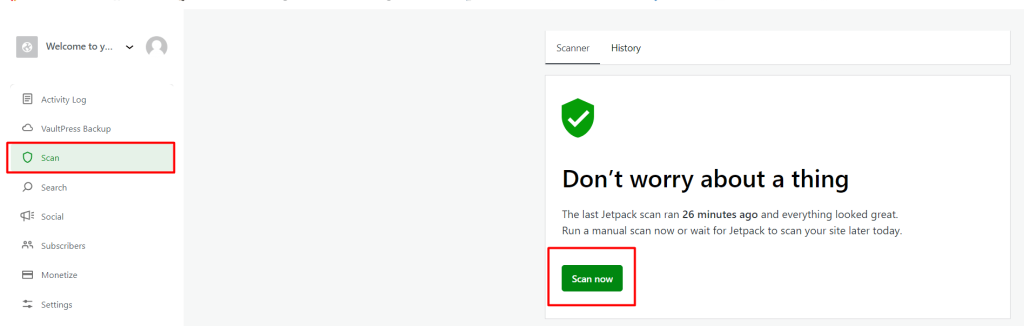
- Jetpack will analyze your website for any malware or vulnerabilities. This process typically takes a few minutes.
3. Clean malware with one click
- If no malware is found, the scan will show a result like Don’t worry about a thing.
- If malware is detected, a list of threats will be displayed under the Malware Threats Found section.
- To remove the malware, simply click the Fix Threat button next to each identified issue.
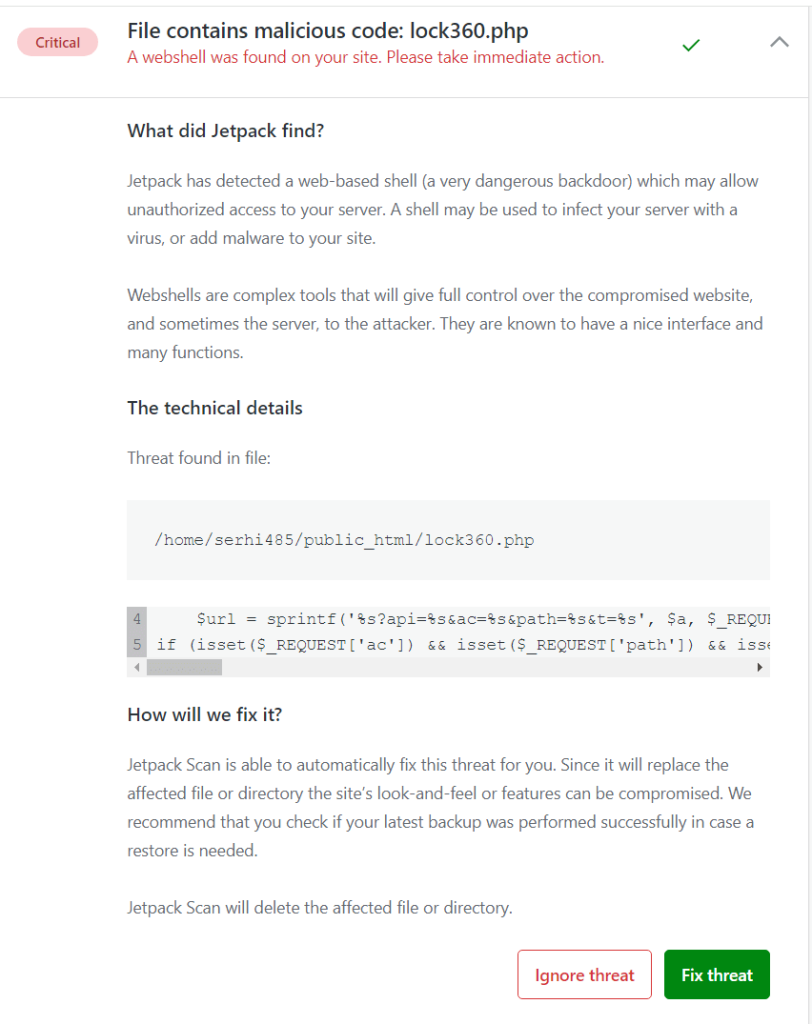
- Jetpack will clean the site automatically, and this process should only take a few minutes.
Final step: Ensure your site stays secure
Cleaning your site may be a unique event. However, you can still use Jetpack’s security features, such as the Web Application Firewall (WAF), to prevent future attacks.
Thank you for following our guide on how to clean malware on a WordPress site using Jetpack Premium.
If you need help with your HostPapa account, please don’t hesitate to open a support ticket from your dashboard.
