You can create a staging website to test any changes or new features before publishing your site.
The staging website can be created either in the subfolder under your domain name folder or the subdomain. The latter is recommended for quick access to the staging website. It allows moving the staging website folder outside the live website folder, i.e., separating the installations.
Subfolder setup:
|
https://your-domain.com/staging-folder-name-here |
Subdomain setup:
|
https://staging.your-domain.com |
You can find how to create the subdomain for the staging website in this KB tutorial.
Follow these steps:
- Log in to your HostPapa Dashboard.
- Click on the My cPanel tab.

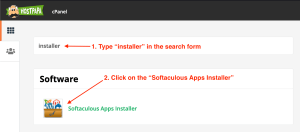
- Use the Search area to find the Softaculous Apps Installer.
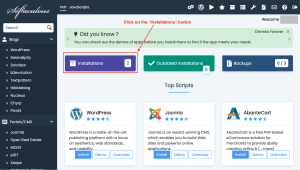
- Click on Installations.
- Find the Current Installations area:

- Find the WordPress installation you want to create the staging copy of.
- Under the Options column, click on the Create Staging Copy icon
 .
.
Option A. – Staging installation into the folder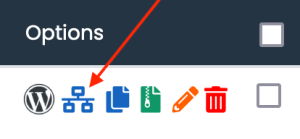
Option B. – Staging installation under the subdomain.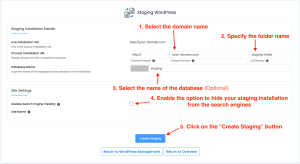
Once done, you will see the staging installation progress bar and the message about the result of the staging copy creation/installation afterward: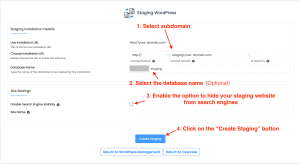

- You’re done!
If you need help with your HostPapa account, please open a support ticket from your dashboard.
