This article will show how to point your HostPapa domain to your Managed WordPress service. Just follow these steps:
- Log in to your HostPapa Dashboard.
- Click on My Domains.

- Click the domain you want to update.

- Click the Nameservers tab.
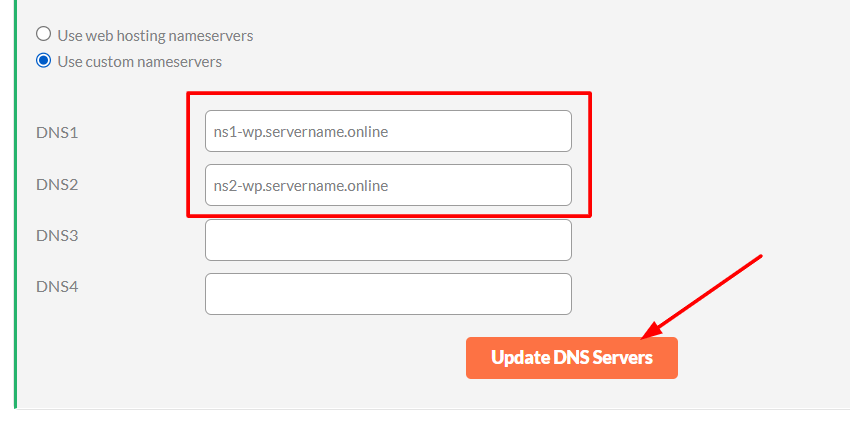
- Select the Use custom nameservers option.

- Enter the following nameservers:
ns1-wp.servername.online
ns2-wp.servername.online
- Click the Update DNS Servers button.
Note: After the new nameservers are set, it may take up to a few hours for DNS propagation before your domain starts fully pointing to the new Managed WordPress server.
If you need help with your HostPapa account, please open a support ticket from your dashboard.
