Adding a password to your website using a Managed WordPress service can enhance security and control access to your site. HostPapa’s Managed WordPress customers can easily add a password by following these steps:
1. Log in to your HostPapa Dashboard.
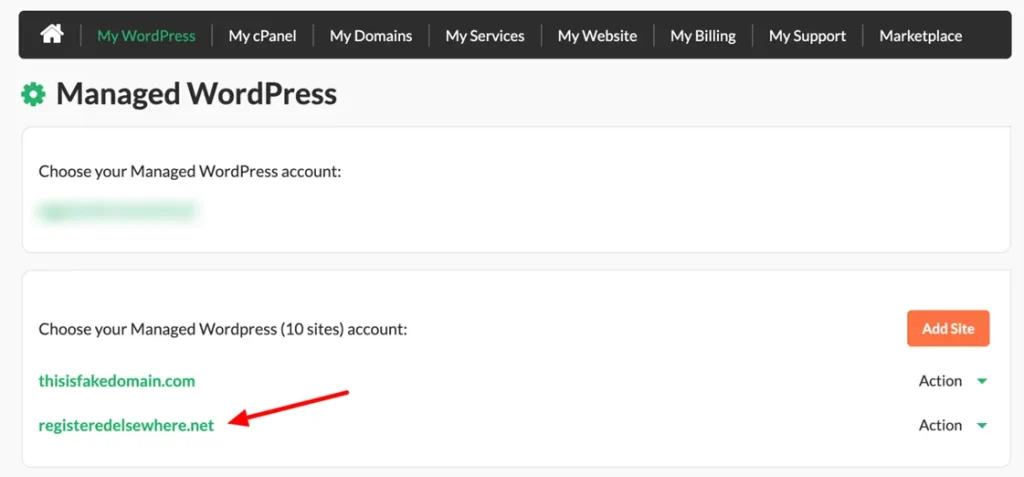
2. Click on My WordPress.

3. Select the name of the website you would like to manage.
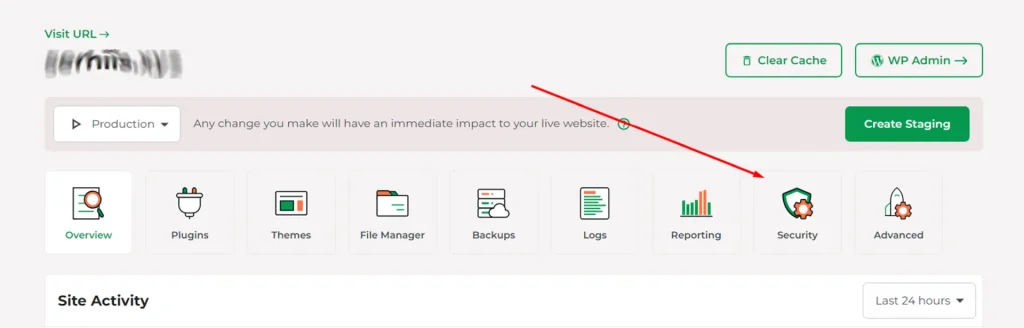
4. Your Managed WordPress Dashboard will open. Click the Security tab.
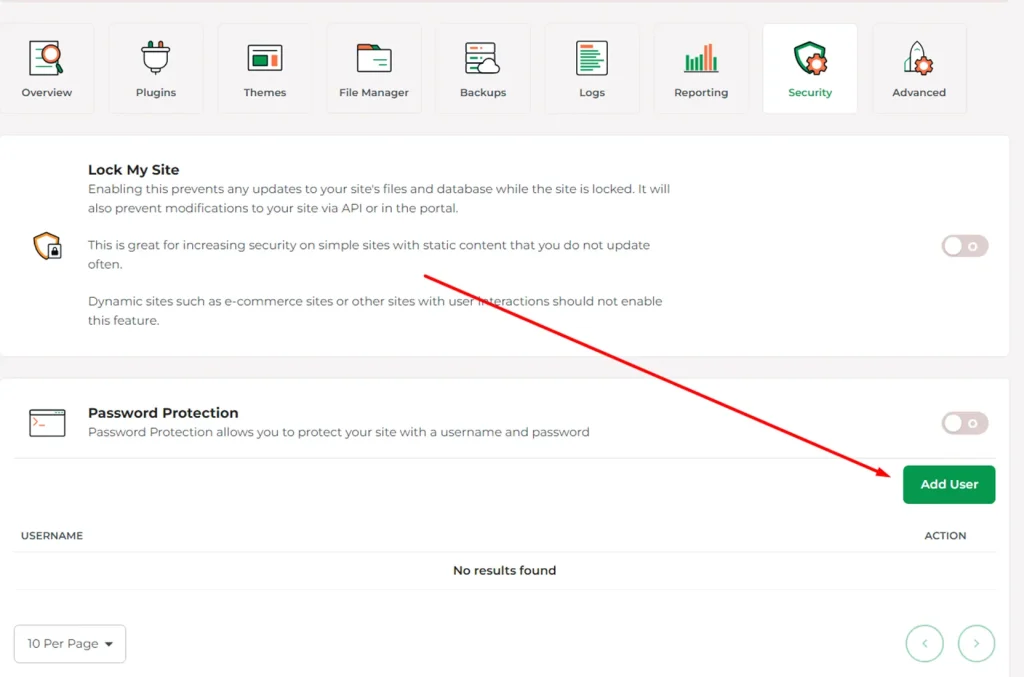
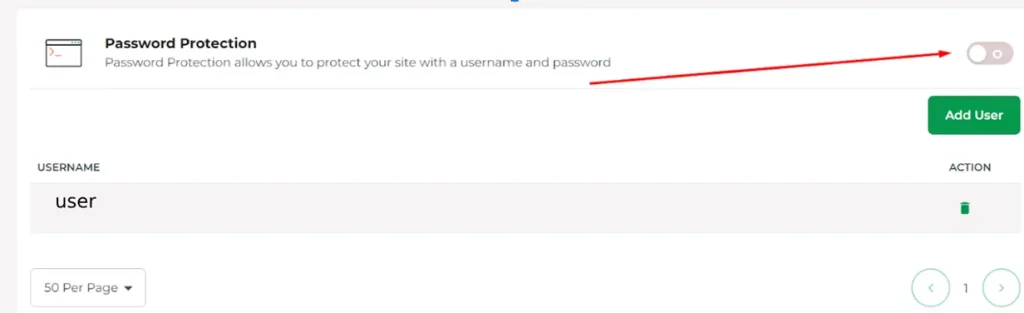
- Scroll down to password protection and click Add User.
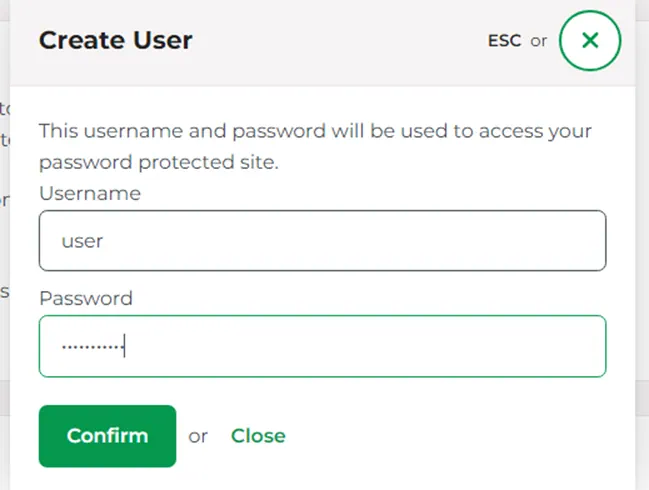
- Add the user and click Confirm.
- After that, enable the password protection on the right.
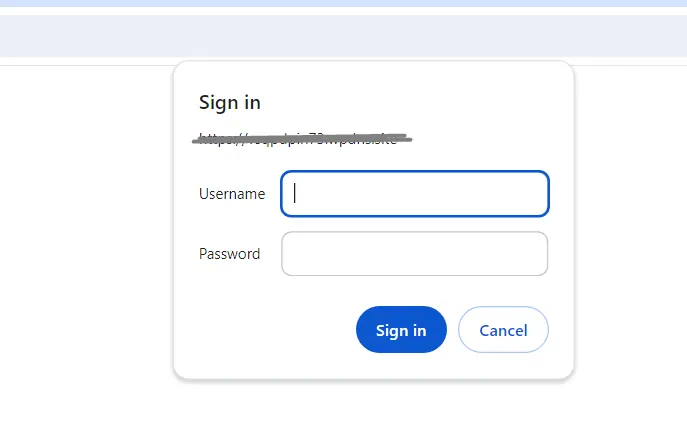
You will be asked to enter a password whenever you use the site.
That’s it! Now, you have successfully added a password to your Managed WordPress site.
If you need help with your HostPapa account, please open a support ticket from your dashboard.
