WP Fastest Cache is one of a number of plugins for WordPress designed to accelerate the performance of your website. It aims to optimize page load times by creating and storing a static copy of your posts and pages, reducing the number of database queries required to render your site and associated server load.
When optimizing your site, you should remember that the benefits of caching can vary depending on the theme you are using and the number of plugins you have installed. However, most sites should see some benefit from caching.
Follow this guide to learn how to install and configure WP Fastest Cache on your WordPress website.
Benchmark your site’s current performance
Before you begin, ensure you have deactivated and deleted any other caching plugins in use on your site. Then, check the performance of your WordPress installation using Google Page Speed, GTMetrix or Pingdom Tools. This will give you a before and after comparison of load times.
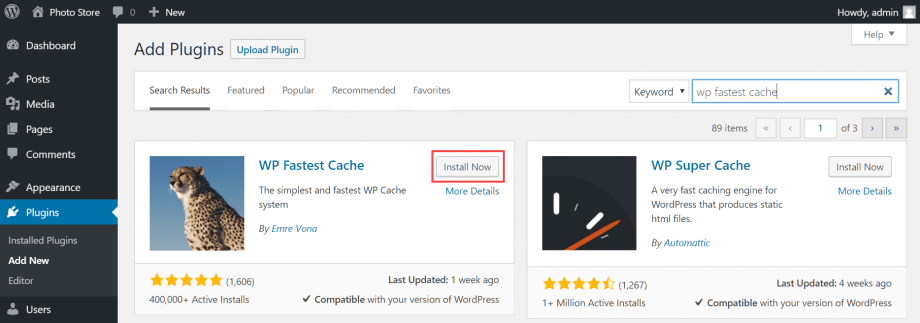
Sign in to your WordPress administration menu and, from the sidebar, select Plugins > Add New. Search for WP Fastest Cache and install it, then activate the plugin. To learn more about installing WordPress plugins, read this HostPapa knowledge base article: How to install plugins in WordPress.
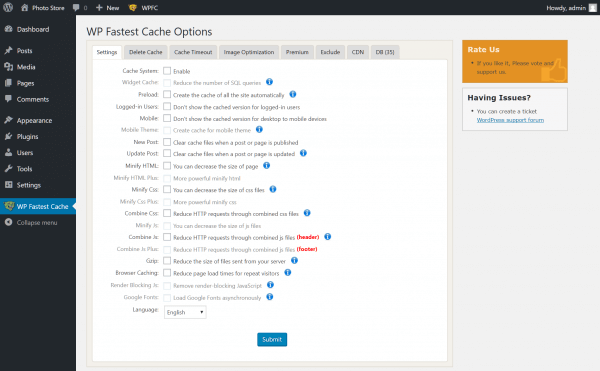
Once the plugin is activated, click WP Fastest Cache, which should have now appeared in your sidebar. The plugin’s options are bundled together on a single page, segmented into eight tabs. We’ll start with the first tab, Settings.
Configure WP Fastest Cache
Plugins such as WP Fastest Cache support a variety of techniques for optimizing page load times. However, not every feature is suitable for every site. Variations in theme or plugin coding as well as server environment mean that it’s almost impossible to recommend a single set of parameters that work for all sites. Therefore, experimentation is required.
Take a backup of your website, then work through the plugin’s settings to try out various features. At each point, re-test your page speeds to understand any performance gains and look out for any areas of the website that aren’t functioning correctly. Pay special attention to interactive elements such as sliders, contact forms, banner ads and widgets.
Get started by checking the Enable box next to Cache System. The Preload option allows you to create a cache of all posts, pages, categories as well as your homepage periodically. Configure the items that should be cached and the number of pages cached per minute on the pop-up panel that appears.
Logged-in users allows you to disable presentation of the cached version of your posts and pages to known users – such as administrators. This ensures that you will always see the most up to date version of your content, making it easier to spot occasions when your cache may need to be cleared and regenerated.
Mobile disables presentation of cached files for users on mobile devices, while New Post and Update Post ensure your cache is cleared and regenerated when a post or page is published or updated.
Take care when enabling Minification and Combine settings for Javascript (JS), HTML and CSS files. Page load times can be impacted by the need to load multiple Javascript and CSS files. Each time you install a new plugin, you may well increase the number of these files that need to be loaded, or acquired from third-party sources. Depending on how your theme has been coded, your page may not be displayed until these files have been loaded.
The Minify and Combine features attempt to optimize page speeds by merging individual Javascript, HTML and CSS files into a smaller number of files, while removing unnecessary data to reduce the overall footprint. Minify is an advanced feature that doesn’t always work well by default, without expert analysis and tweaking. If you enable these features, be sure to check your site for broken interactive elements.
The Gzip feature uses compression to reduce the size of the files transferred from your server, while Browser Caching takes advantage of users’ web browser cache to further reduce server load. You’ll probably know that your web browser saves and re-uses images, CSS, Javascript and other static files in a temporary folder when you visit websites. While the browser needs to download these files the first time you visit a site, loading the page on subsequent visits will be quicker as the browser can use files from its local cache, rather than downloading them from your server.
With each feature that you enable, click Submit to save your settings, then check your website for any performance gains.
Delete Cache
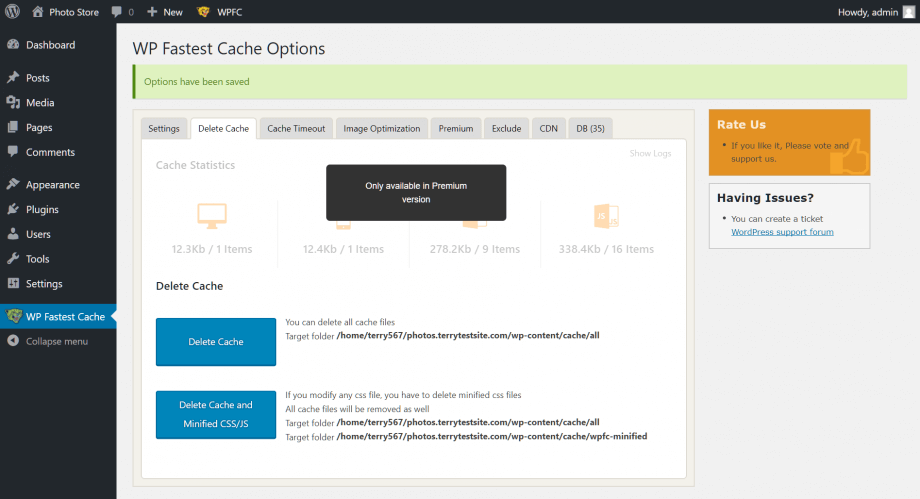
Manual deletion of your cache is a premium feature, only available by purchasing the commercial edition of the plugin. Once enabled, it allows you to refresh the cache as well as Minified CSS/JS files.
Cache Timeout
The Cache Timeout tab allows you to create and implement rules governing when your cache should expire and be regenerated.
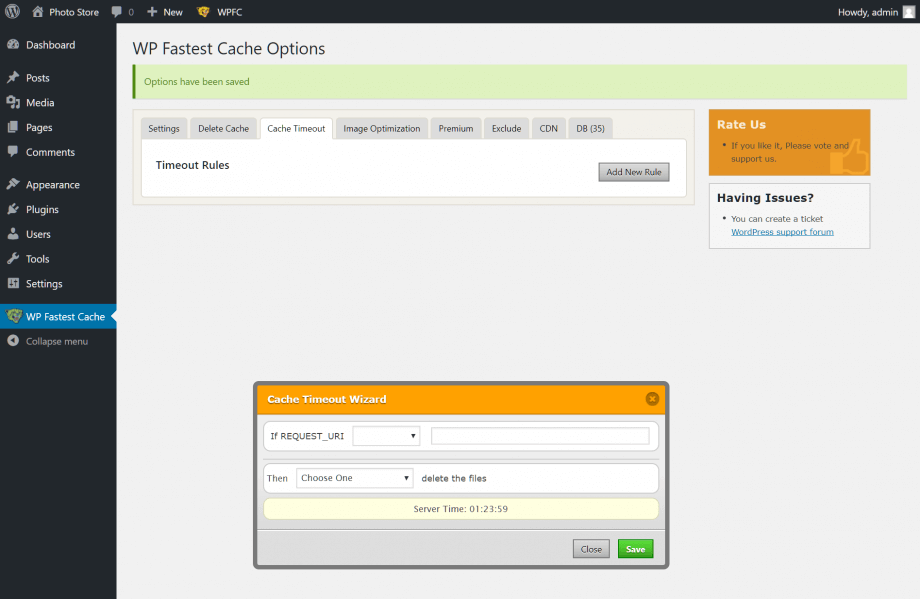 Preset options allow you to select time periods from once every minute to once a year – a daily refresh is recommended for most websites.
Image Optimization
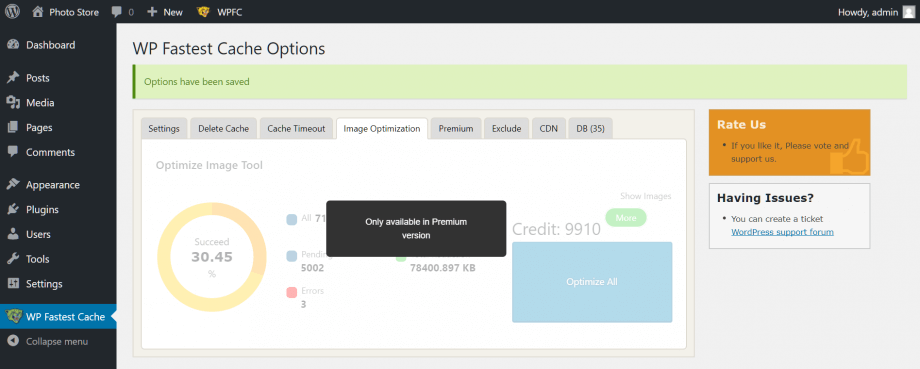
Image Optimization is another premium feature that can compress images, reducing impact on storage space and page load times. Similar benefits can be enjoyed using standalone plugins for WordPress such as Smush Image Compression and Optimization, but you may prefer an integrated solution.
Exclude
If you experience issues with a particular post or page on your site when cached, use the Exclude tab to create exclusion rules that may offer a workaround. You can also exclude specific User Agents from seeing cached pages as well as Cookies, JS and CSS files.
CDN
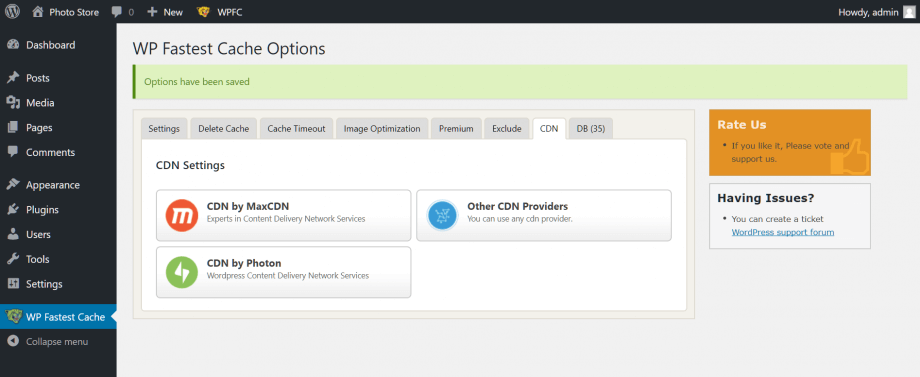
The CDN tab is used to configure the cache to work with a Content Delivery Network. The priority of a CDN is to reduce latency, or in other words, the amount of time it takes to load a website. Typically, latency is caused by two factors: routers and distance. A CDN helps with the physical distance latency by creating a distributed network set up across many data centers around the world.
Here you’ll find pre-sets for MaxCDN and CDN by Photon or you can configure settings manually for other CDN providers.
The final tab, Database, is another Premium feature that supports optimization of your WordPress database. In this tab, options include full deletion of Trashed Content, Trackbacks and Pingbacks, old Post Revisions, Trashed and Spam Comments and Transient Options, all of which serve to clutter your WordPress database.
For further questions, or if you need help, please open a support ticket from your HostPapa Dashboard. Follow this link to learn how.
