With millions of active installations worldwide, the WordPress platform is an attractive target for hackers. Sucuri Security is a free plugin designed to protect your WordPress installation from malware, known exploits and intrusion attempts.
This article will explain everything you need to know about the Sucuri Security plugin and how to install it in WordPress. However, if you own one of HostPapa’s Managed WordPress plans, your website is already being monitored by our experts and protected with enterprise‑grade security.
What is the Sucuri Security plugin for WordPress
The standard edition of the plugin supports features such as security activity auditing, file integrity monitoring, remote malware scanning, blacklist monitoring, and recovery support in case your website is compromised. The premium edition adds a comprehensive website firewall.
A core integrity check scans your installed WordPress files and folders for suspicious additions or file changes. These core checks comprise two elements – an HTTP request that communicates with an official WordPress API service and the implementation of a checksum reader. The plugin analyses the checksum to detect if a file has been added, modified, or deleted.
Meanwhile, an event monitor logs a variety of security-relevant actions triggered by WordPress. These include events such as a user authenticating, or failing to authenticate, a file uploaded, a post or page published and so on. You can choose to be notified by email whenever one of these events occurs, allowing you to investigate further.
Malware scanning searches for malicious code embedded on the pages of your site. It can detect and report known malware, blacklist status, website errors and out-of-date software, reducing the risk of intrusion and data loss.
How to install and set up the Sucuri Security plugin
Follow these steps to install and set up Sucuri Security to protect your WordPress installation.
Follow these steps to install and set up Sucuri Security to protect your WordPress installation.
1. Log into your WordPress Dashboard.
2. Click Plugins from the left menu and select Add New.

3. Search for Sucuri Security and install it.

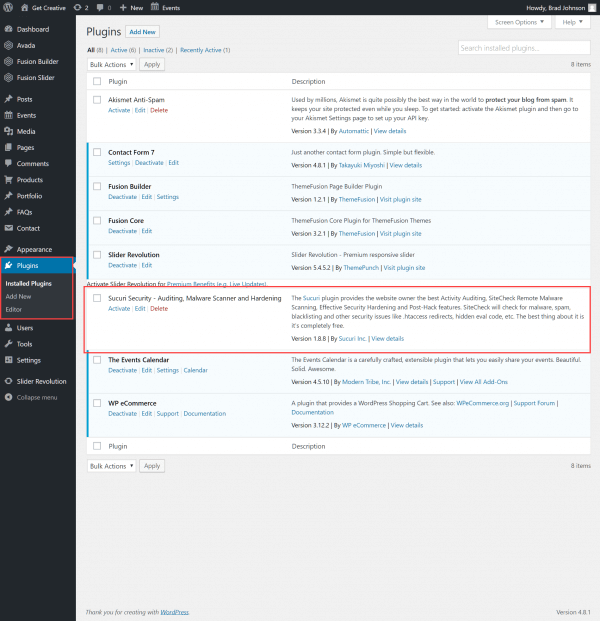
4. Go back to Plugins and click Activate under Sucuri. To learn more about installing WordPress plugins, read this HostPapa knowledge base article: How to install plugins in WordPress.

5. Once activated, you’ll notice a new Sucuri Security entry in your admin sidebar. Select Dashboard.
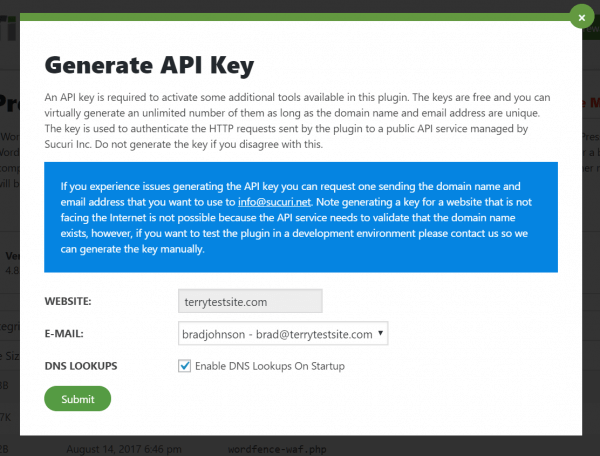
6. Click the button Generate API Key to activate Sucuri’s event monitoring feature. This provides a unique key with which to authenticate your website against the remote Sucuri WordPress API service.
Be sure to read the notes regarding API support before clicking the Submit button.
Once Sucuri Security is active, you should start to receive email notifications of major events. These include a user authenticating, or failing to authenticate, when a file is uploaded, a post or page published and so on.
The Sucuri Security dashboard
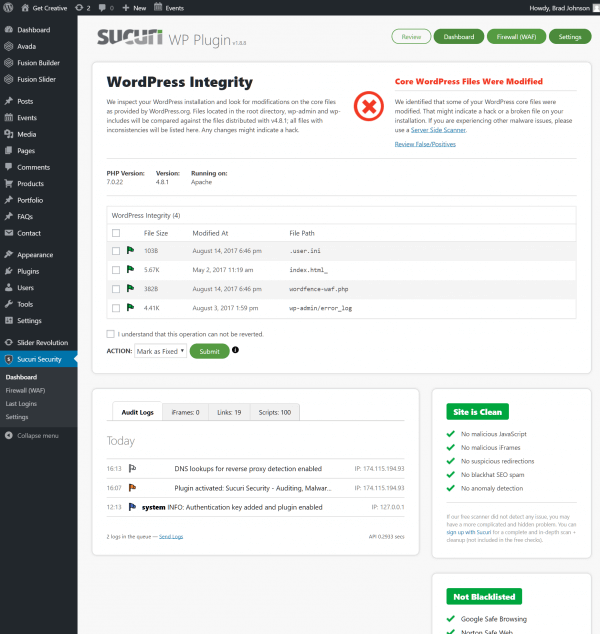
The Sucuri Security dashboard provides a comprehensive report of your WordPress integrity. You’ll be notified if your core WordPress files have been modified (potentially, but not always signalling a security issue). You can review modified files, check blacklisting reports and review audit logs. To refresh the information on screen, click the Review button.
Firewall
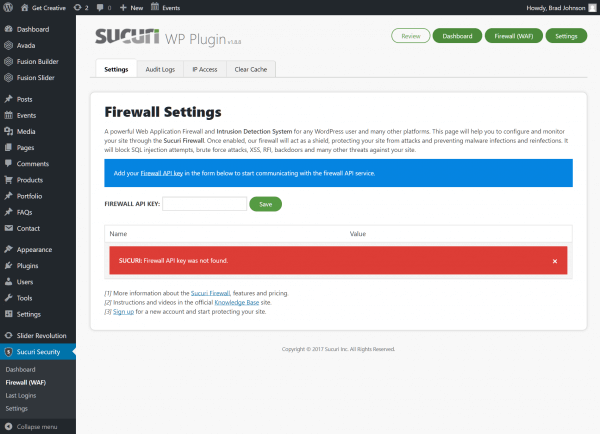
A premium edition of the plugin supports a powerful web application firewall (WAF) that protects your site from attacks and preventing malware infections and reinfections. It will block SQL injection attempts, brute force attacks, XSS, RFI, backdoors and many other threats.
Select Sucuri Security >> Firewall (WAF) and enter your Firewall API key to unlock the feature for configuration.
Review security logs and blocked users
Sucuri Security supports automated blocking of users based on their activity. For example, if a user (or a bot) repeatedly attempted to log in to your WordPress administration dashboard using randomly generated usernames (or your site name), the plugin could detect this suspicious activity and block the IP address.
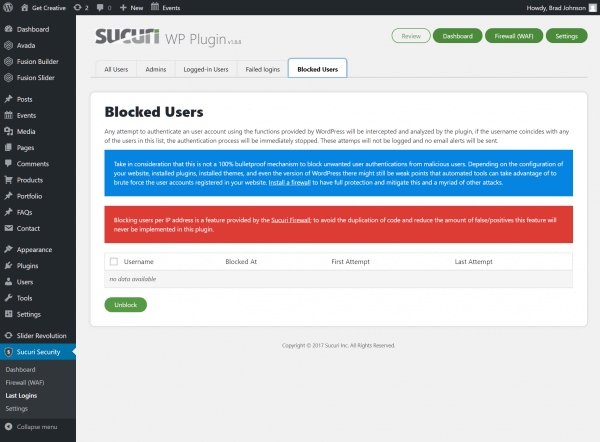
You can review login attempts and blocked users via Sucuri Security > Last Logins. If you find that the plugin has incorrectly blocked a user, head to the Blocked Users tab to review and unblock user access. You can also review Failed logins, currently Logged-in users and more.
Feel free to visit the plugin Settings page to configure Sucuri Security, including alerts, security hardening options, file system scanner paths and other features.
Alternate installation via file manager & FTP clients
While installing the plugin via the WordPress administration dashboard is the simplest method of activating Sucuri Security, you may prefer to do so through the cPanel File Manager.
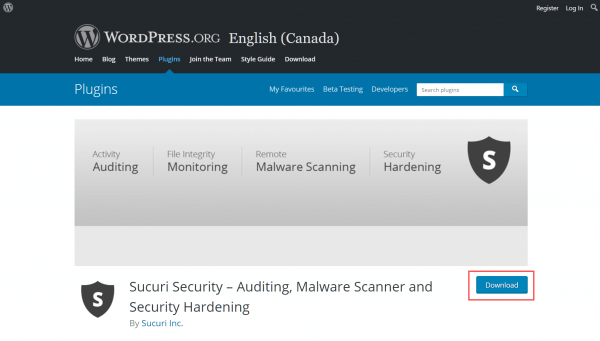
First, download the Sucuri Security installation file from the WordPress Plugin repository.
2. Log in to your HostPapa Dashboard and choose My WordPress.

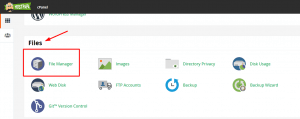
3. Scroll down to Files and select File Manager.
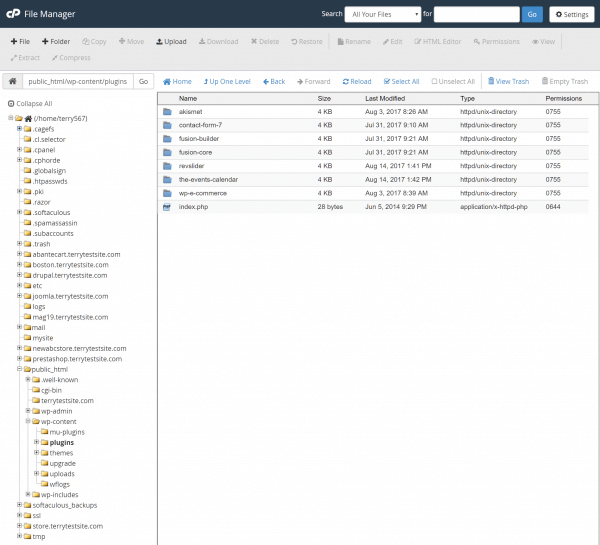
4. Navigate to your WordPress plugins folder using the folder tree in the left sidebar. Head to: /path/to/wordpress/app/plugins
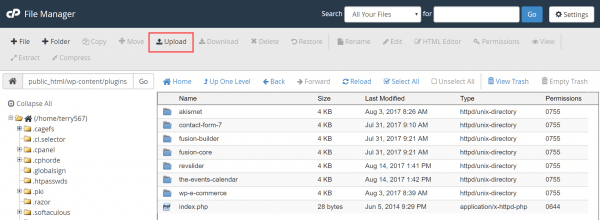
5. Click Upload in the top menu and then click Select File to find your downloaded Sucuri Security zip file.
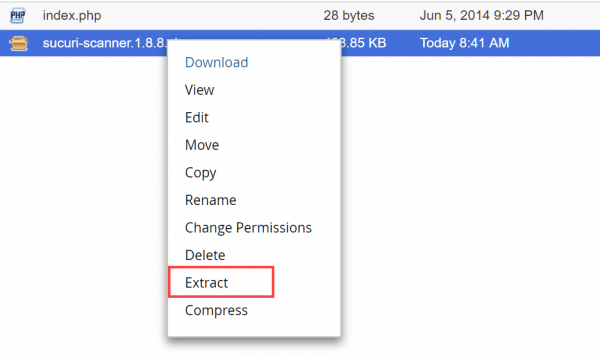
6. Upload the file to your server. Once completed, return to the plugins folder and then right-click the uploaded file. Click Extract in the context menu that appears, to unpack the file.
7. Once extracted, you can safely delete the Sucuri Security zip file.
8. Return to your WordPress administration panel and navigate to the Plugins section via the sidebar. Select Installed Plugins.
You’ll see Sucuri Security – Auditing, Malware Scanner and Hardening in the list of installed plugins, click Activate to proceed.
You can also install the plugin using the downloaded zip file and an FTP client, rather than using the cPanel File Manager. Be sure to upload the file to your WordPress plugins folder and extract the archive before attempting to activate in the WordPress administration panel.
For further questions, or if you need help, please open a support ticket from your HostPapa Dashboard. Follow this link to learn how.


