WordPress includes a comprehensive suite of post and page editing features that make it easy to position your images with accuracy.
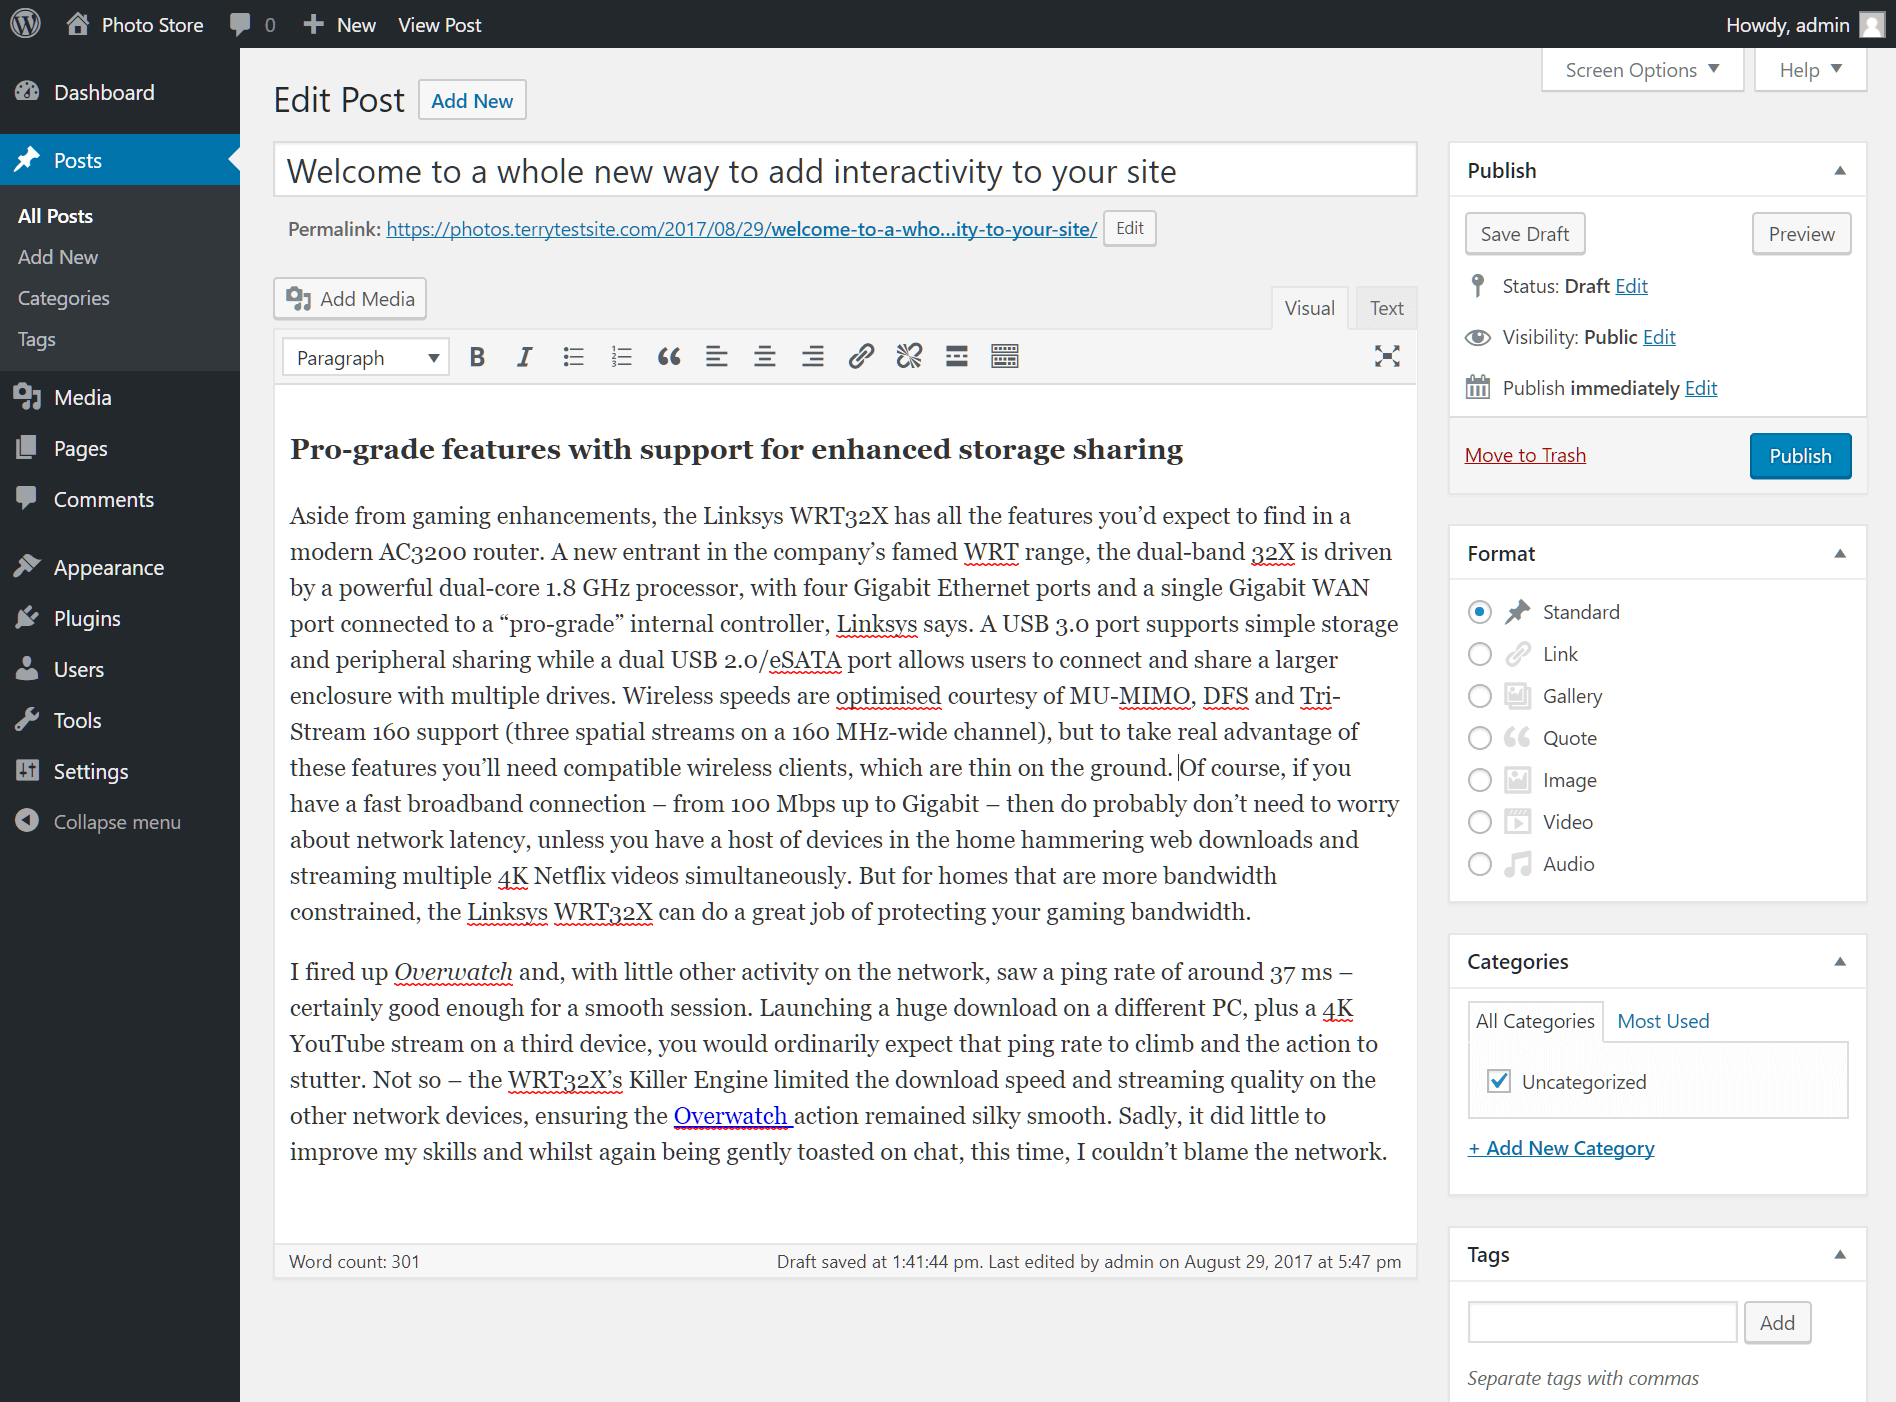
Log in to the WordPress administration dashboard and create your post or page. Place the cursor in the location you would like to insert your image and click the Add Media button.
Learn more about uploading images to WordPress in this HostPapa knowledge base article: How to add images in WordPress.
Upload the image you wish to add to your post or page (if you haven’t already) and then click the Alignment dropdown menu in Attachment Display Settings.
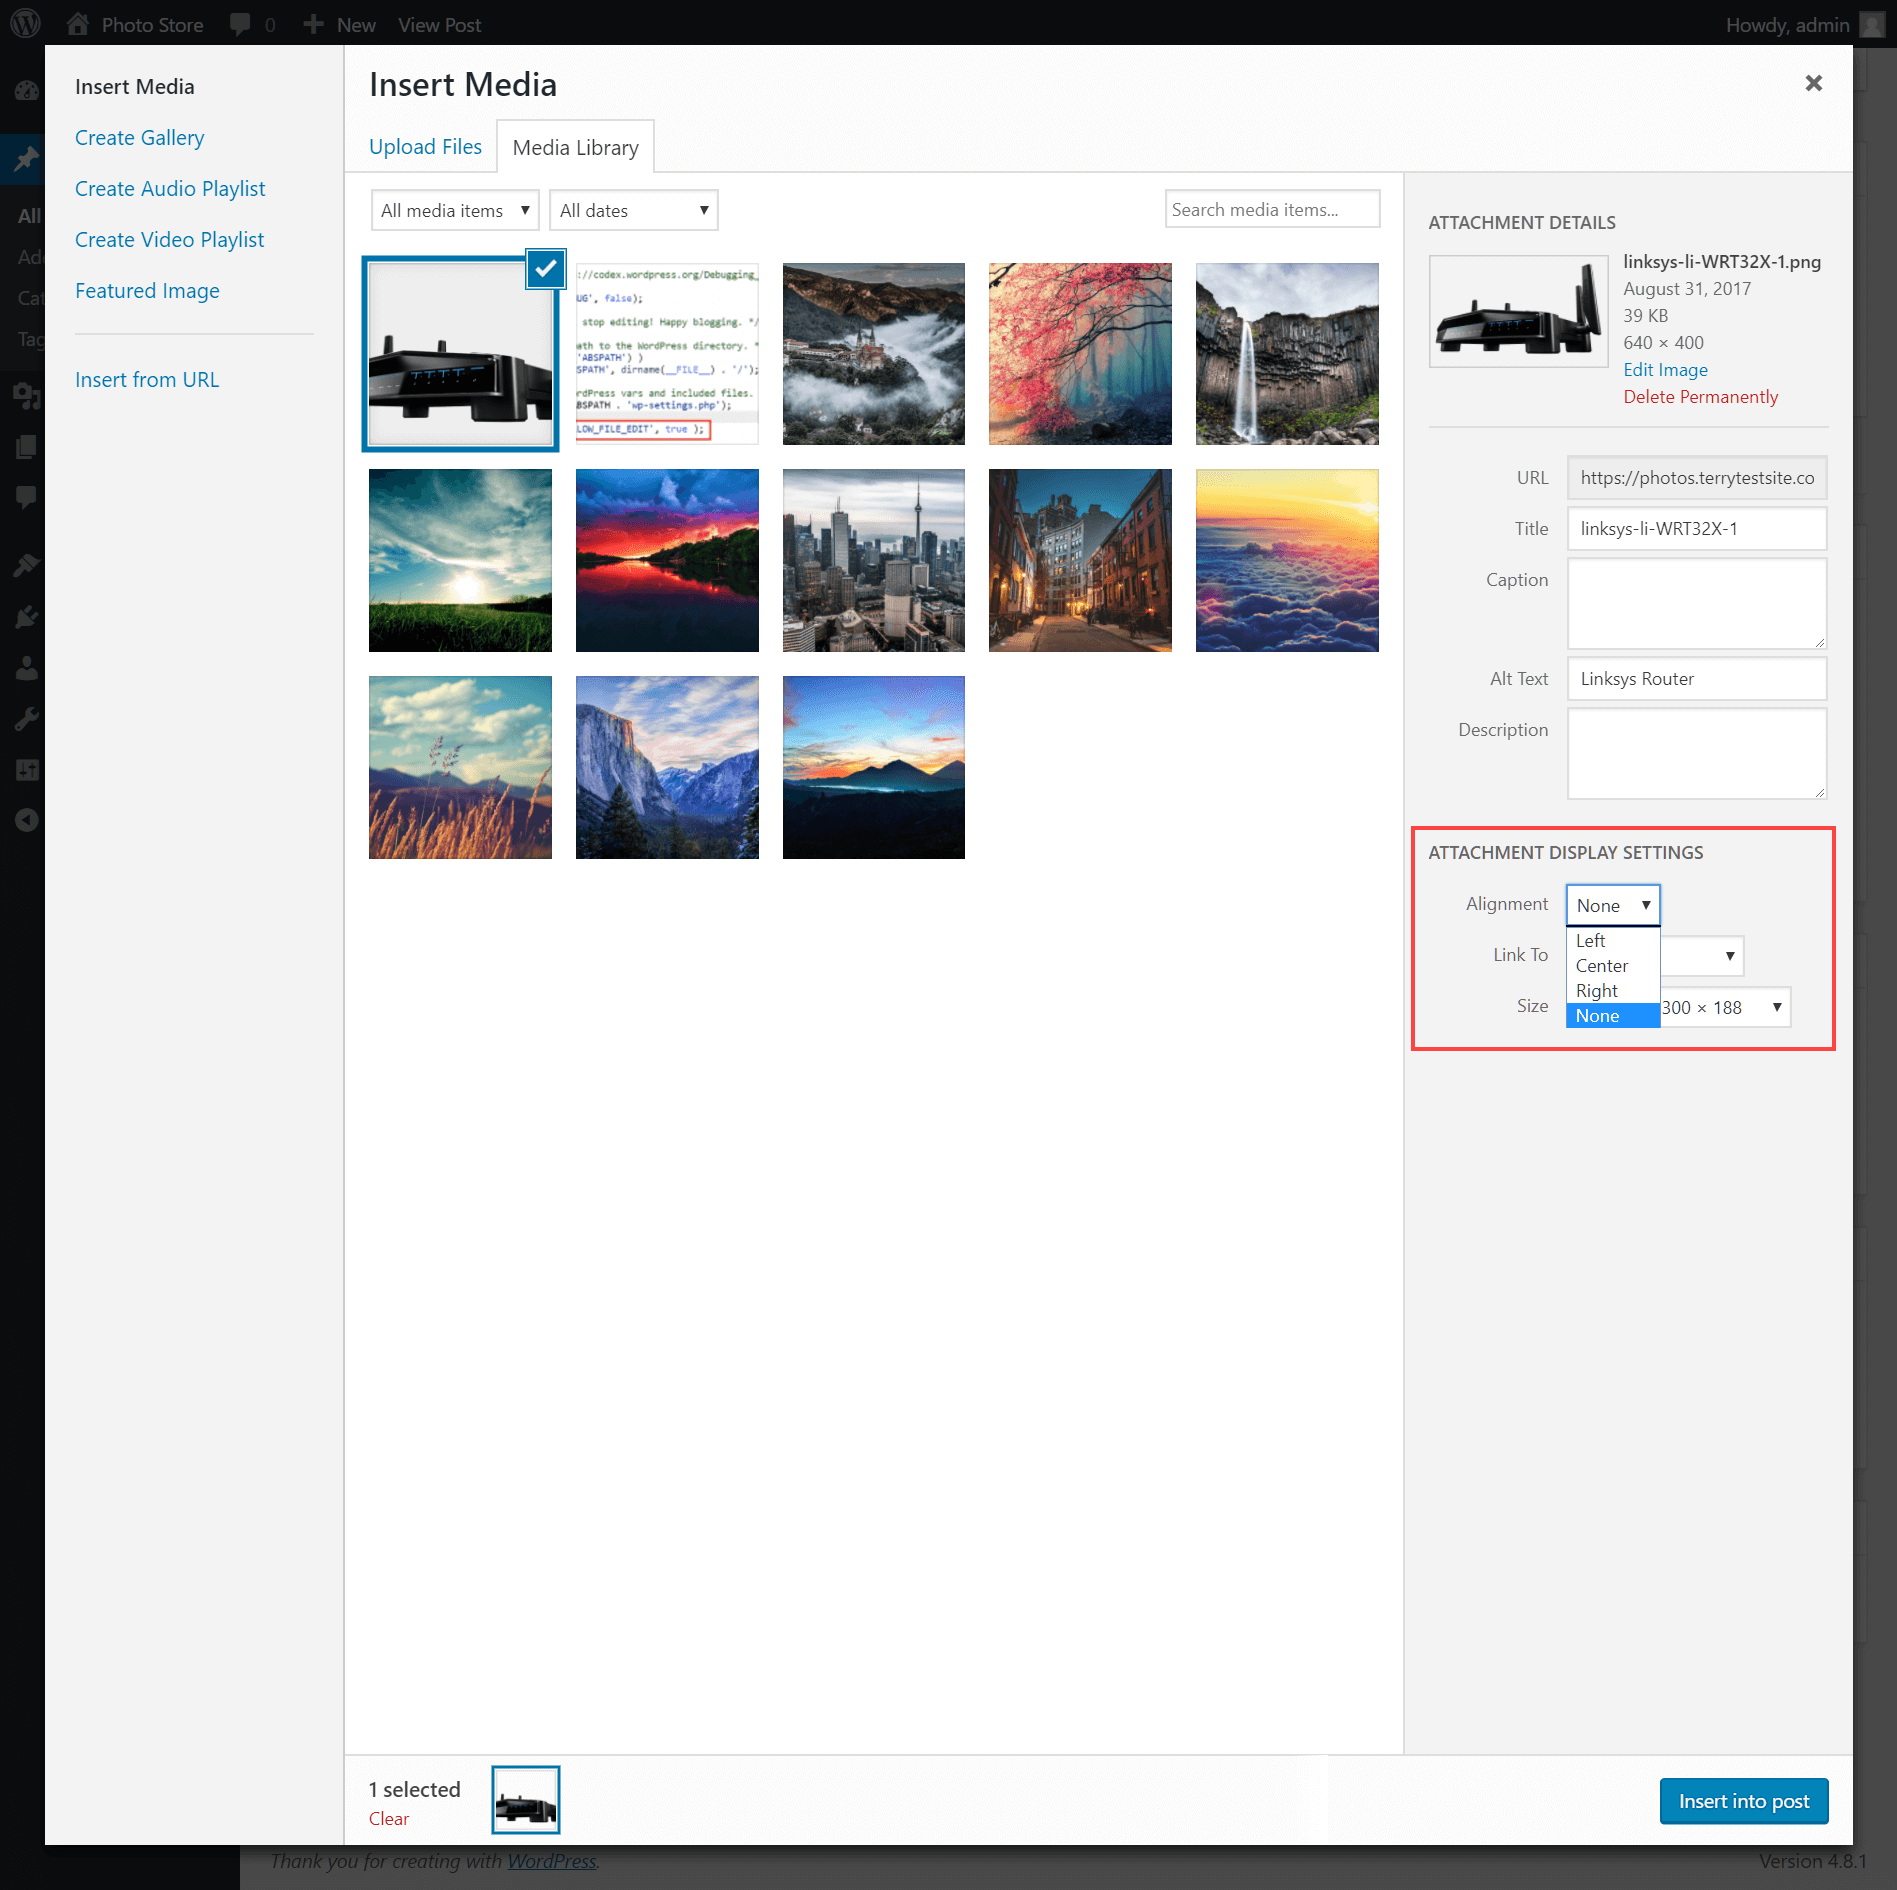
You’ll see four image alignment options available:
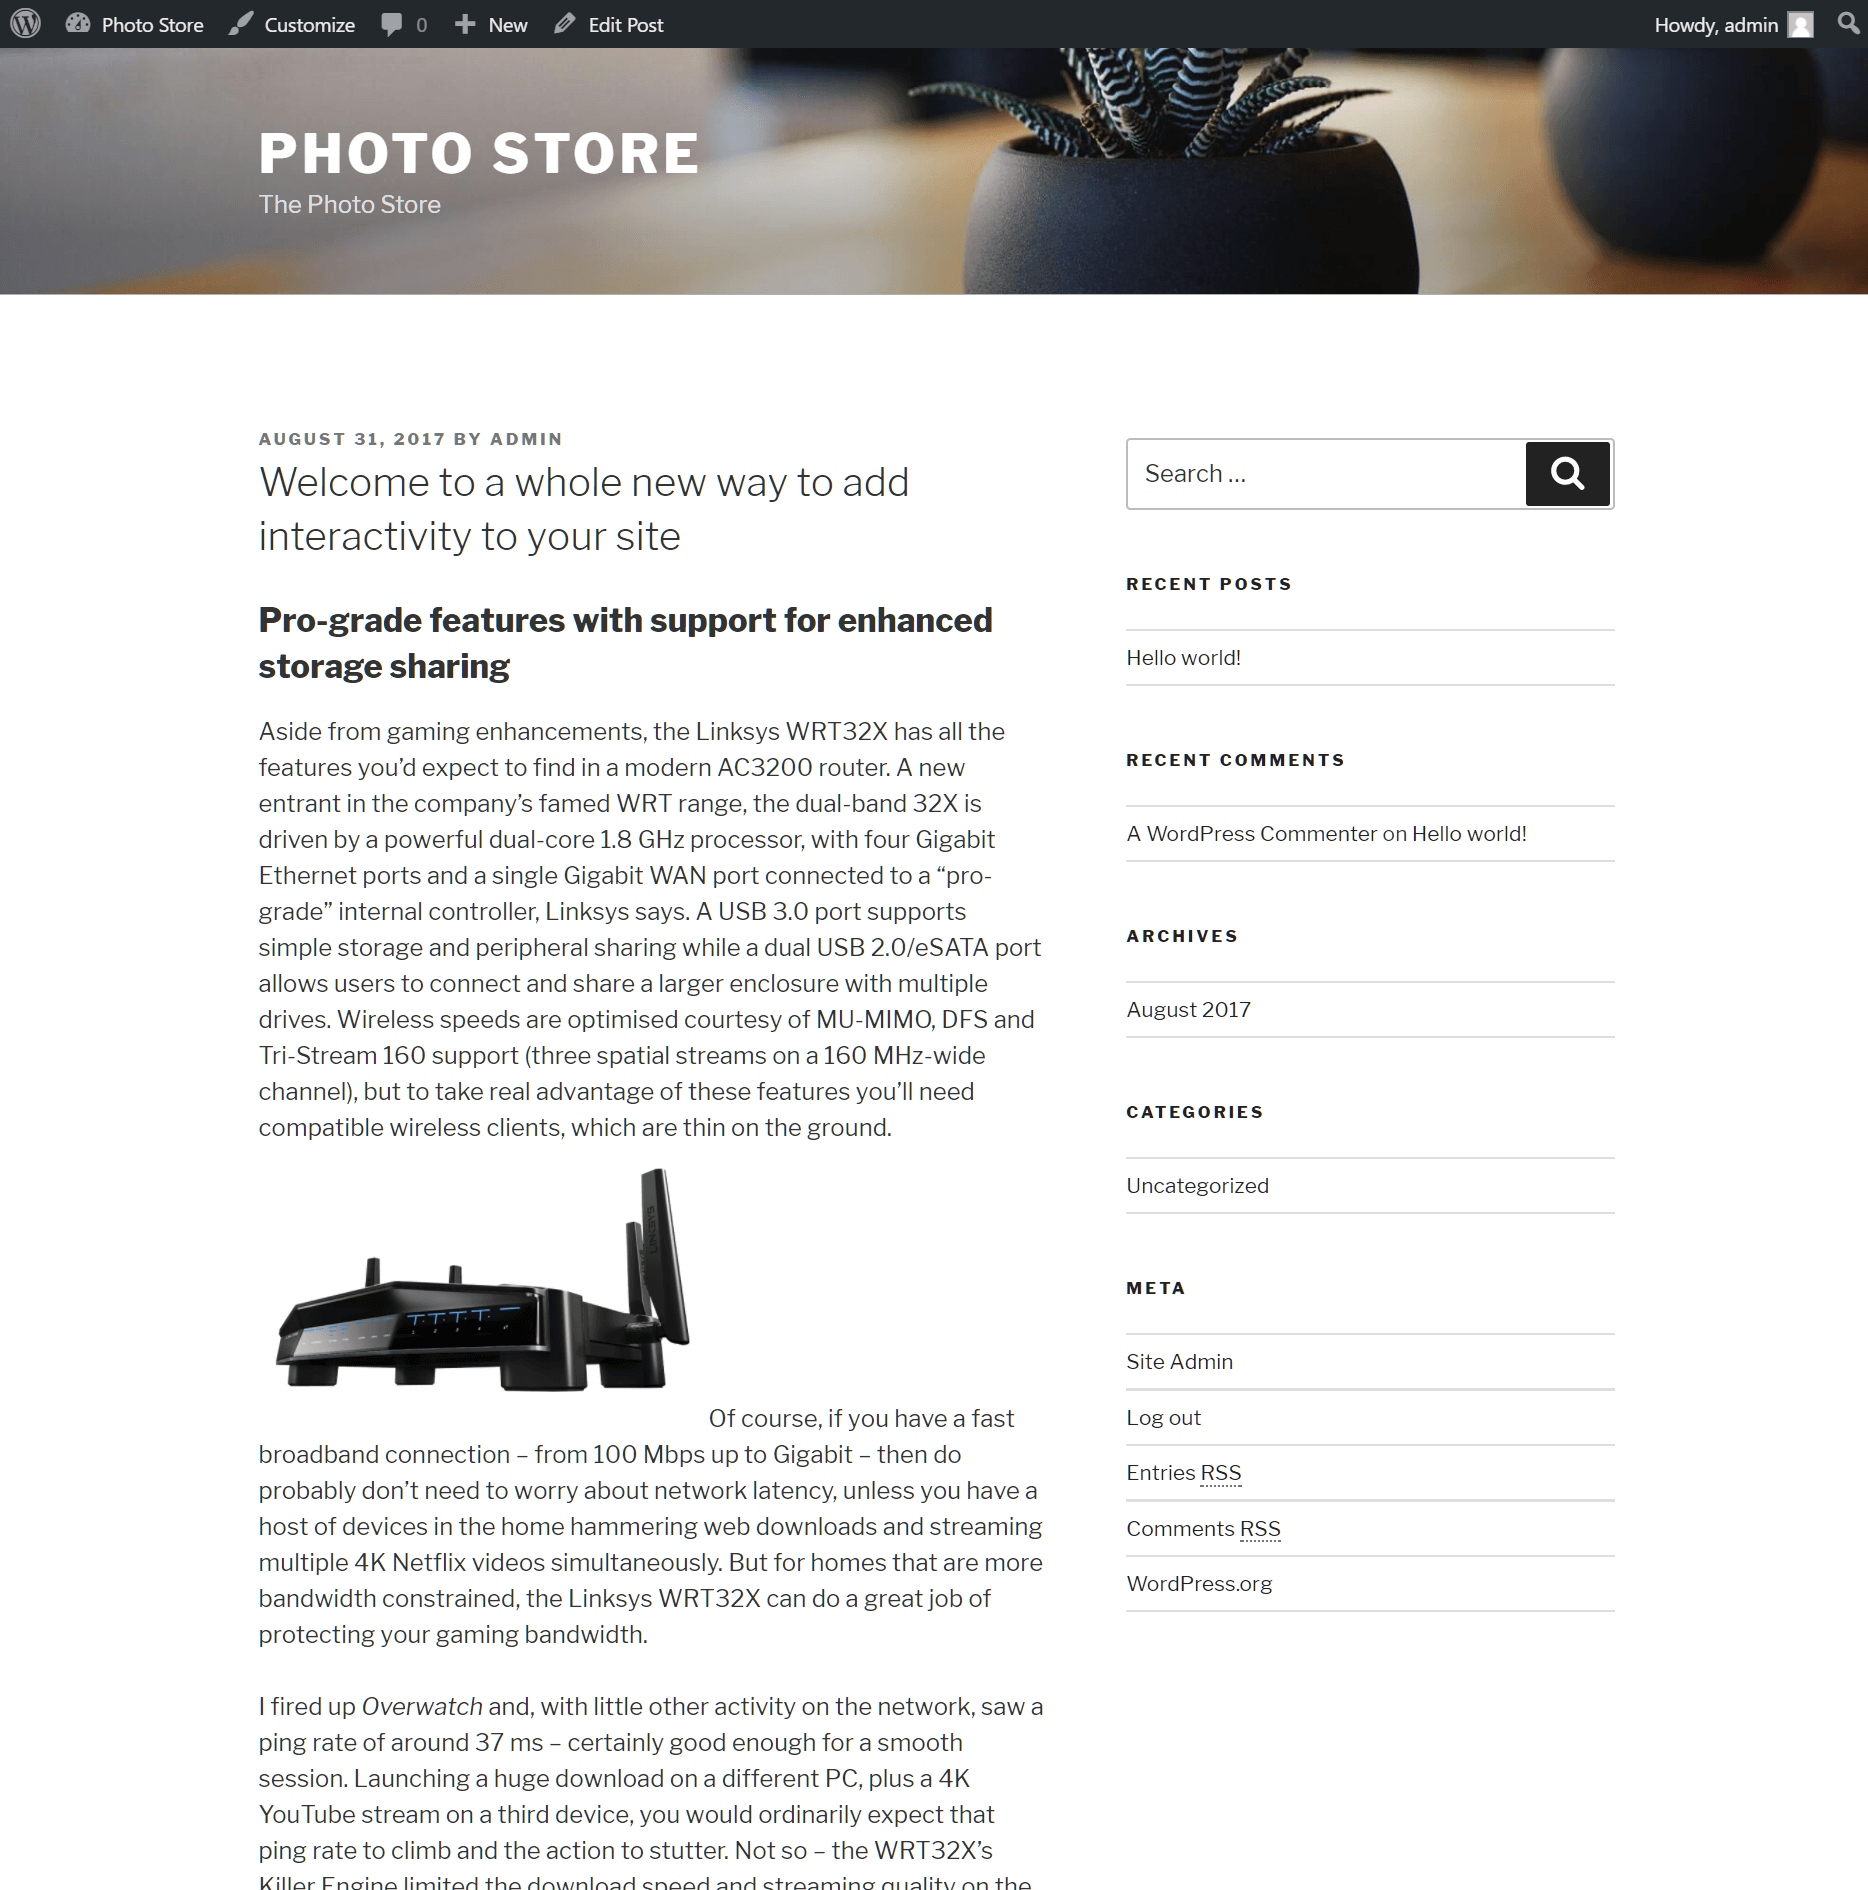
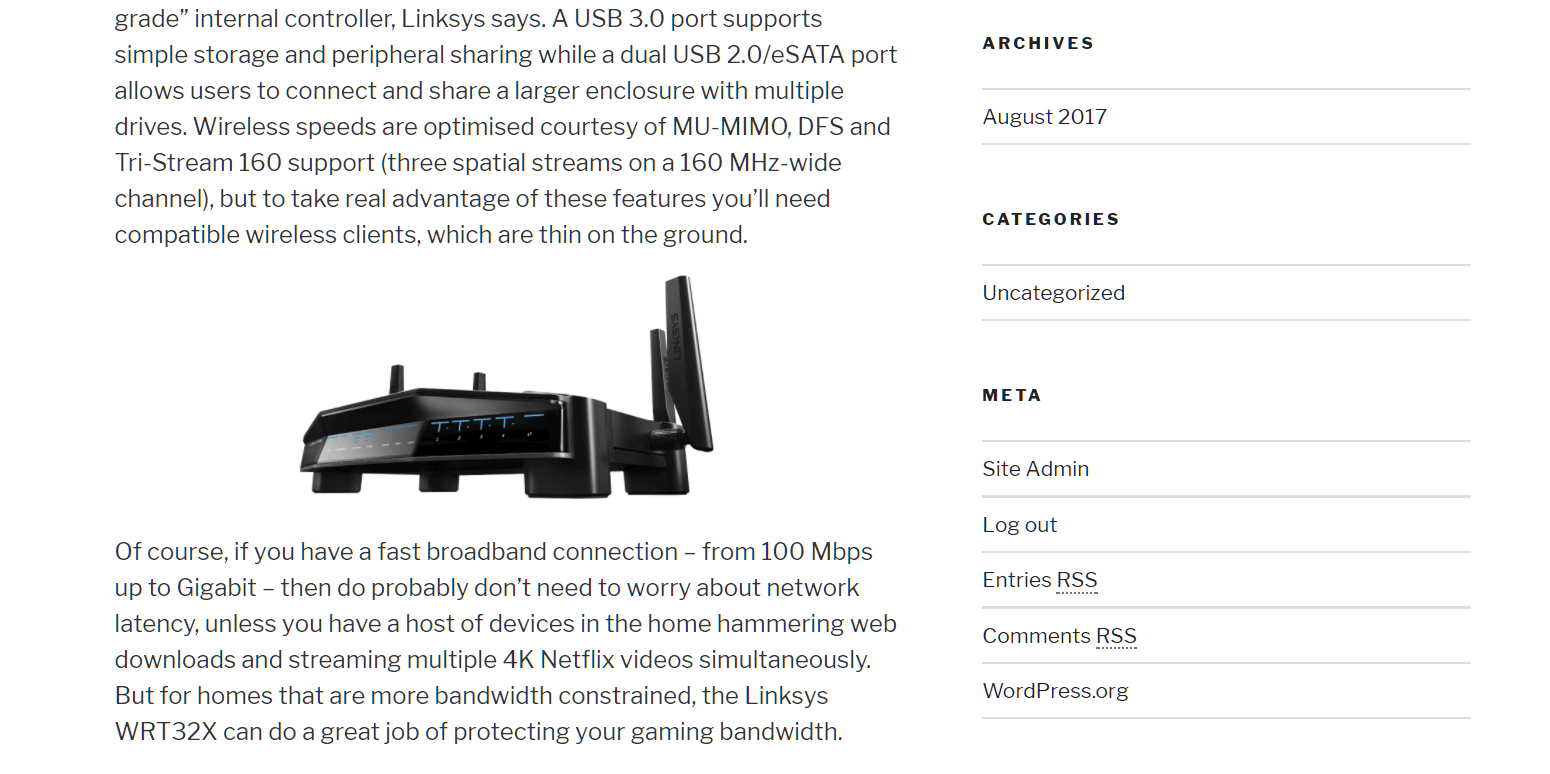
- None – inserts the image without alignment or text wrapping.
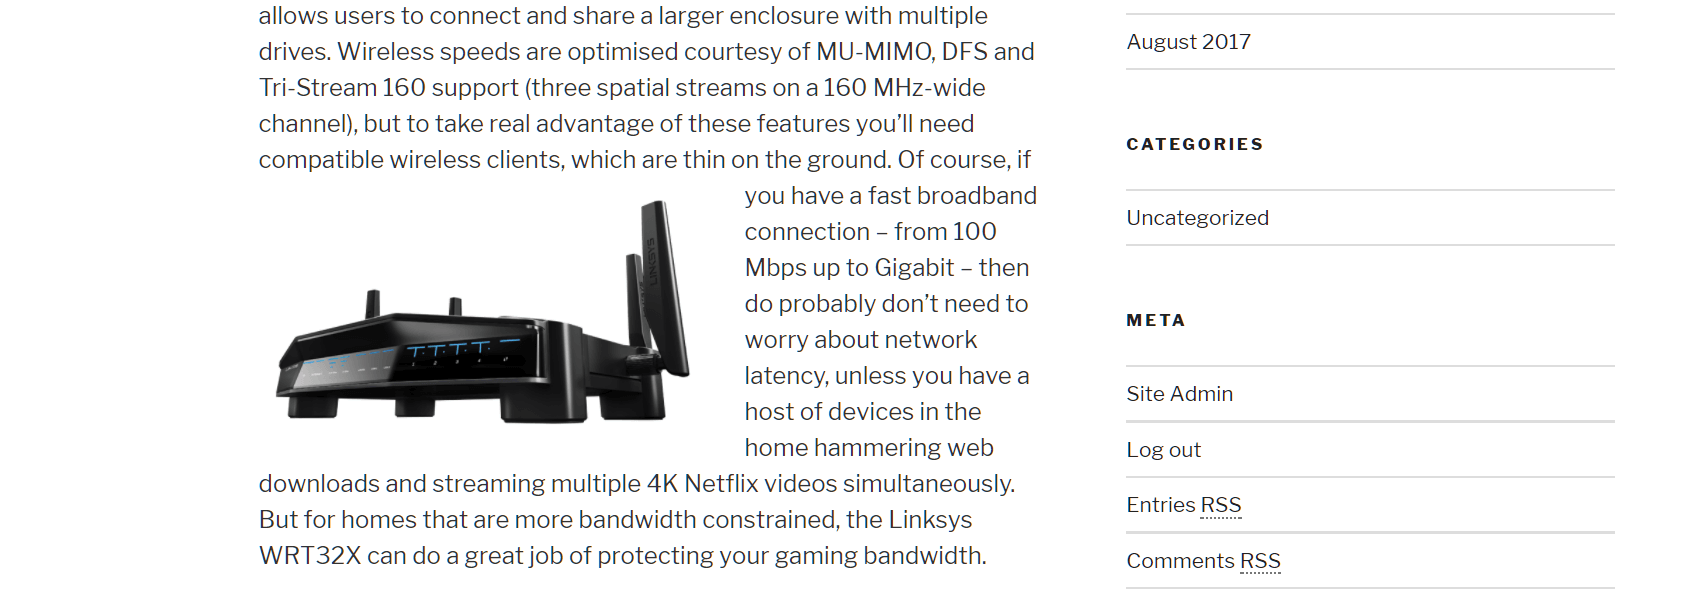
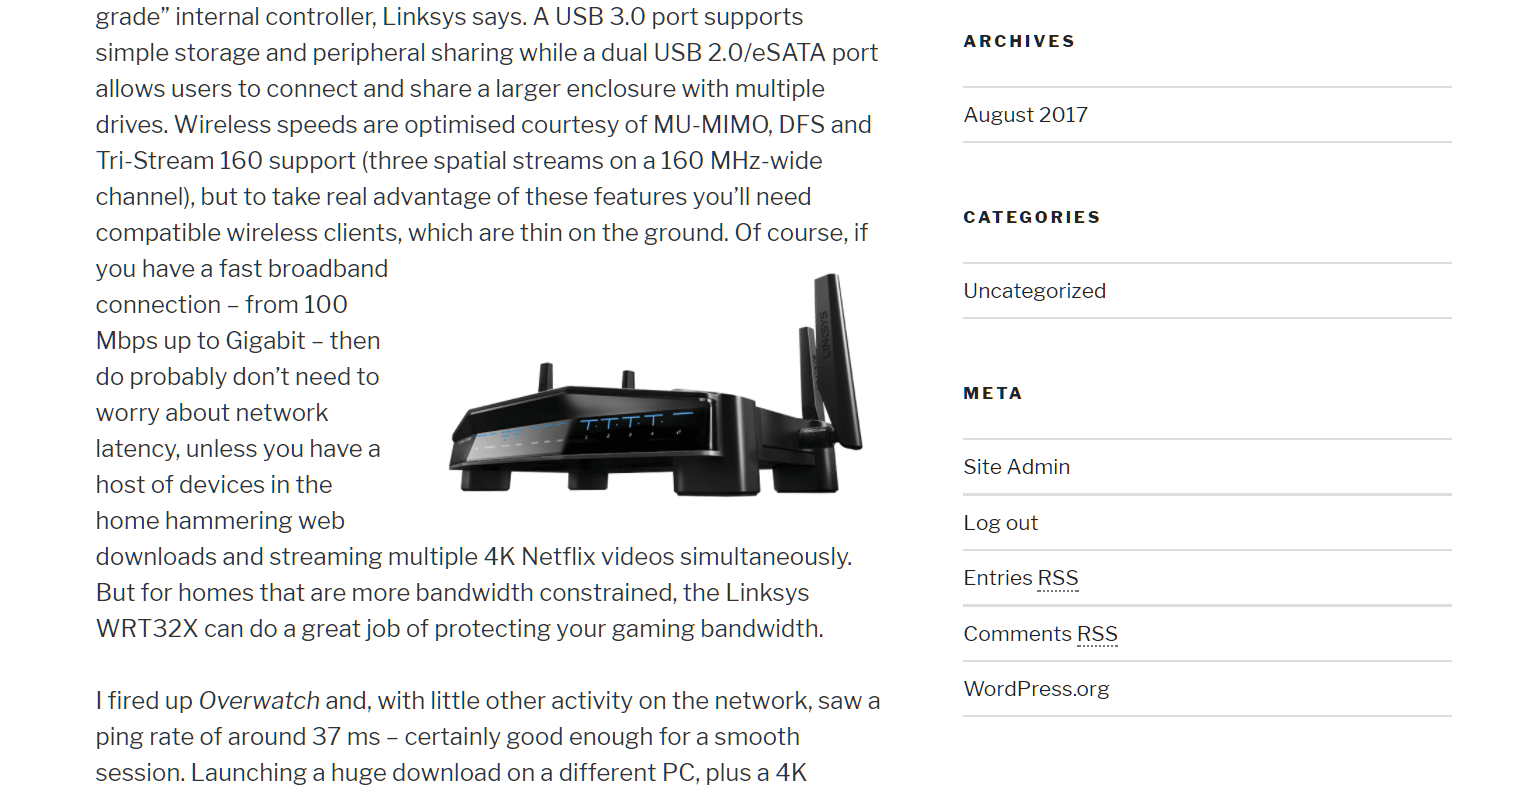
- Left – aligns the image to the left and wraps text to the right.
- Center – centers the image, with no text wrapping.
- Right – aligns the image to the right and wraps text to the left.
If you subsequently resize the image, WordPress will automatically adjust the text flow to suit.
Creating space around images
If you wish to create more whitespace around your images, you may be able to do so through your theme settings, while not all themes offer this feature. However, when editing an image in WordPress, you can use the Image CSS Class advanced option to tag the image. Then, add the class to your CSS stylesheet with the required settings for padding.
Learn more about working with CSS stylesheets at the WordPress Codex.
For further questions or if you need help, please open a support ticket from your HostPapa Dashboard. Follow this link to learn how.
