Once you’ve tried out a few WordPress themes, you’ll be keen to start experimenting with site designs by customizing theme settings and code. With a few minor tweaks to a theme’s code, you can change its look dramatically. However, should you subsequently upgrade the theme to a new version released by the theme developer, your changes can be automatically overwritten.
To overcome this issue, WordPress supports a concept called child themes.
A WordPress child theme is similar to any other WordPress theme, with one exception. It inherits its settings and features from a parent theme. A child theme depends completely on the parent theme – without the parent theme installed, a child theme cannot be activated. However, modifications made to child themes remain intact, even when a parent theme is upgraded.
If you decide you no longer want the customizations you’ve made, you can simply delete the child theme and your WordPress installation will revert to the parent theme settings, including the original layout and design.
It’s a great idea to use child themes when making modifications to a theme. Many themes include configuration options that allow you to customize colors, fonts and, in some cases, layout. These custom settings are saved and protected when the theme is upgraded. However, if you decide to make larger changes – modifying theme functions files, CSS files or other elements, a child theme is the way to go.
Create a basic child theme
In this example, we’ll create a new child theme based on a WordPress default theme – Twenty Seventeen. You can perform the following steps using an FTP client, connected to your server or using cPanel File Manager, available in the HostPapa Dashboard.
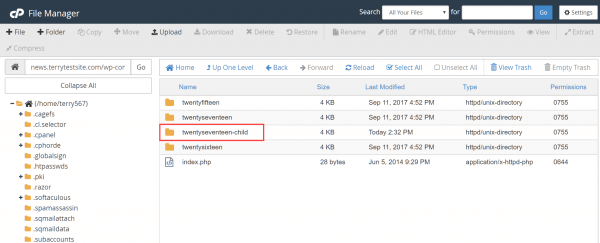
A child theme must be stored in a standalone folder, located in app/themes. First, create a new folder called twentyseventeen-child.
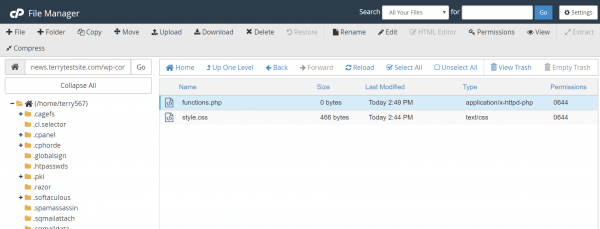
Every child theme requires a CSS style sheet and a functions.php file. Let’s start with the style sheet. Create a new text file and call it style.css. Add the following header code to the file:
/*
 Theme Name: Twenty Seventeen Child
 Theme URI: https://example.com/twenty-seventeen-child/
 description: >-  Twenty Seventeen Child Theme
 Author: My Name
 Author URI: https://example.com
 Template: twentyseventeen
 Version: 1.0.0
 License: GNU General Public License v2 or later
 License URI: https://www.gnu.org/licenses/gpl-2.0.html
 Tags: light, dark, two-columns, right-sidebar, responsive-layout,
 accessibility-ready
 Text Domain: twenty-seventeen-child
 */
What does this code mean?
- Theme name – The name that will be displayed for the child theme in the WordPress administration dashboard.
- Theme URI – A link to the theme’s documentation. The URI must be valid for a theme to be published in the WordPress theme repository, but isn’t so important for this example.
- Description – A description that is displayed when a user clicks Theme Details in the WordPress dashboard.
- Author.
- Author URI – Your website URL.
- Template – The name of the parent theme folder. This is case sensitive and must be accurate.
- Version – The version of your child theme.
- License – The license for your child theme. Use the same license type as your parent theme (typically GPL).
- License URI – An address at which you can read the theme’s license.
- Tags – Use metatags relevant to your theme to help others find it in the WordPress directory.
- Text domain – Used for theme translations. This should fit the “slug” of your theme.
Once the file is created, save (or upload) it to your child theme’s folder.
With the style sheet in place, we can create the functions.php file. This is an important file that is used to create your theme features (“functions”) and often contains both native WordPress and custom code.
As before, create a new text file in your child theme folder and name it functions.php.
Enter the following code and save the file.
<?php
 //* Code goes here
That’s all you need in the functions.php file to get started – you can add customizations later.
With the child theme’s files created, we now need to ensure it inherits information from the parent theme installed on our site. You could use the @import rule in the child theme’s style sheet to inherit styling, but this method isn’t recommended as it can slow site performance.
Instead, open the functions.php file and enter the following code:
add_action( 'wp_enqueue_scripts', 'enqueue_parent_styles' );
function enqueue_parent_styles() {
   wp_enqueue_style( 'parent-style', get_template_directory_uri().'/style.css' );
}
Save the file.
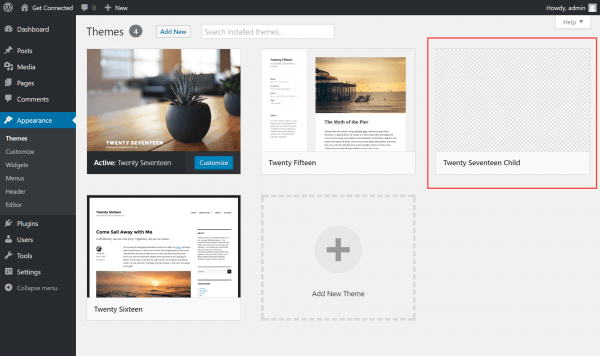
Let’s head to the WordPress administration dashboard to see how our child theme looks. Log in to the dashboard and select Appearance > Themes from the sidebar. You should see your child theme listed.
Click Activate to use the theme on your site’s front end, or Live Preview for a safe sneak peek.
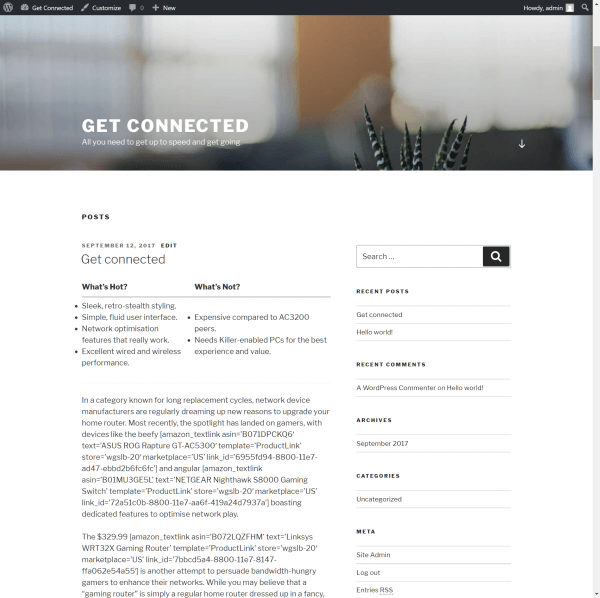
At this point, the child theme should look exactly the same as the parent. Congratulations on creating your first child theme! You can now work on customizing your child theme.
If you notice any problems or if you need any help, please open a new support ticket from your HostPapa Dashboard. More details on how to open a support ticket can be found here.


