A Joomla! Menu is a set of items used for website navigation and structure. Each menu item comprises an URL to a page on the website, and can be configured with a variety of settings that control elements such as the articles, categories and layout of the page.
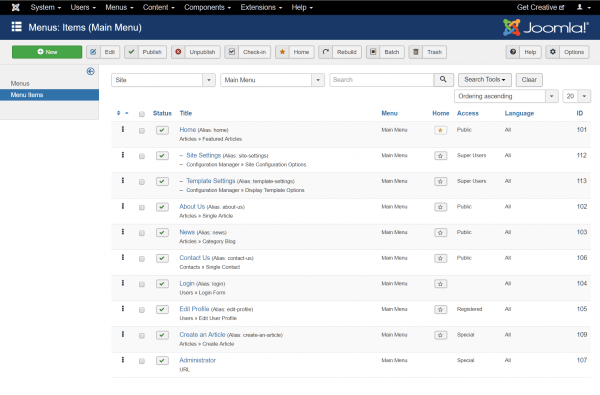
The Joomla! Menu Manager is where you can view existing and create new menus for your site. Navigate to Menus > All Menu Items to view the entire list of menu items available.
Under the Home column, look for a yellow star, which denotes the active default item. Click the star icon on an item to switch the default selection.
Click on an item to view its properties.
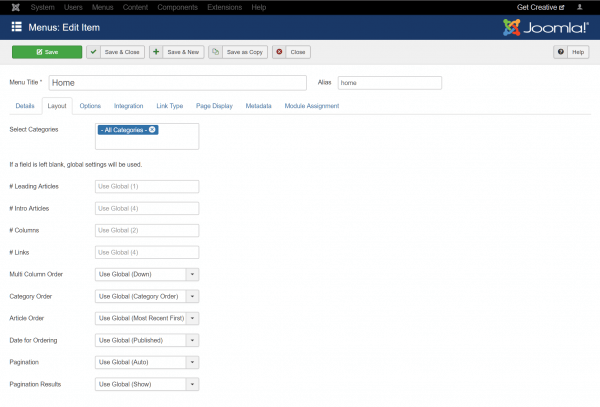
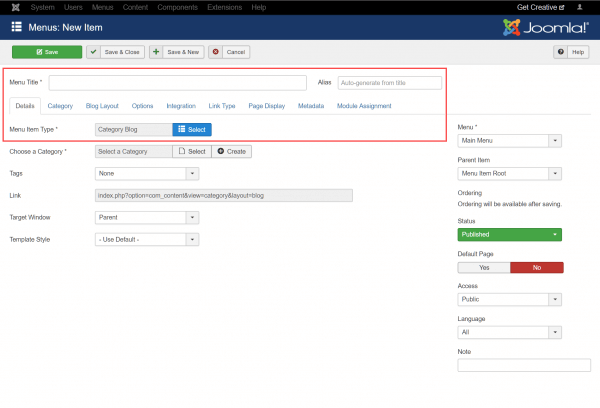
Menu Item properties are arranged in tabs that allow you to configure a wide range of attributes:
- Details – defines the item type, URL, target window and template style.
- Layout – controls display options.
- Options – defines low level display options for your content.
- Integration – manages feed integrations.
- Link type – controls link styling options.
- Page display – defines page title, heading display, metadata and CSS class.
- Metadata – use this tab to enter metadata for the page.
- Module assignment – allows you to assign a content module to a menu item.
Create a menu item
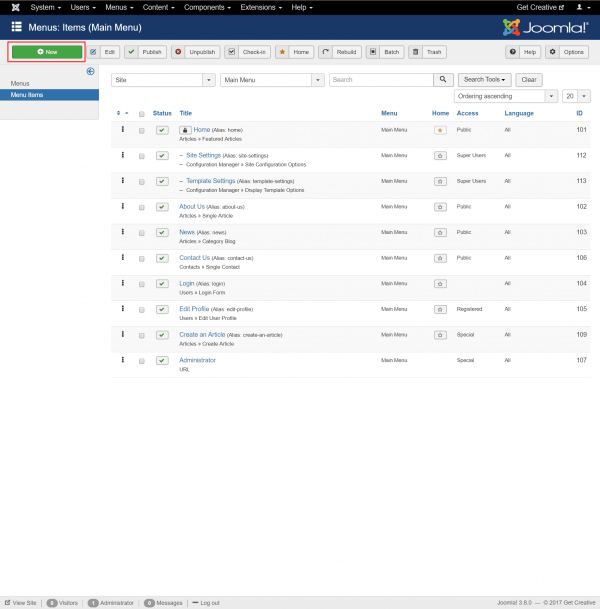
Create a new menu item using the + New button at the top left of the page.
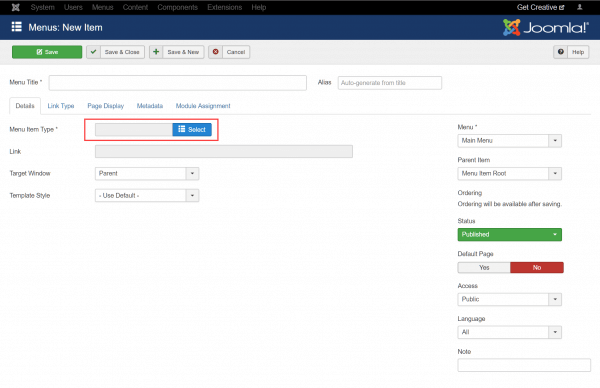
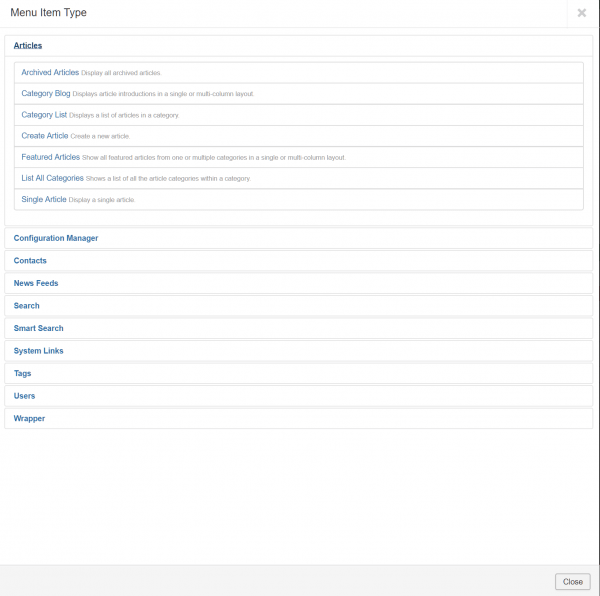
Click the Select button next to Menu Item Type to define the content displayed on the page.
You can choose from a range of default item types with preconfigured content or layouts. Alternatively, define your own.
Notice that the configuration tabs will change depending on the item type selected. Work through the tabs to configure the content, layout and metadata settings for your menu.
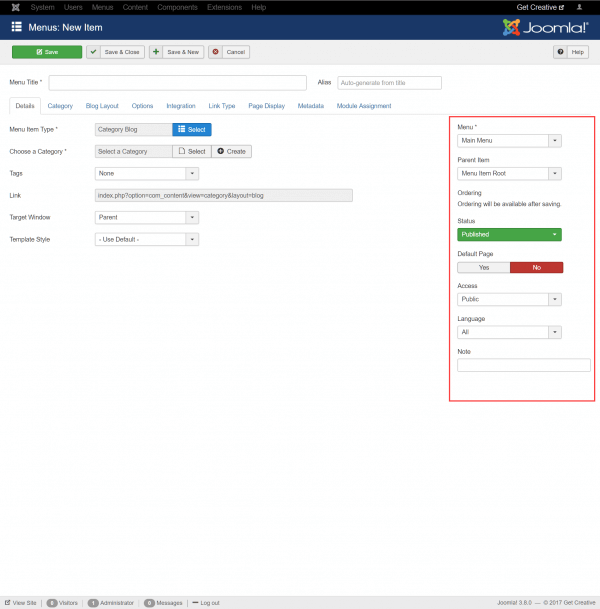
On the right side of the page, you can configure how the menu item fits into the overall menu structure.
Joomla! supports the use of multiple menus, so use the Menu dropdown to select the menu you wish the item to be grouped with. The Parent menu allows easy nesting of content, so you to create sub-menus and content hierarchies on your site.
Below, you can set the published status, set a menu item as default, define access privileges and configure language settings.
Click the Save button when you have completed menu item configuration.
Manage menu items
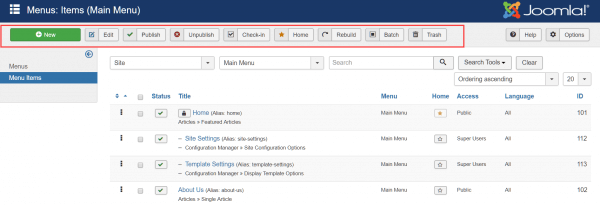
The toolbar at the top of the Menu Manager allows easy control of your menu items.
Use the checkboxes to select the items you wish to manage, then click a toolbar button to Edit, Publish or Unpublish items and more. The green check mark boxes under status can also be clicked to toggle publishing settings, providing an easy way to hide or display pages on your site.
For further questions, or if you need help, please open a support ticket from your HostPapa Dashboard. Follow this link to learn how.
