One of the best ways to improve WordPress’ performance is to optimize all the images used on your site. Image optimization involves installing an image optimizer such as Smush to compress and optimize your images.
HostPapa recommends Smush Image Compression, as it’s the most popular free image compression software plugin available for WordPress. Not only can you optimize and compress images, but you can set a maximum height and width for all images on your site to ensure consistency and the fastest image loading possible.
To install the Smush Image Compression plugin:
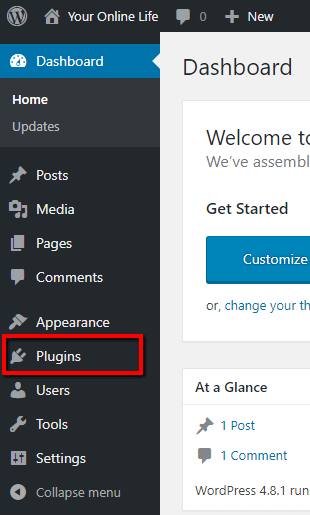
Log in to your WP-Admin dashboard and then click Plugins in the left menu to open the Plugins page.
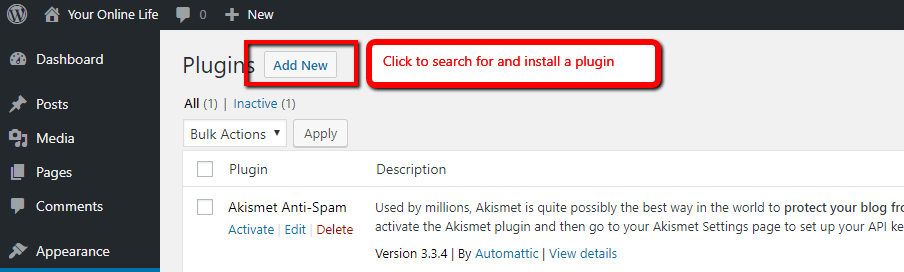
On the Plugins page, click the Add New button to search for the Smush plugin.
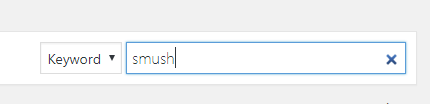
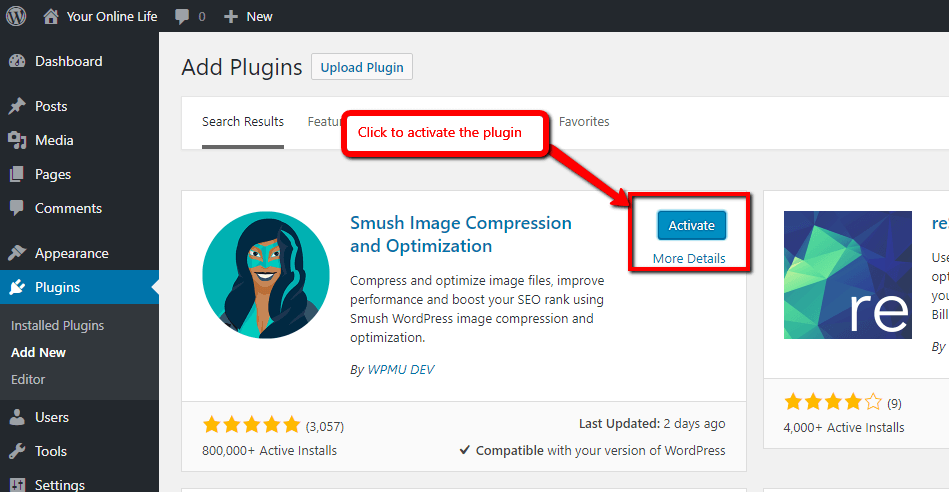
On the Add Plugins page, type Smush in the Search plugins field.
The Smush plugin will be the first search result in the resulting display on the Add Plugins page. Click its Install Now button.
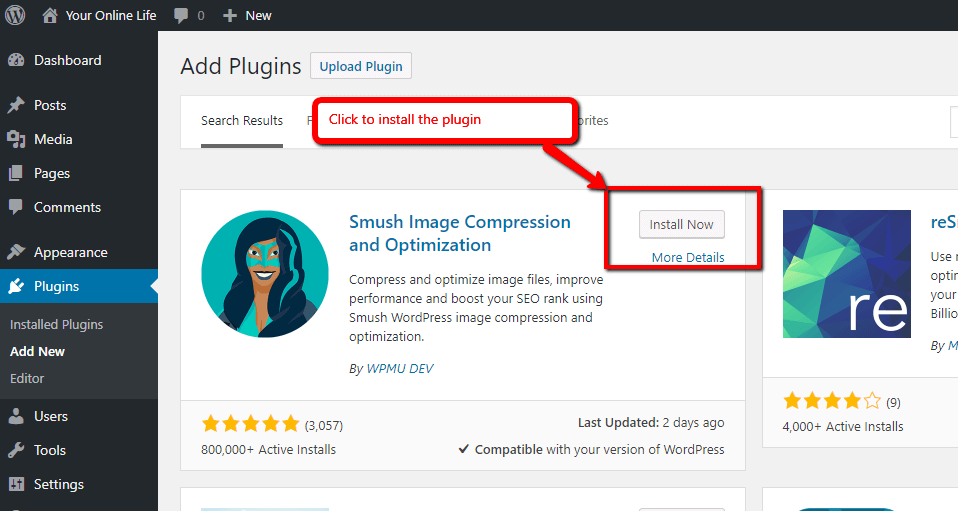
Once the plugin is installed, its Install button changes to Activate. Click the Activate button to activate Smush.
Once the Smush plugin has been successfully installed and activated, the Smush Image Compression welcome page displays.
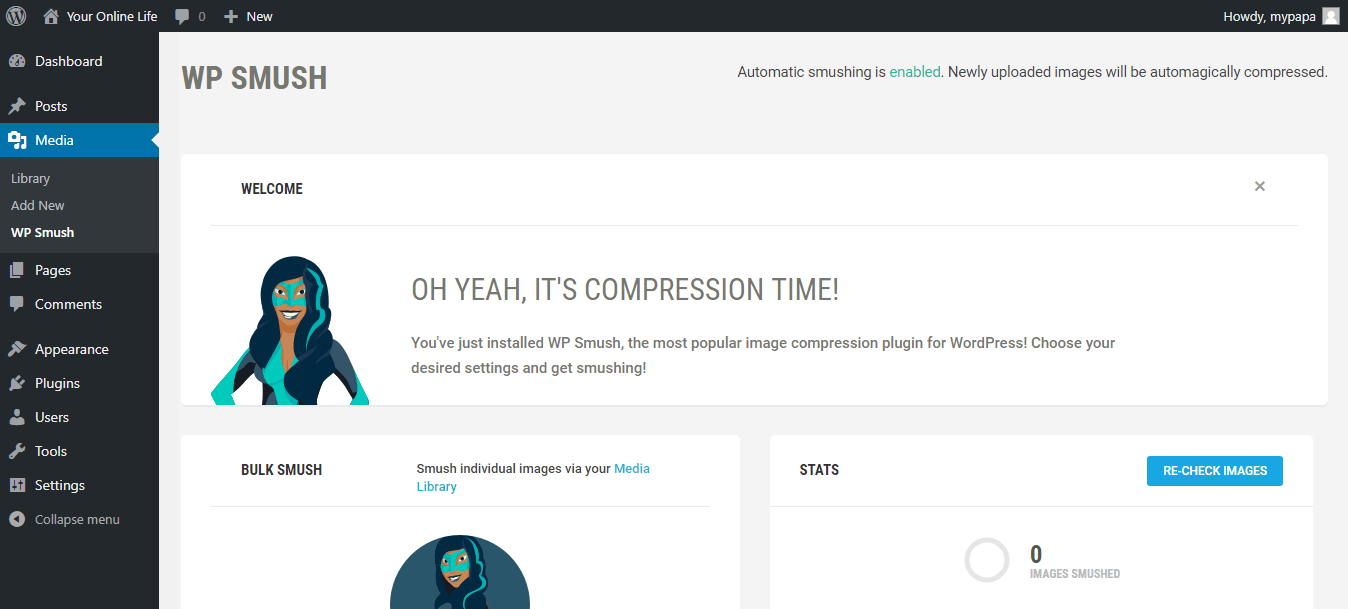
By default, Smush automatically compresses and optimizes all new images you upload. You should now bulk Smush any images you’ve already uploaded: hover your mouse over the Media menu in your WP-Admin dashboard and click WP Smush. The WP Smush page opens.
In the Bulk Smush section, you can Smush 50 images at a time with the free version (WP Smush Pro will bulk smush all previously uploaded images). Follow the prompts in the Bulk Smush section to Smush previously uploaded images 50 images at a time.
Now, go to the Settings section of the Smush Image Compression page.
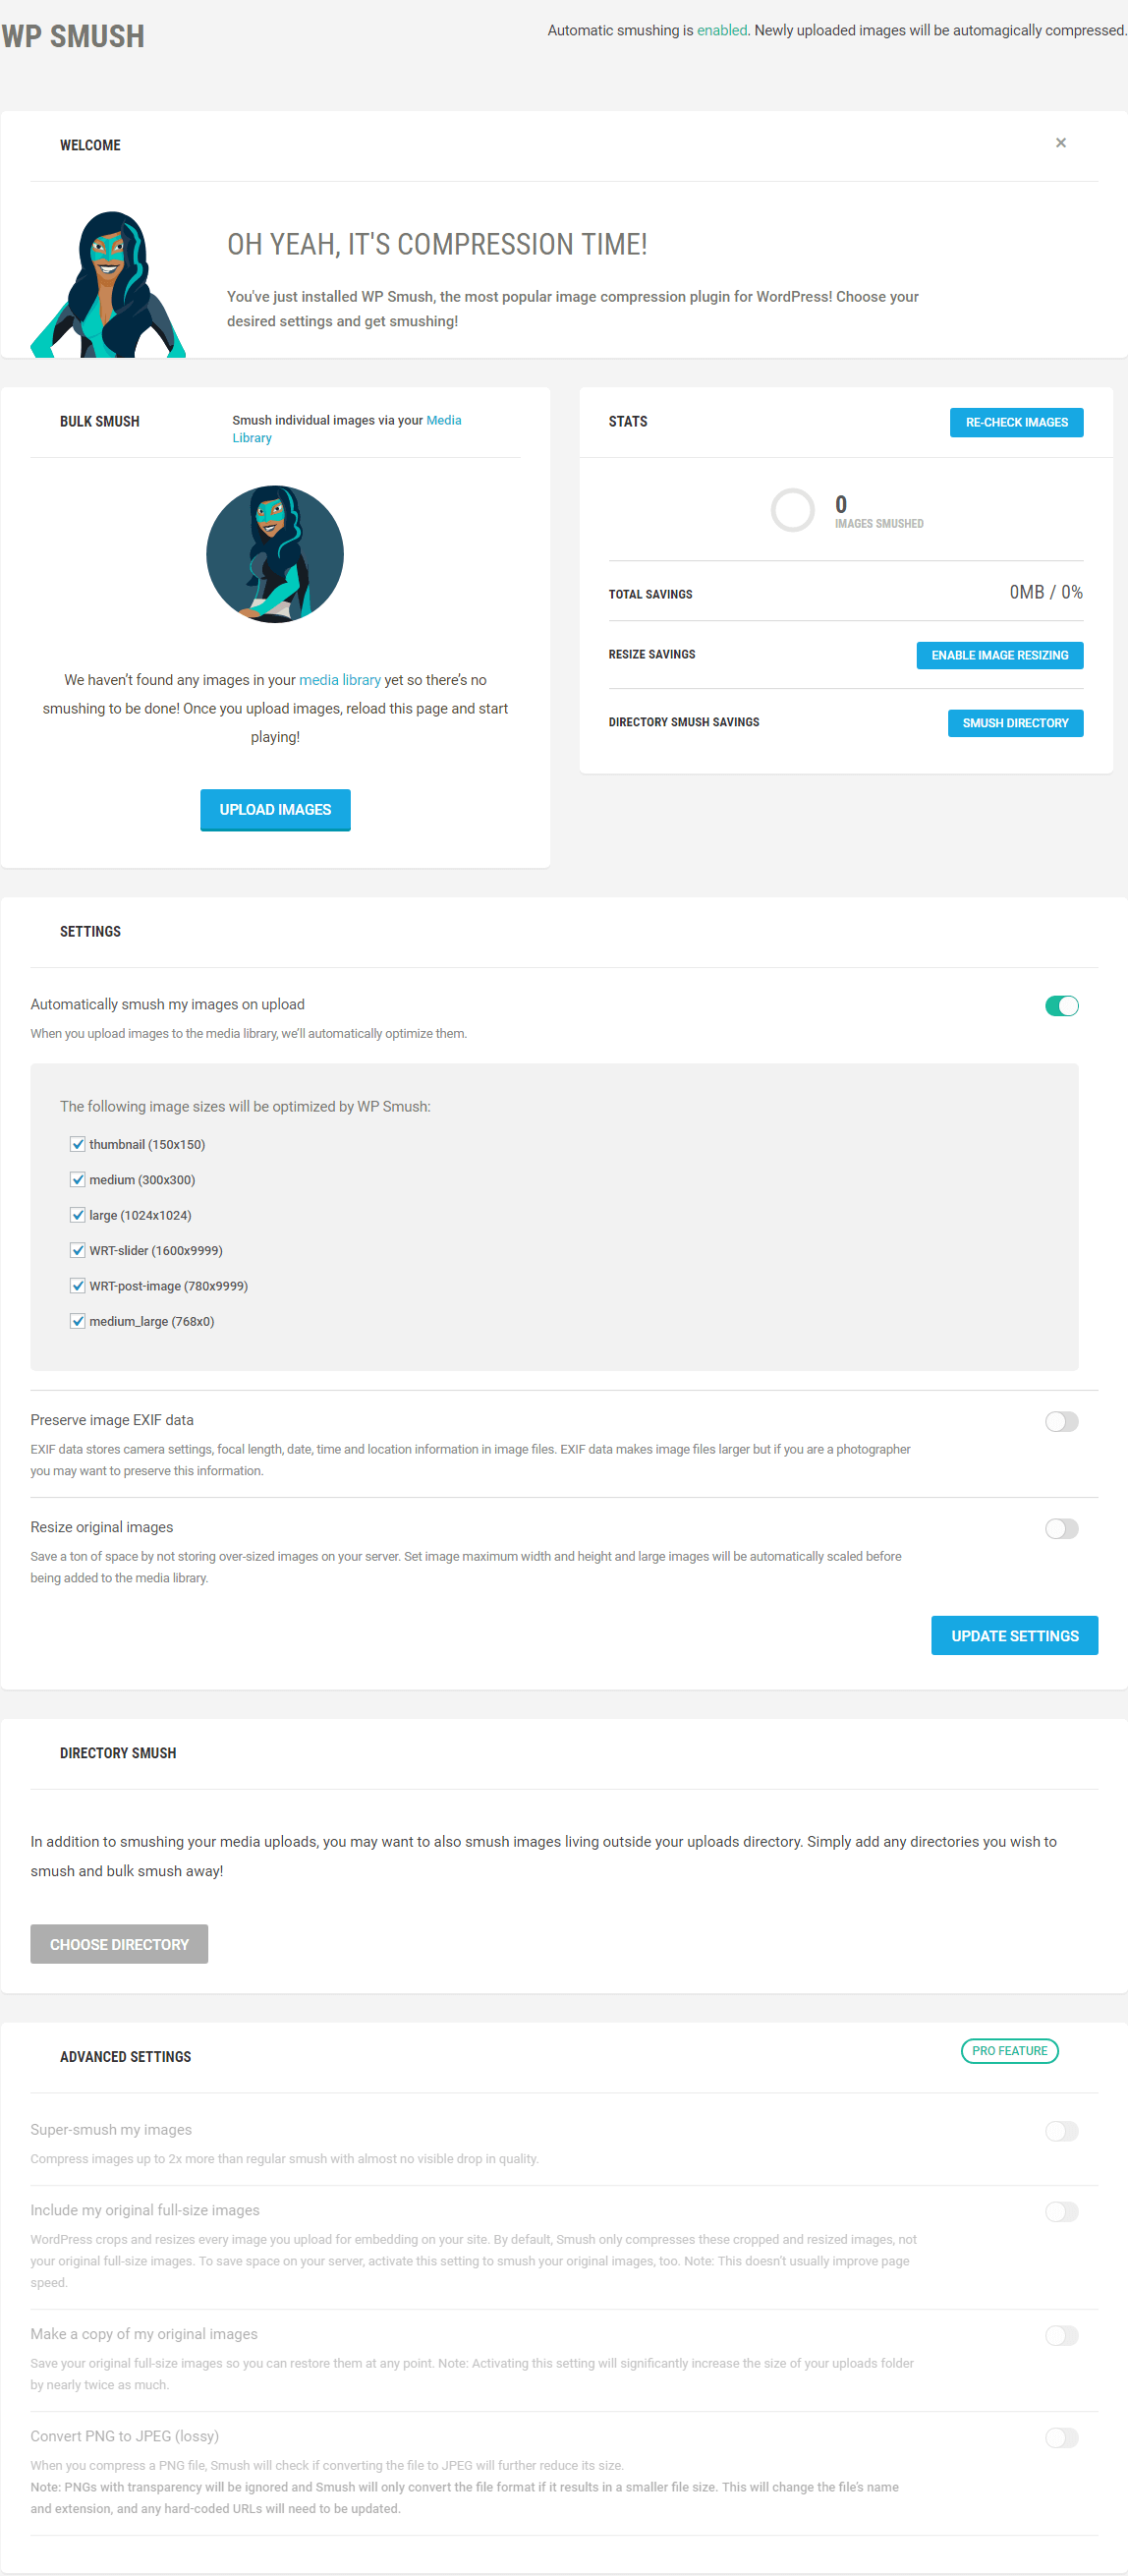
- The Automatically smush my images on upload setting is enabled by default. HostPapa recommends leaving this setting as is.
- In the list of image sizes automatically optimized by Smush, uncheck any you want to leave as-is.
- In the Preserve image EXIF data section, if you’re a photographer and need to store EXIF data for all images, toggle the switch to the right to turn it on.
- In the Resize original images section, you can set an image maximum width and height. When you enable this option by sliding its switch to the right, Smush will automatically scale large images before they’re added to your media library.
- When done configuring Smush, click the Update Settings button to save your configuration changes.
- If you have any images stored outside the WordPress uploads directory, you can optionally set an additional directory to Smush in the Directory Smush section.
Other features are available in the WP Smush Pro version – see the Smush documentation for more details.
For more information
See the following knowledge base articles for more information:
If, for some reason, the above steps fail, please contact HostPapa Support for further assistance.
