The WordPress publishing platform is used widely across the world, in many languages. While the platform itself has been translated for use in over 170 locales, many WordPress plugins are also translation-ready.
Follow these steps to translate a WordPress plugin in your language.
Head to Translating WordPress, where you can contribute translations to the core WordPress platform, themes and plugins.
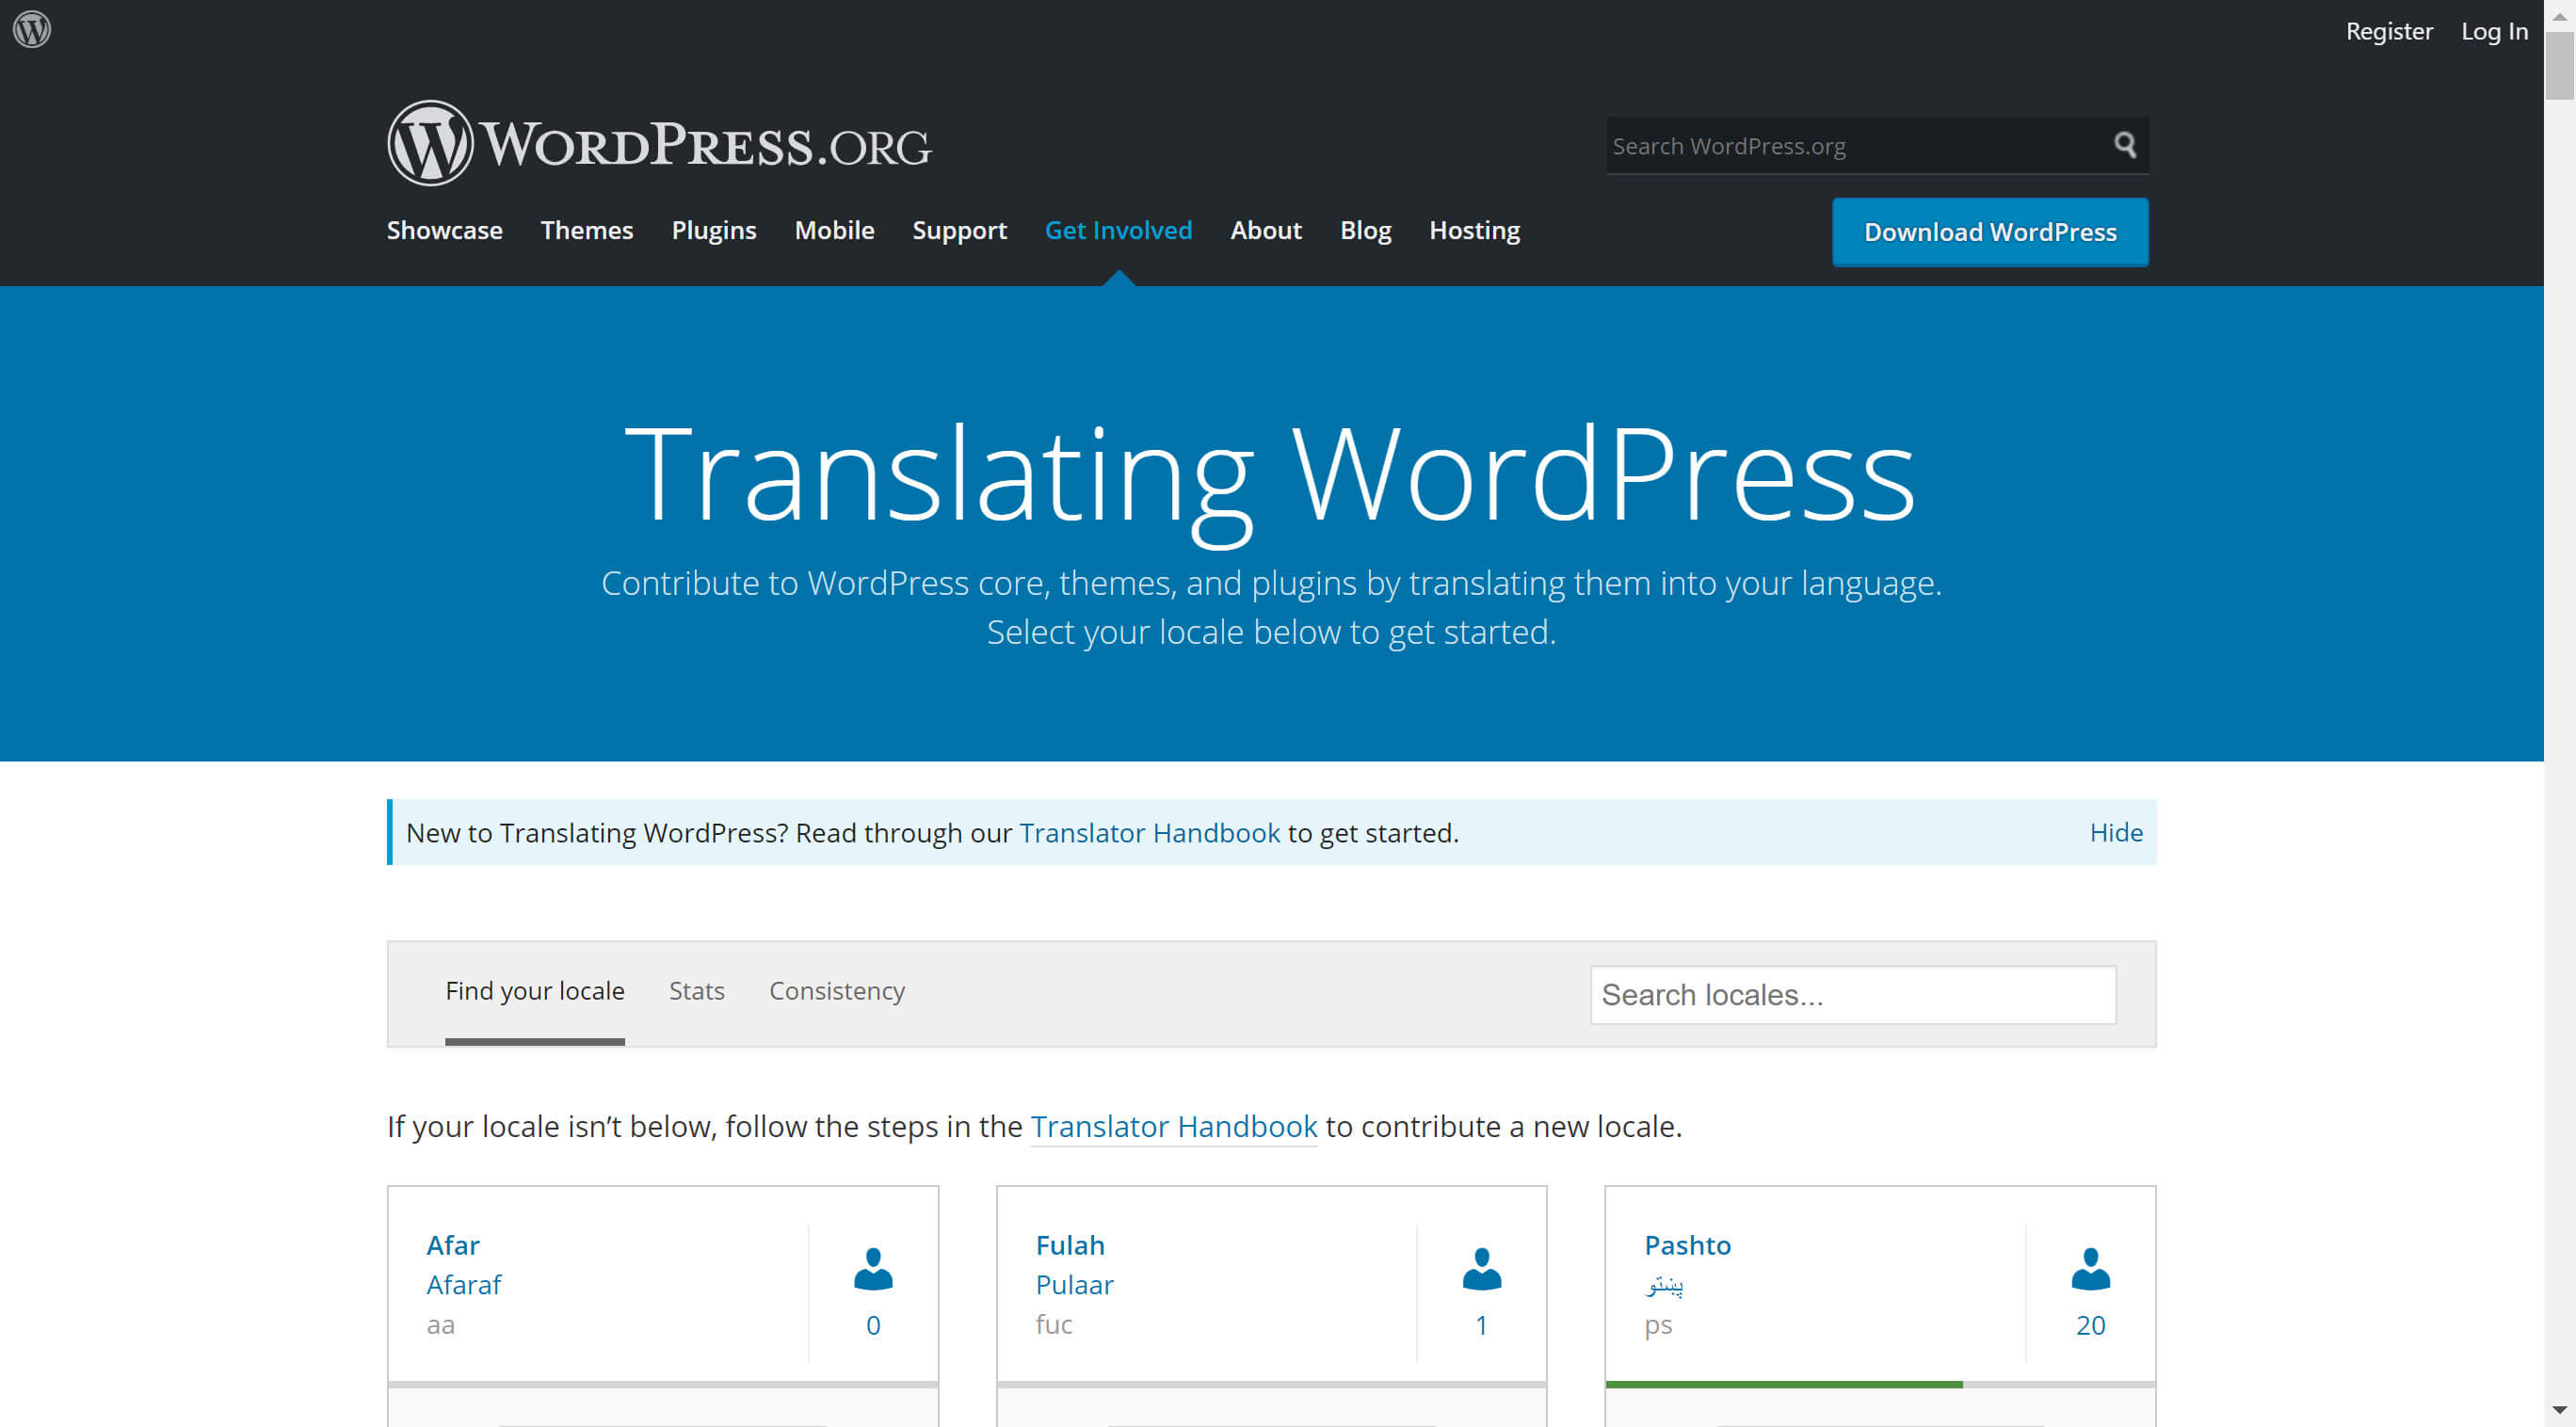
Scroll down the list of locales available, until you find the one you wish to contribute to. Click Contribute Translation to view available opportunities.
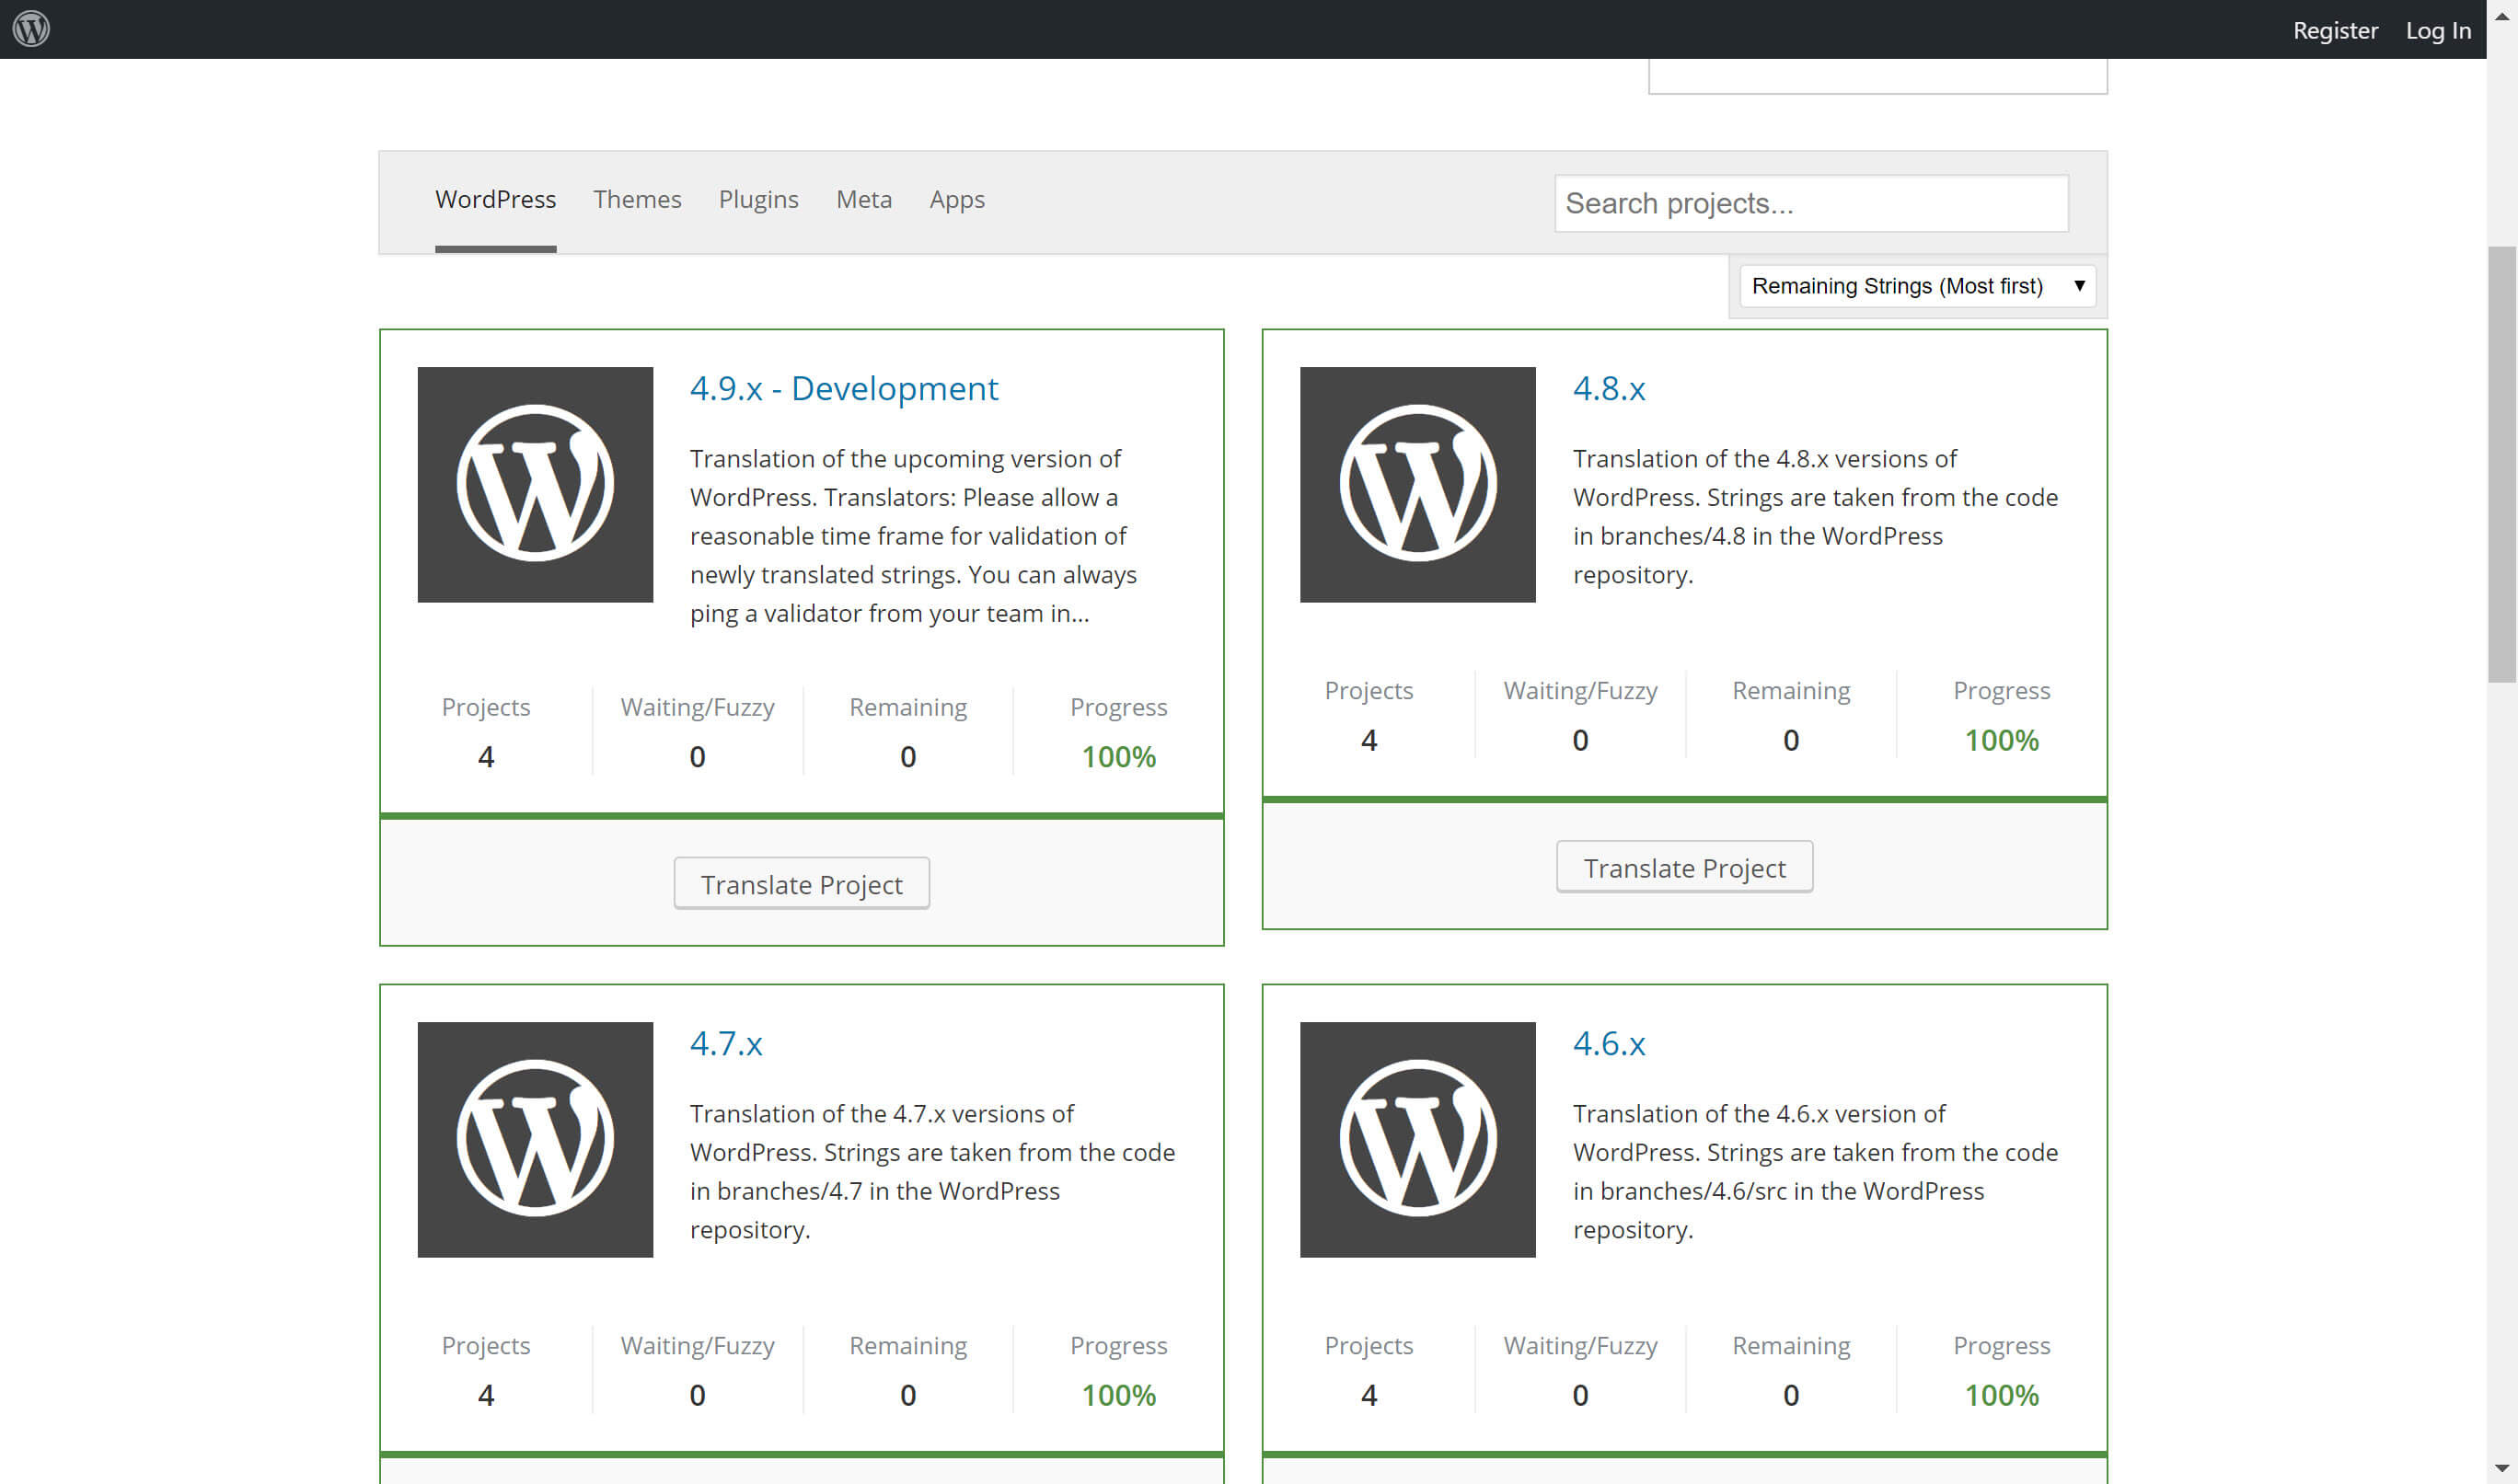
A list of projects will be displayed on screen. At the top of the list, you can filter the selection by clicking Plugins (or another category of your choice).
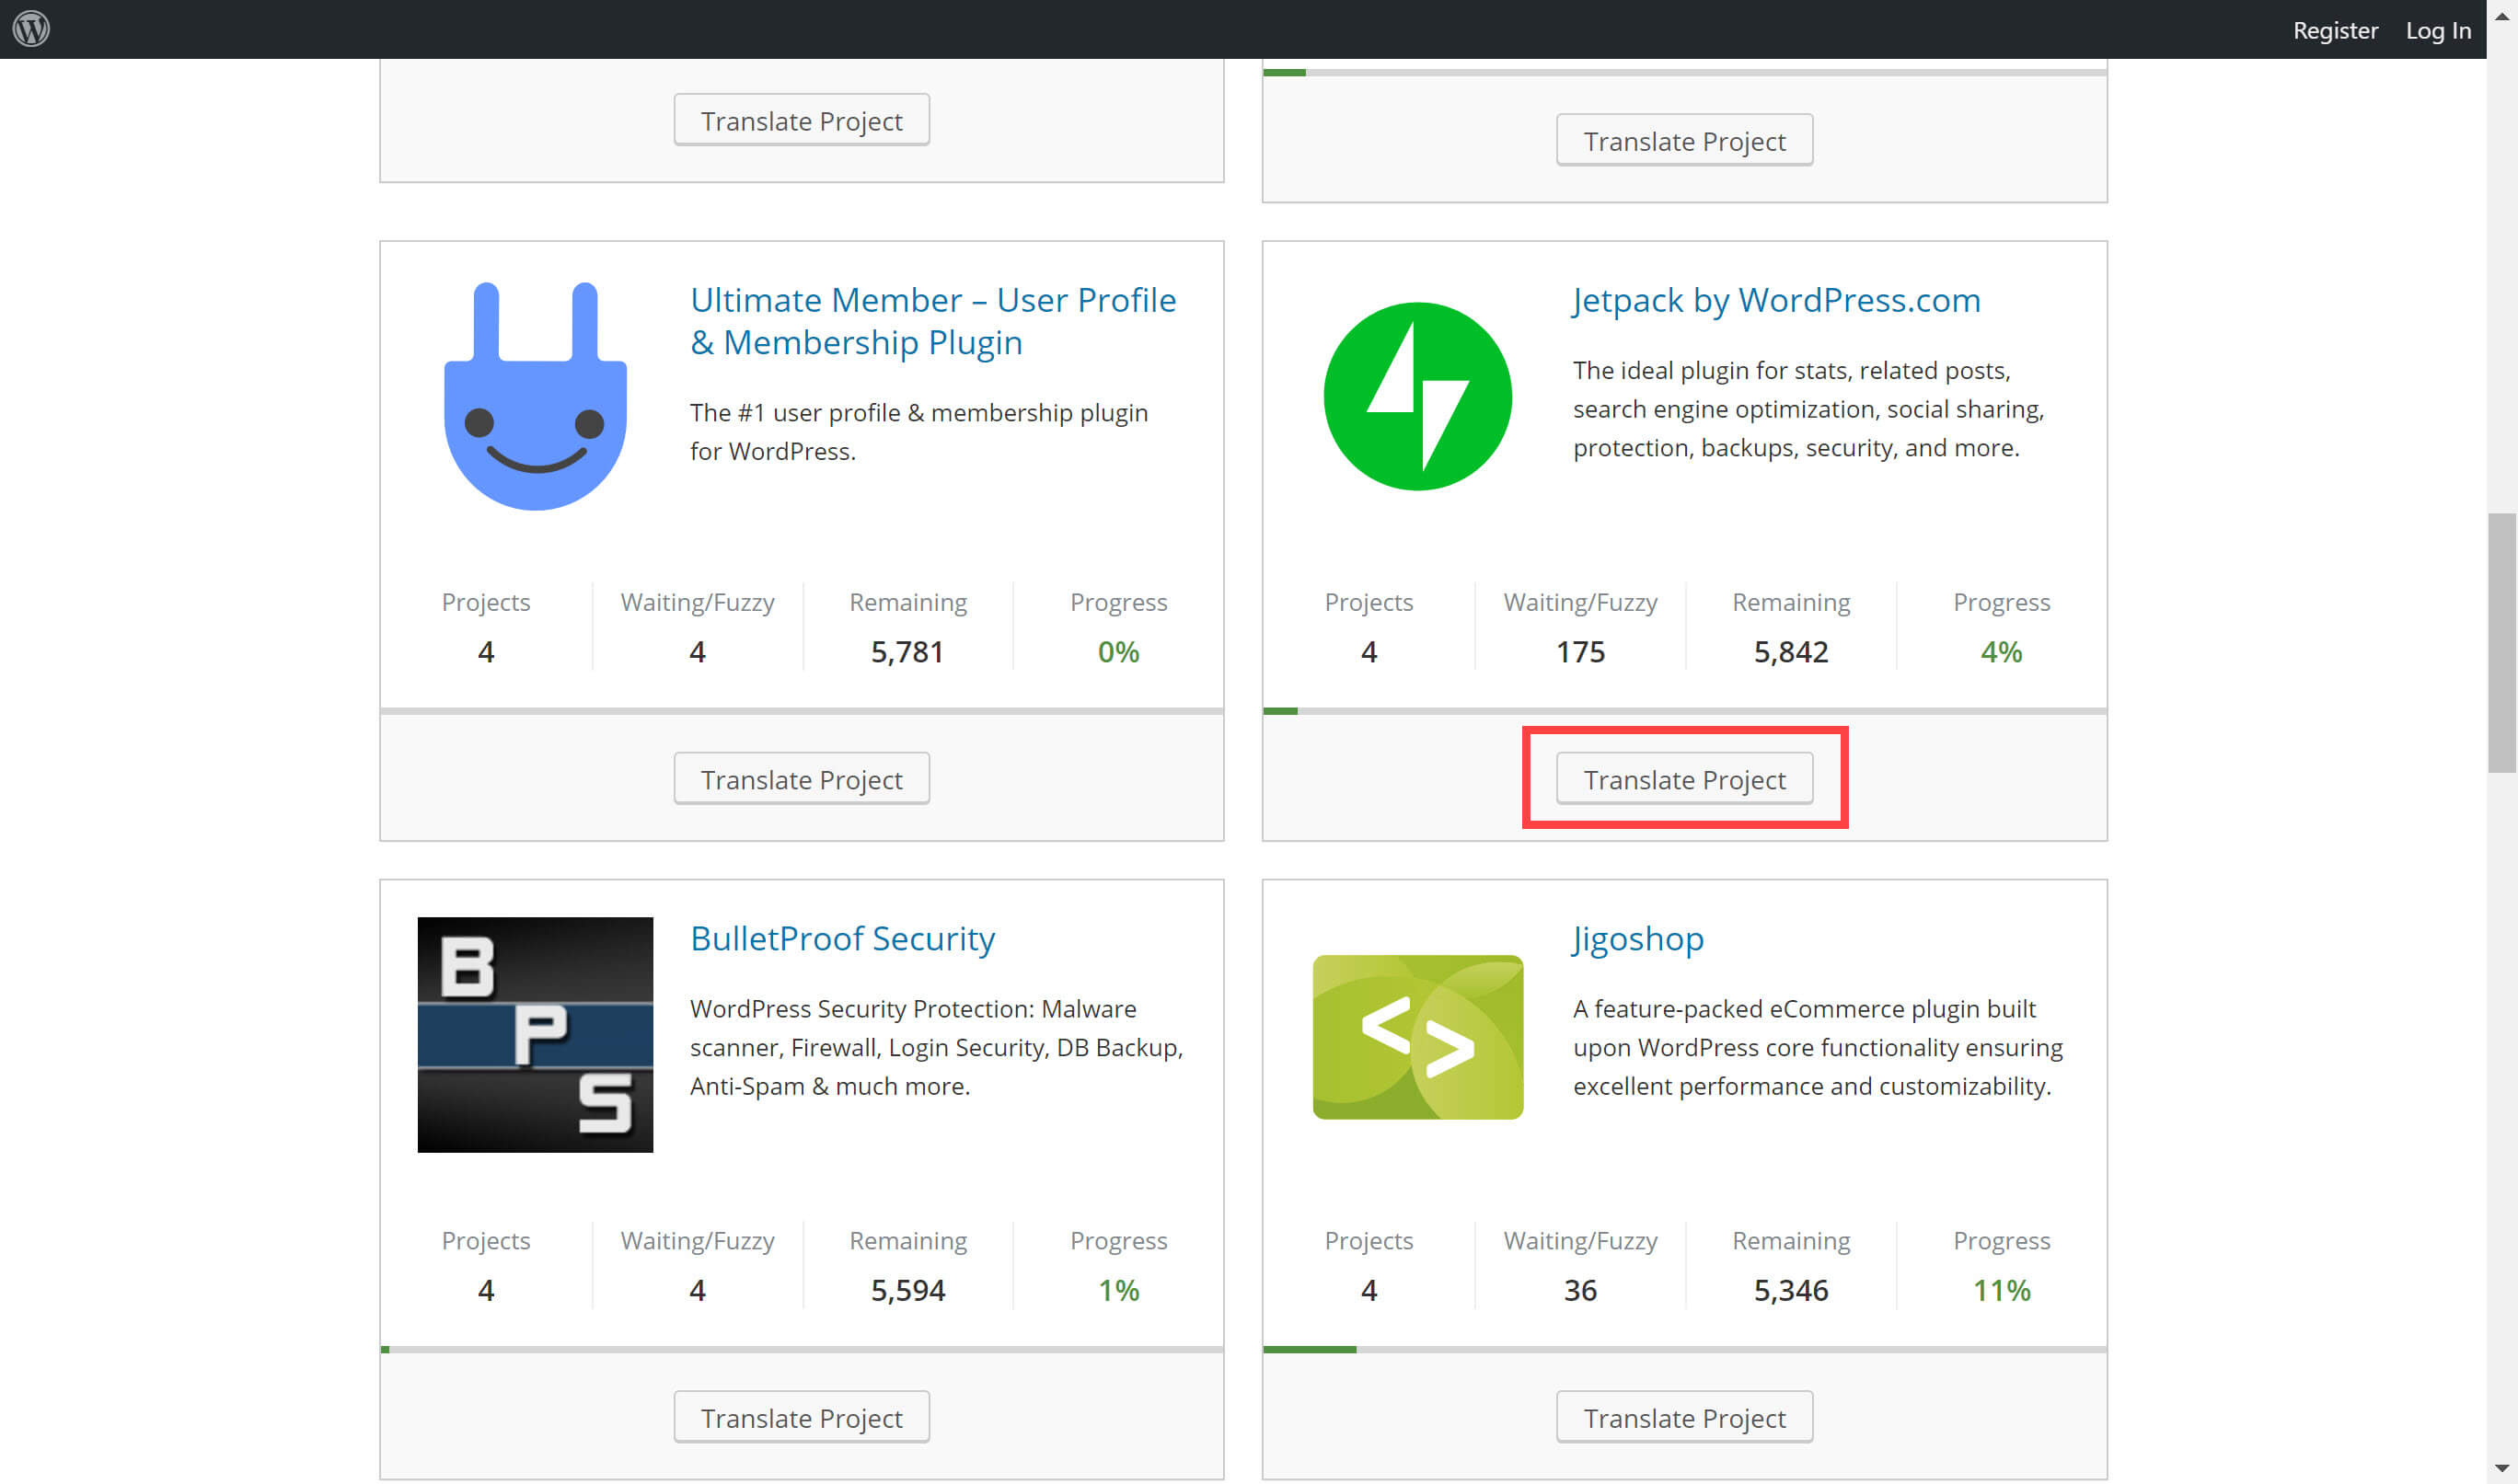
Review the list of plugins and, when you’ve found a plugin you wish to support, click Translate Project.
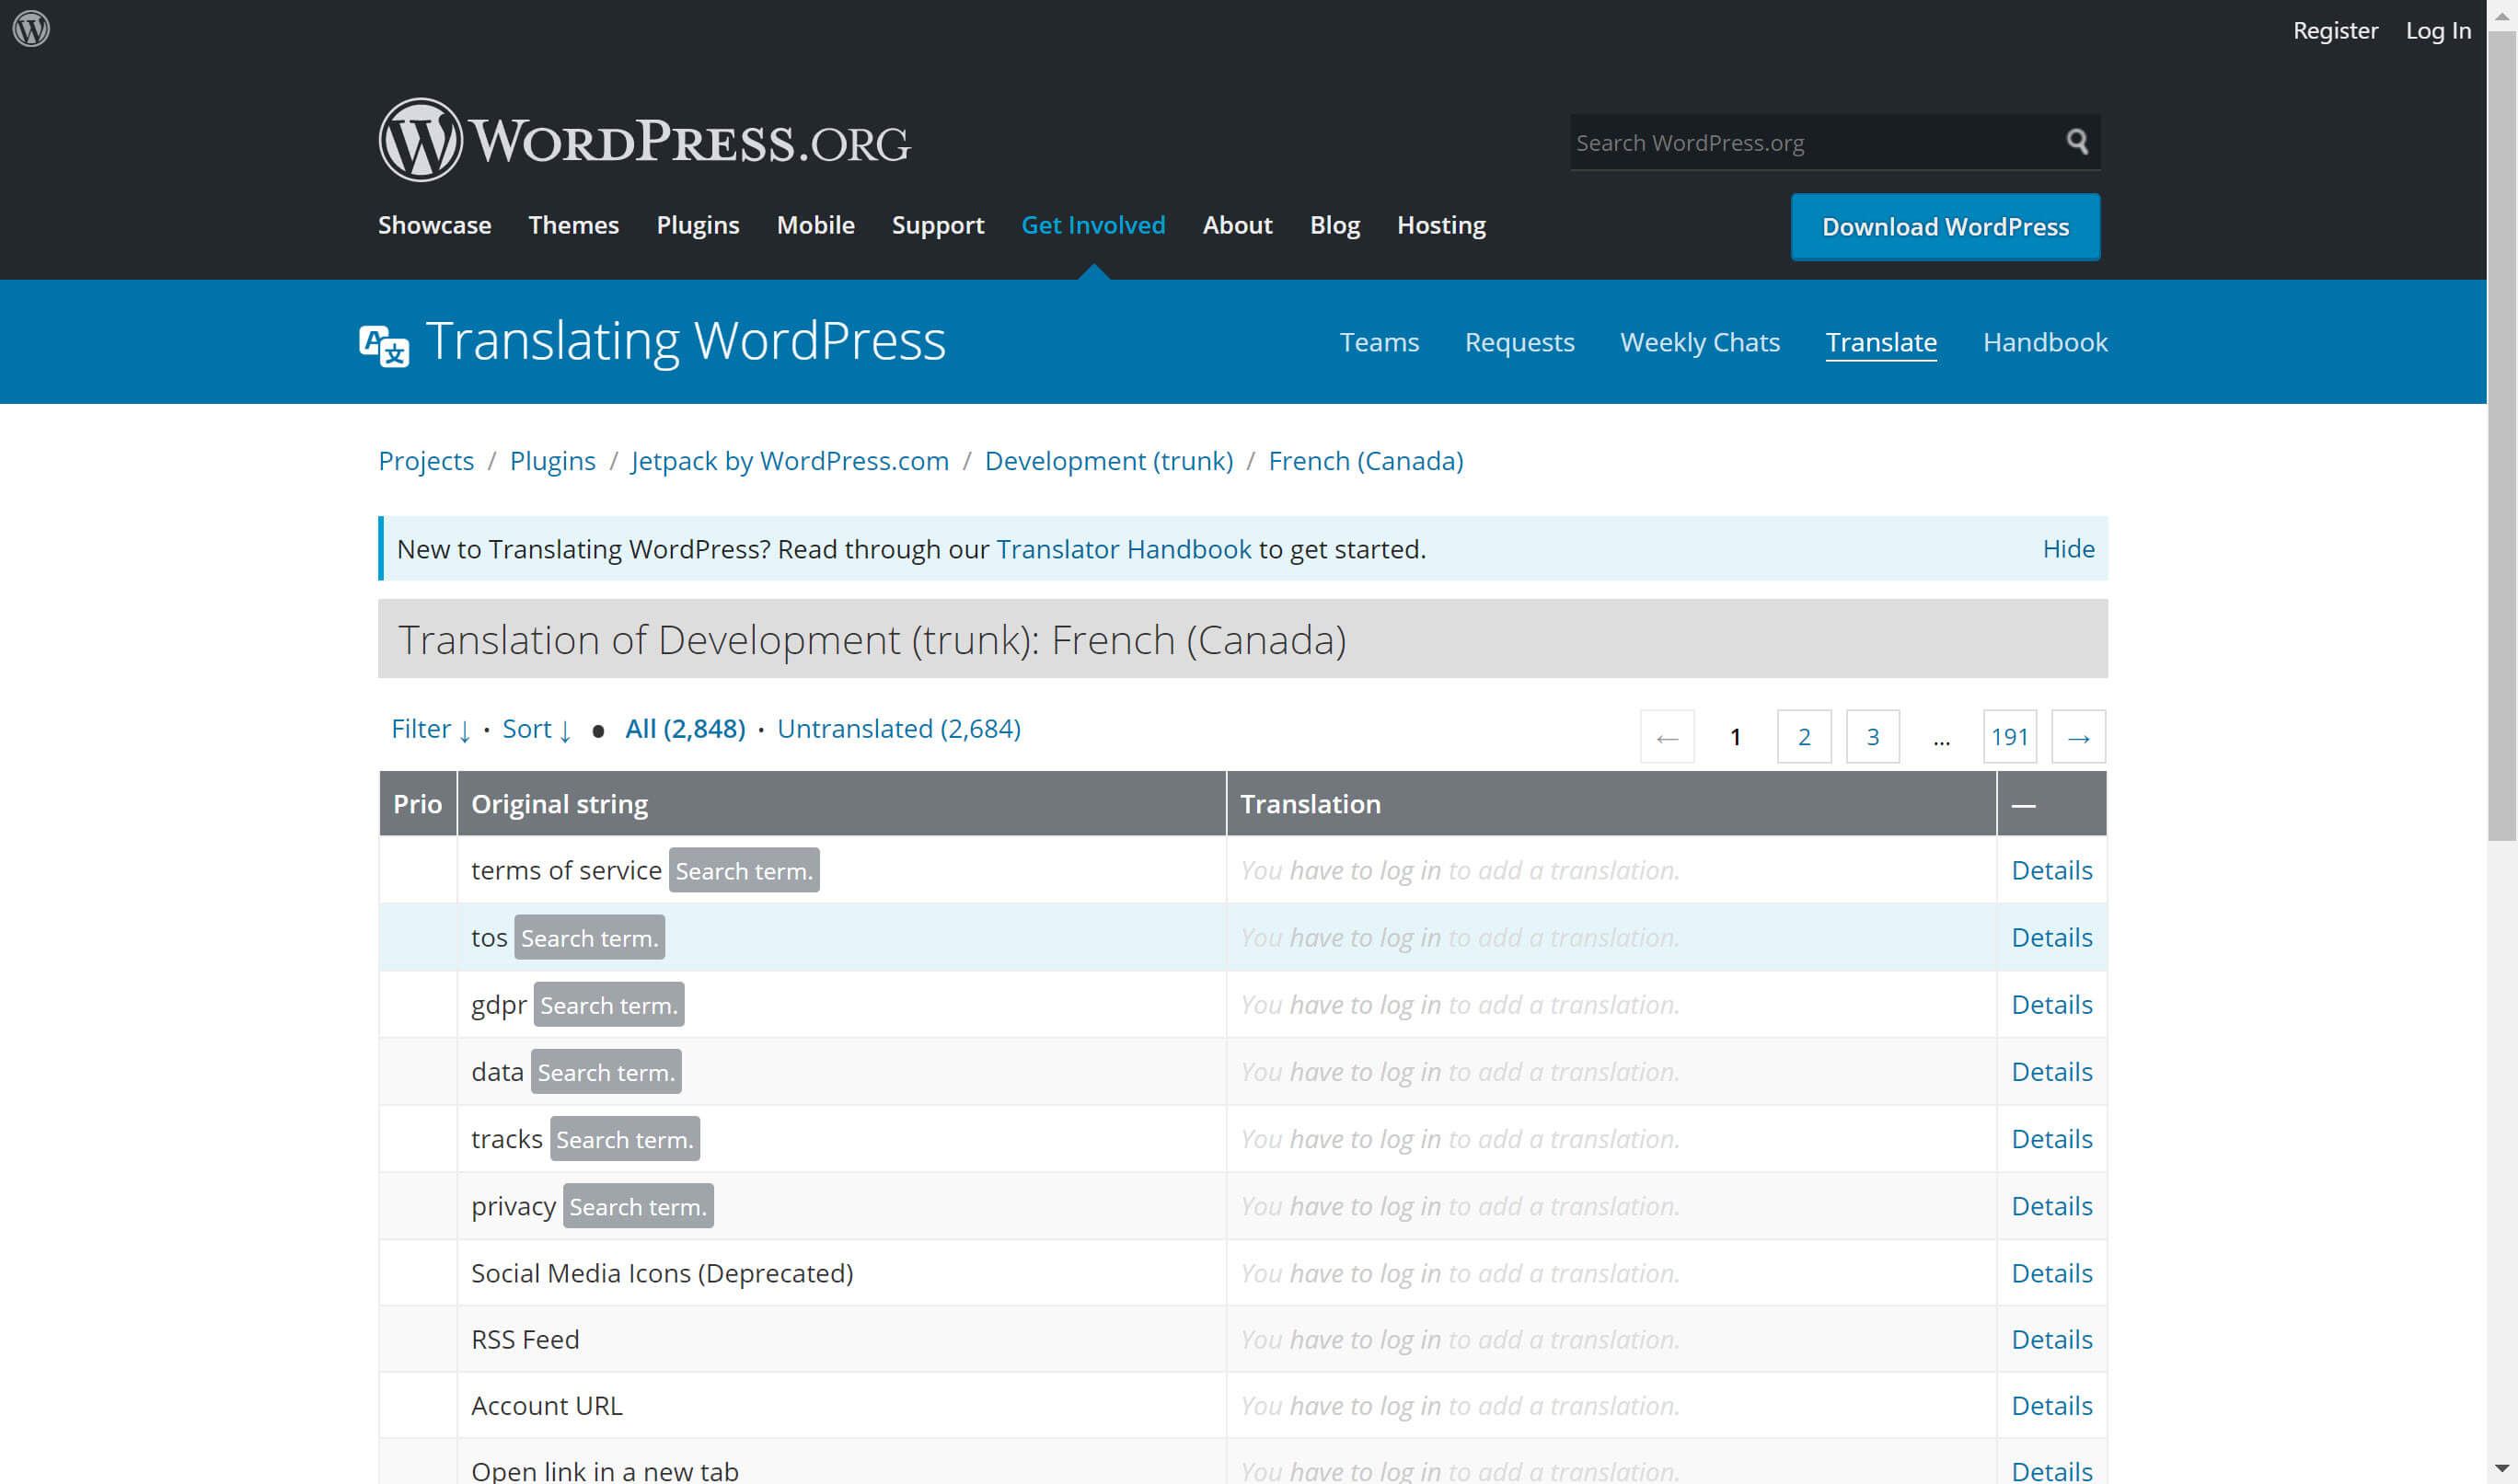
Navigate through the list of sub-projects and you’ll be able to review a list of terms that require translating. Note that you’ll need to log into a WordPress account to contribute.
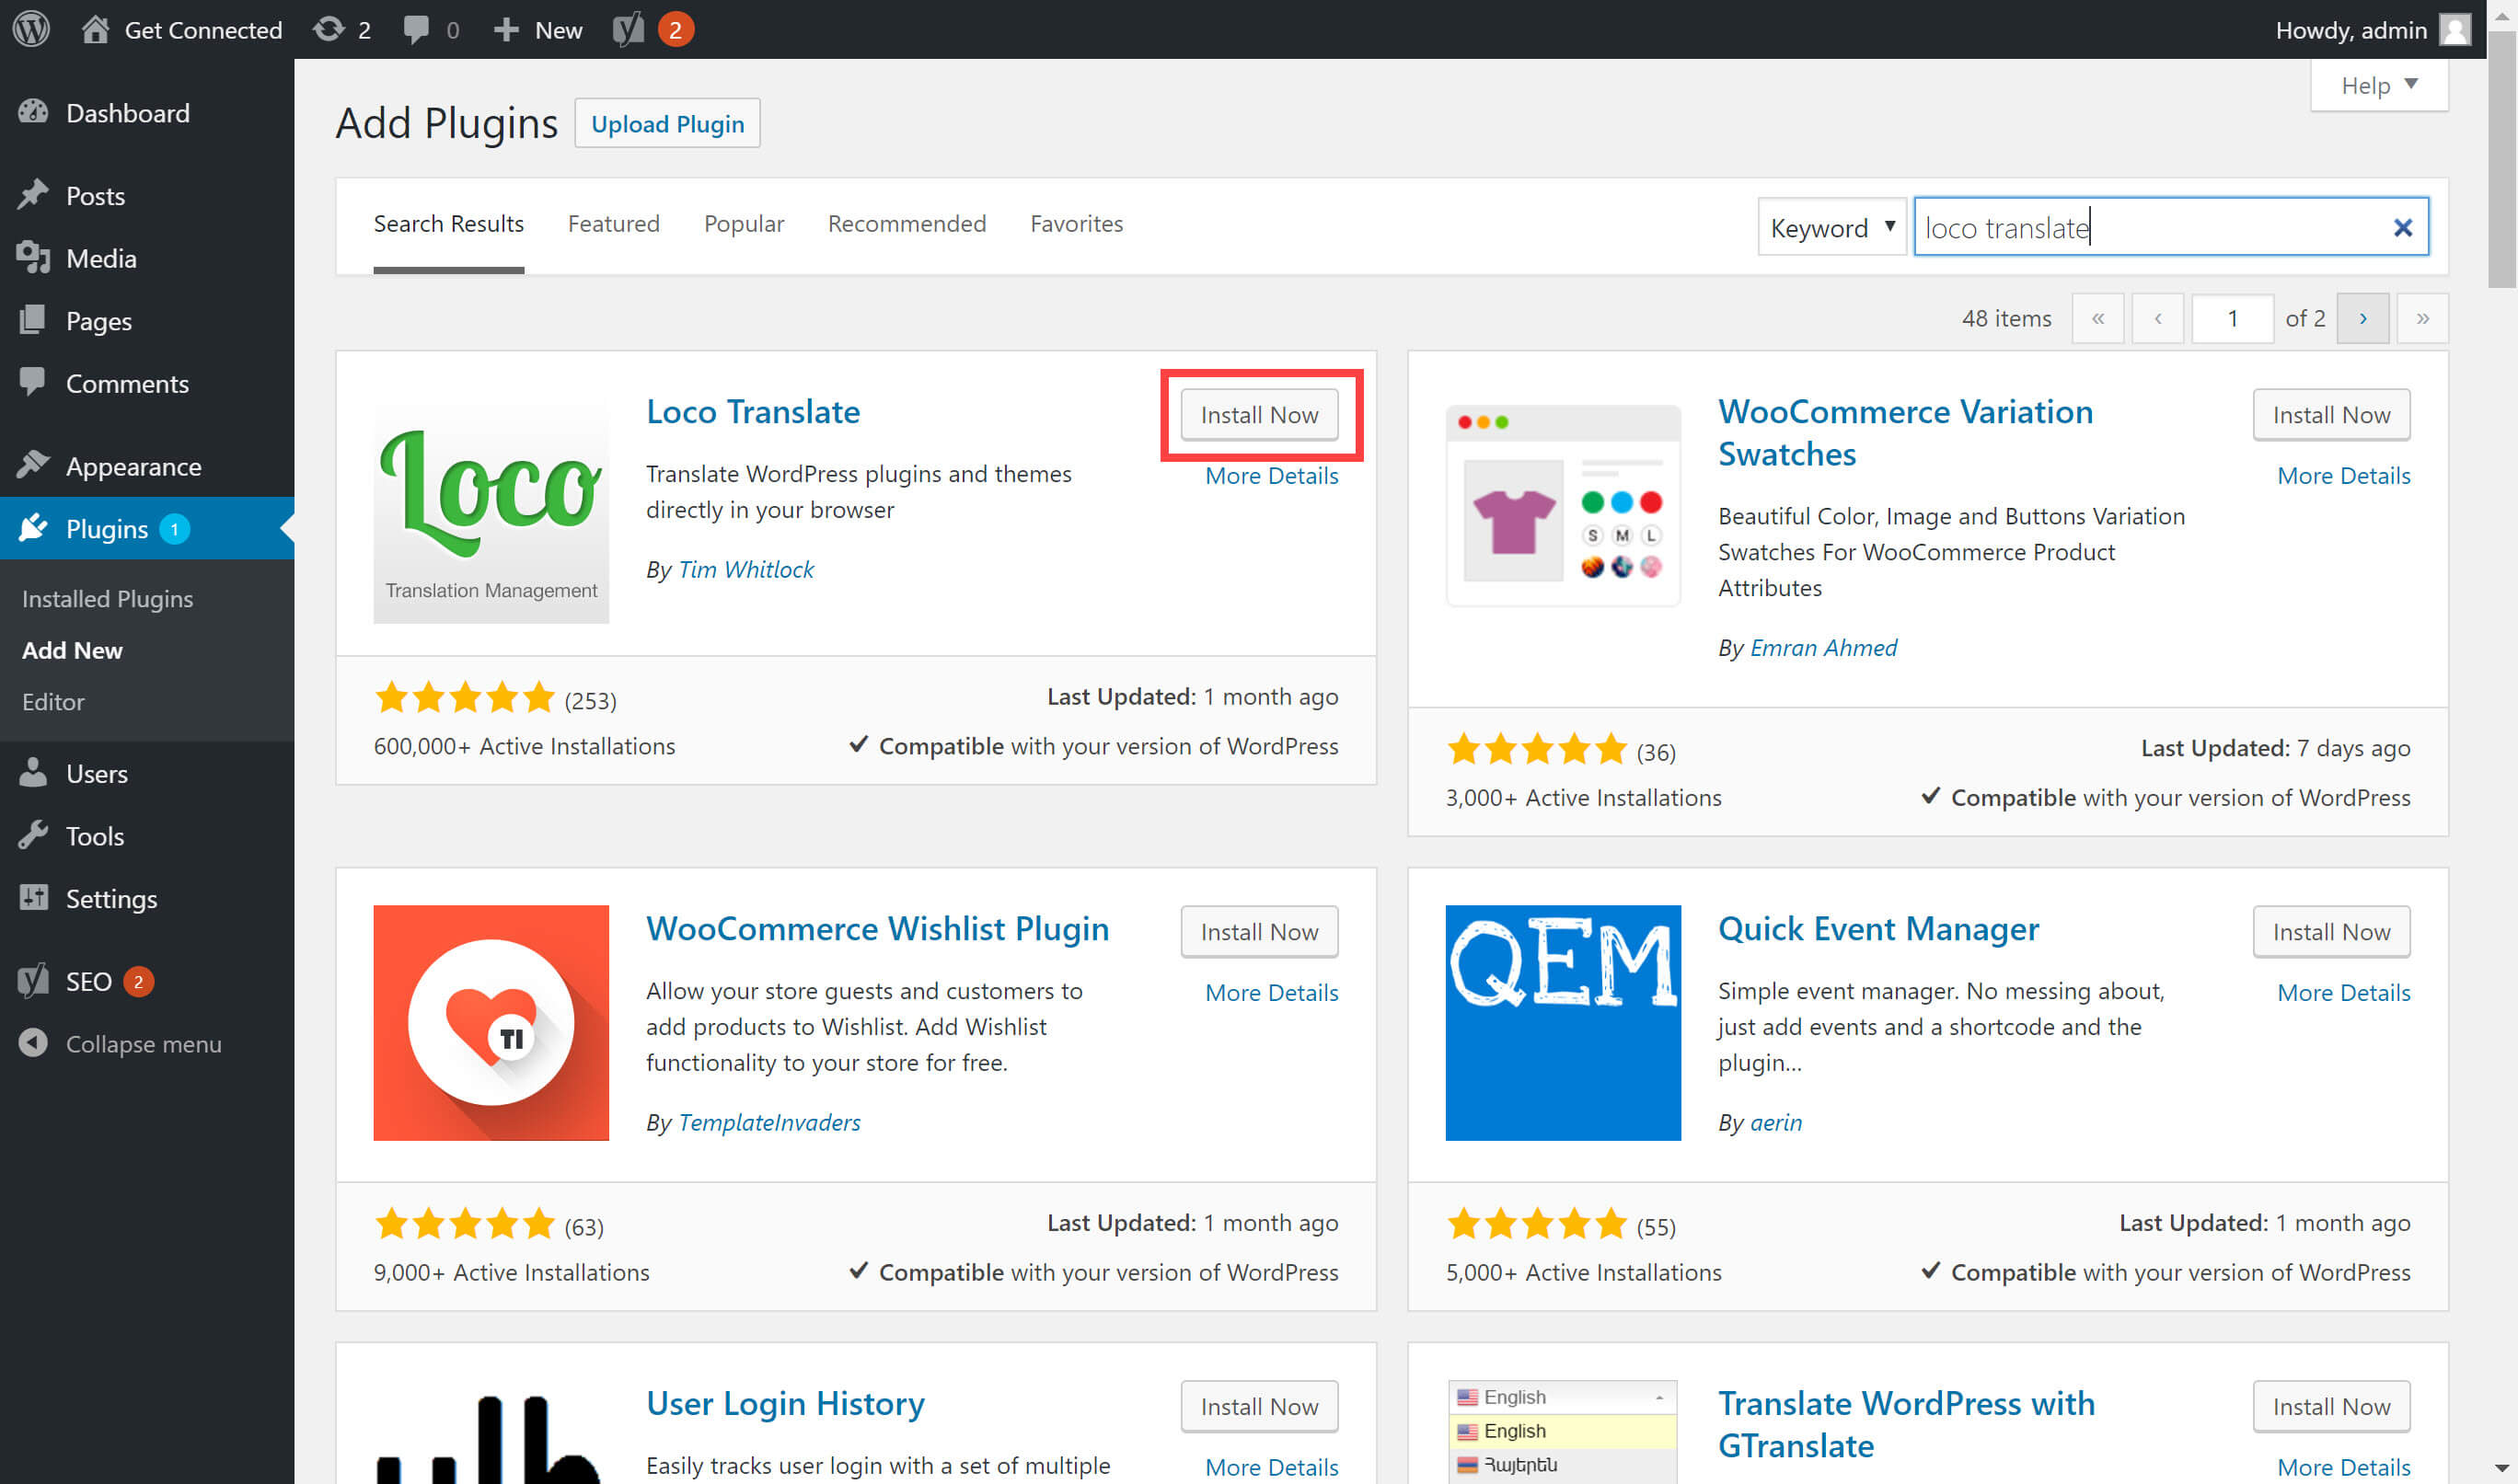
Should you wish to translate a plugin locally for your own use, you can install a WordPress plugin called Loco Translate to help you with the task. The plugin includes a translation editor, fully integrated in the WordPress administration dashboard, alongside automated translatable string extraction, a language dictionary and more.
Log into your administration dashboard and install the plugin by visiting Plugins > Add New.
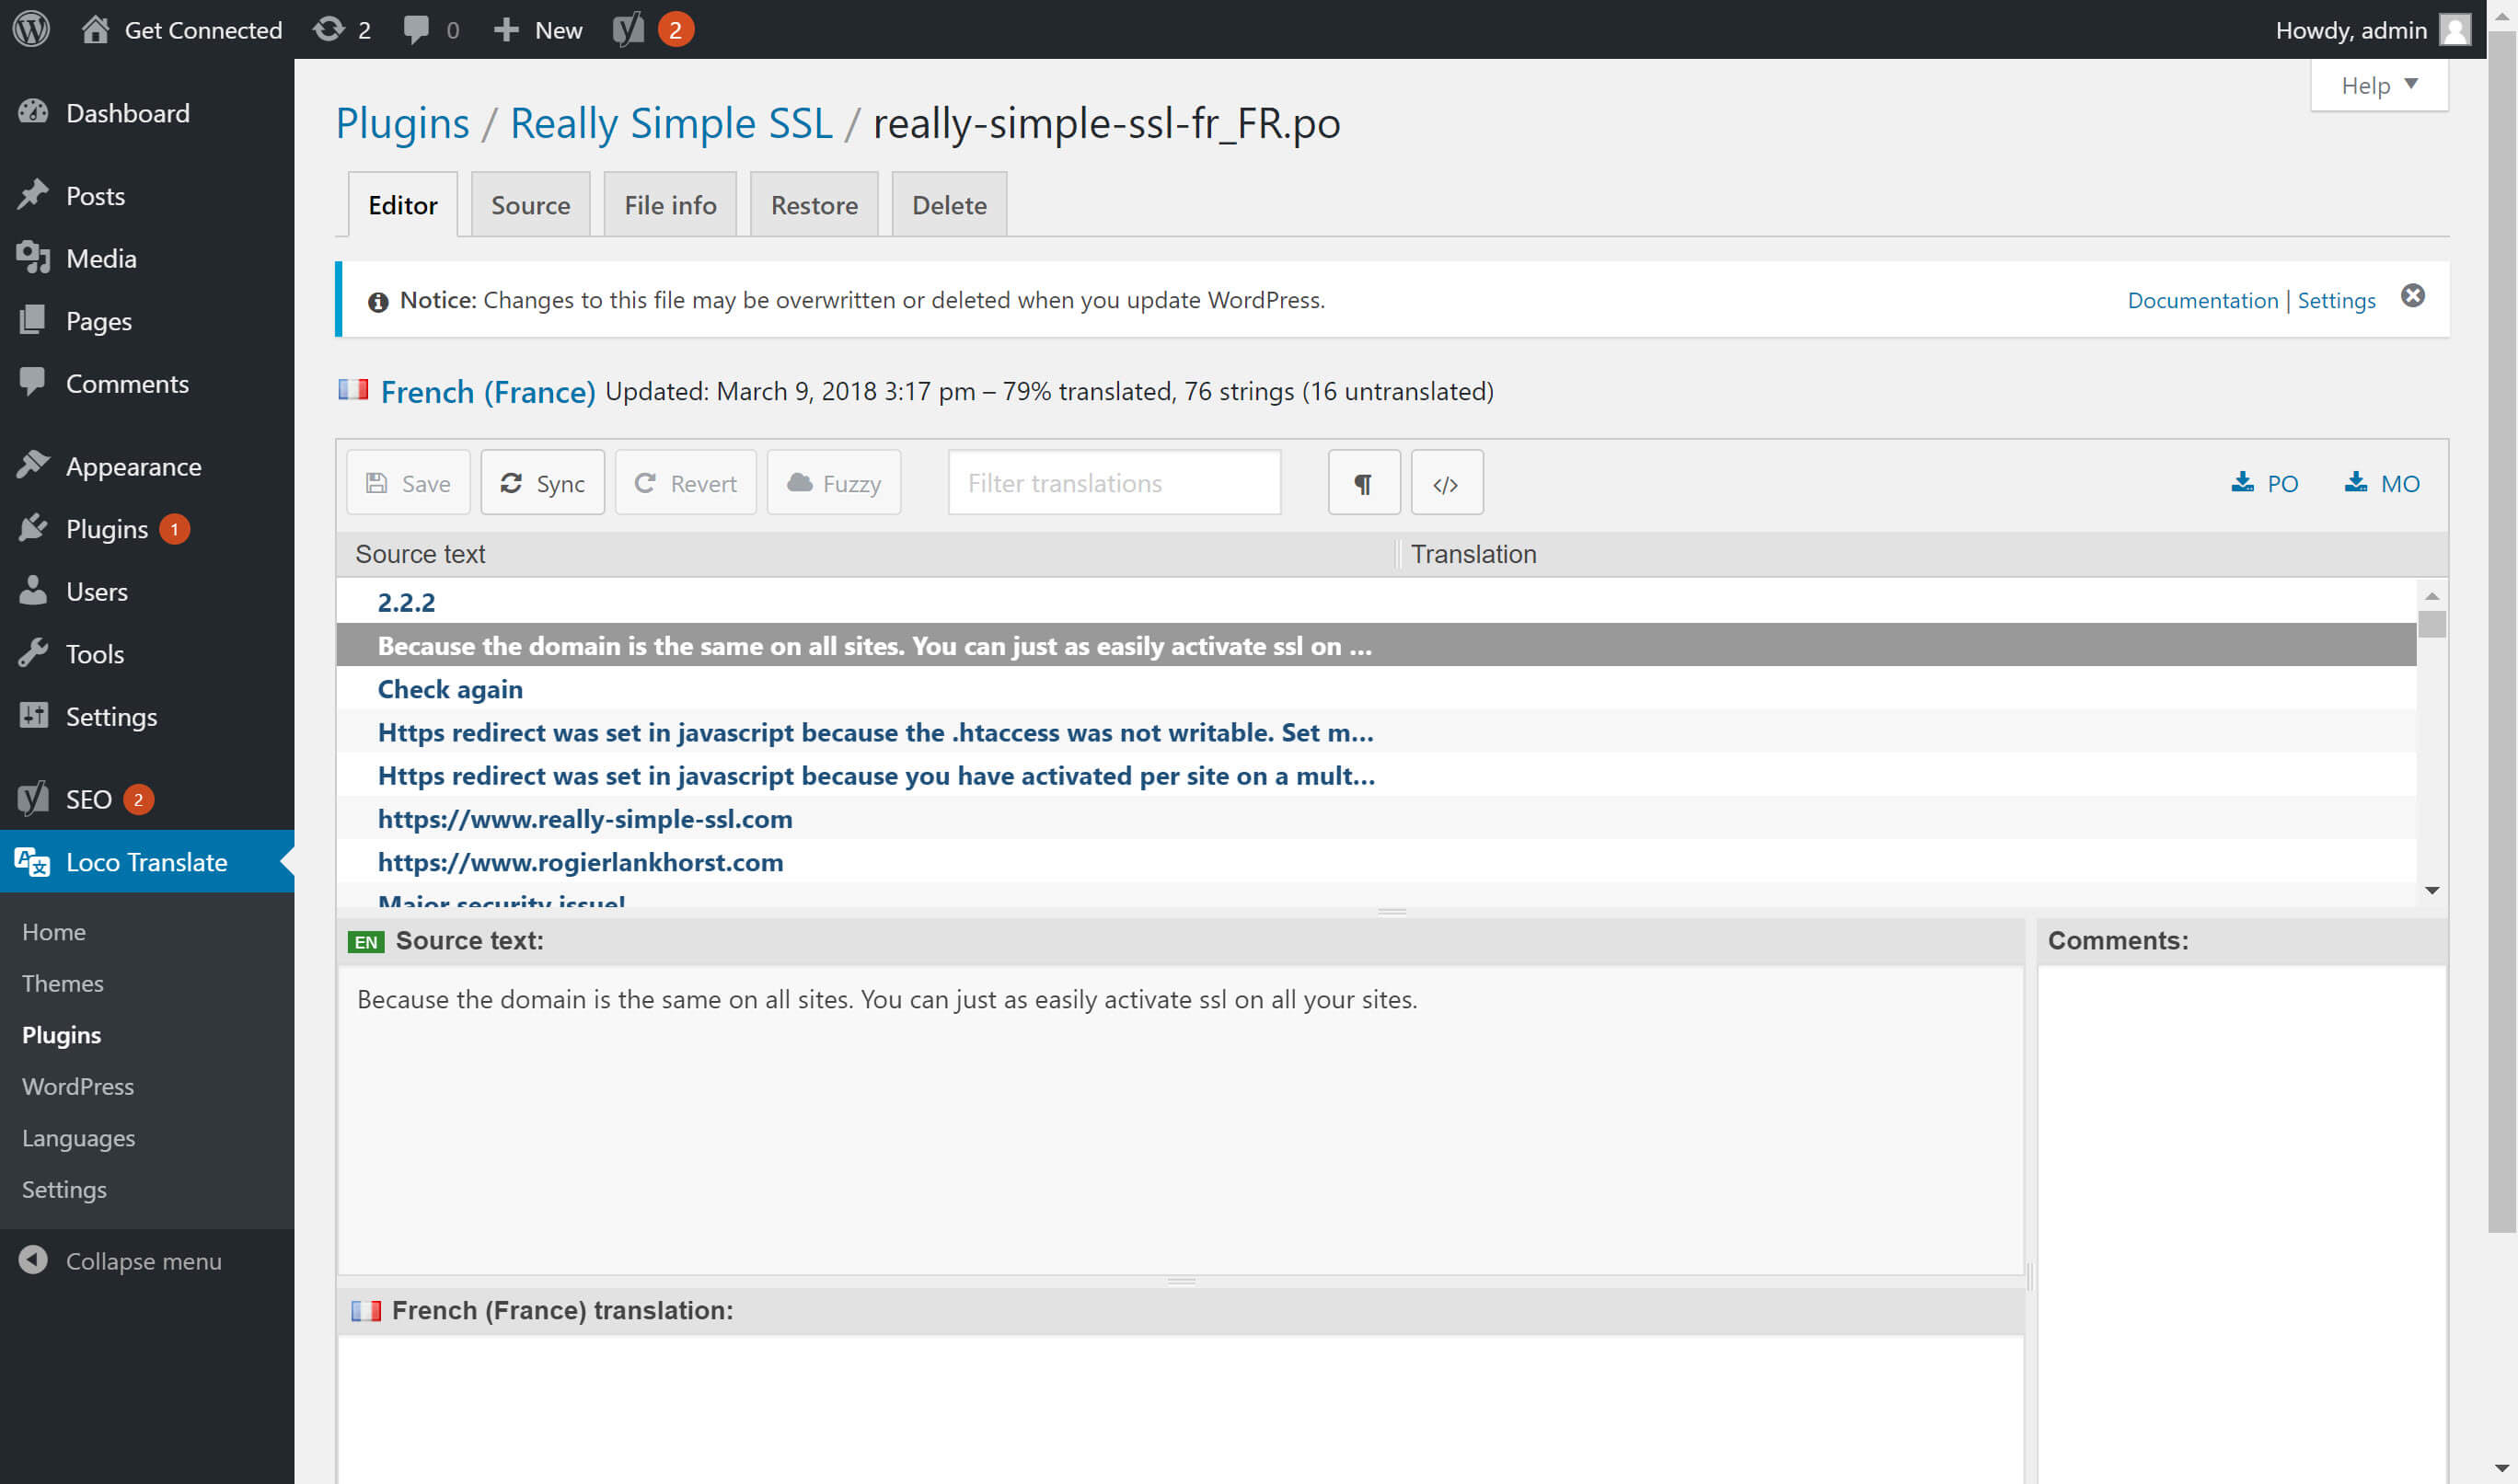
Once activated, head to Loco Translate > Plugins to start your translation. Select a plugin from the list displayed on screen.

Existing translation files for the plugin will be listed, or you can choose New Language to create a new locale.

Select an existing locale and you can proceed to select source text and enter translations.
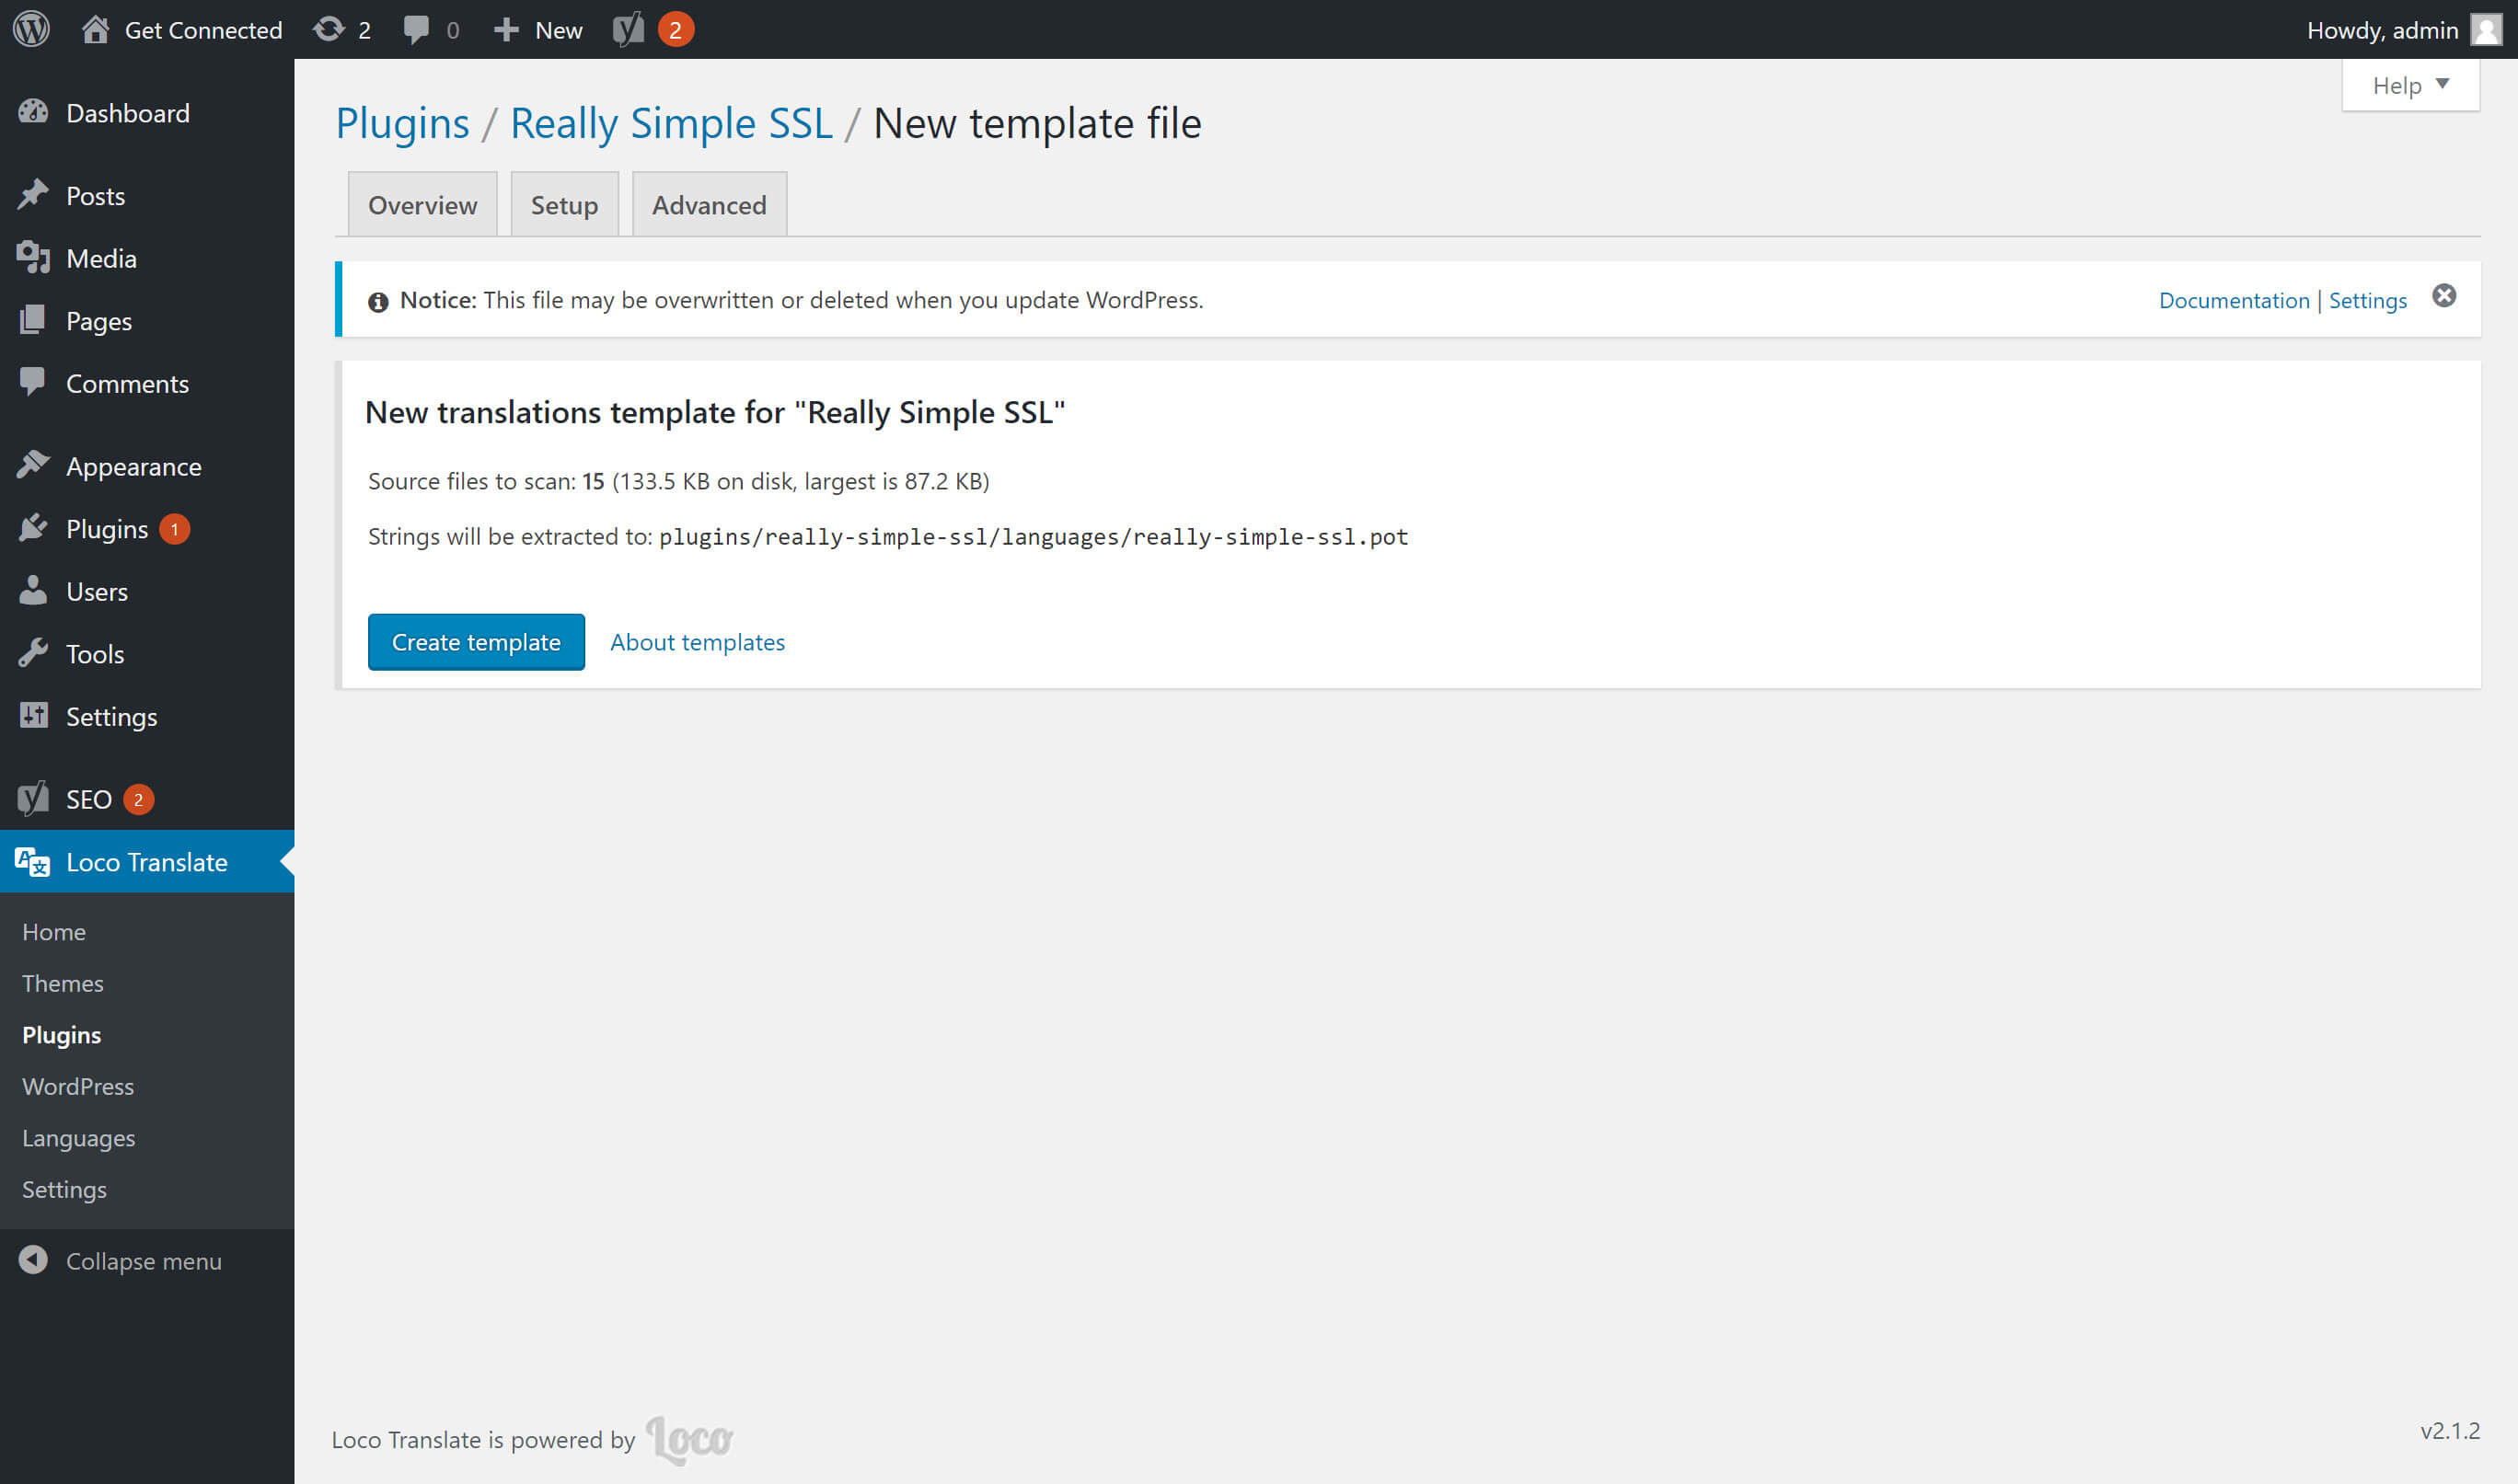
If you decide to create a new language, Loco Translate will search for a translation template file, supplied by the plugin developer. If once cannot be found, you can generate source text directly from the plugin’s source code.
Click Create template to do so.
Once the template file has been created, you can proceed with creating the new language. First, use the dropdown menu to select the new locale.
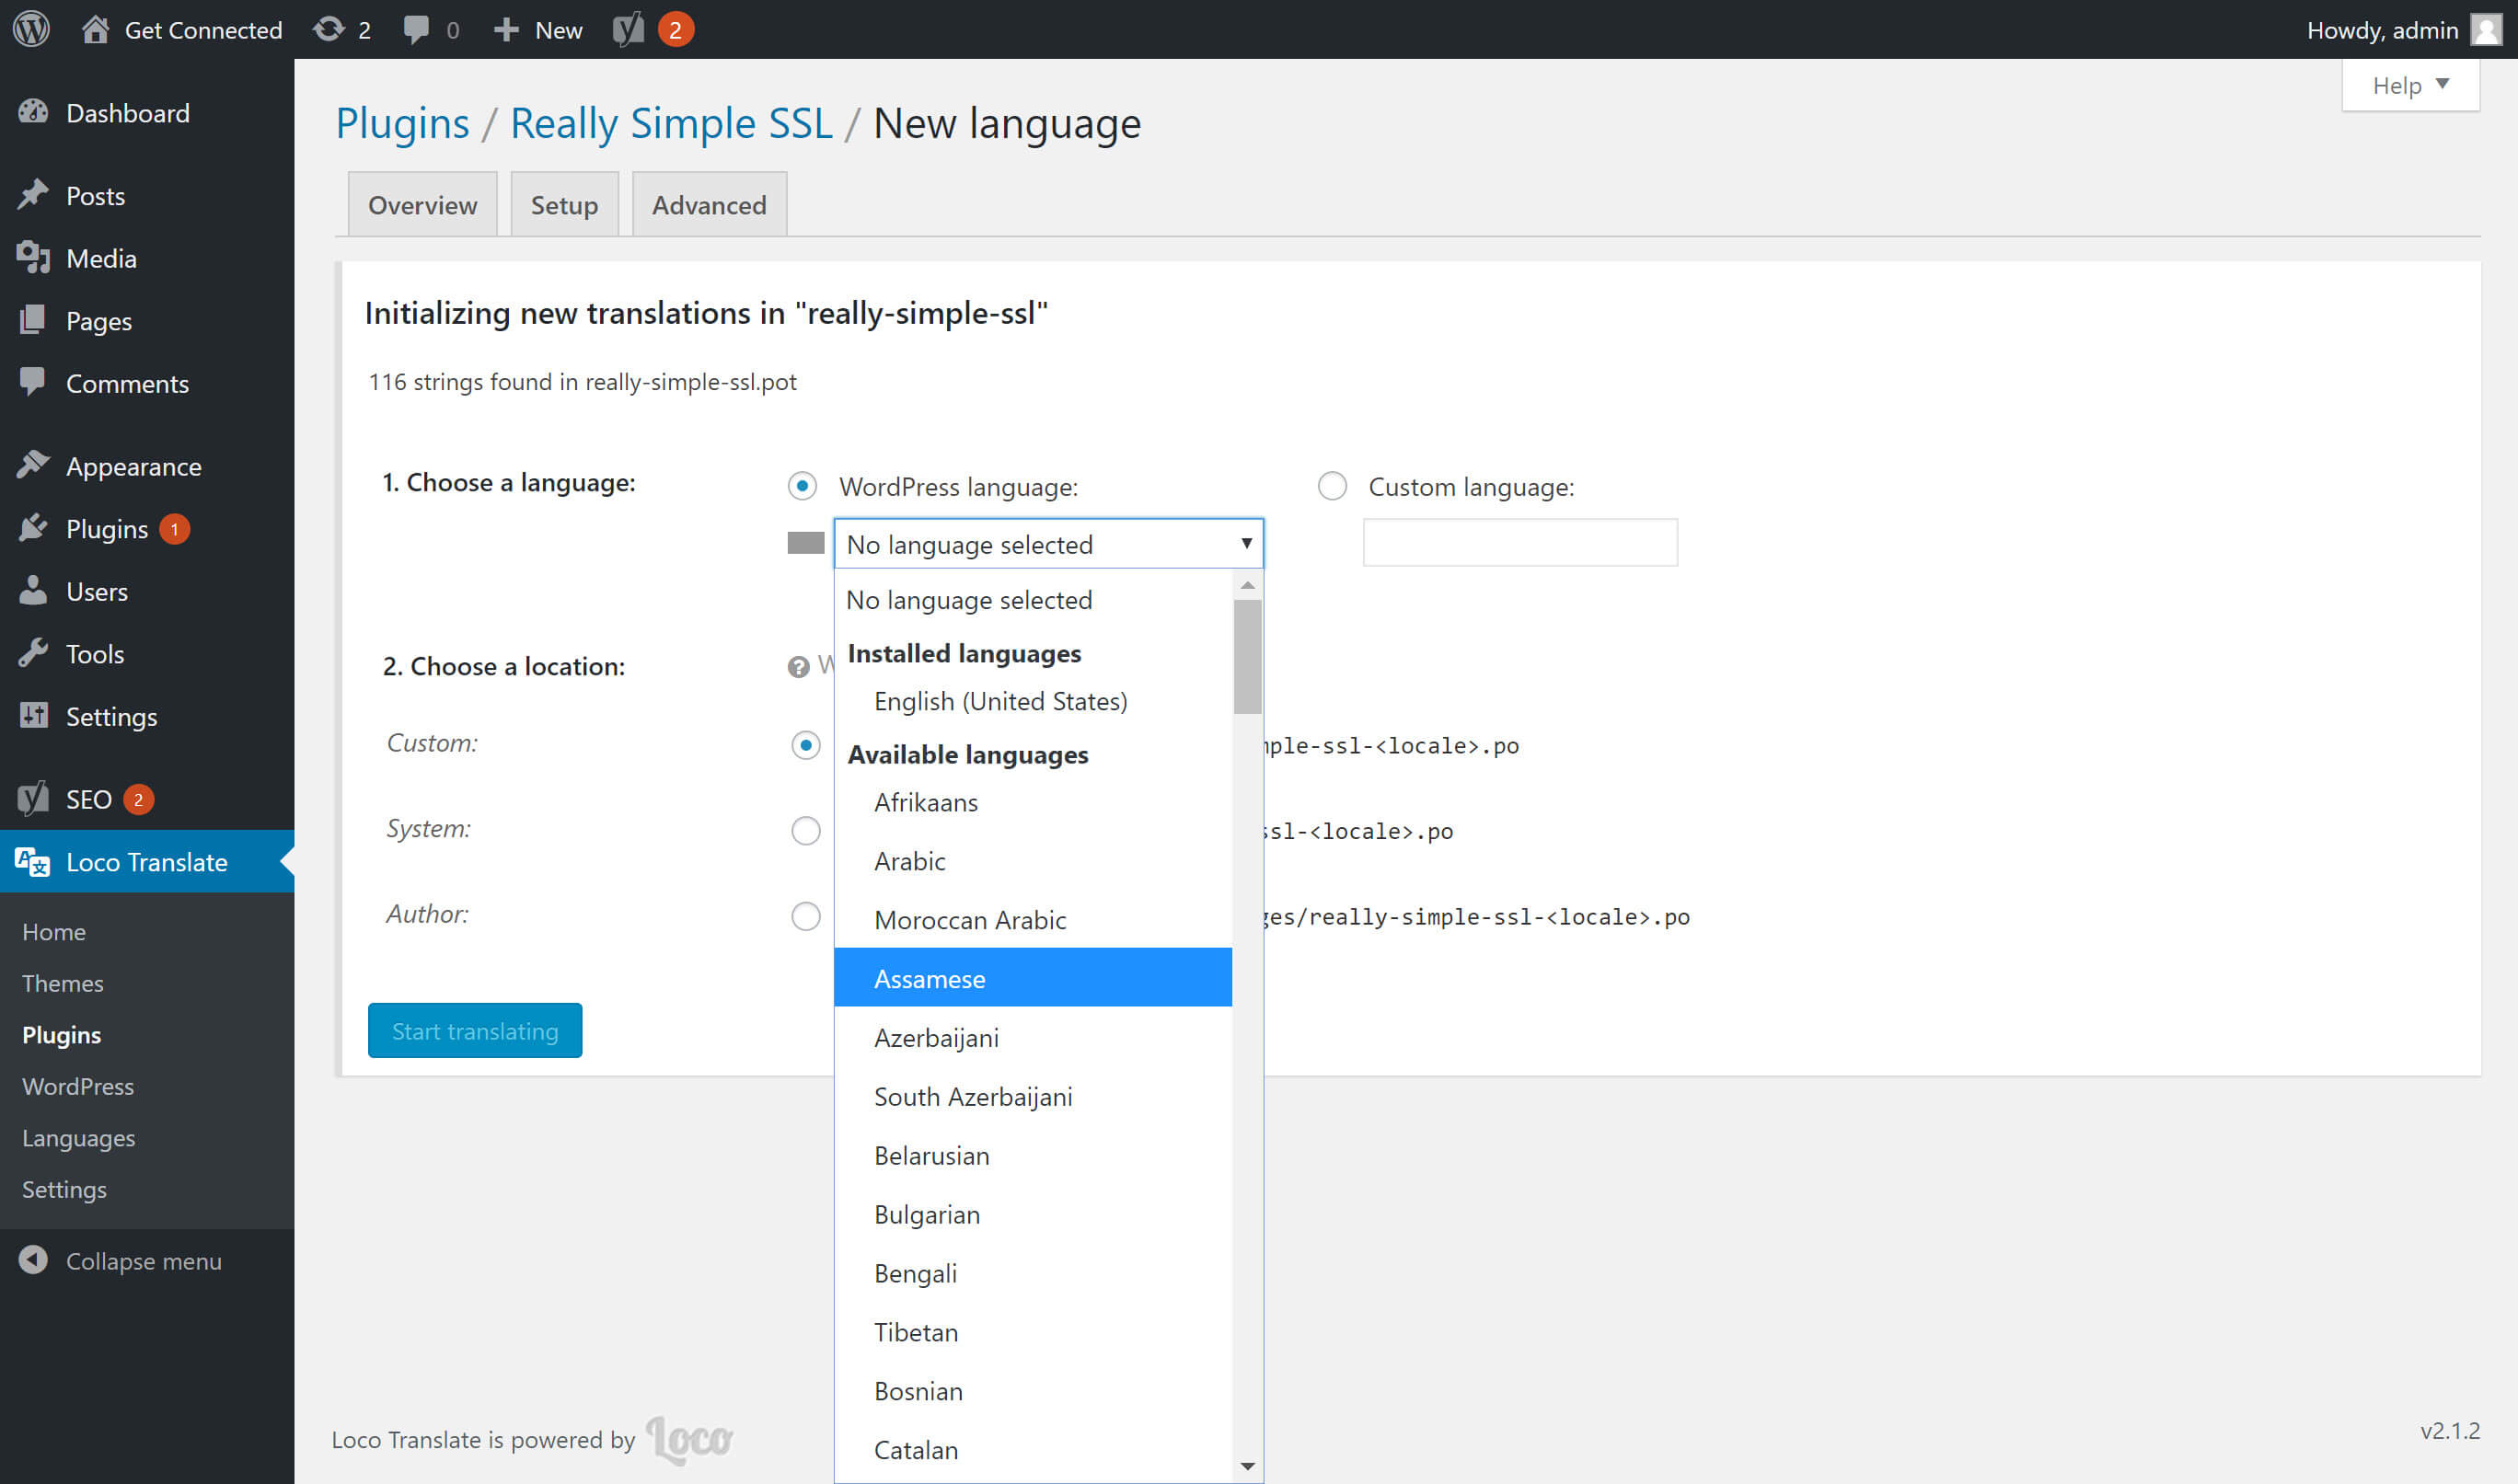
Proceed by choosing a location in which to store the translation files. You can select the Loco Translate folder, WordPress’ own languages folder or the plugin folder. Once you’ve made your selection, click Start translating.
One additional method of translating WordPress plugins is via the use of gettext translation apps, like Poedit. Download and install the app on your PC.

You’ll need to download the plugin files you wish to translate from the WordPress repository to your local computer. Extract the zip file, open the plugin folder and navigate to the languages folder.
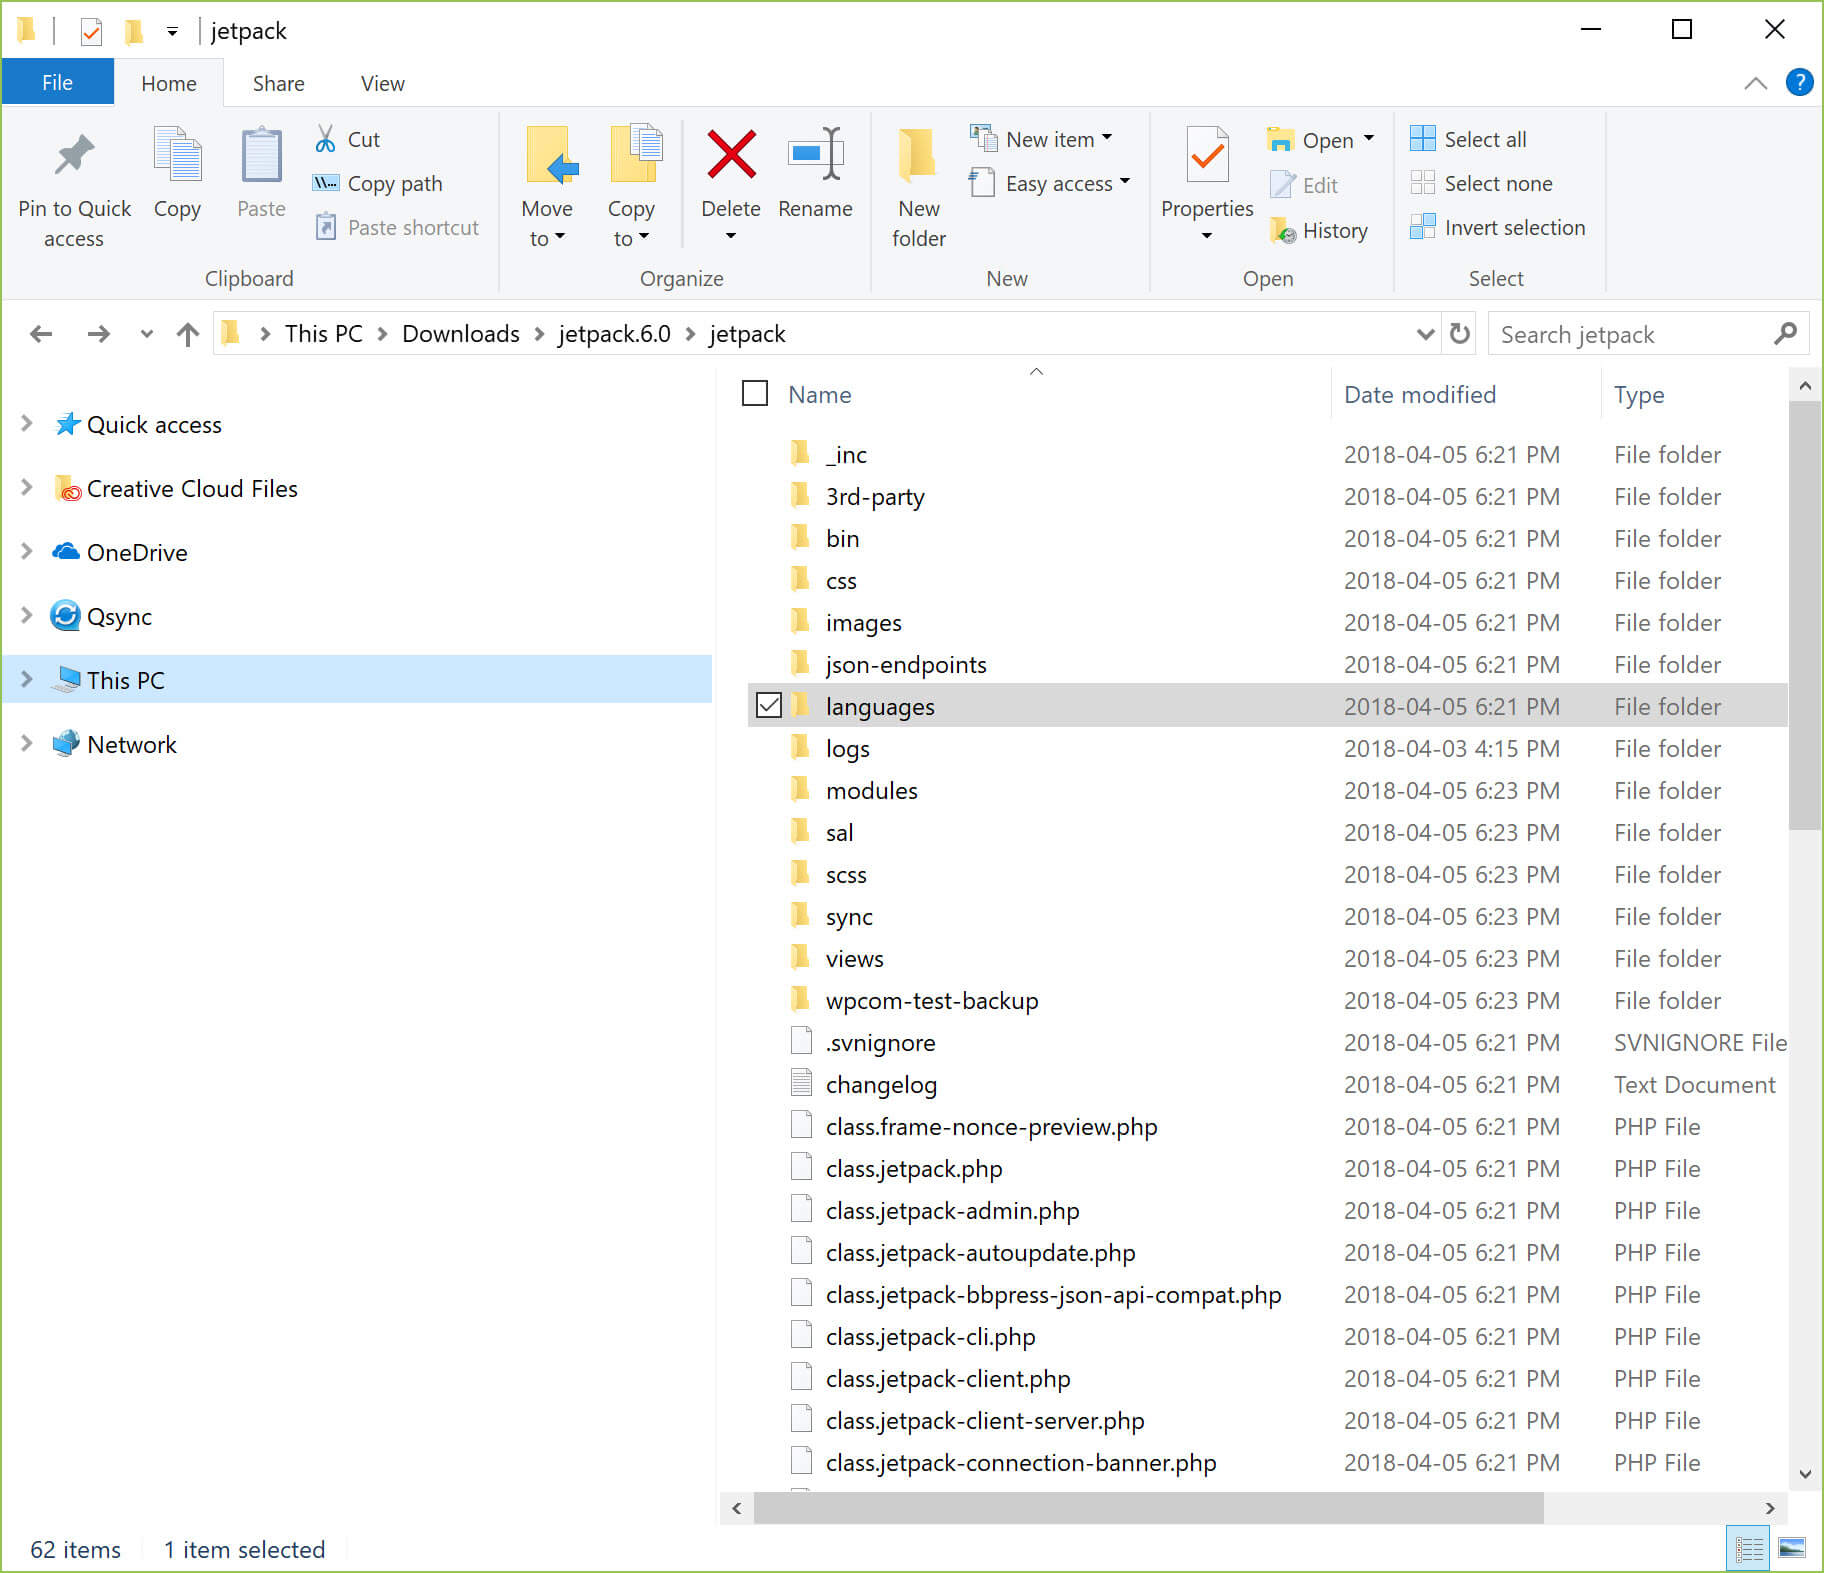
Look for a translation template file, which can be identified by its .pot file extension. If one is not listed, you may still be able to translate the plugin from an existing .po language file.
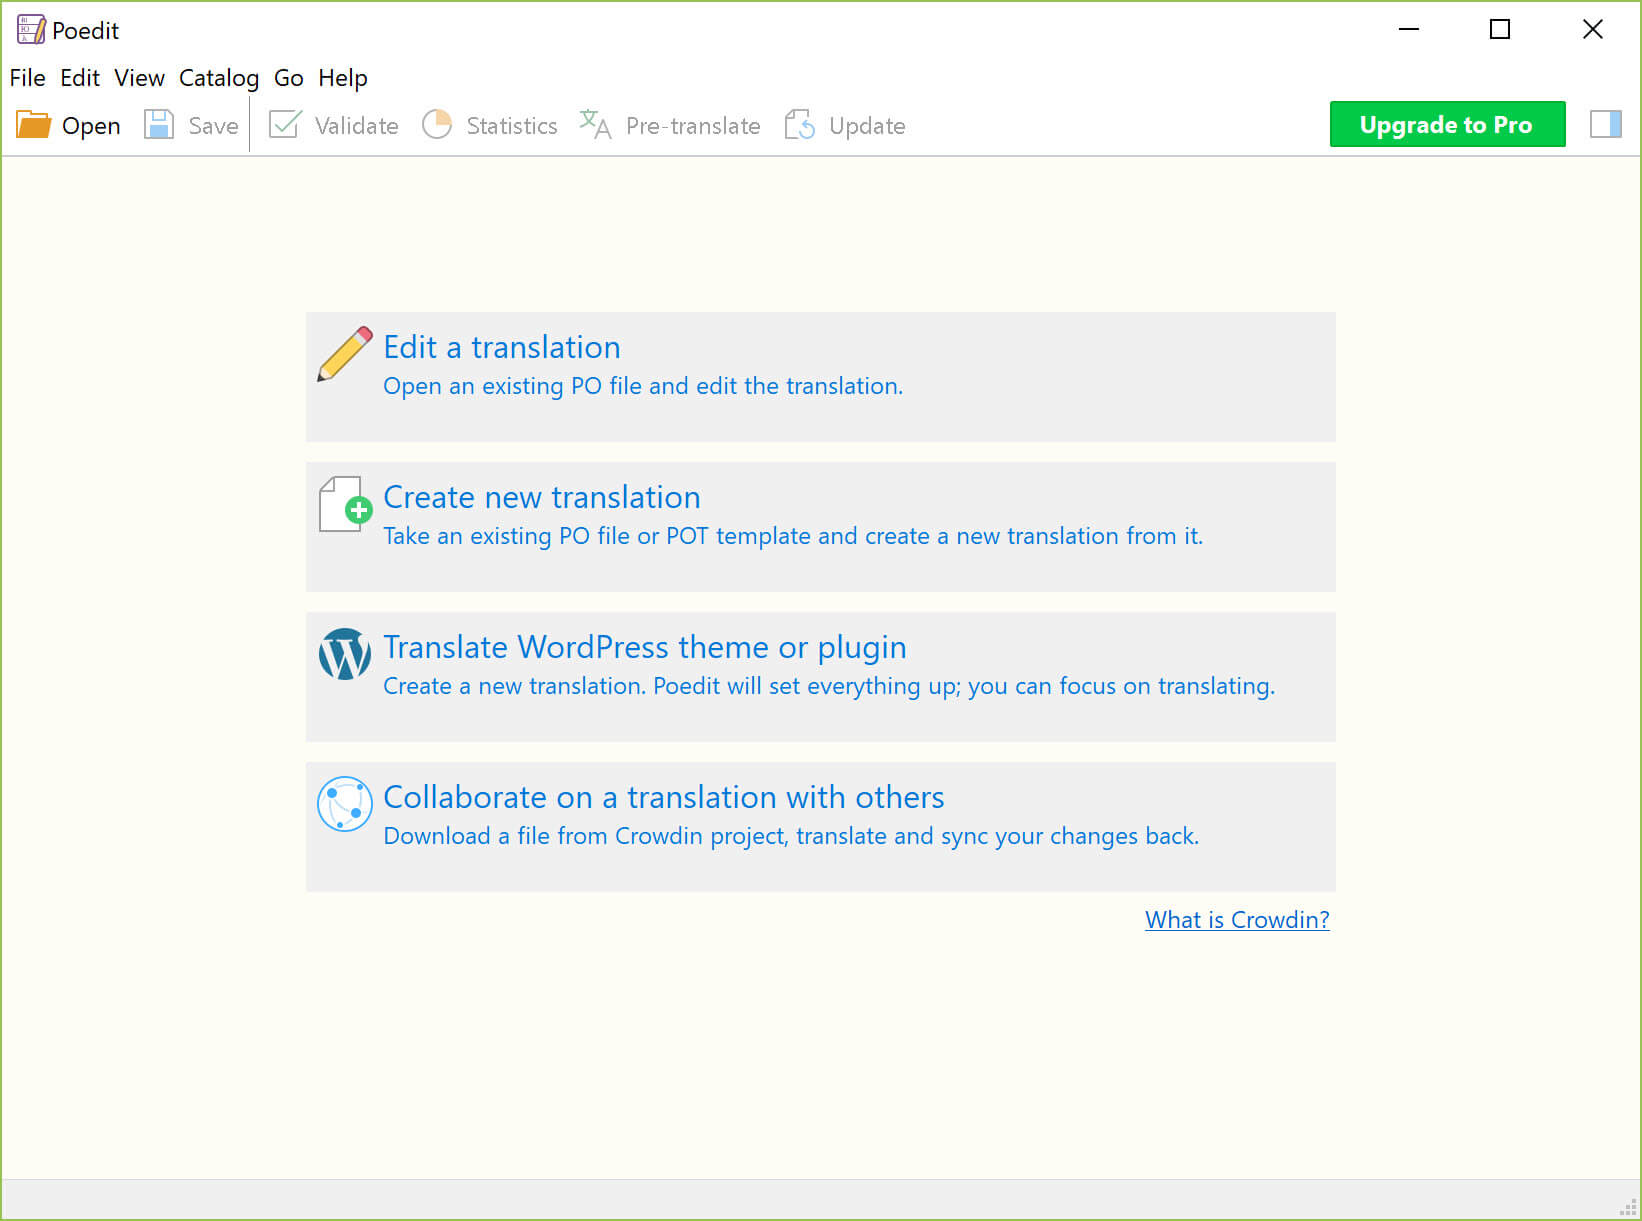
Open Poedit and select Create new translation.
Navigate and select a .po or .pot file from your plugin’s languages folder. Once loaded, select the translation language from the dropdown menu, then start your translations.
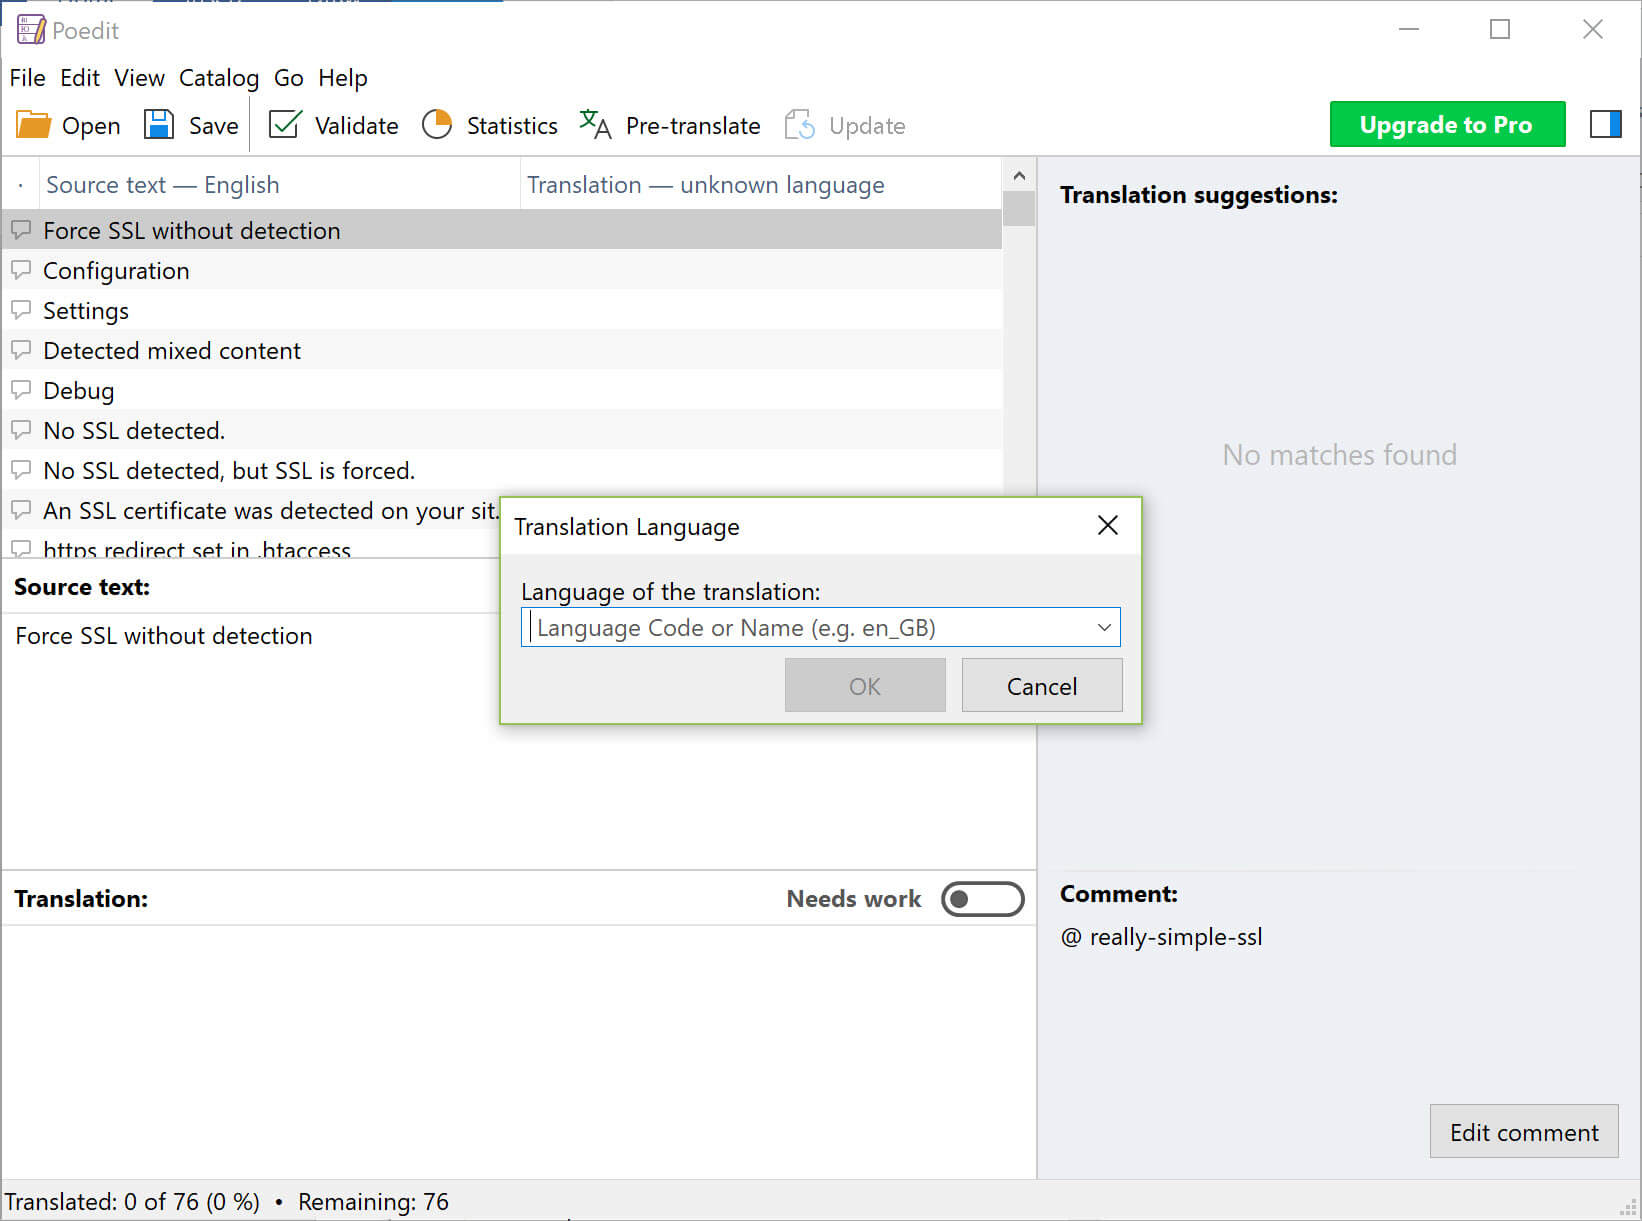
Use the Save button to save your work. Poedit will create .po and .mo files that should be placed in your plugin’s languages folder.
If you notice any problems or if you need any help, please open a new support ticket from your HostPapa Dashboard. More details on how to open a support ticket can be found here.
