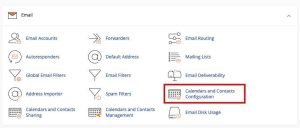
Locate your Calendar and Contacts setup information
The first step is to retrieve your calendar and contact configuration details from My cPanel. 1. Sign in to the HostPapa dashboard. 2. Click on My cPanel or My WordPress in the navigation bar. cPanel will open in a new tab.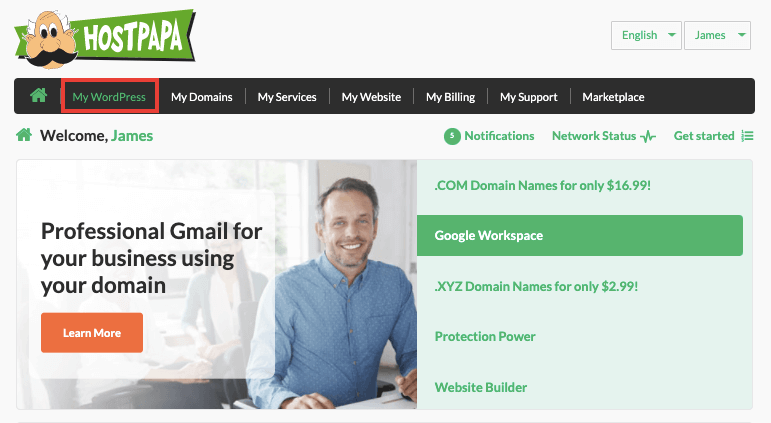
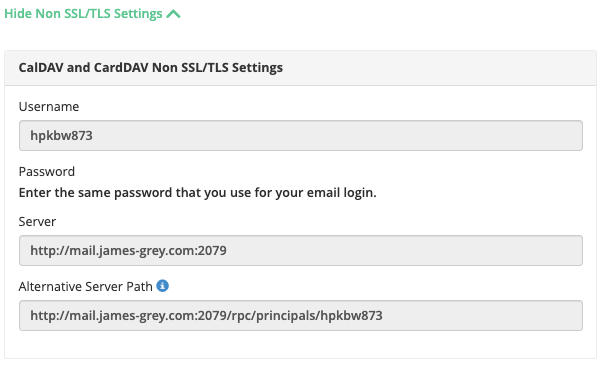
- Username
- Password
- Server URL
- Alternate URL
Set up calendar and contact synchronization
Follow the links below to set up calendar and contact synchronization for your operating system:- Calendar synchronization for iOS devices
- Contacts synchronization for iOS devices
- Calendar synchronization for Mac OS devices
- Contacts synchronization for Mac OS devices
- Other operating systems
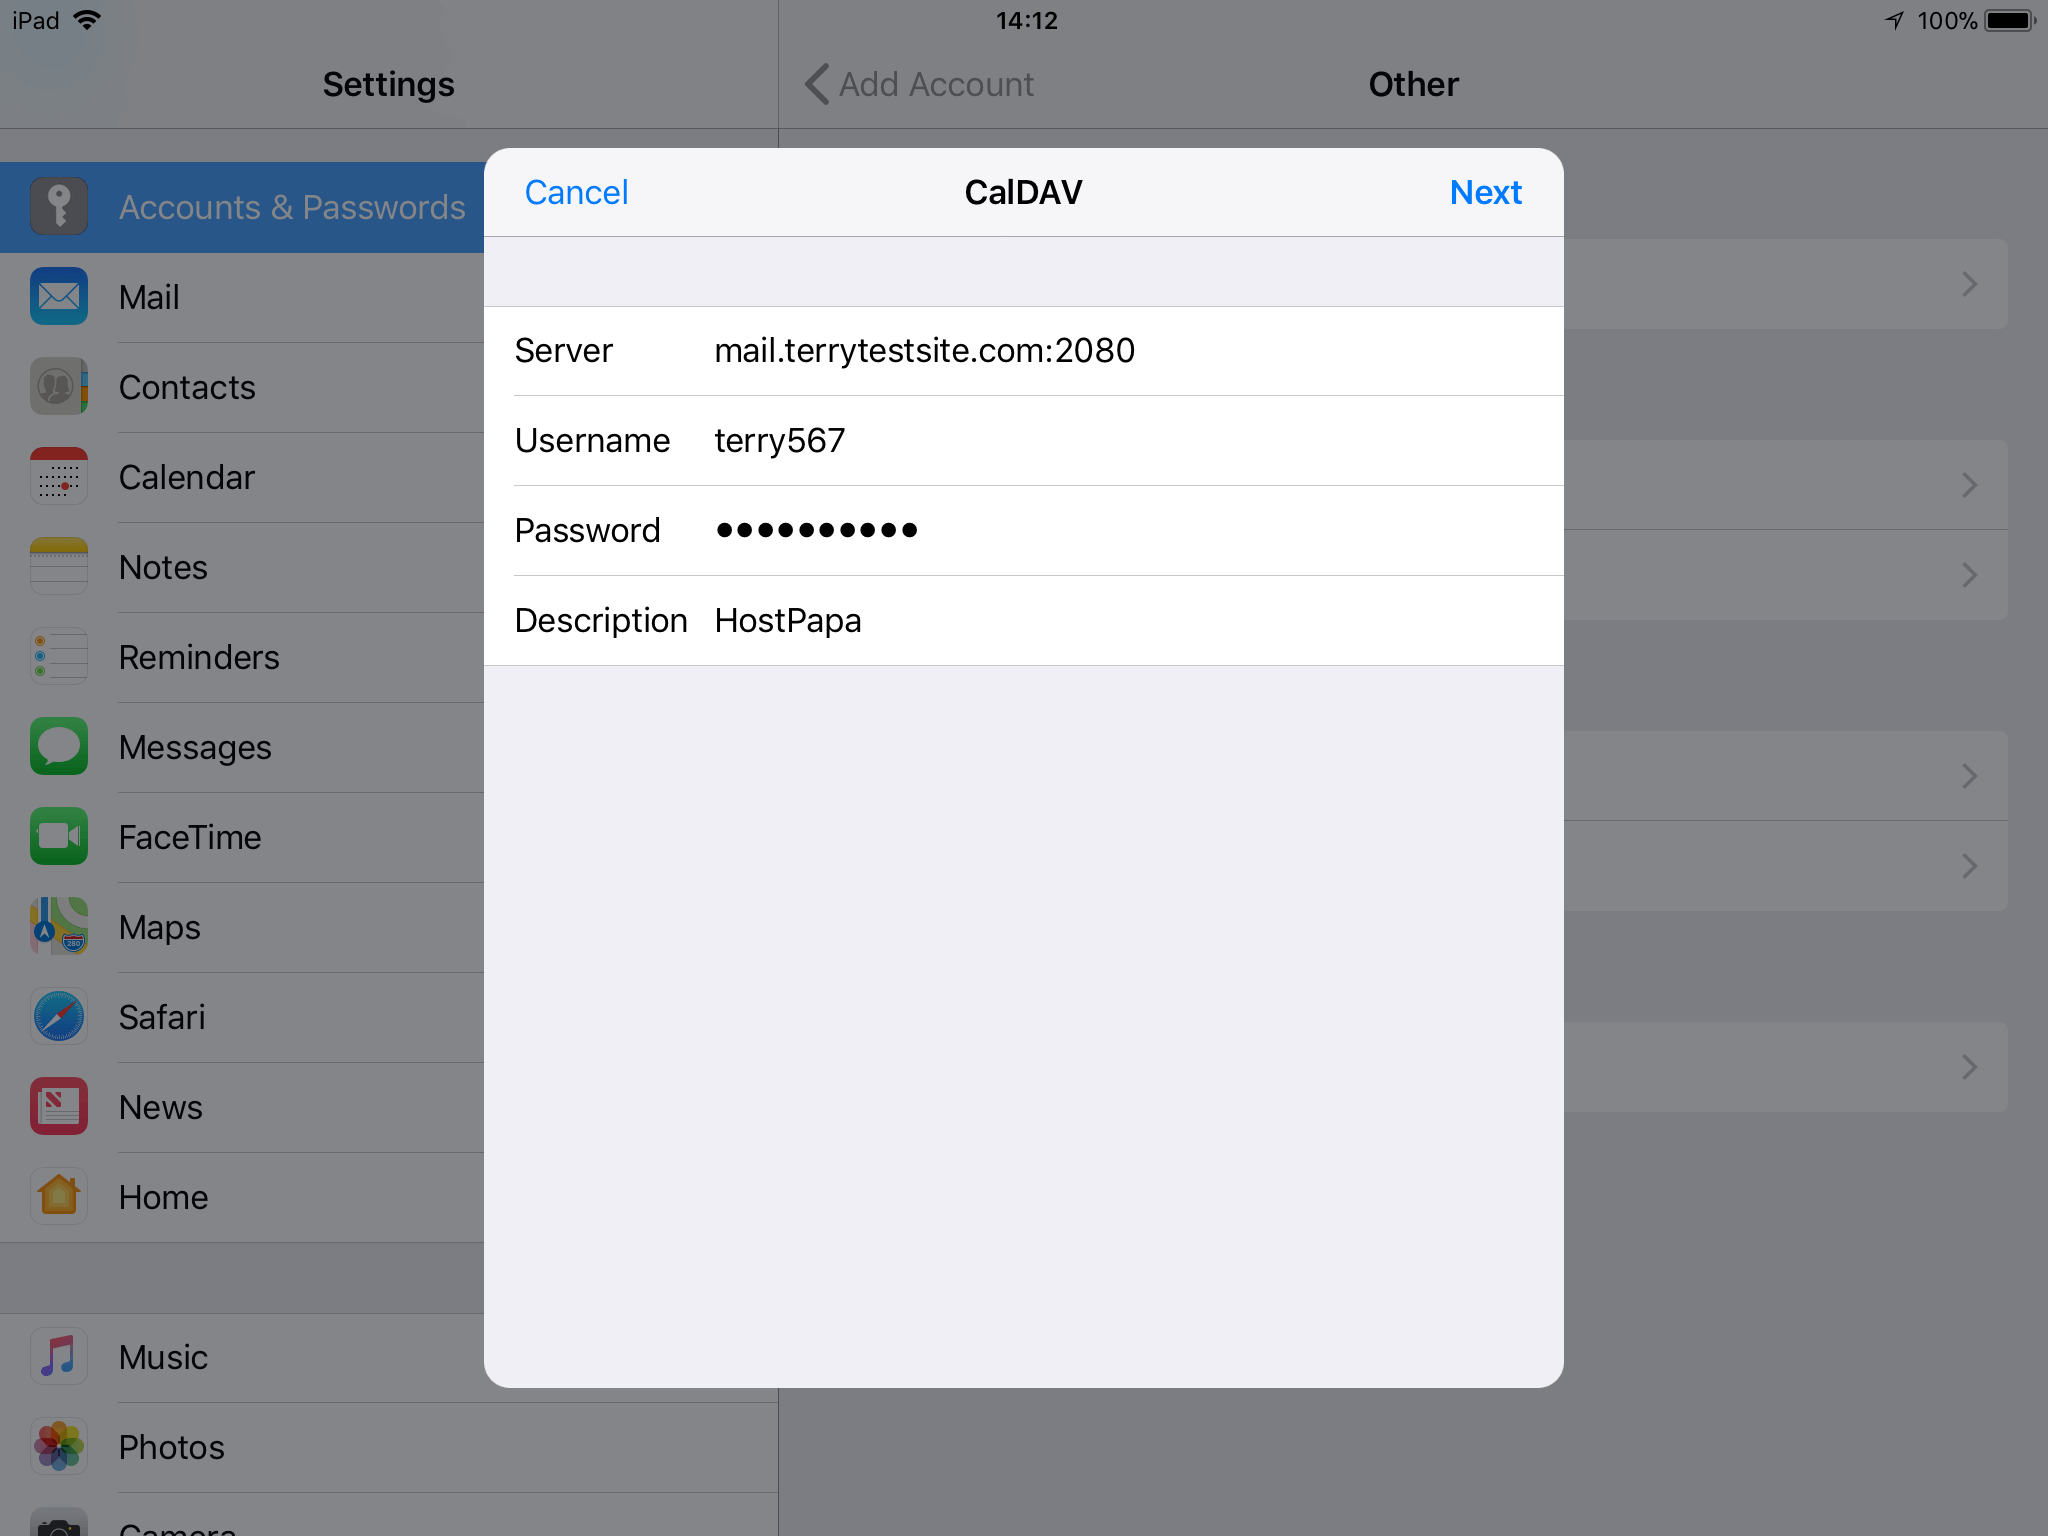
Calendar synchronization for iOS devices
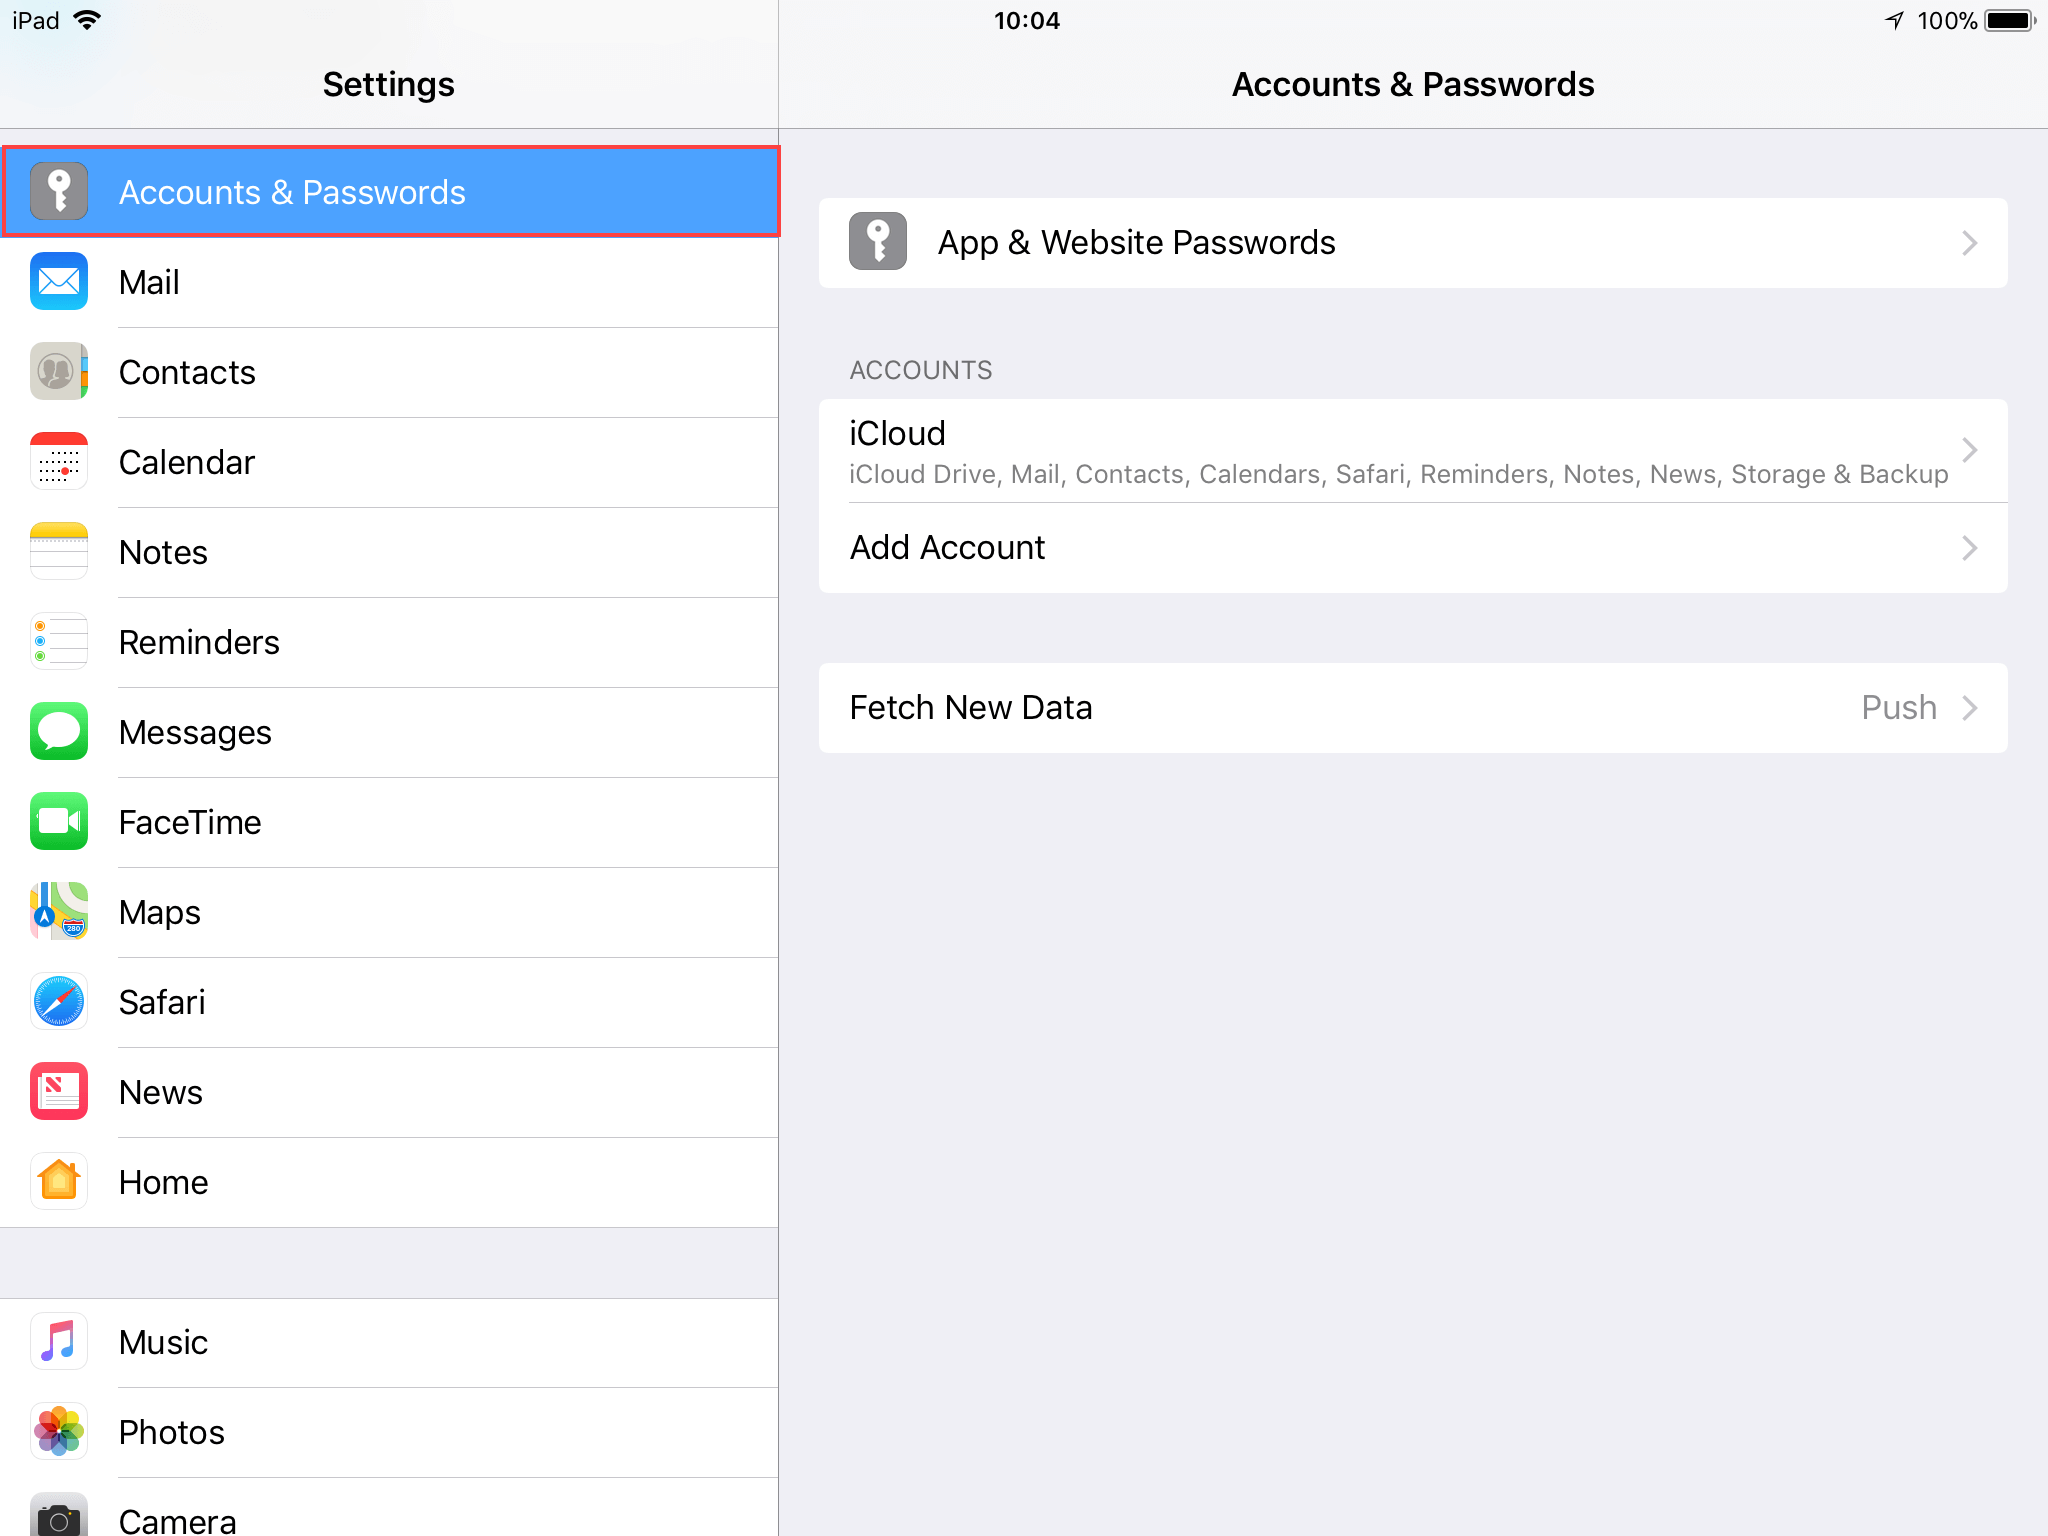
- On your iOS device, open the Settings menu.
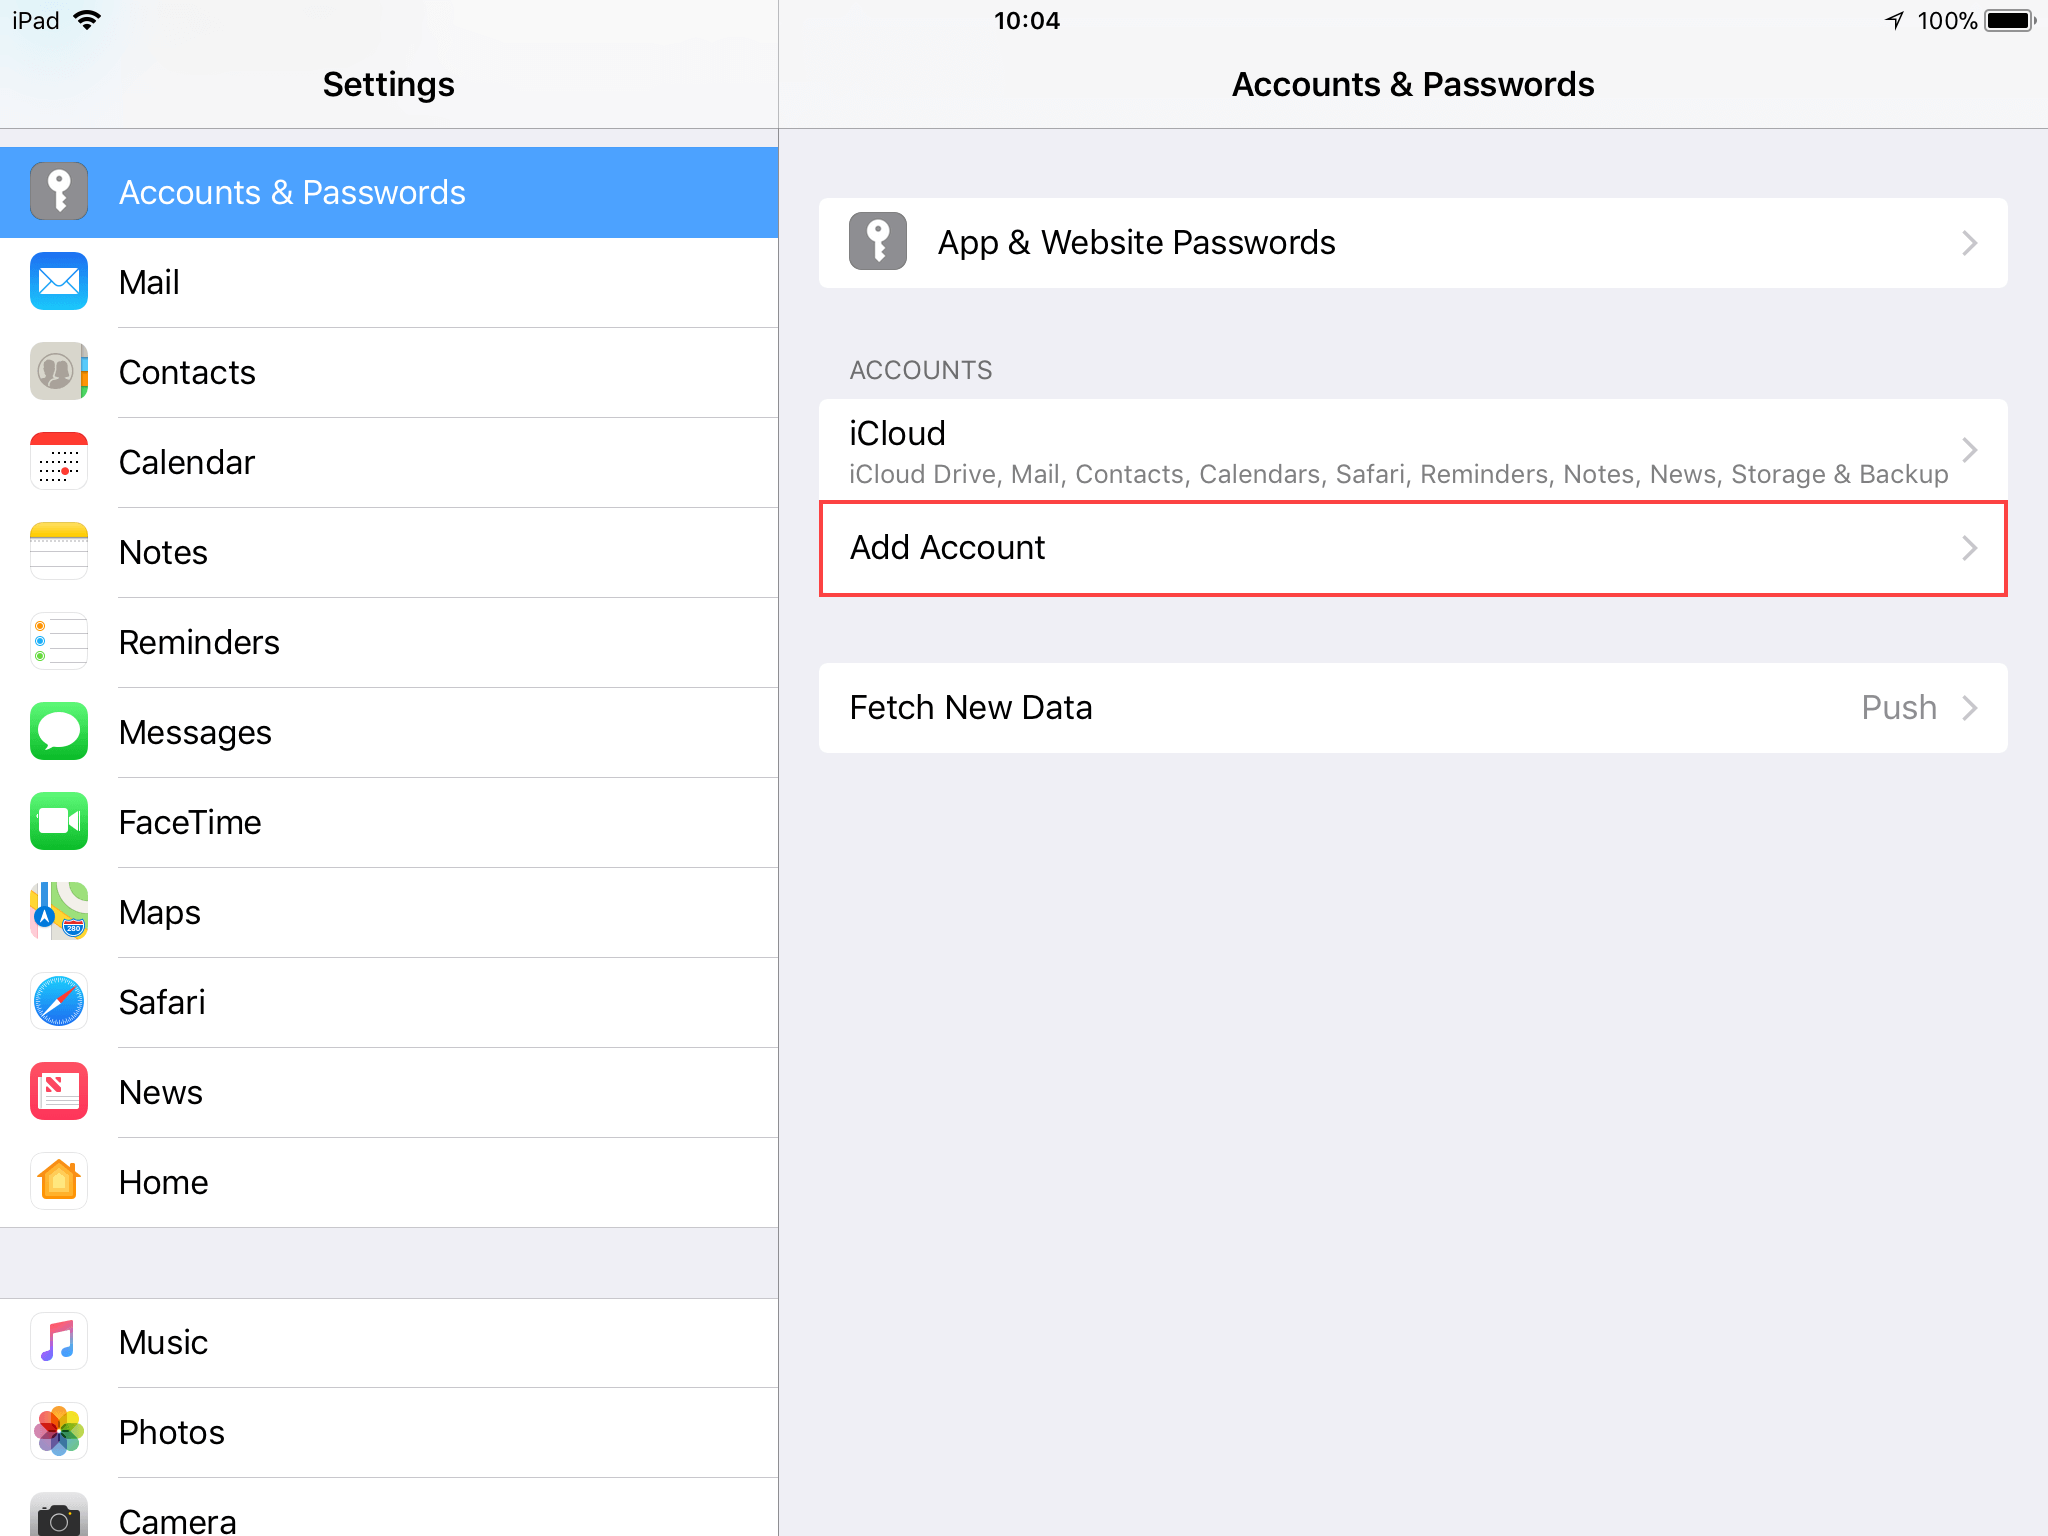
- Click Accounts & Passwords.
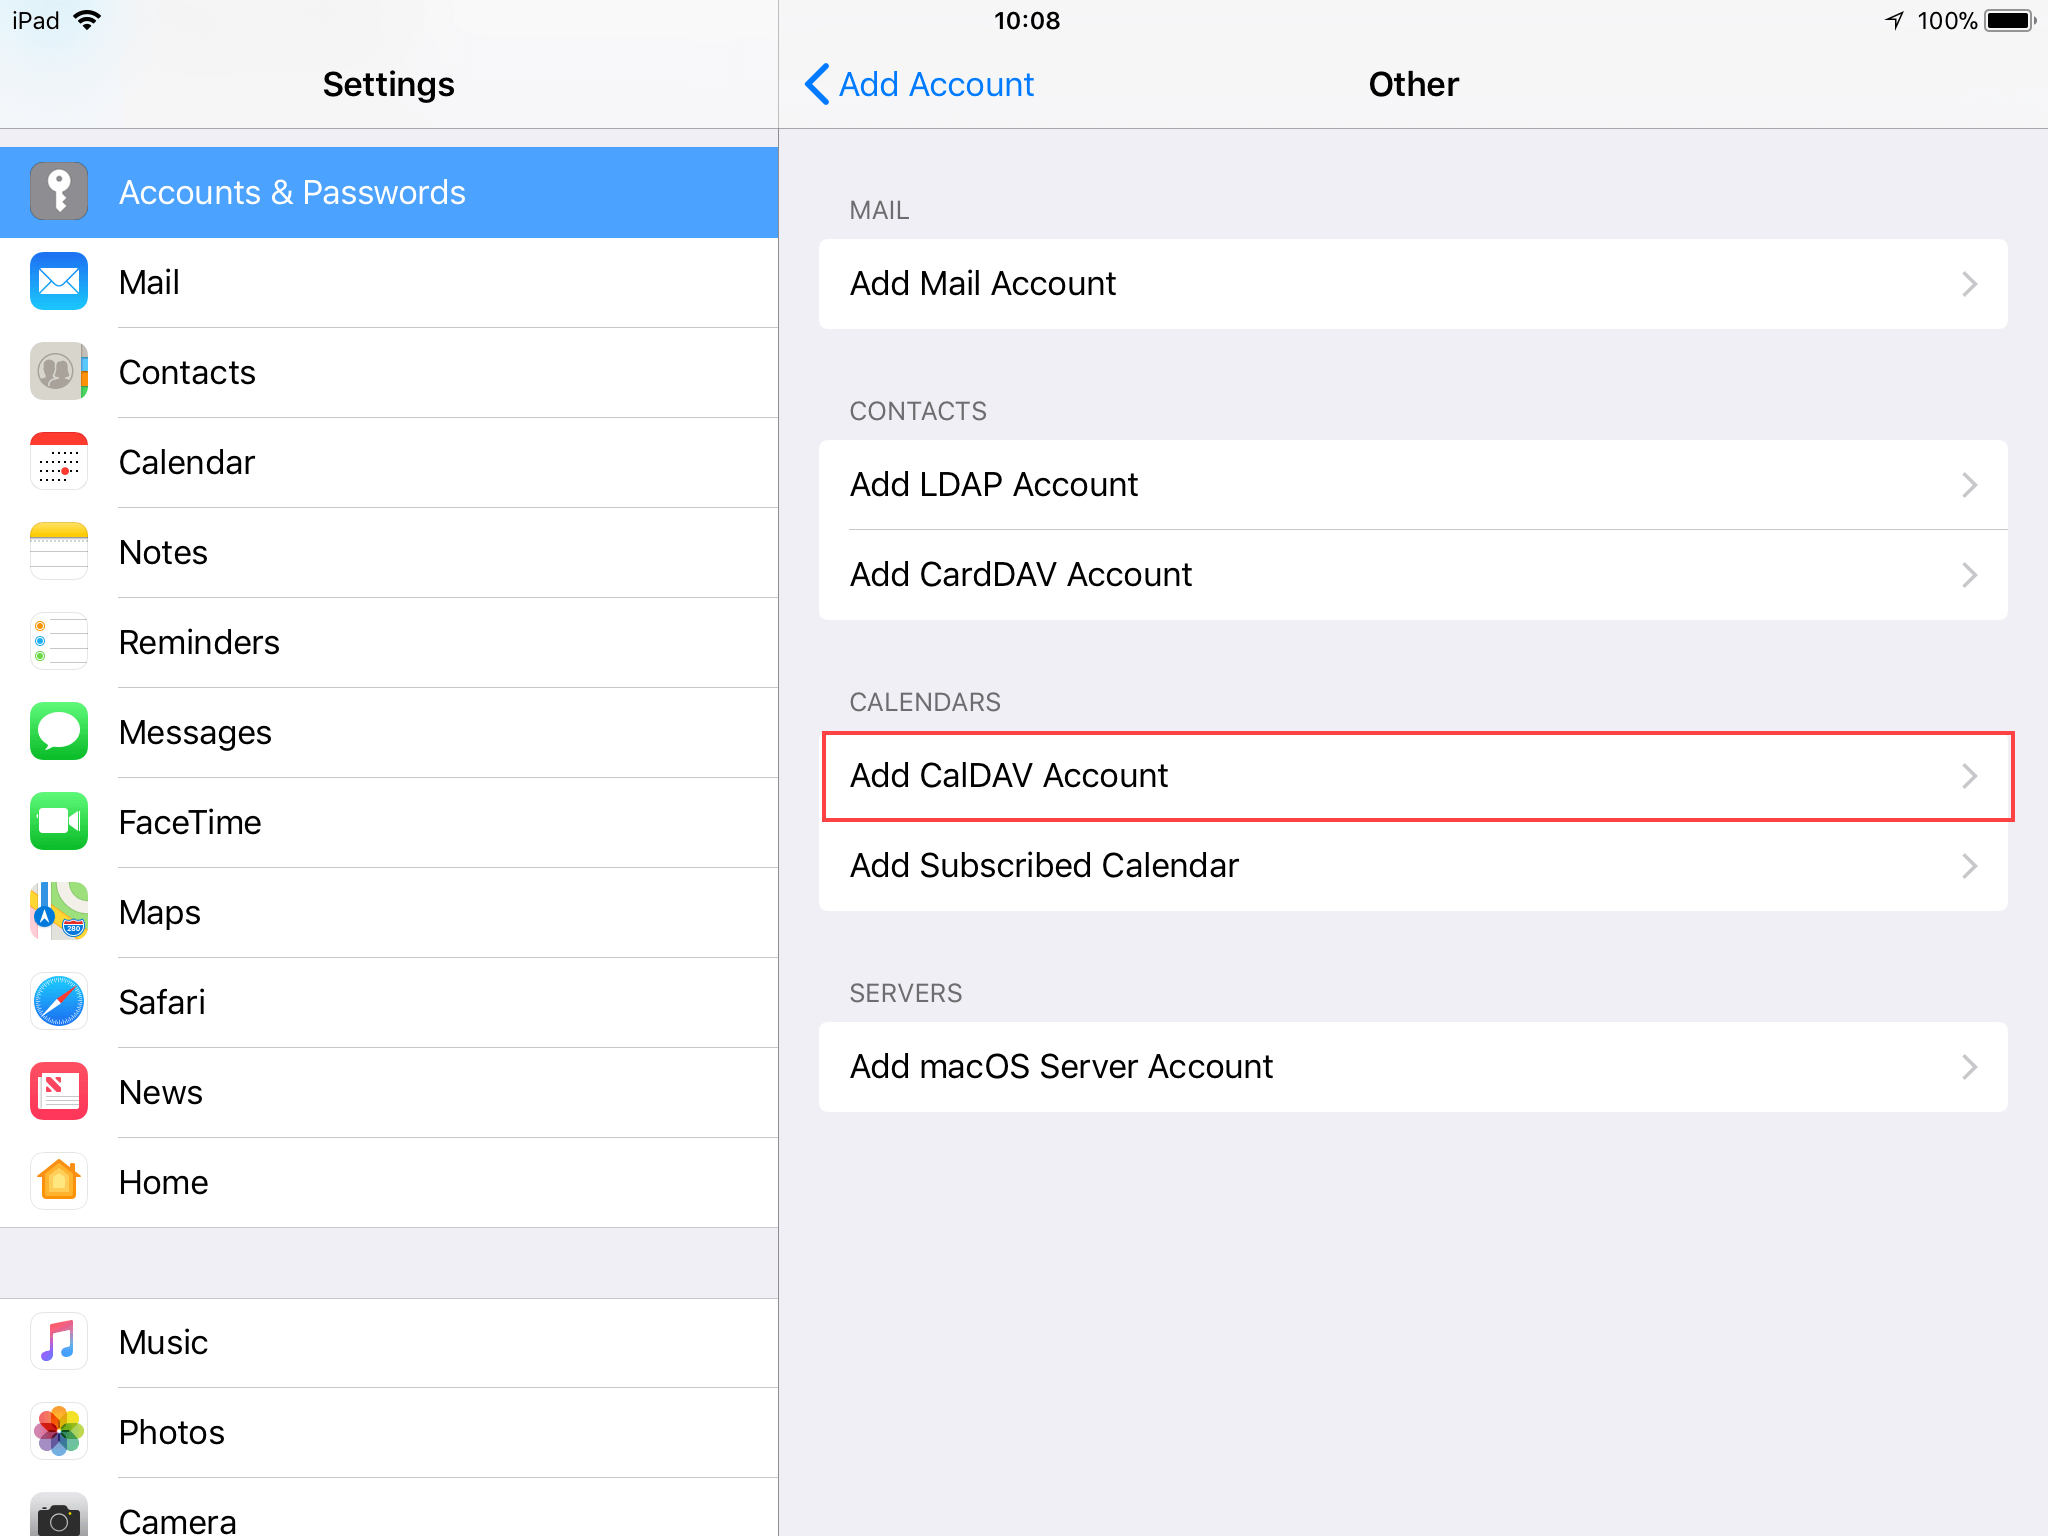
- Server: Your server URL. Remember, you must add port 2080 at the end of the server’s hostname for the setup to work correctly. For example, mydomain.com:2080.
- Username: Enter your username.
- Password: Enter your email password.
- Description: Enter a label for your account.
Contacts synchronization for iOS devices
- On your iOS device, open the Settings menu.
- Click Accounts & Passwords.
- Server: your server URL – remember, you must add port 2080 at the end of the server’s hostname for the setup to work correctly. For example, mydomain.com:2080.
- Username: enter your username.
- Password: enter your email password.
- Description: enter a label for your account.
Calendar synchronization for Mac OS devices
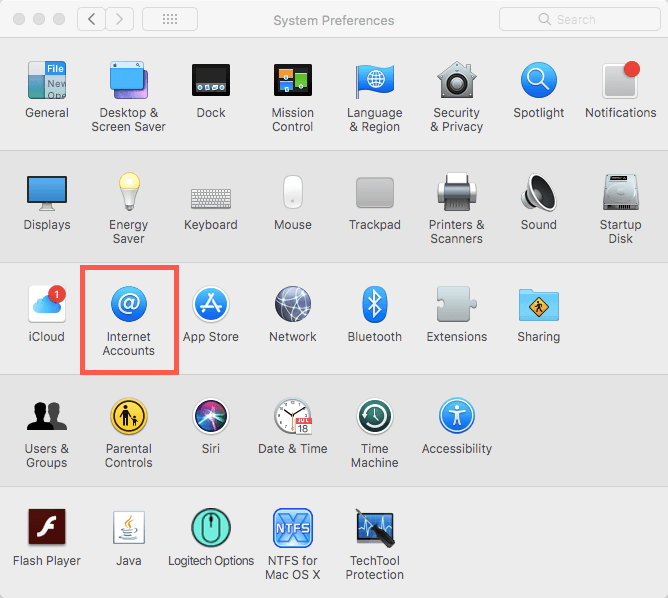
- Open System Preferences from the Apple menu.
- Click Internet Accounts.
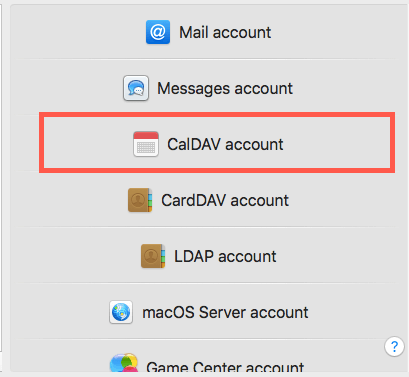
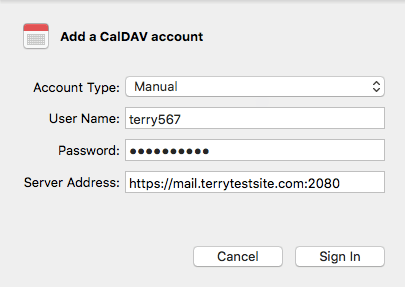
- Account Type: Manual.
- Server: your server URL. Remember, you must add port 2080 at the end of the server’s hostname for the setup to work correctly. For example, mydomain.com:2080.
- Username: Enter your username.
- Password: Enter your email password.
- Description: Enter a label for your account.
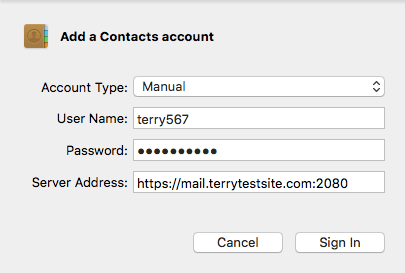
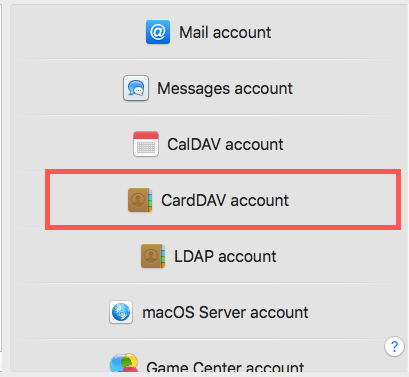
Contacts synchronization for Mac OS devices
- Open System Preferences from the Apple menu.
- Click Internet Accounts.
- Account Type: Manual.
- Server: Your server URL. Remember, you must add port 2080 at the end of the server’s hostname for the setup to work correctly. For example, mydomain.com:2080.
- Username: Enter your username.
- Password: Enter your email password.
- Description: Enter a label for your account.