Migrating your website from IONOS to HostPapa can be a seamless process. IONOS is known for its reliable shared hosting services, ensuring that your website remains accessible and functional during the migration process.
Most hosting providers, including IONOS, offer reliable migration services to big and small businesses, and we at HostPapa, provide a free migration service with no downtime.
If you want to migrate your site by yourself without any dedicated resources or phone support, follow these steps to ensure a smooth transition all on your own!
IONOS Web Hosting Pre-Migration Planning
First, begin by understanding how your website is set. Simple sites with static HTML, CSS, and JavaScript files are straightforward to migrate; it can take minutes to do it.
In contrast, dynamic sites powered by Content Management Systems (CMS) like WordPress, Joomla, or Drupal consist of both website files and databases, requiring a more detailed migration process. This can be done either by you, the end-user or by web developers with access to your hosting account.
Before migrating your website from IONOS web hosting, it’s essential to plan and prepare for a smooth transition. Here are some steps to consider:
- Backup your website: Ensure you have automated backups of your website files and database. This precaution will help prevent any data loss during the migration process. Daily backups can also help you have a more reliable performance.
- Check for compatibility: Verify your website is compatible with IONOS web hosting. This includes checking for any specific software or plugin requirements that your site may have. Check the website builder, the VPS hosting, the cloud server, the domain registration, and overall, the whole website management dashboard.
- Update your website: Make sure your website is running the latest version of your content management system (CMS) and all plugins. This will help ensure a smooth migration and optimal performance on the HostPapa site design.
- Test your website: Thoroughly test your website before migrating to IONOS web hosting. Identify and resolve any potential issues to avoid complications during the migration process. Verify all the different aspects available.
Start the Free Domain Migration Process
To start the migration process, follow these steps:
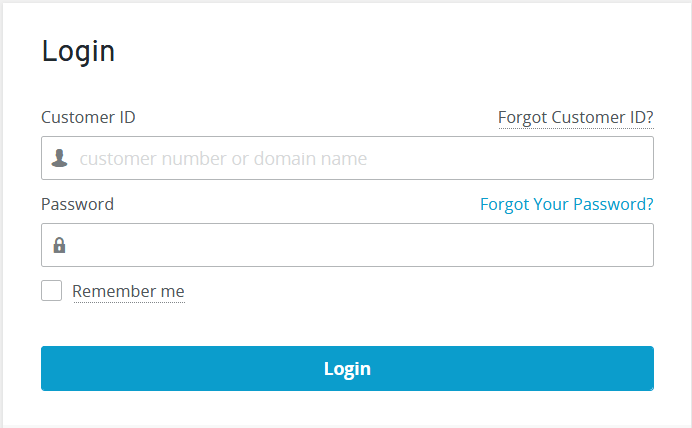
Log in to your IONOS account on the login page.
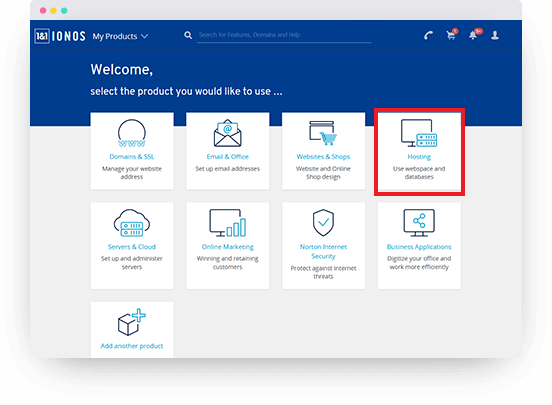
Click on Hosting.
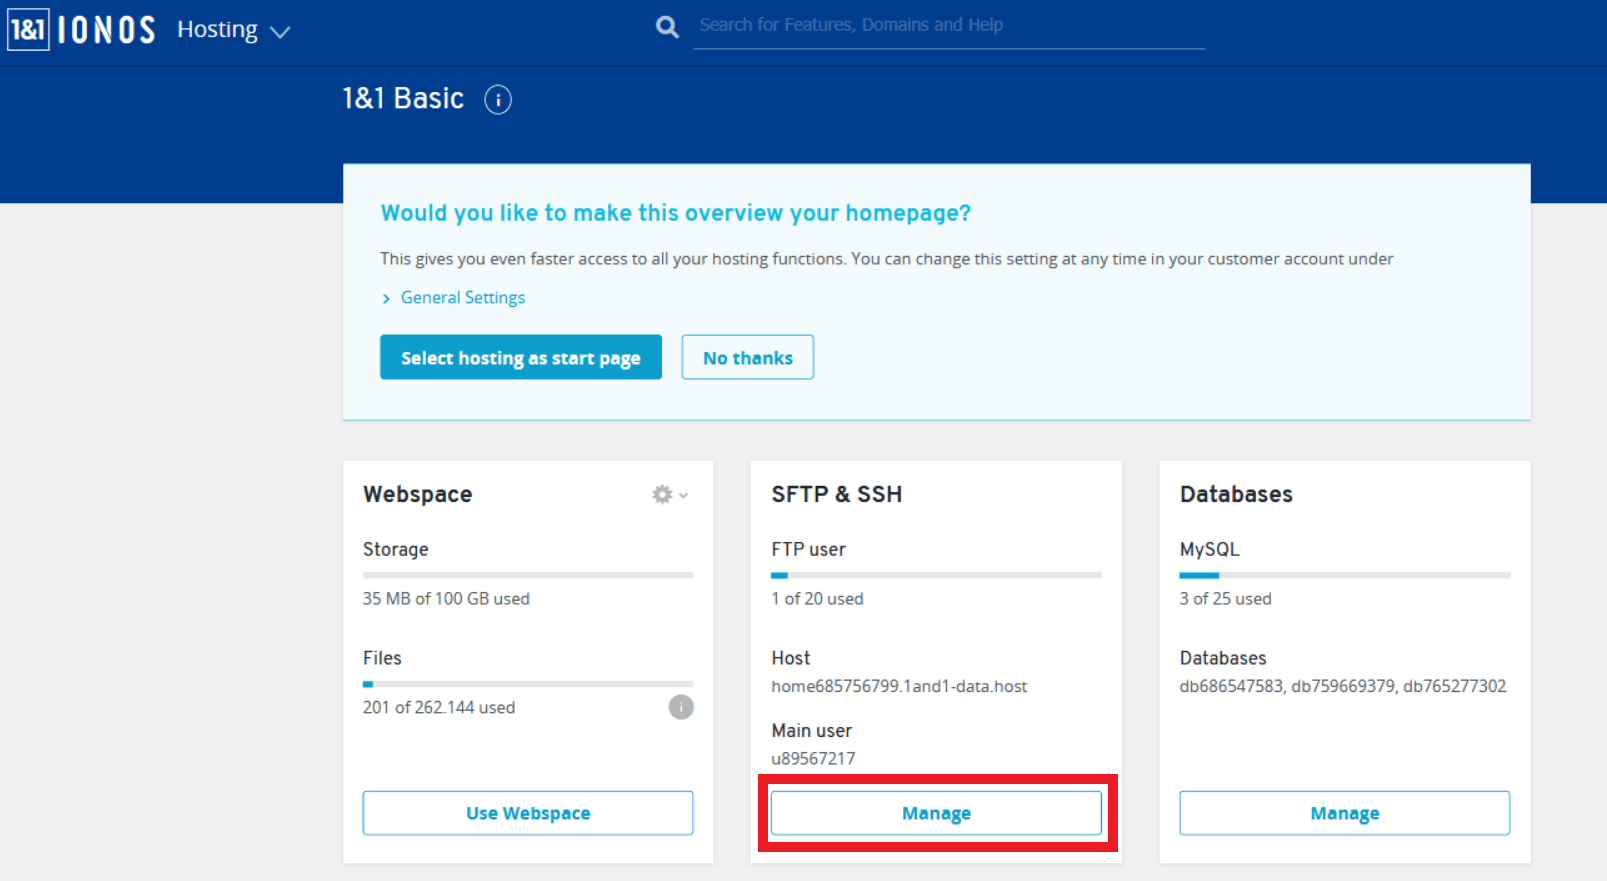
Click on Manage under SFTP & SSH.
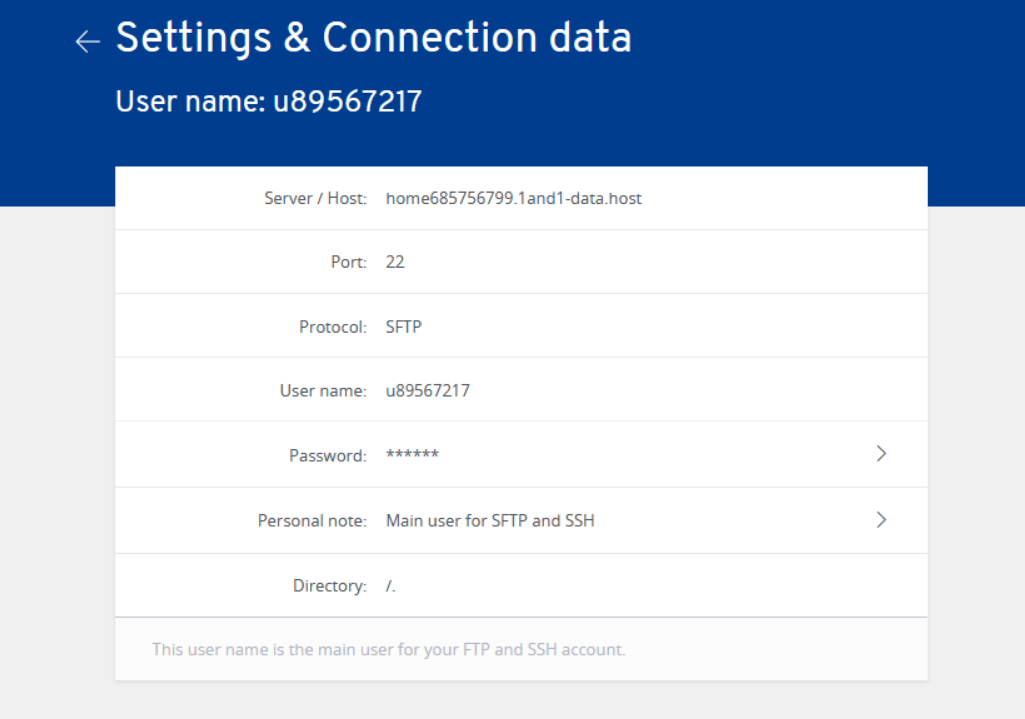
Select Edit Settings (gear icon) to view your FTP credentials.
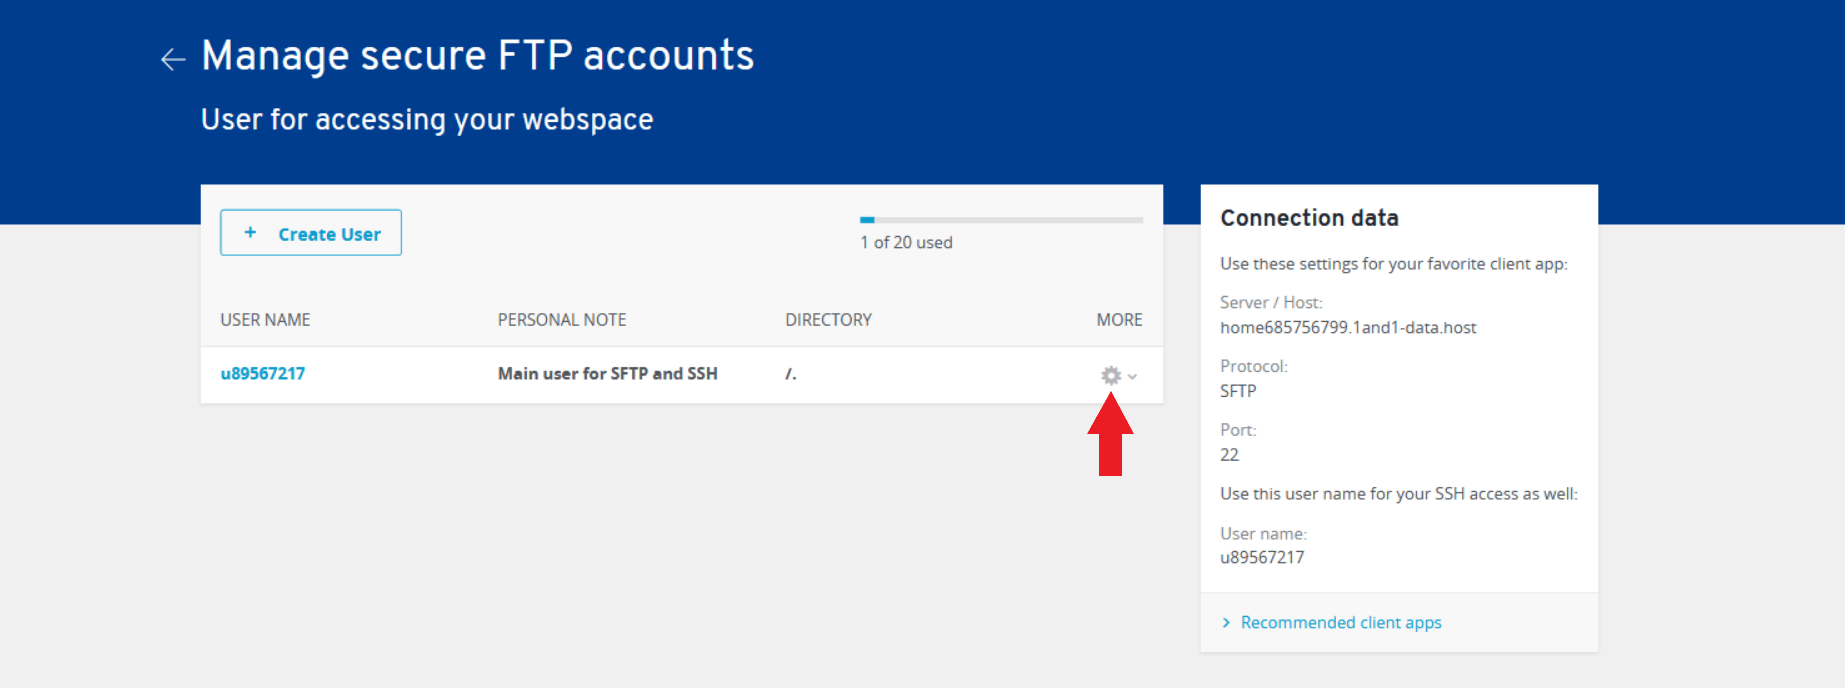
Now, you will note the following:
- The FTP details will show the Server / Host, Port, User name, and Password.
- Utilize an FTP client like FileZilla, Cyberduck, or WinSCP to connect to your IONOS web server and download your website files to your computer.
- If your website uses a database (such as a WordPress installation), you will need to navigate back to the IONOS Hosting homepage, where you can manage your web hosting in one place.
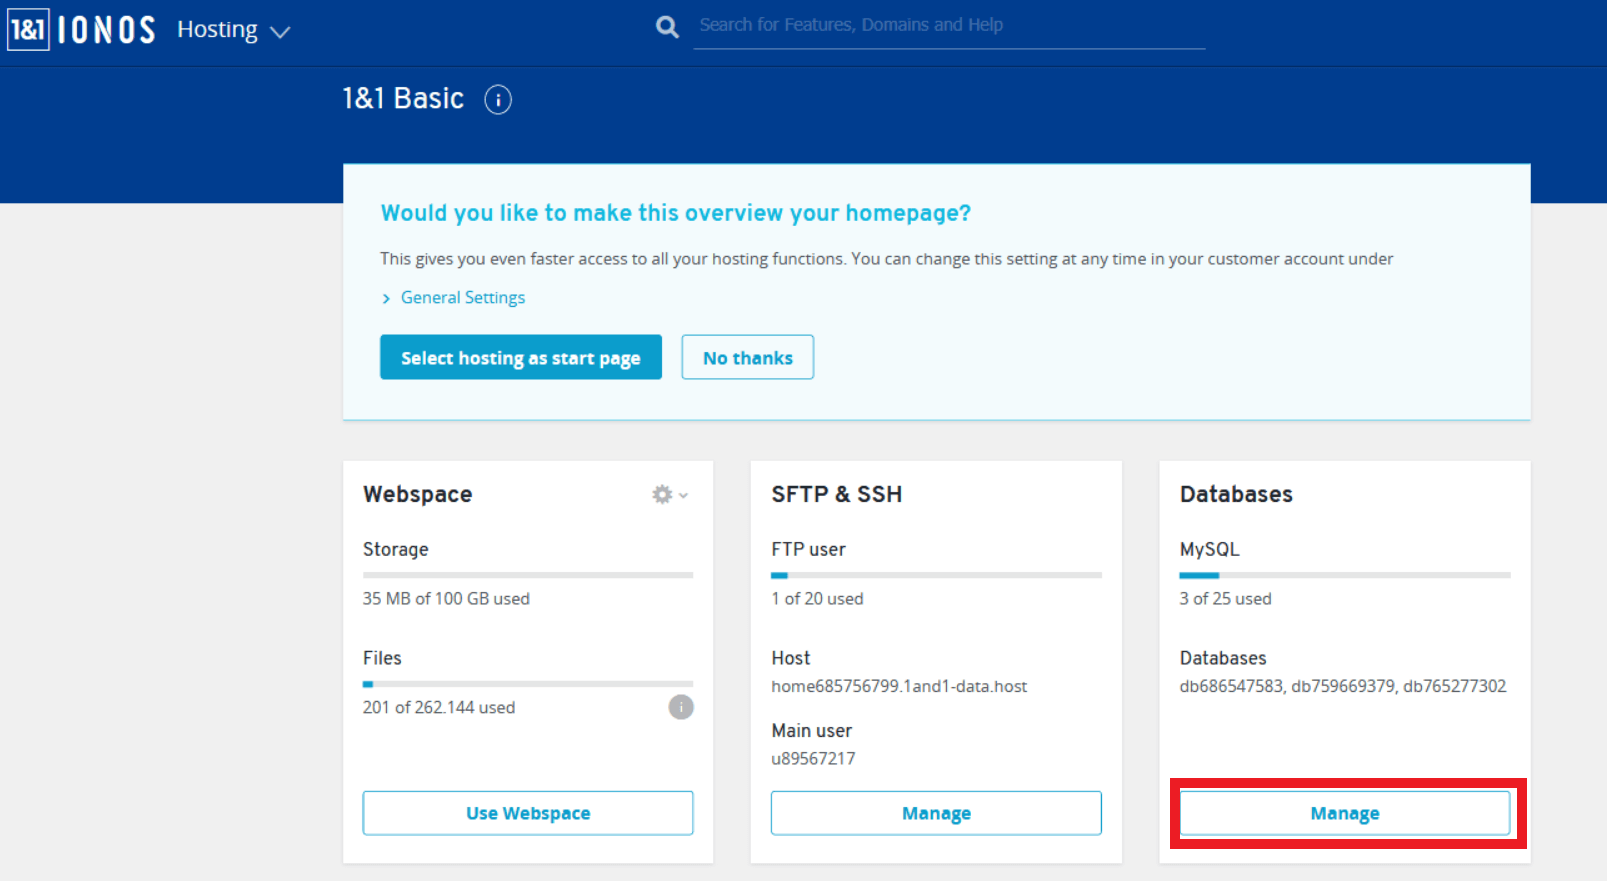
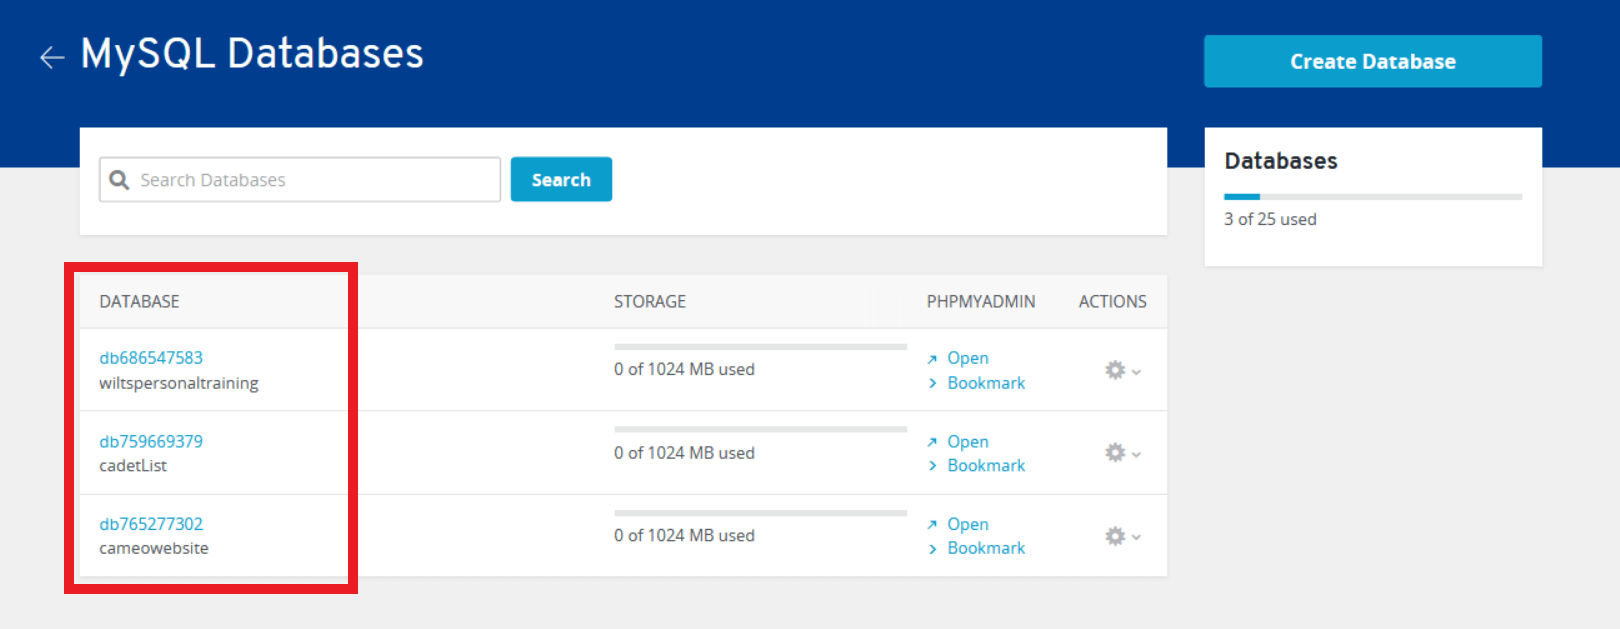
Click Manage under Databases.
Select your database name.
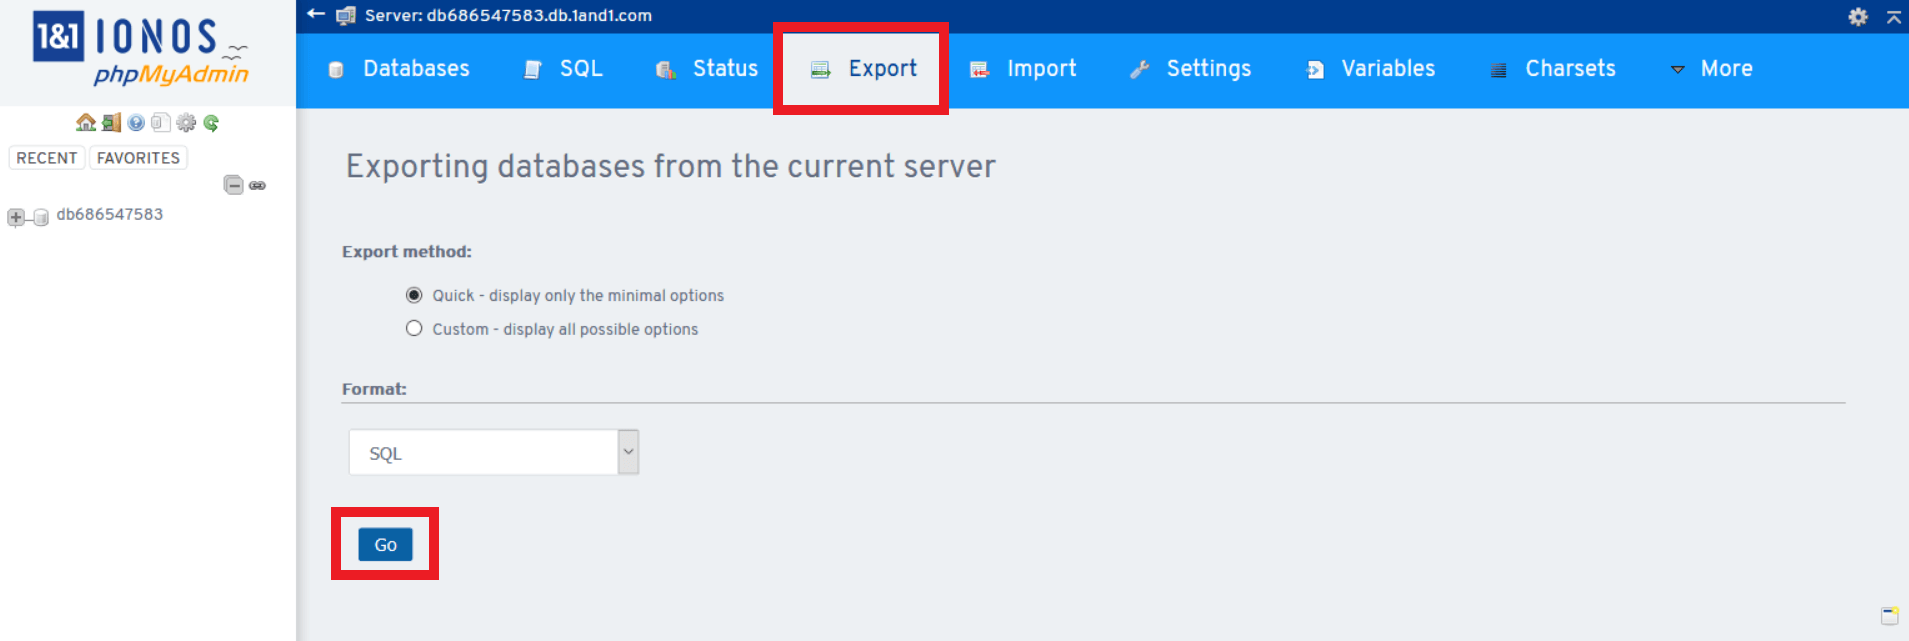
Scroll down and click on Open phpMyAdmin.
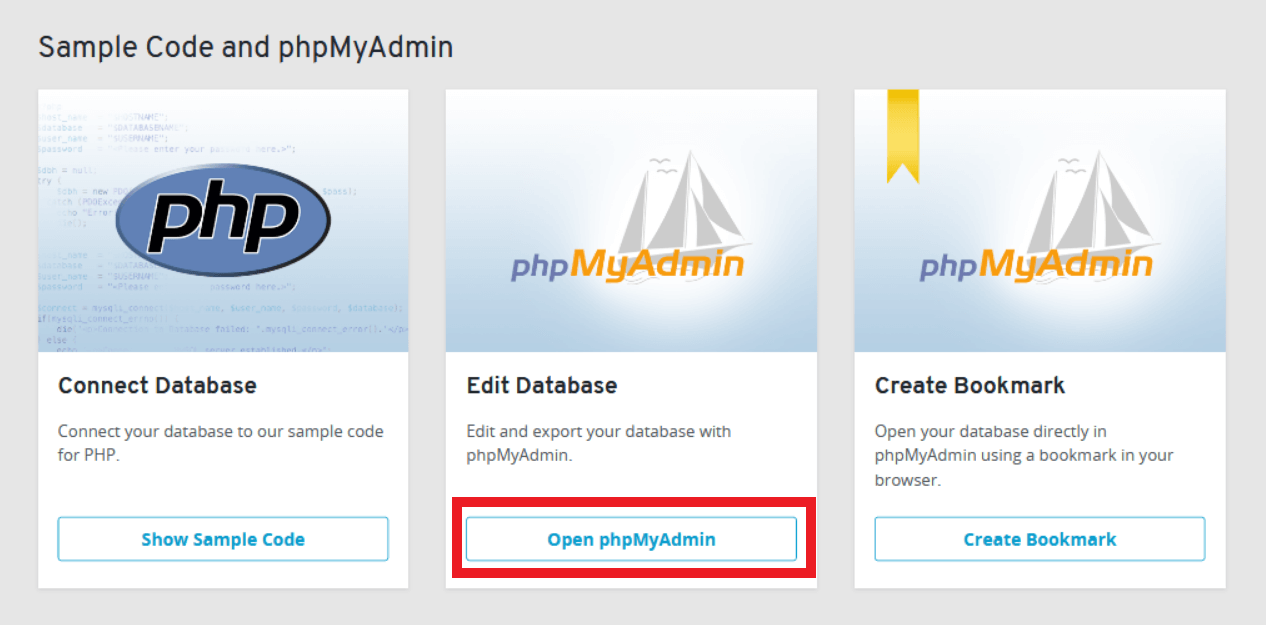
Click Export and then Go to save the database to your computer.
IONOS Web Hosting Services to Configure
After migrating your website to IONOS, it’s crucial to configure it for optimal performance. Here are some steps to consider:
- Update your DNS settings to point to the IONOS web server. This step is essential to ensure your domain directs visitors to your new hosting environment.
- Create professional email accounts for your website. This adds credibility and professionalism to your online presence. This can also be done if you have a Managed WordPress Hosting plan.
- Secure your website by installing SSL certificates. This protects your visitors’ data and enhances your site’s trustworthiness from other threats. Also, remember to consider malware protection.
- Improve your website’s performance and loading speed by enabling caching, compressing files, and optimizing images. These optimizations can significantly enhance load times and user experience.
Final Steps for a Successful Web Hosting Migration
Remember, you can also upload your website files and import your database into your new HostPapa hosting account. Before making any DNS changes, test your site on the HostPapa server to ensure everything functions correctly.
Once satisfied with the site’s performance, update your domain’s DNS settings to point to HostPapa’s nameservers. This change may take up to 48 hours to propagate globally. After DNS propagation, monitor your website to ensure all functionalities are intact. Once confirmed, you can safely cancel your IONOS hosting account.
By following these steps and recommendations, you can ensure a successful migration and optimal performance for your website.
If you encounter any challenges during the migration process or prefer professional assistance, HostPapa’s support team is ready to help. If you require personalized assistance or you don’t have enough resources to do the migration process, consider opening a support ticket through your HostPapa Dashboard.
