HostPapa customers can access WP Toolkit in cPanel. WP Toolkit is a management interface that can be used to install, configure, and manage WordPress.
How to access WP Toolkit
WP Toolkit is accessed from cPanel. Follow these steps:
- Log in to your HostPapa Dashboard.
- Click My cPanel.
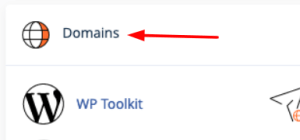
- In the Domains section, click WordPress Toolkit.
What features does WP Toolkit offer?

If you’re a Shared Hosting or Optimized WordPress HostPapa customer, you can access the following features with WP Toolkit:
- Customizable installation
- Manage existing installations
- Website Dashboard
- 1-click login
- Change admin password
- Change DB password
- Open DB in phpMyAdmin
- Backups
- Manual updates
- Manage plugins and themes
- Upload plugins and themes
- Logs
- WordPress integrity check
- Plugin and theme sets
- Automatic updates (single site)
- Maintenance mode
- Debug management
- Password protection
- Search engine indexing management
If you’re a Reseller Hosting or Managed WordPress hosting HostPapa customer, you can access all of the above features, in addition to the following:
- Staging and cloning
- 1-click hardening
- Automatic hardening
- Multiple hardening
- Security rollback
- Mass site management
- Smart updates
If you need help with your HostPapa account, please open a support ticket from your dashboard.
