A backup is a saved copy of your whole site — its files and its database — from a single moment in time. Your site is backed up automatically, and you can also create a backup yourself before making big changes. If anything goes wrong, you can restore to an earlier backup — even one taken on a different environment.
Before you start:
– The environment must be Active (you can’t back up or restore a paused environment).
– Only one backup can run at a time. If one is already in progress, wait for it to finish.
What’s backed up, and for how long
- Automatic backups run on a schedule (about once a day) with no action from you. They’re kept for 14 days, then removed automatically.
- Manual backups (the ones you create yourself) are kept for 30 days.
- Each backup includes your WordPress files and your database. Temporary files and caches are excluded because they regenerate on their own.
Create a backup
- Go to the Backups tab in your Managed WordPress Dashboard.
- Click Create Backup.
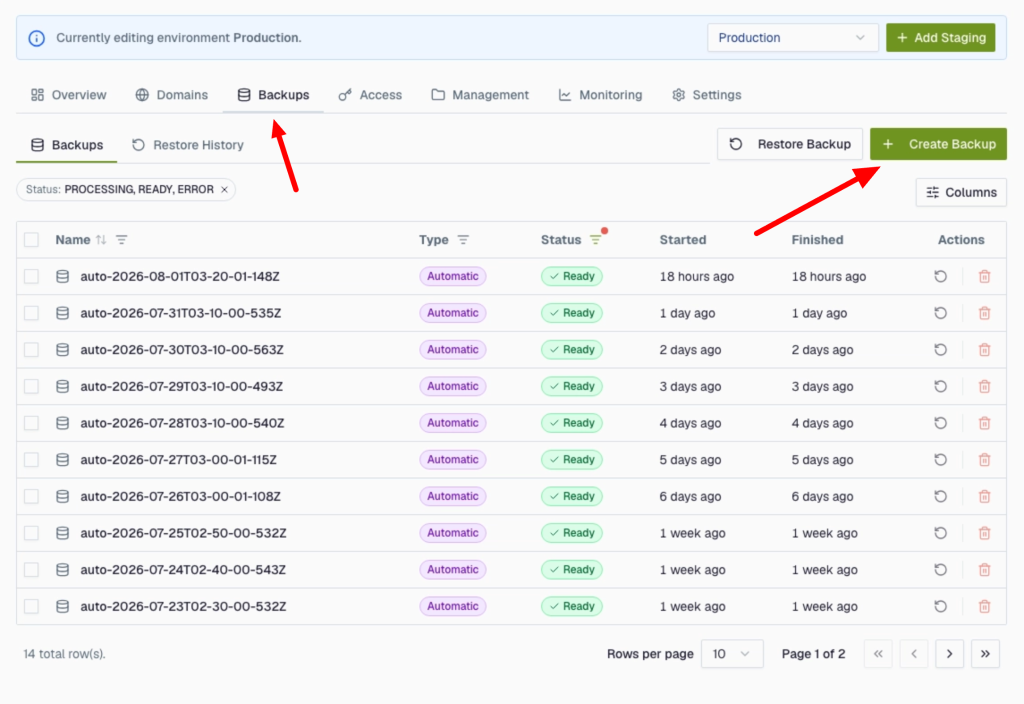
3. Give the backup a name (3–50 characters) — for example, before-theme-change — and confirm.
The Create Backup dialog
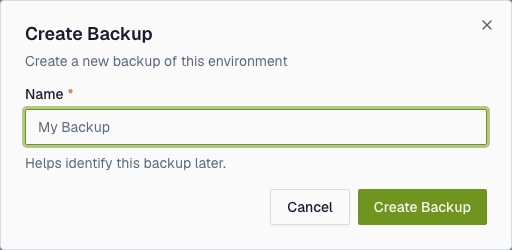
The backup shows Processing… while it runs (this can take a minute or more for larger sites). When it’s done, it shows a green Ready badge, and Restore and Delete actions become available.
Tip: Always create a manual backup before updating plugins/themes or editing files. It’s your instant undo button.
Restore your site to a backup
Restoring replaces the current site. It puts the environment’s files and database back to the chosen backup. Anything created or changed after that backup (new posts, orders, uploads) will be lost. When in doubt, create a fresh backup first so you can change your mind.
- On the Backups tab, click Restore Backup.
- In the dialog, leave Source Environment set to the current environment, pick a Ready backup under Backup to Restore, and confirm.
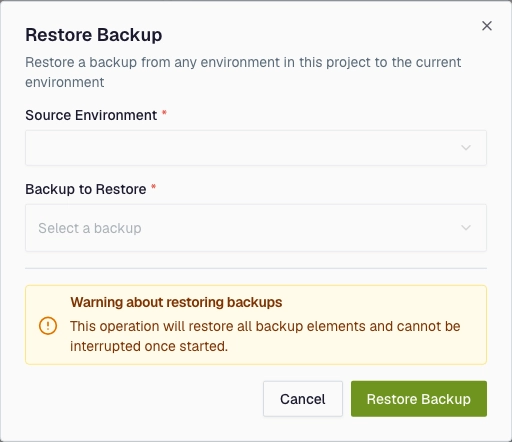
- The environment shows Restoring… while it works; when finished, it’s back to that earlier state. You can review past restores on the Restore History sub-tab.
Restore from another environment (migrate between staging and production)
The restore tool can pull a backup from any environment in your website into the one you’re currently viewing. This is the easy way to move a site between staging and production.
- Switch (in the top selector) to the environment you want to restore into — for example Production.
- Open Backups → Restore Backup.
- In the dialog, open Source Environment and choose the environment to copy from — for example, Staging.
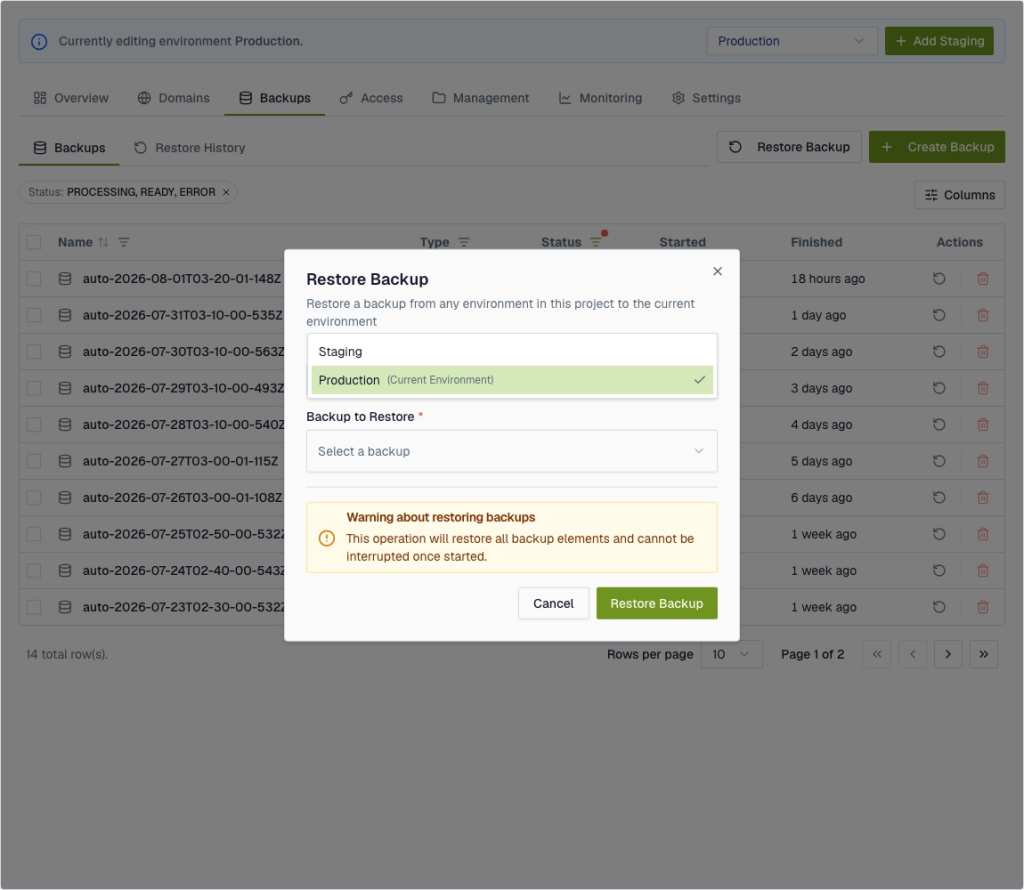
4. Pick a Ready backup from that environment and confirm.
Common uses:
- Go live: finished building on Staging? Restore Staging’s backup into Production to publish your work.
- Refresh staging: pull a recent Production backup into Staging so you’re testing against real content.
Remember that the restore replaces the destination environment with the chosen backup — so restoring Staging into Production overwrites the live site with the staging copy.
Delete a backup
Use the delete (trash) action on any Ready backup you no longer need. (You don’t need to delete automatic backups — they’re cleaned up for you after 14 days.)