Alongside the email service provided with hosting accounts, HostPapa offers two dedicated email services, HostPapa Basic Email and HostPapa Advanced Email. You can check the email services available on your account via the HostPapa Dashboard.
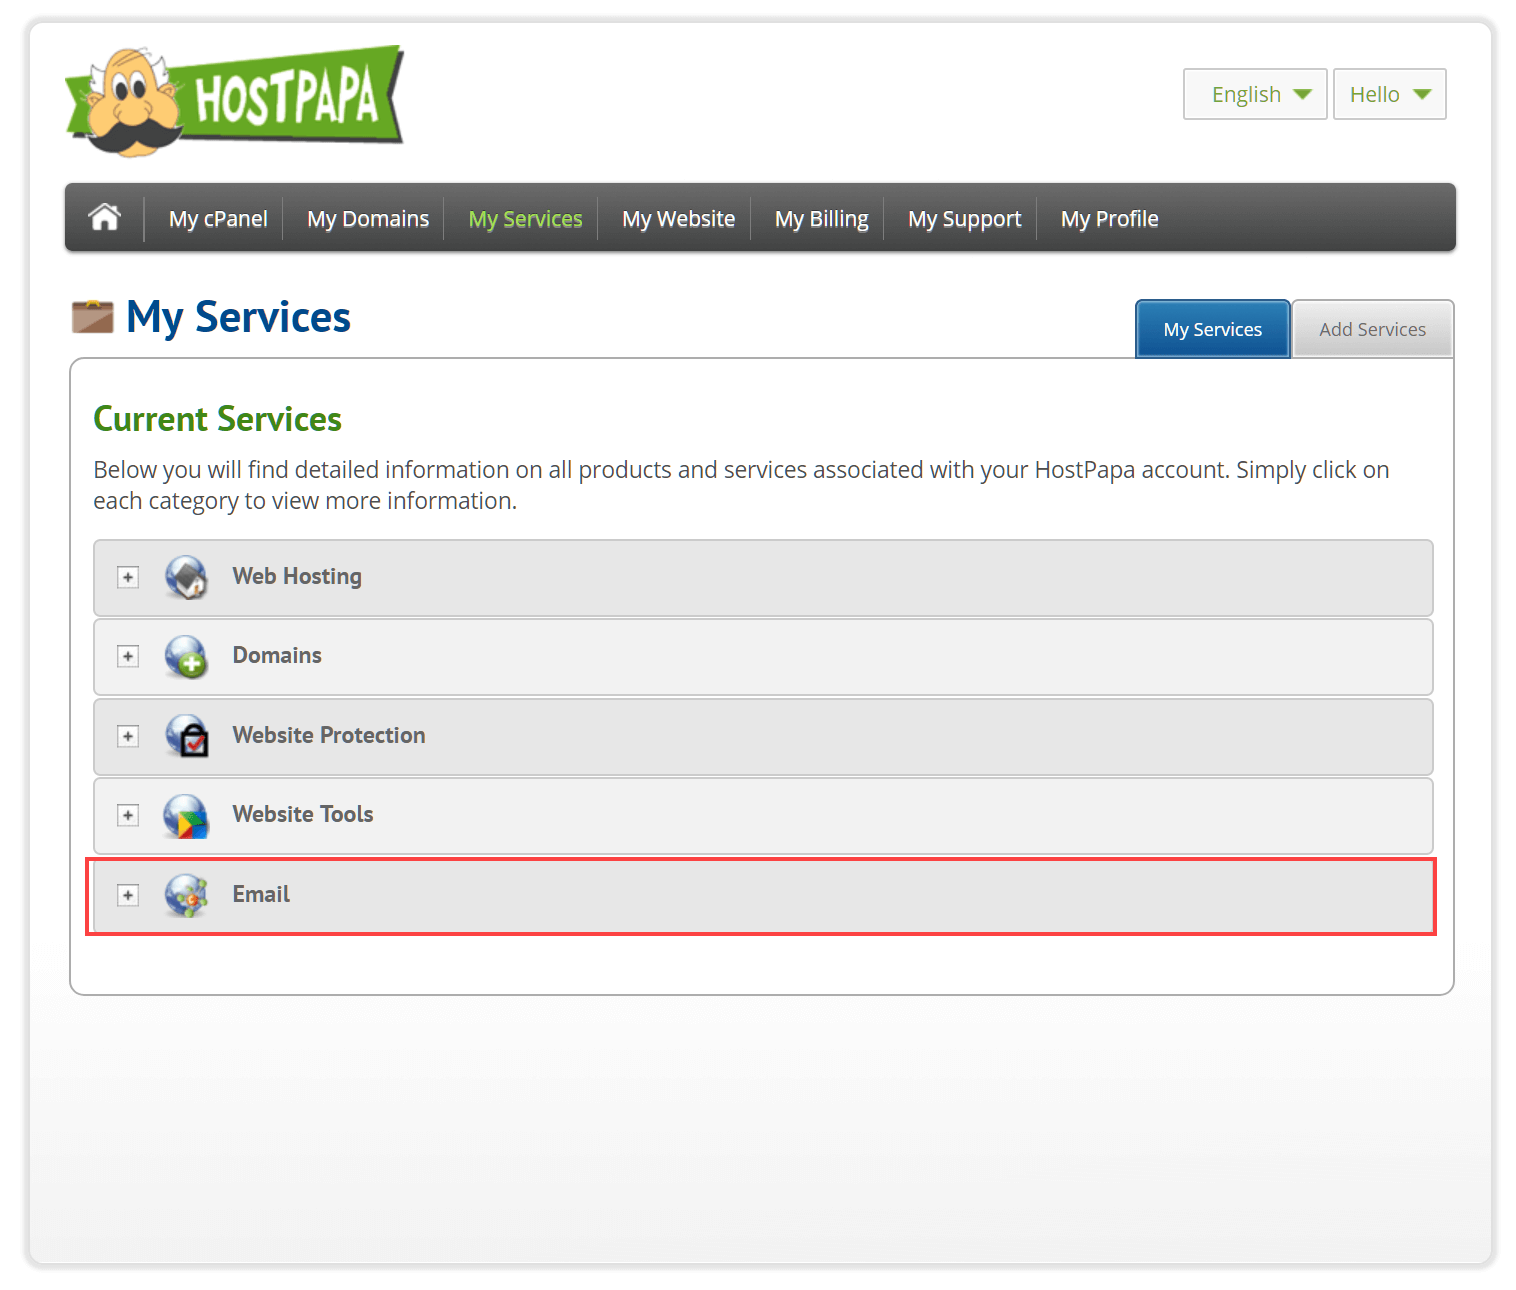
Log in to the dashboard, then select My Services.

You’ll be presented with a list of available services. Use the + (plus) button next to Email to expand the panel.
You can now review the list of services available on your account. In the example below, you can see that both HostPapa Basic Email and HostPapa Advanced Email have been purchased.
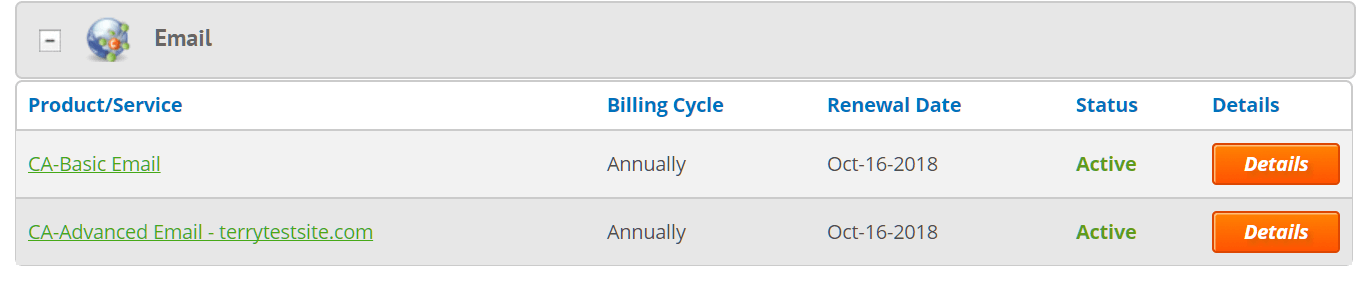
Use the Details buttons to view settings for each service. If there are no entries in the Email panel, you may still be able to use the email service provided with your HostPapa shared hosting account. Check out our article on how to set up your email to find detailed steps.
Activating HostPapa Basic or Advanced Email
To activate HostPapa Basic or Advanced Email, you’ll need to complete two important steps within your HostPapa dashboard:
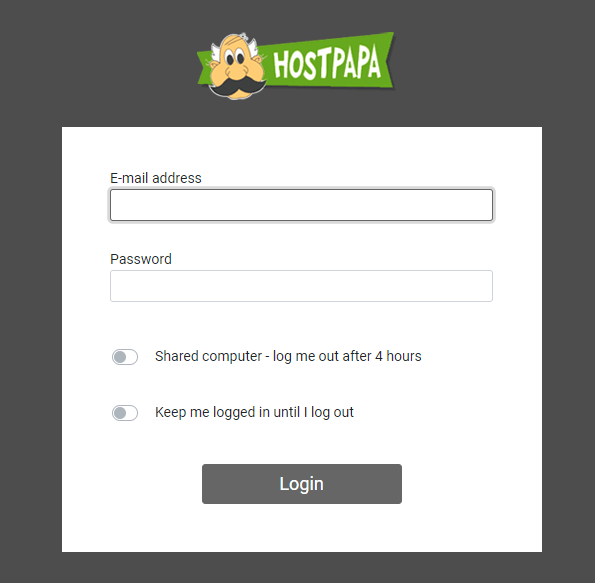
Once this is done, you can access your email at any time, from any web browser, using the HostPapa Basic/Advanced Email webmail interface. Webmail is accessible here: https://mail.papamail.net or via the HostPapa Dashboard.
Next, if you’d like to access your email from your laptop, smartphone, or other device(s), you’ll need to configure your email on those devices.
You can also watch our video tutorials to learn how to configure email clients.
If you need help with your HostPapa account, please open a support ticket from your dashboard.
