When testing your website speed with Google PageSpeed Insights or another tool, you may receive a suggestion to fix render-blocking JavaScript and CSS code.
As you may be aware, most websites comprise a combination of HTML, CSS, Javascript and PHP code which add content, formatting and interactivity to the site. When rendering a web page, browsers will load scripts and CSS code first, before moving on to HTML. Delays in loading scripts and CSS prevent users from seeing any content on screen (hence the term “render-blocking”). While the delay can be mere milliseconds, the site will appear “slow” to the user.
There are a number of methods available to fix render-blocking scripts and CSS in WordPress, optimising page load times. This simplest method is to take advantage of a caching plugin. Here are two to try out.
Fix Render-Blocking Scripts and CSS with Autoptimize
Autoptimize is a popular choice for automatically optimising WordPress page load times. It allows admins to take advantage of advanced code optimisation techniques, without the need for expert knowledge. Admins can select from a menu of options to reduce page load times, rolling back changes if unexpected events occur.
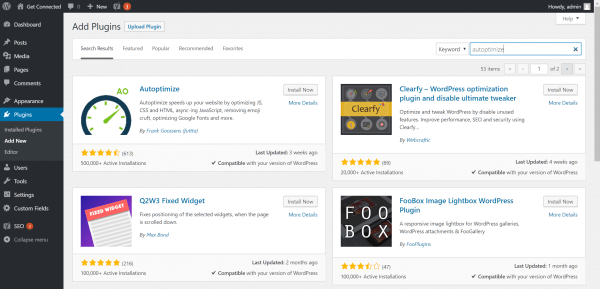
To get started, log into your WordPress administration dashboard and select Plugins > Add New. Search for “Autoptimize”, then install and activate the plugin.
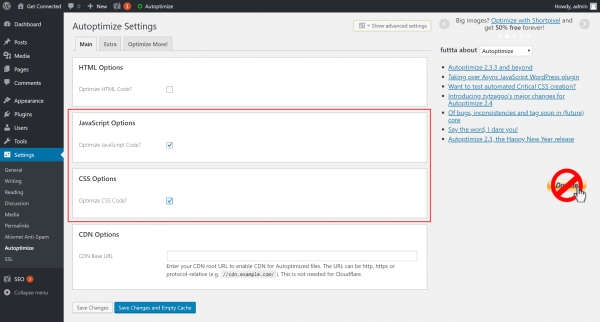
Navgate to Settings > Autoptimize to review the plugin’s configuration. In the Main tab, check the boxes next to Optimize JavaScript Code and Optimize CSS Code, then click Save Changes.
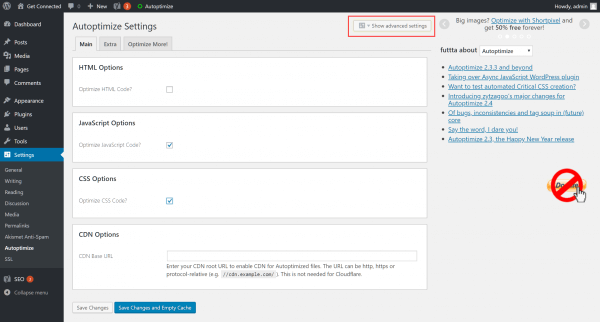
Re-test your website using the Google PageSpeed Insights tool and compare results. Should you still receive advice to fix render-blocking scripts, head back to Autoptimize settings and click Show Advanced Settings.
Check Also aggregate inline JS in JavaScript Options and Also aggregate inline CSS in CSS options, if not already checked. Click Save changes and Empty Cache, then re-test your site in PageSPeed Insights. Be sure to check the front-end of your website to ensure posts and pages are displaying correctly. If you experience issues, simply uncheck the last set of options enabled and re-test.
Fix Render-Blocking Scripts and CSS with W3 Total Cache
Another popular WordPress optimisation plugin is W3 Total Cache. This plugin also seeks to reduce page load times, but offers more granularity than Autoptimize, with an advanced array of features and configuration options. Read more about W3 Total Cache in this HostPapa Knowledge Base document.
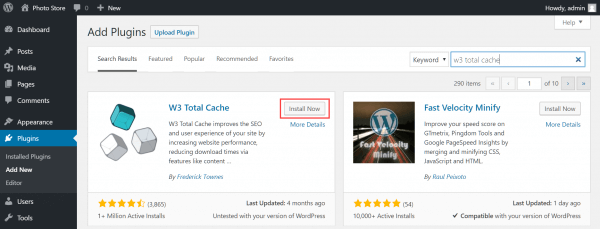
From the sidebar, select Plugins > Add New. Search for W3 Total Cache and install it, then activate the plugin.
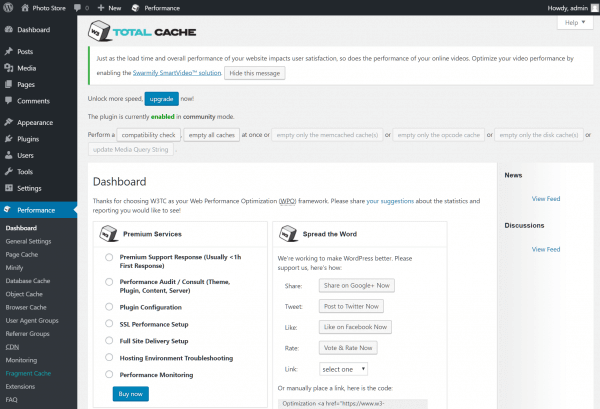
Once activated, you’ll see a new Performance category in your admin sidebar. Head to Performance > Dashboard to visit the W3 Total Cache settings page, where you can configure the plugin.
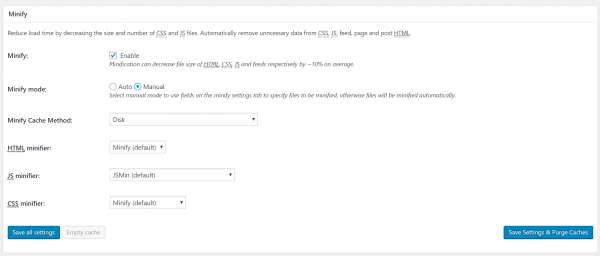
Navigate to Performance > General Settings and look for the Minify settings. Check Enable next to Minify, and select Manual Minify mode.
Now click the Save all settings button. The next step is to define the scripts that we wish to optimise. You can view a list of render-blocking script URLs in the PageSpeed Insights tool. Under Eliminate render-blocking JavaScript and CSS in above-the-fold content, click the Show how to fix link to view a list of scripts reducing your page speed.
Roll the mouse pointer of a script in the list too see the full URL. Select the URL and copy to your clipboard.
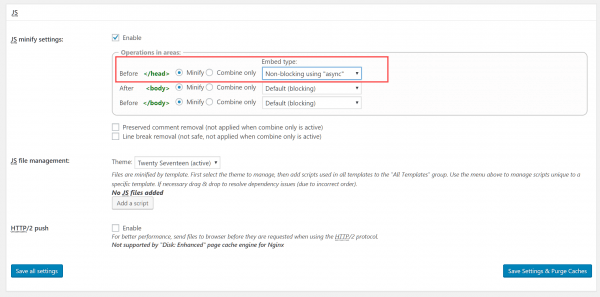
Back in the WordPress admin dashboard, head to Performance > Minify. Scroll down to the JS section then set the Operations in areas embed type to Non-blocking using async for the <head> section.
Now click the Add script button and add URLs copied from Google PageSpeed Insights tool.
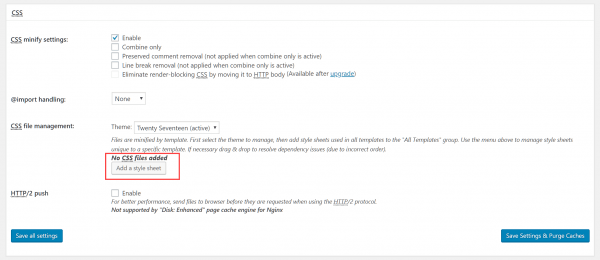
Next, scroll down to CSS and click the Add a stylesheet button.
Add any stylesheet URLs listed in the Google PageSpeed insights tool, then click the Save settings and purge cache button to proceed.
Re-test your website using the Google PageSpeed Insights tool and compare results. Be sure to check the front-end of your website to ensure posts and pages are displaying correctly. If you experience issues, simply uncheck the last set of options enabled and re-test.
If you notice any problems or if you need any help, please open a new support ticket from your HostPapa Dashboard. More details on how to open a support ticket can be found here.
