WordPress is equipped with a rich suite of image editing and management features that allow you to insert and manipulate graphics and photography with ease. If you’re having problems working with images in WordPress, take a look at the following tips.
How to upload images in WordPress
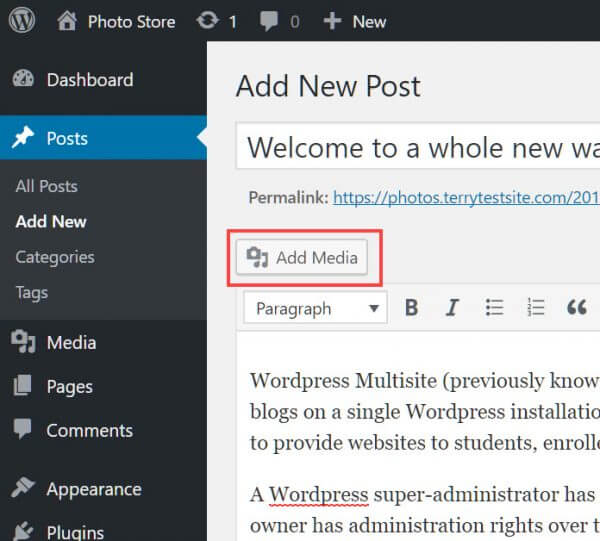
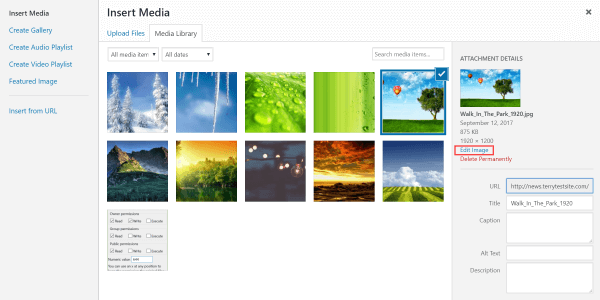
While editing a post or a page, use the Add Media button to upload your images.
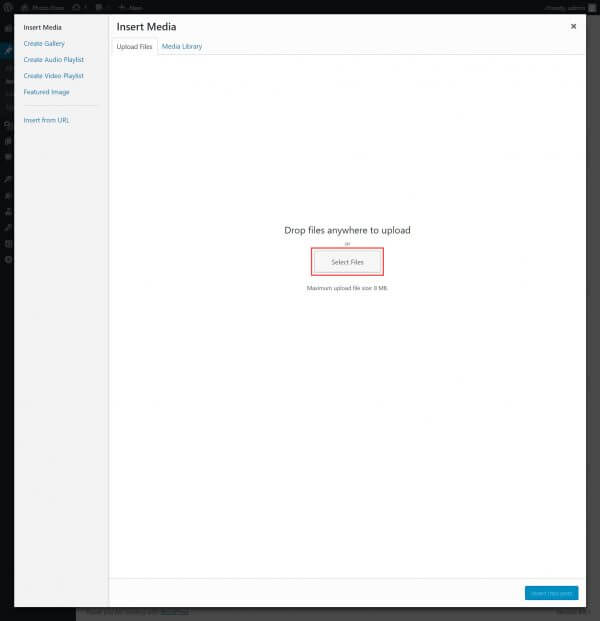
You can drag and drop your JPEG, GIF, or PNG files directly onto the Insert Media screen or click the Select Files button to browse and select the images on your PC.
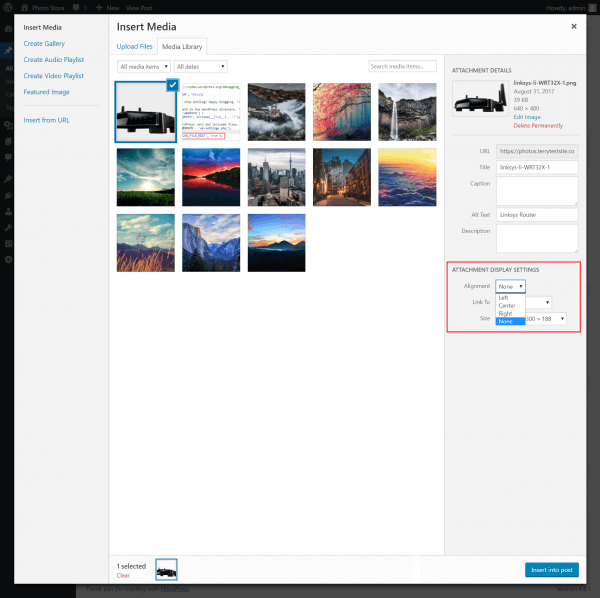
Select one or multiple files to upload to WordPress in a batch. Once uploaded, your images will be displayed as thumbnails. You can highlight a single image and edit its Attachment Details on the right of the page, adding a Title, Caption, Alt Text, and Description as required.
Underneath, note the Display Settings available. You can adjust the Image Alignment, navigate readers to the media file, attachment page or custom URL when the image is clicked and select a preset size for the file.
How to align images to the left, right or center
Upload the image you wish to add to your post or page (if you haven’t already), and then click the Alignment dropdown menu in Attachment Display Settings.
You’ll see four image alignment options available:
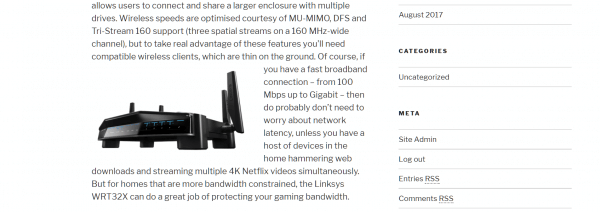
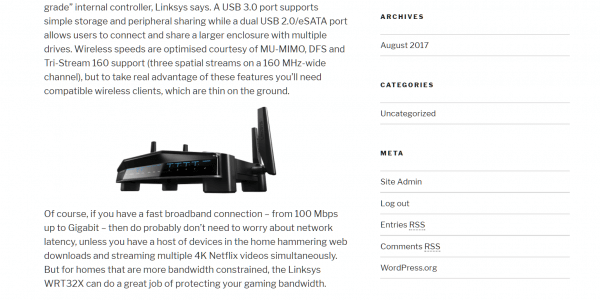
None – inserts the image without alignment or text wrapping.
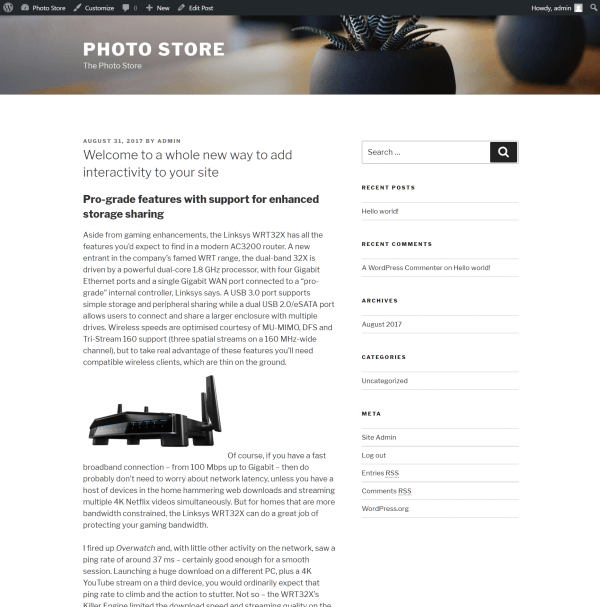
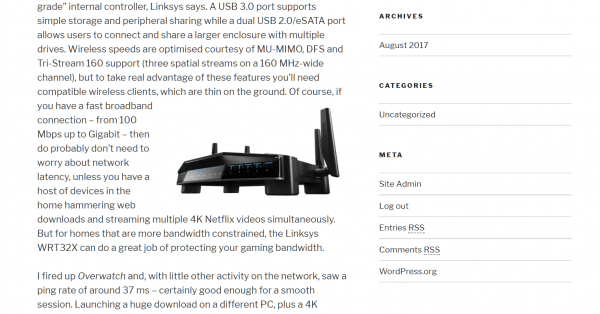
Left – aligns the image to the left and wraps text to the right.
Center – centers the image with no text wrapping.
Right – aligns the image to the right and wraps text to the left.
If you subsequently resize the image, WordPress will automatically adjust the text flow to suit.
How to add a caption below images
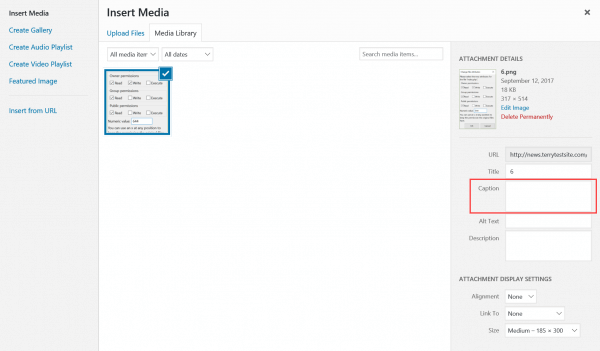
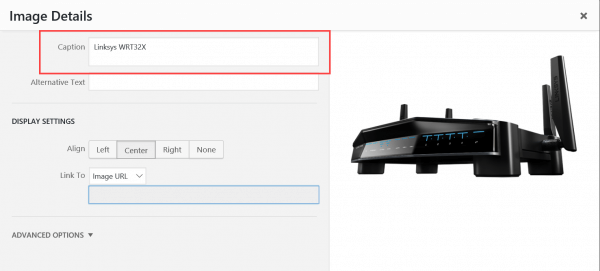
To add a caption to a new image, upload the image, and, in the Insert Media panel, you’ll see a Caption field to the right.
Enter your caption text, then proceed to add the image to the post or page.
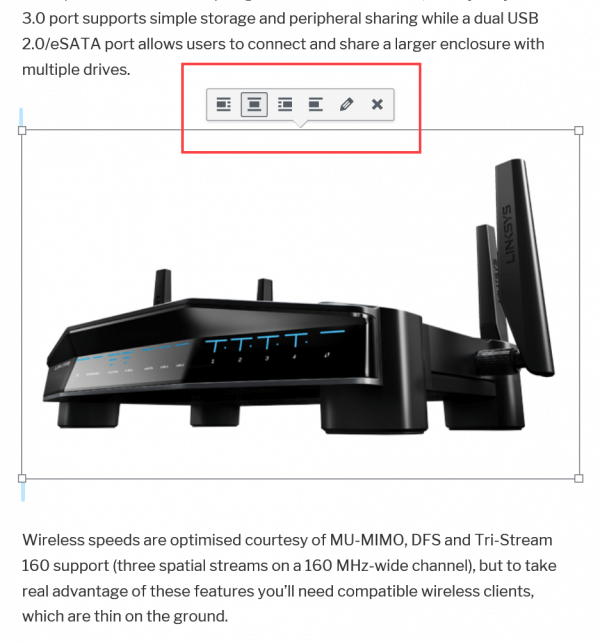
If you wish to add a caption to an image already embedded in a post or page, click the image, then select the pencil icon to edit.
Enter the text required into the Caption field, then click the Update button at the bottom of the page.
How to display photos in columns and rows
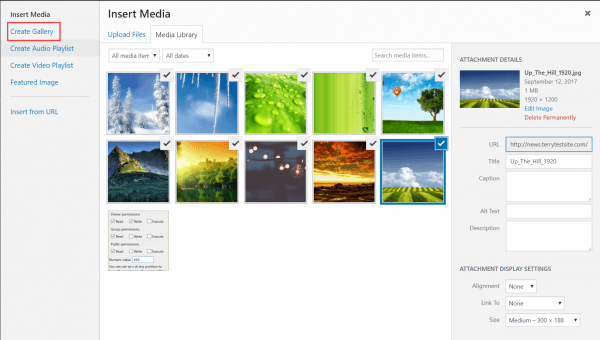
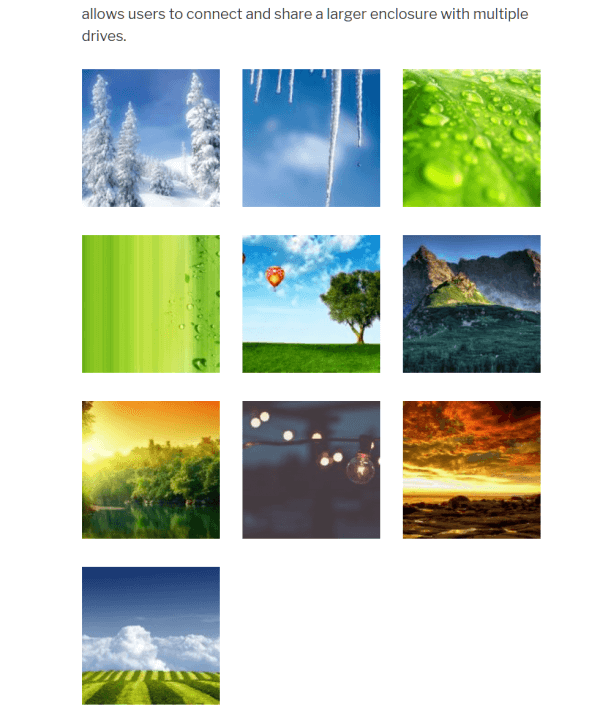
WordPress supports a range of image gallery styles that allow you to layout your photos in neat order. To create an image gallery, upload multiple images (or select multiple images from your media library), then select the Create Gallery link.
When you’re happy with the images selection you wish to include in the gallery, click the Create a new gallery button at the bottom of the page.
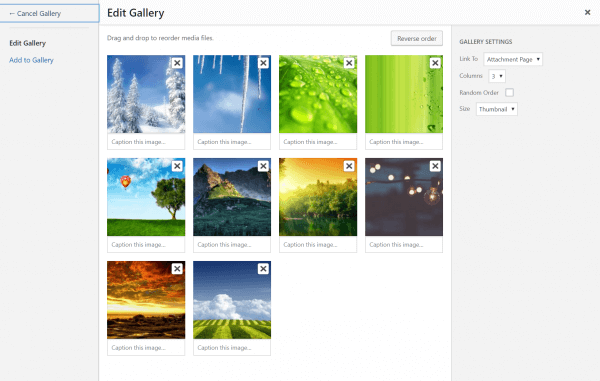
You can change the images’ order in the Edit gallery panel by dragging and dropping them into new positions. The Reverse order button at the top of the page is also helpful in editing your gallery content.
To the right, Gallery Settings allow you to adjust the link for each image, the number of columns to be displayed, setting a random order for ideas that changes with each view, and the thumbnail image size. Make your selection and click Insert gallery to proceed.
How to create responsive image galleries in WordPress
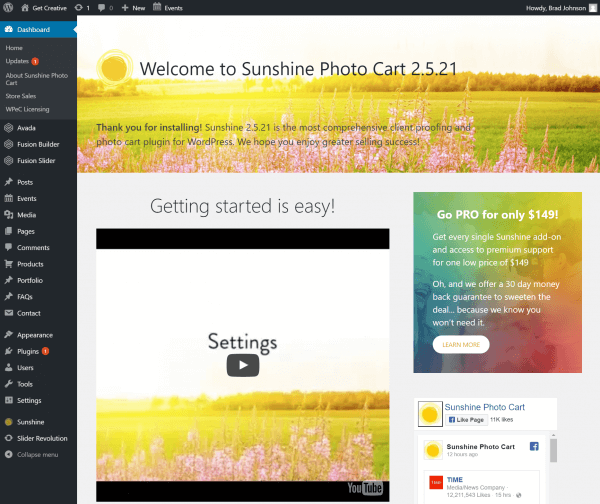
You can extend the WordPress core image gallery features using specialist plugins. Addons like Sunshine Photo Cart support enhanced photo galleries with responsive layouts that adjust to your user’s screen size, plus a shopping cart system that allows you to sell your photography online. You can also use the plugin for photo proofing, allowing clients to review and approve a selection of photos for print or other distribution.
Be sure to explore the wide assortment of image gallery plugins available in the WordPress repository.
How to fix missing post thumbnails / featured images
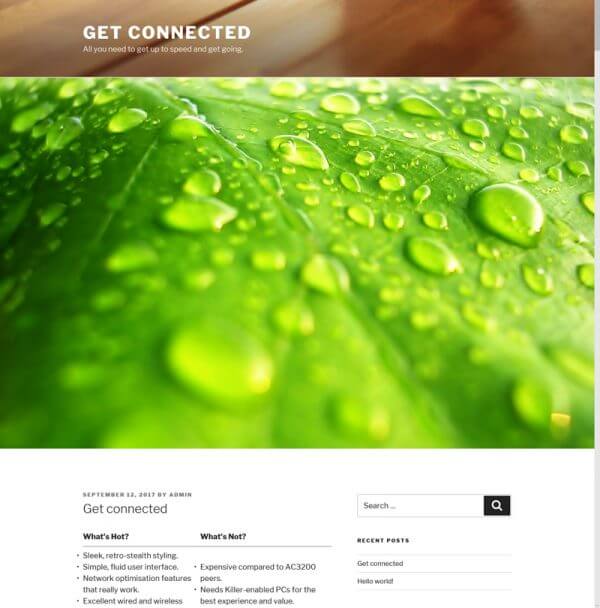
WordPress posts include a featured image that can be prominently displayed to illustrate your writing. When editing a post, look for the Featured Image panel at the bottom of the page:
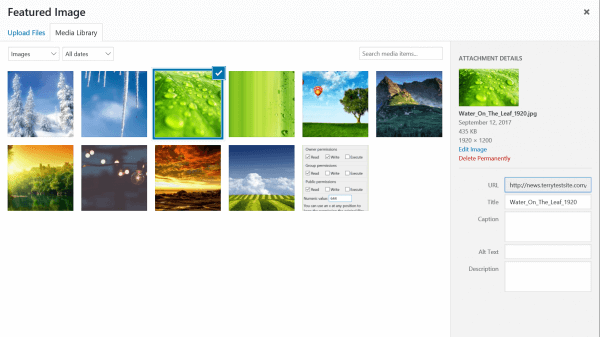
Click Set featured image, then select an image from your Media Library, or upload a new image to be displayed at the top of the post. Large images work best, and WordPress will automatically resize the image to fit your theme’s page width.
Click Set featured image to proceed.
How to fix the featured image appearing twice
If you have new WordPress users working on your site, they may not know how to use the Featured Image setting. A mistake that is commonly made in WordPress is to manually insert an image at the top of a post and then set the same image a second time in the Featured Image panel.
Doing so duplicates the image in the post. To resolve, simply delete the image that has been manually inserted at the top of the post and remind post authors only to use the Featured Image panel.
How to crop images in WordPress
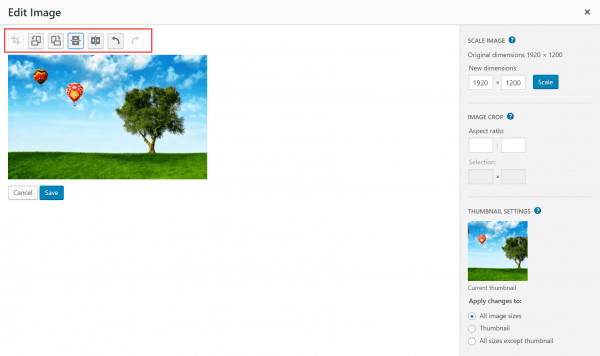
WordPress includes a primary image cropping feature if you find that the images you upload are too large or you wish to change the focus area. Select an image, then use the Edit image link to proceed.
Use the buttons above your image to perform cropping, image rotating, or resizing in the editor screen.
When you’ve completed your edits, click Insert into post to add the image to your post or page.
How to add a header image in WordPress
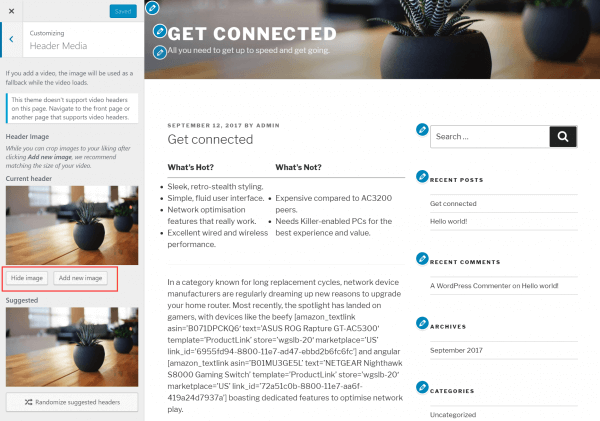
Many WordPress themes include header images that appear at the top of all posts and pages as part of the branding for the site. Here’s an example:
You can create your site header image by selecting Appearance > Customize > Header Media in the administration dashboard.
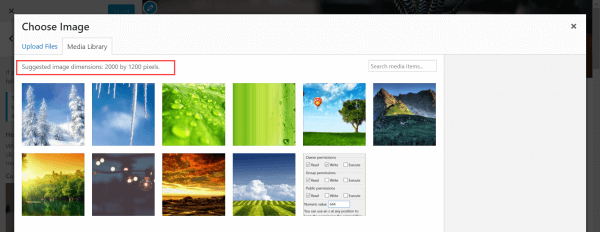
Use the Hide Image button to remove the image from the header or Add new image to change the graphic. WordPress will recommend an image size for your site that may vary by theme.
How to add a background image in WordPress
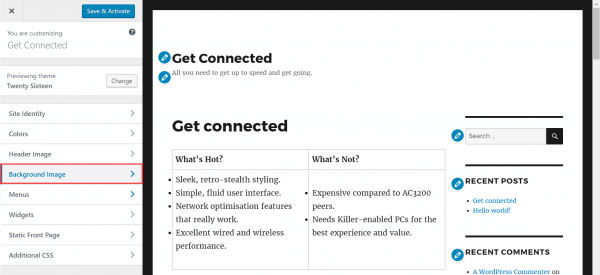
Another branding element supported in WordPress is background images. Like header images, these appear on every post and page. Not every WordPress theme features background images, but many do. Head to Appearance > Customize to see whether your current theme includes a Background Image menu.
If you don’t see one, you’ll need to look for a new theme that supports the feature.
Where to find free images for your WordPress blog posts
Writing many posts can sometimes be challenging to find suitable images for your WordPress site if you’re writing many posts. There are plenty of commercial stock images libraries available online, but these can be expensive to use. Fortunately, some great free image libraries allow you to download and use images under a free license. Be sure to check the specific terms of the license before you use any image on your site – some licenses prevent images from being used on commercial projects.
Here are a few to check out:
How to tag images in WordPress
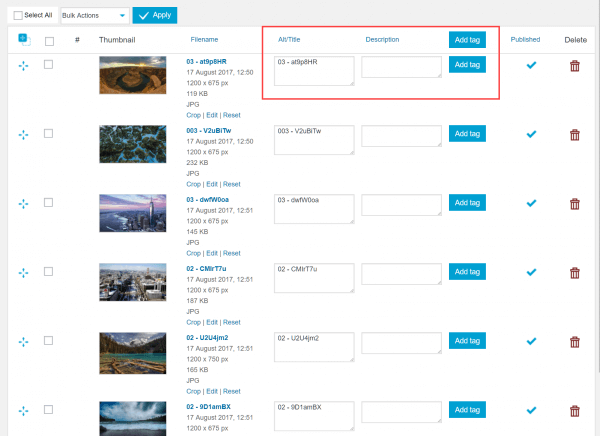
Unlike posts, WordPress does not allow you to tag images, making it more challenging to search for specific image categories or subjects. However, there is an excellent selection of image gallery plugins that enhance WordPress with such a feature.
Check out WordPress Media Tags or Photo Gallery by WD as just two examples of plugins that support image tagging.
How to import external images into WordPress
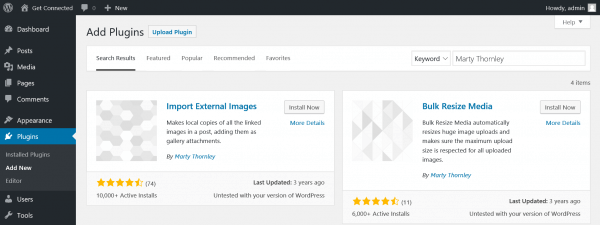
If you’re migrating your WordPress site to a new host or server, you can easily import post content, but you’ll find that the platform lacks a feature to import your images from an external server. Once again, you can use a plugin, Import External Images, to handle this issue.
The plugin simply makes local copies of all external images linked in a post, adding them as gallery attachments.
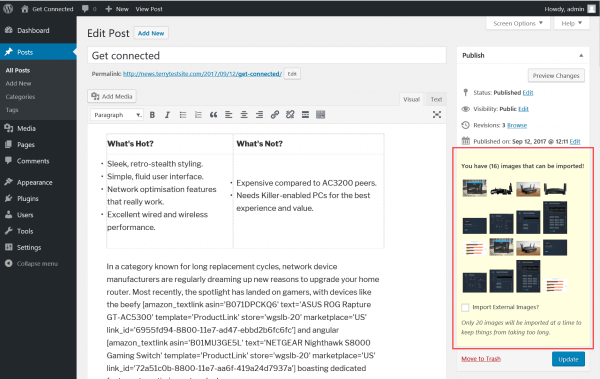
Once installed, the plugin scans your posts for URLs and presents an option to import images from any available external resource.
How to require featured images in WordPress posts
As the editor of a site with multiple authors, adding featured images to posts can be time-consuming when the author has forgotten to do so. However, with the Require Featured Image plugin, a notification box will be displayed in the post editor, reminding authors to include a featured image.
When installed, authors can save posts as drafts, but posts without featured images cannot be published.
How to set a default featured image in WordPress
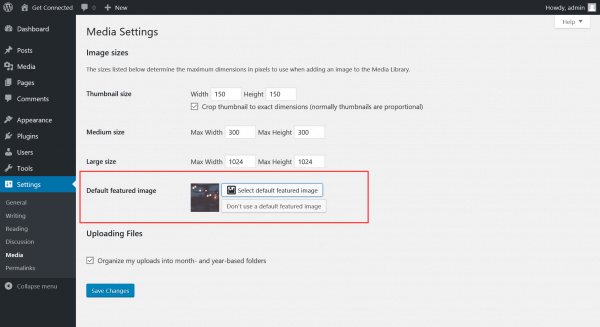
Another option for ensuring a featured image is displayed on all posts is to create a default featured image. For more significant sites, with hundreds or thousands of posts created over the years, a default featured image is beneficial, automatically inserting an image if an author has not made their custom selection. Use the Default Featured Image plugin to add this function to your WordPress site.
How to remove the default image link in WordPress
By default, when you insert an image in WordPress, the platform creates multiple copies of the image, in various sizes, for use around the site. An embedded link is added to the inserted image that navigates the user to the original, full-sized version. To disable this link, head to the Attachment Display Settings and set the Link To dropdown to None.
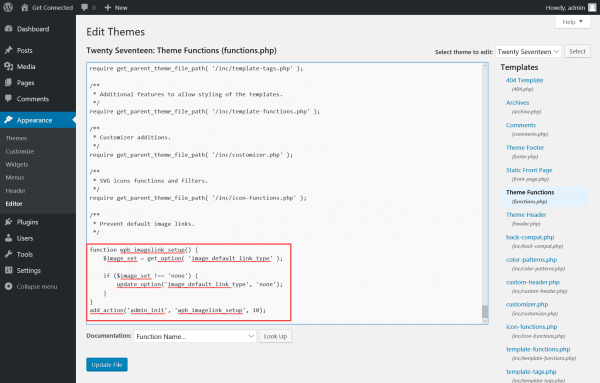
Alternatively, to prevent WordPress from adding links to your images, edit your theme’s functions.php file (via Appearance > Editor) and add the following code:
function wpb_imagelink_setup() {
    $image_set = get_option( 'image_default_link_type' );
    if ($image_set !== 'none') {
        update_option('image_default_link_type', 'none');
    }
}
add_action('admin_init', 'wpb_imagelink_setup', 10);
If you need help with your HostPapa account, please open a support ticket from your dashboard.
