When you need to disable all WordPress plugins, such as for troubleshooting purposes, you can do so directly in the MySQL database using phpMyAdmin. You can then re-enable each plugin one by one until you find the plugin causing the problem you’re trying to fix.
Here’s how:
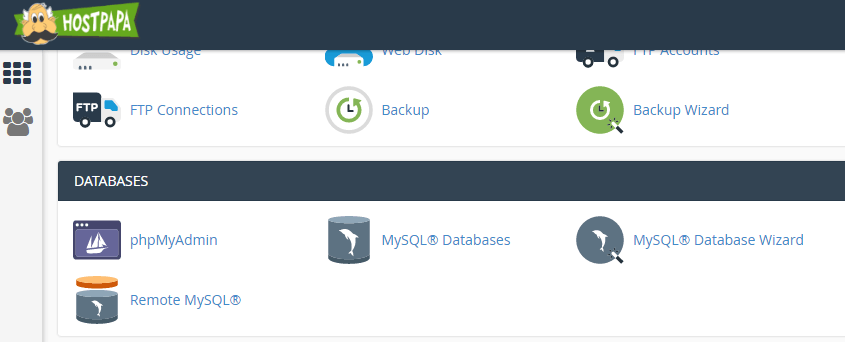
1- Go to your cPanel and scroll to the Databases section.
2- Click the phpMyAdmin icon.
3- The phpMyAdmin window opens.
4- In the left navigation window, click the link for your WordPress database.
5- Browse the wp_options table and locate the active_plugins option.
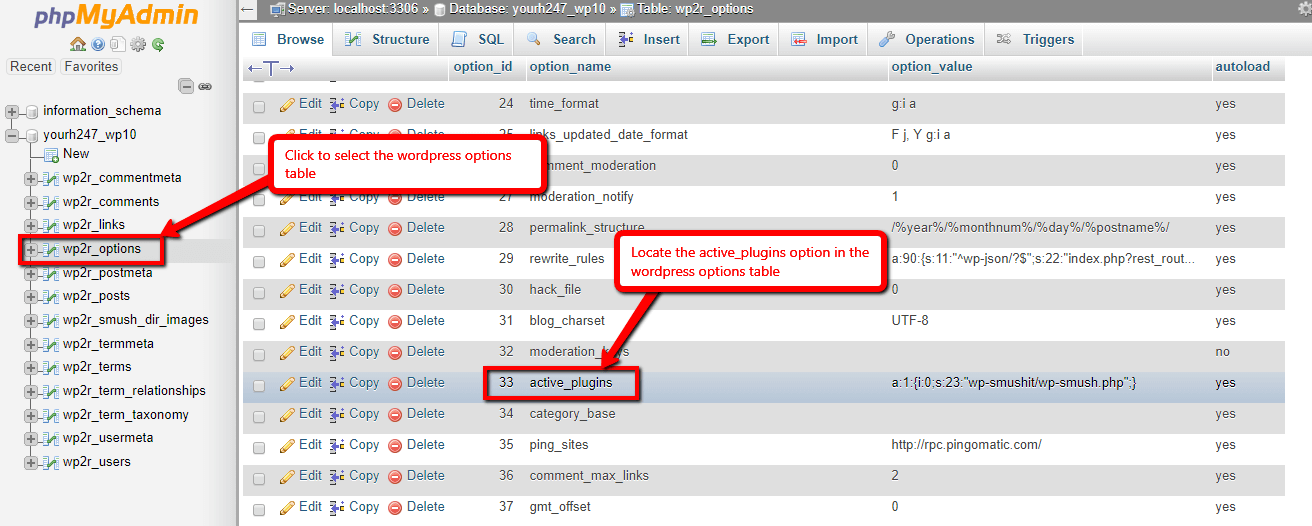
6- Double-click the option_value for the active_plugins option and delete it.

7- Click the Go button to save the change.
Your plugins are still available in the plugins directory. Reactivate them one by one using the Plugins installer in WP-Admin.
NOTE: If for some reason you are unable to access your WP-Admin dashboard, you can also quickly disable all plugins by going to the cPanel File Manager and renaming the plugins directory (located in the app directory) to plugins-old. Create a new directory called plugins, then move each plugin from the plugins-old directory to the new plugins directory until you find the plugin that’s causing the problem.
If, for some reason, the above steps fail, please open a support ticket from your HostPapa Dashboard. Follow this link to learn how.
