Upgrading your site’s PHP version is one of the easiest ways to boost performance, strengthen security, and ensure your WordPress plugins run smoothly. In this guide, you’ll learn how to safely test and update your PHP environment directly from your Managed WordPress dashboard in just a few clicks.
This Knowledge Base article explains how to delete a WordPress site that was created with your Managed WordPress service.
Overview & prerequisites
PHP is the core scripting language that powers WordPress. Newer PHP versions offer improved speed and security; however, legacy plugins or themes may require testing before upgrading.
- Check Status: Ensure your environment status is set to Active.
- Test on Staging: If available, create a staging environment, change its PHP version, and verify site functionality before updating your production site.
- Backups Note: Changing your PHP version adjusts the server runtime rather than your files or database. Restoring a backup will not revert the PHP version. If an error occurs, simply select and save your previous PHP version to restore site functionality.
Steps to change your site’s PHP version
- Log in to your dashboard and navigate to the Settings tab.
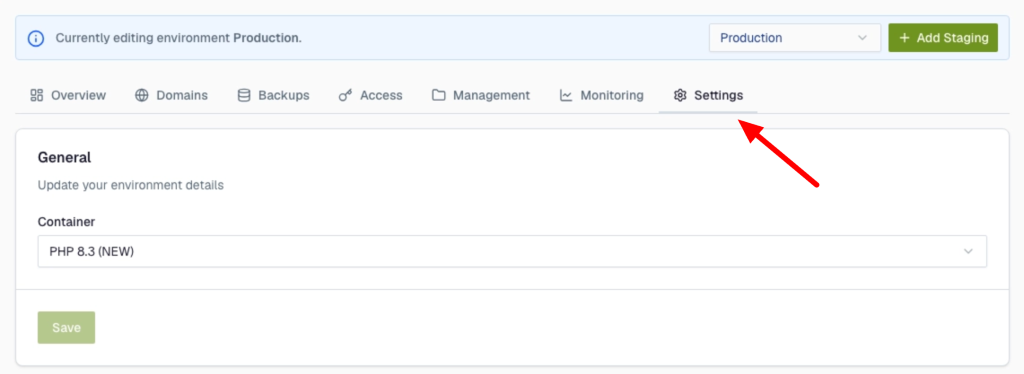
2. Locate the General section and click the Container drop-down menu. (Note: “Container” refers to your PHP runtime environment.)
3. Select your desired version.
4. Click Save.
What happens next
After saving, your environment will briefly show a Processing… status while re-provisioning onto the selected version before returning to Active. Your site remains available during this transition. Once the status returns to Active, test key pages across your site to confirm compatibility with the new version.
If you need help with your HostPapa account, please open a support ticket from your dashboard.