There are many themes available for WordPress that can be used to give your site a look and feel that is consistent with the image you want your site to present to the world.
The steps below will walk you through the installation and basic configuration of a WordPress theme.
1- Log in to the WordPress Dashboard.
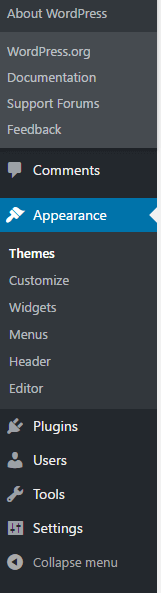
2- In the menu on the left side of the screen, click Appearance. The default selection will be Themes. If Themes is not automatically selected, select it.
3- Click Add New.

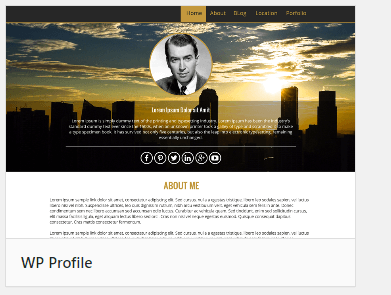
4- Review the available options and select a theme that you would like to use; in this example, we’ll use the popular WP Profile theme.
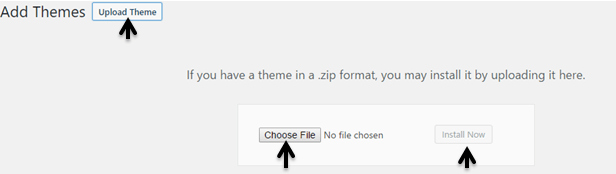
Note: If you would like to load a theme manually from your local computer, click the Upload Theme button, then the Choose File button to browse to the required .zip file, and click Install Now.
For the purpose of this article, we’ll proceed with using the WP Profile theme.
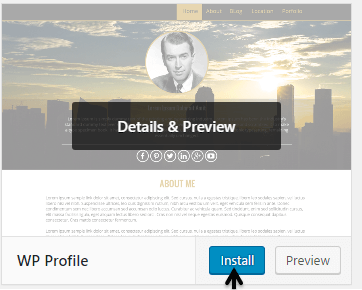
1- Hover your mouse over the theme you selected in step 4 and click Install.
2- The theme will install and you will then have the option to activate or preview it. If your site is currently up and running, activating a new theme will change the layout and may change some predefined settings or functionality. It is recommended that you preview the theme to ensure it functions as desired before activating it.
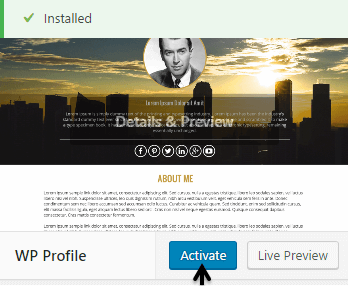
For this example, we will proceed with activating the theme by clicking Activate. If you would prefer to simply preview the theme, click Live Preview instead.
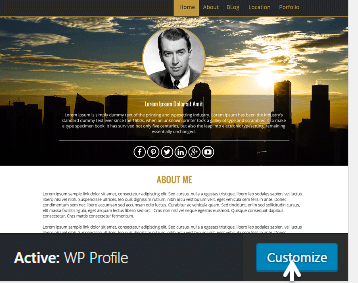
1- The theme is now active on the WordPress site. After clicking Activate, you’ll be returned to the Themes section. From there, click Customize to begin customizing the theme to fit your site.
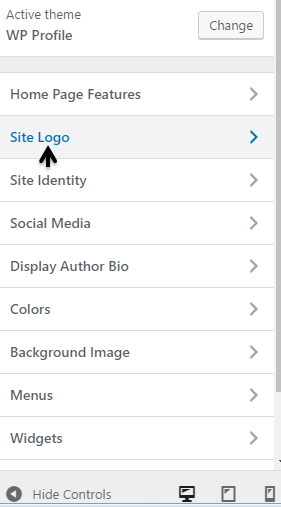
2- There will be multiple options available to customize the theme. In this example, we will add the HostPapa logo. To start, click Site Logo.
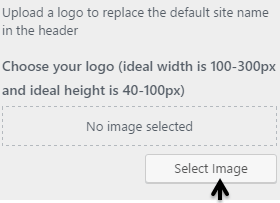
3- Then click Select Image.
4- Drag and drop files of the desired image, click Select Files to manually browse to it or select an image from the Media Library tab; click Choose Image in the lower right corner of the screen.

5- Click the Save & Publish button in the upper left side of the screen.
![]()
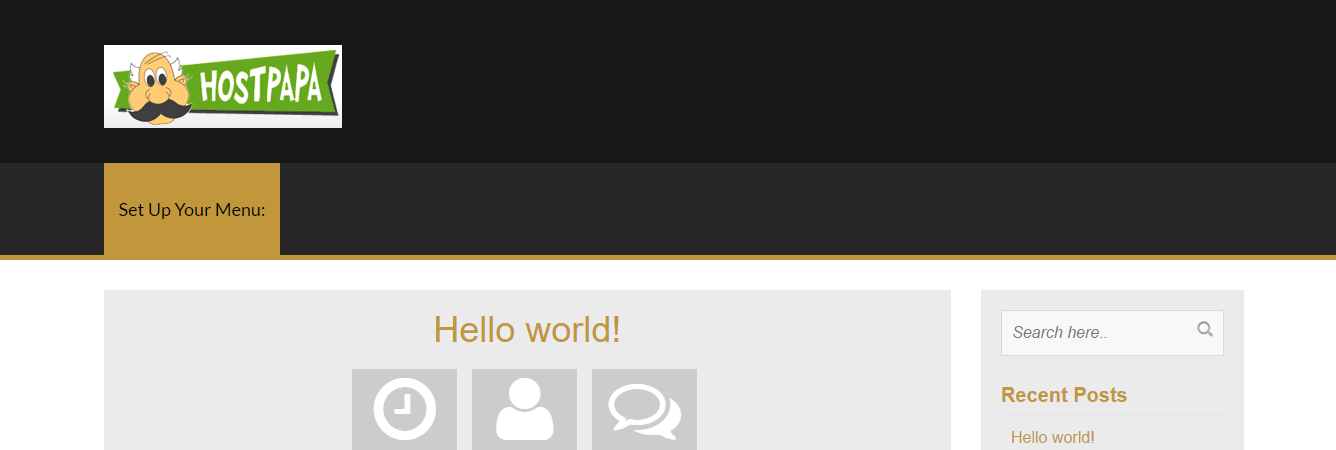
That’s it! The process is complete. As you can see, our test site is now using the “WP Profile” theme with the HostPapa logo.
For further questions or if you need help, please open a support ticket from your HostPapa Dashboard. Follow this link to learn how.
