Managing webpages often involves:
- Regular maintenance.
- Content updates.
- User experience innovations.
In this guide, HostPapa shows you how easy it is to maintain your website in Website Builder and keep your webpages in order.
To learn how to access your Website Builder to get started, please visit this article.
Website management is a popular term and includes the idea of improving the user’s experience of your site. At the end of this article, HostPapa will provide you with nine tips for making your website more user-friendly!
How to manage pages in Website Builder
The Pages left panel provides a compact view of all pages on your site for easier access and better management. You can perform various page-related functions that help manage your website, such as:
- Add and delete a page.
- Publish and duplicate a specific page.
- Create a folder.
- Move a page or pages into a folder.
- Add redirects.
Website management tools
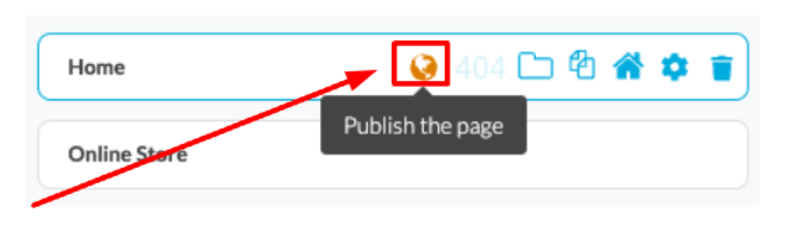
The globe icon
The globe icon allows you to publish each individual page without going to it in the editor. If the globe icon is orange, it shows that the page is not published.
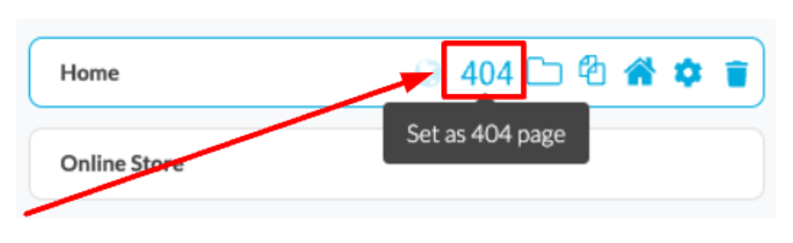
The 404 icon
Clicking on the 404 icon will make the selected page your website’s Page Not Found. This means that when a visitor goes to a non-existent page on your site, they will be redirected to the Page Not Found screen. Only one page can be set as a 404. This can be overruled by setting a redirect.
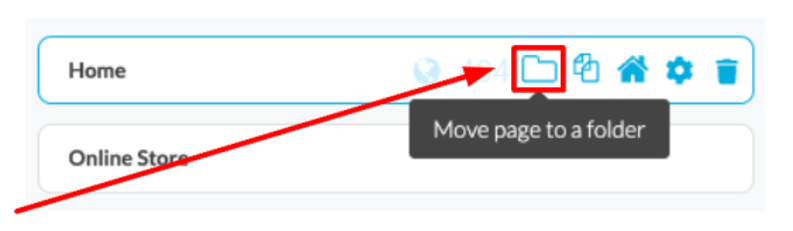
Webpage folders
To better structure your content, you can put each webpage in a folder. This action will allow you to choose from a list of folders you have previously created. You can then put your selected webpage in that folder.
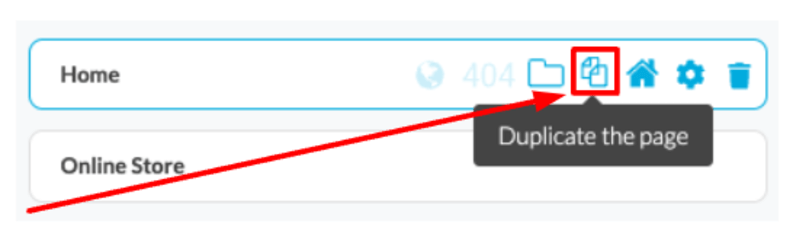
The duplicate icon
If you have a page with a structure you like, you can duplicate that page by using the duplicate icon. A copy of your webpage will show up in your pages list so that you can reuse it.
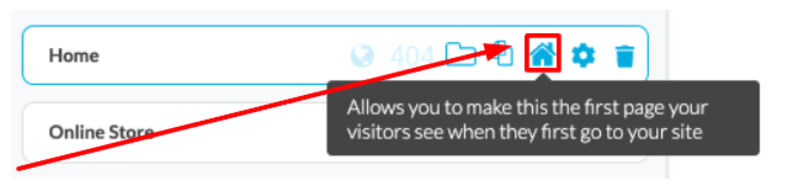
The home page icon
This icon will set the selected page on your site as the home page. This will be the first page to appear when visitors look at your website. You can only select one webpage to do this.
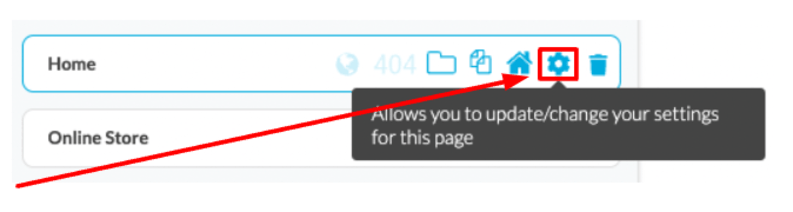
The page settings icon
If you’d like to edit the settings on a particular webpage, please first go to that page. You can now edit the page settings with the page settings icon on the top menu. From the page options, you can instantly access each page’s settings by clicking the Gear icon.
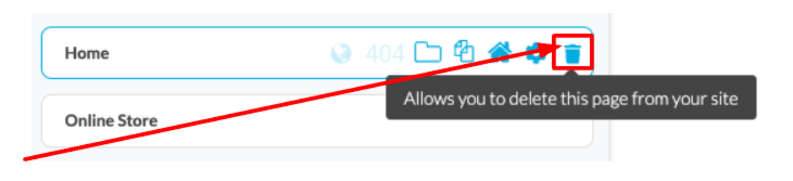
The delete icon
The delete icon allows you to delete a page from your website. Suppose the webpage is linked to other pages or a main navigation menu. In that case, you will be prompted to replace the deleted page link with a link to a page that still exists. You also have the preference to remove all links associated with the page that is being deleted.
Using folders for website management
Using folders can help you organize your webpages. You can create folders with categories based on common subjects.
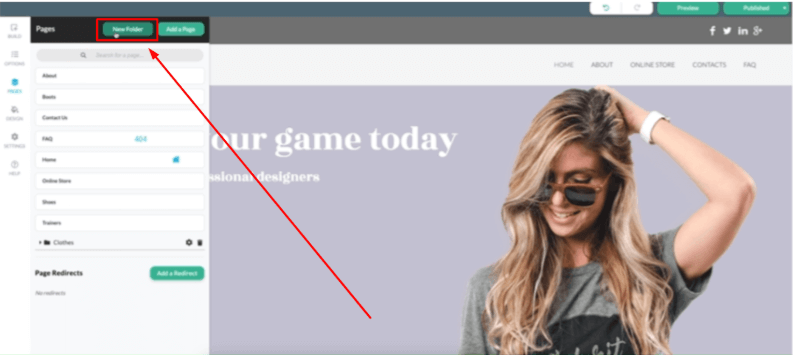
To add a new folder:
- Click on the New Folder button within the Pages tab.
- Fill out the folder’s name and click OK.
Now that you have created a folder, you can put webpages into the folder by:
- Dragging them into the folder.
- Using the Move page to a folder page option.
The redirects option
The creation of 301 redirects enables you to forward any URL within your domain to a specific page of your site or to an external site.
This resource is useful if you have inbound links to a page that no longer exists. If a page no longer exists, it may affect your ranking on search engines such as Google. To prevent any damage to your ranking, you can add a link to an existing page on your website or to another website.
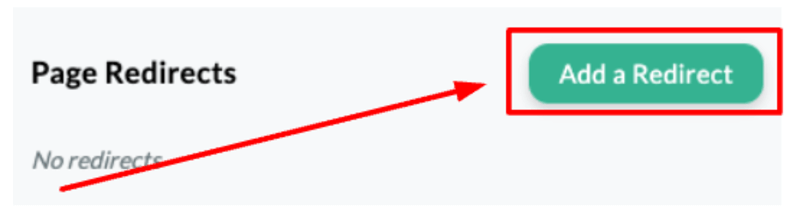
To add a redirect:
- Select the Add a Redirect button in the Pages tab.
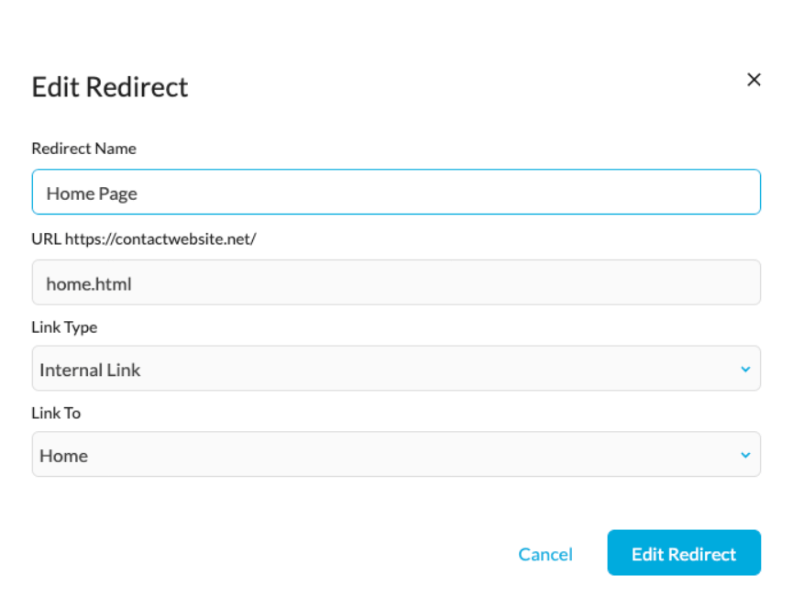
Add the redirect’s name at the top, and beneath it, type the URL of the non-existing page that you would like to get traffic redirected away from.
Next, select the Link Type between the Internal and External page, and specify the destination via the Link To drop-down menu and field.
Please see the example below:
Once a redirect has been created, it will function right away without publishing the change. It will also overwrite the 404 page if one has been set.
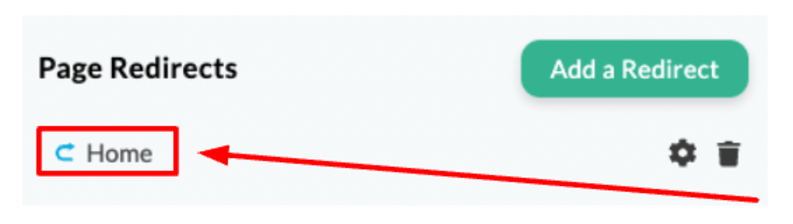
Existing redirects can be edited or deleted via the corresponding icons on the respective row.
Nine tips for making your website more user-friendly
A user-friendly website increases engagement, boosts conversions, and fosters trust in your brand. Below are nine actionable strategies to perfect usability—each with practical steps and highlighted points.
1. Sharpen page load speed
- Compress images using tools like TinyPNG or WebP.
- Minify CSS, JavaScript, and HTML to reduce file sizes.
- Enable browser caching to store static resources for repeat visitors.
- Use a Content Delivery Network (CDN) for global reach.
- Evaluate plugins and scripts and remove any slowing the site down.
Why it matters: Websites that load in under three seconds retain users longer and convert better.
2. Simplify navigation
- Use clear, descriptive menu labels.
- Keep navigation consistent across all pages.
- Avoid excessive submenus and a cluttered top bar.
- Add breadcrumbs for easy backtracking.
- Always link your logo to the homepage.
Steps to streamline navigation:
- Plan a logical, flat site structure.
- Limit main navigation to 5—7 core categories.
- Place the navigation bar in a consistent, visible location.
- Test regularly with users for clarity and usability.
3. Make your website responsive
- Design for mobile-first, then scale up.
- Use flexible layouts (fluid grids and adaptable images).
- Be sure to check that buttons and links are thumb–friendly.
- Test on other devices.
- Prioritize important content for small screens.
Benefit: Over 60% of web traffic is mobile. Responsive sites keep users engaged regardless of the device being used.
4. Use a clean, minimalist design
- Stick to a simple color palette (2—3 main colors).
- Use plenty of white space to reduce clutter.
- Avoid unnecessary animations or popups.
- Choose a consistent font family and size throughout.
Advantages:
- Highlights core content and focuses users’ attention.
- Reduces cognitive overload.
- Boosts site credibility by showcasing professionalism.
5. Amplify website accessibility
- Use high-contrast font and background colors.
- Provide alt-text for all images and non-text elements.
- Confirm keyboard navigation is fully supported.
- Structure content with headings (H1—H3) and lists.
- Avoid color-only indicators for important information.
Accessibility benefits everyone: Making your site usable for all leads for a broader reach and legal compliance.
6. Offer clear calls-to-action (CTAs)
- Design CTAs with bold colors that contrast with the background.
- Use descriptive text (Download the Guide instead of Click Here).
- Place primary CTAs above the fold, and supporting CTAs throughout pages.
- Limit each page to one main goal to reduce confusion.
Three rules for great CTA placement:
- Keep it highly visible.
- Make the message action-oriented.
- Test different placements and formats (A/B testing).
7. Write readable, scannable content
- Break content into short paragraphs.
- Use informative subheaders.
- Bullet and number important points for clarity.
- Avoid jargon and keep language simple.
- Incorporate visuals, such as icons and infographics, for emphasis.
Quick checklist for scannable writing:
- Short sentences and paragraphs.
- Descriptive subheadings every 2—4 paragraphs.
- Highlight facts in bold or italics when appropriate.
8. Build trust and credibility
- Display customer testimonials and reviews.
- Clearly show privacy policies and contact details.
- Use modern, authentic visuals.
- Maintain consistent branding and tone.
Trust-building practices:
- Show SSL certificates (HTTPS is important for security).
- Include business addresses and contact numbers.
9. Collect and employ user feedback
- Install feedback forms and quick surveys.
- Monitor usage data to spot pain points.
- Run regular usability tests and update based on results.
- Engage with comments and address concerns promptly.
Why feedback matters: Understanding users’ needs helps to uncover hidden issues and guide future improvements.
Final thoughts
Making your website user-friendly is an ongoing process. By focusing on these nine areas, you’ll deliver a smoother, more engaging web experience that serves your visitors—and your business—exceptionally well. Incorporate both the checklists and processes above as you iterate and evolve your site for ever-improving results.
If you need help with your HostPapa account, please open a support ticket from your dashboard.
