Once you’ve configured and activated your HostPapa email service, you can proceed to set up your email account on your Android device.
For easy webmail access, you can always use this URL https://mail.papamail.net/ from any browser.
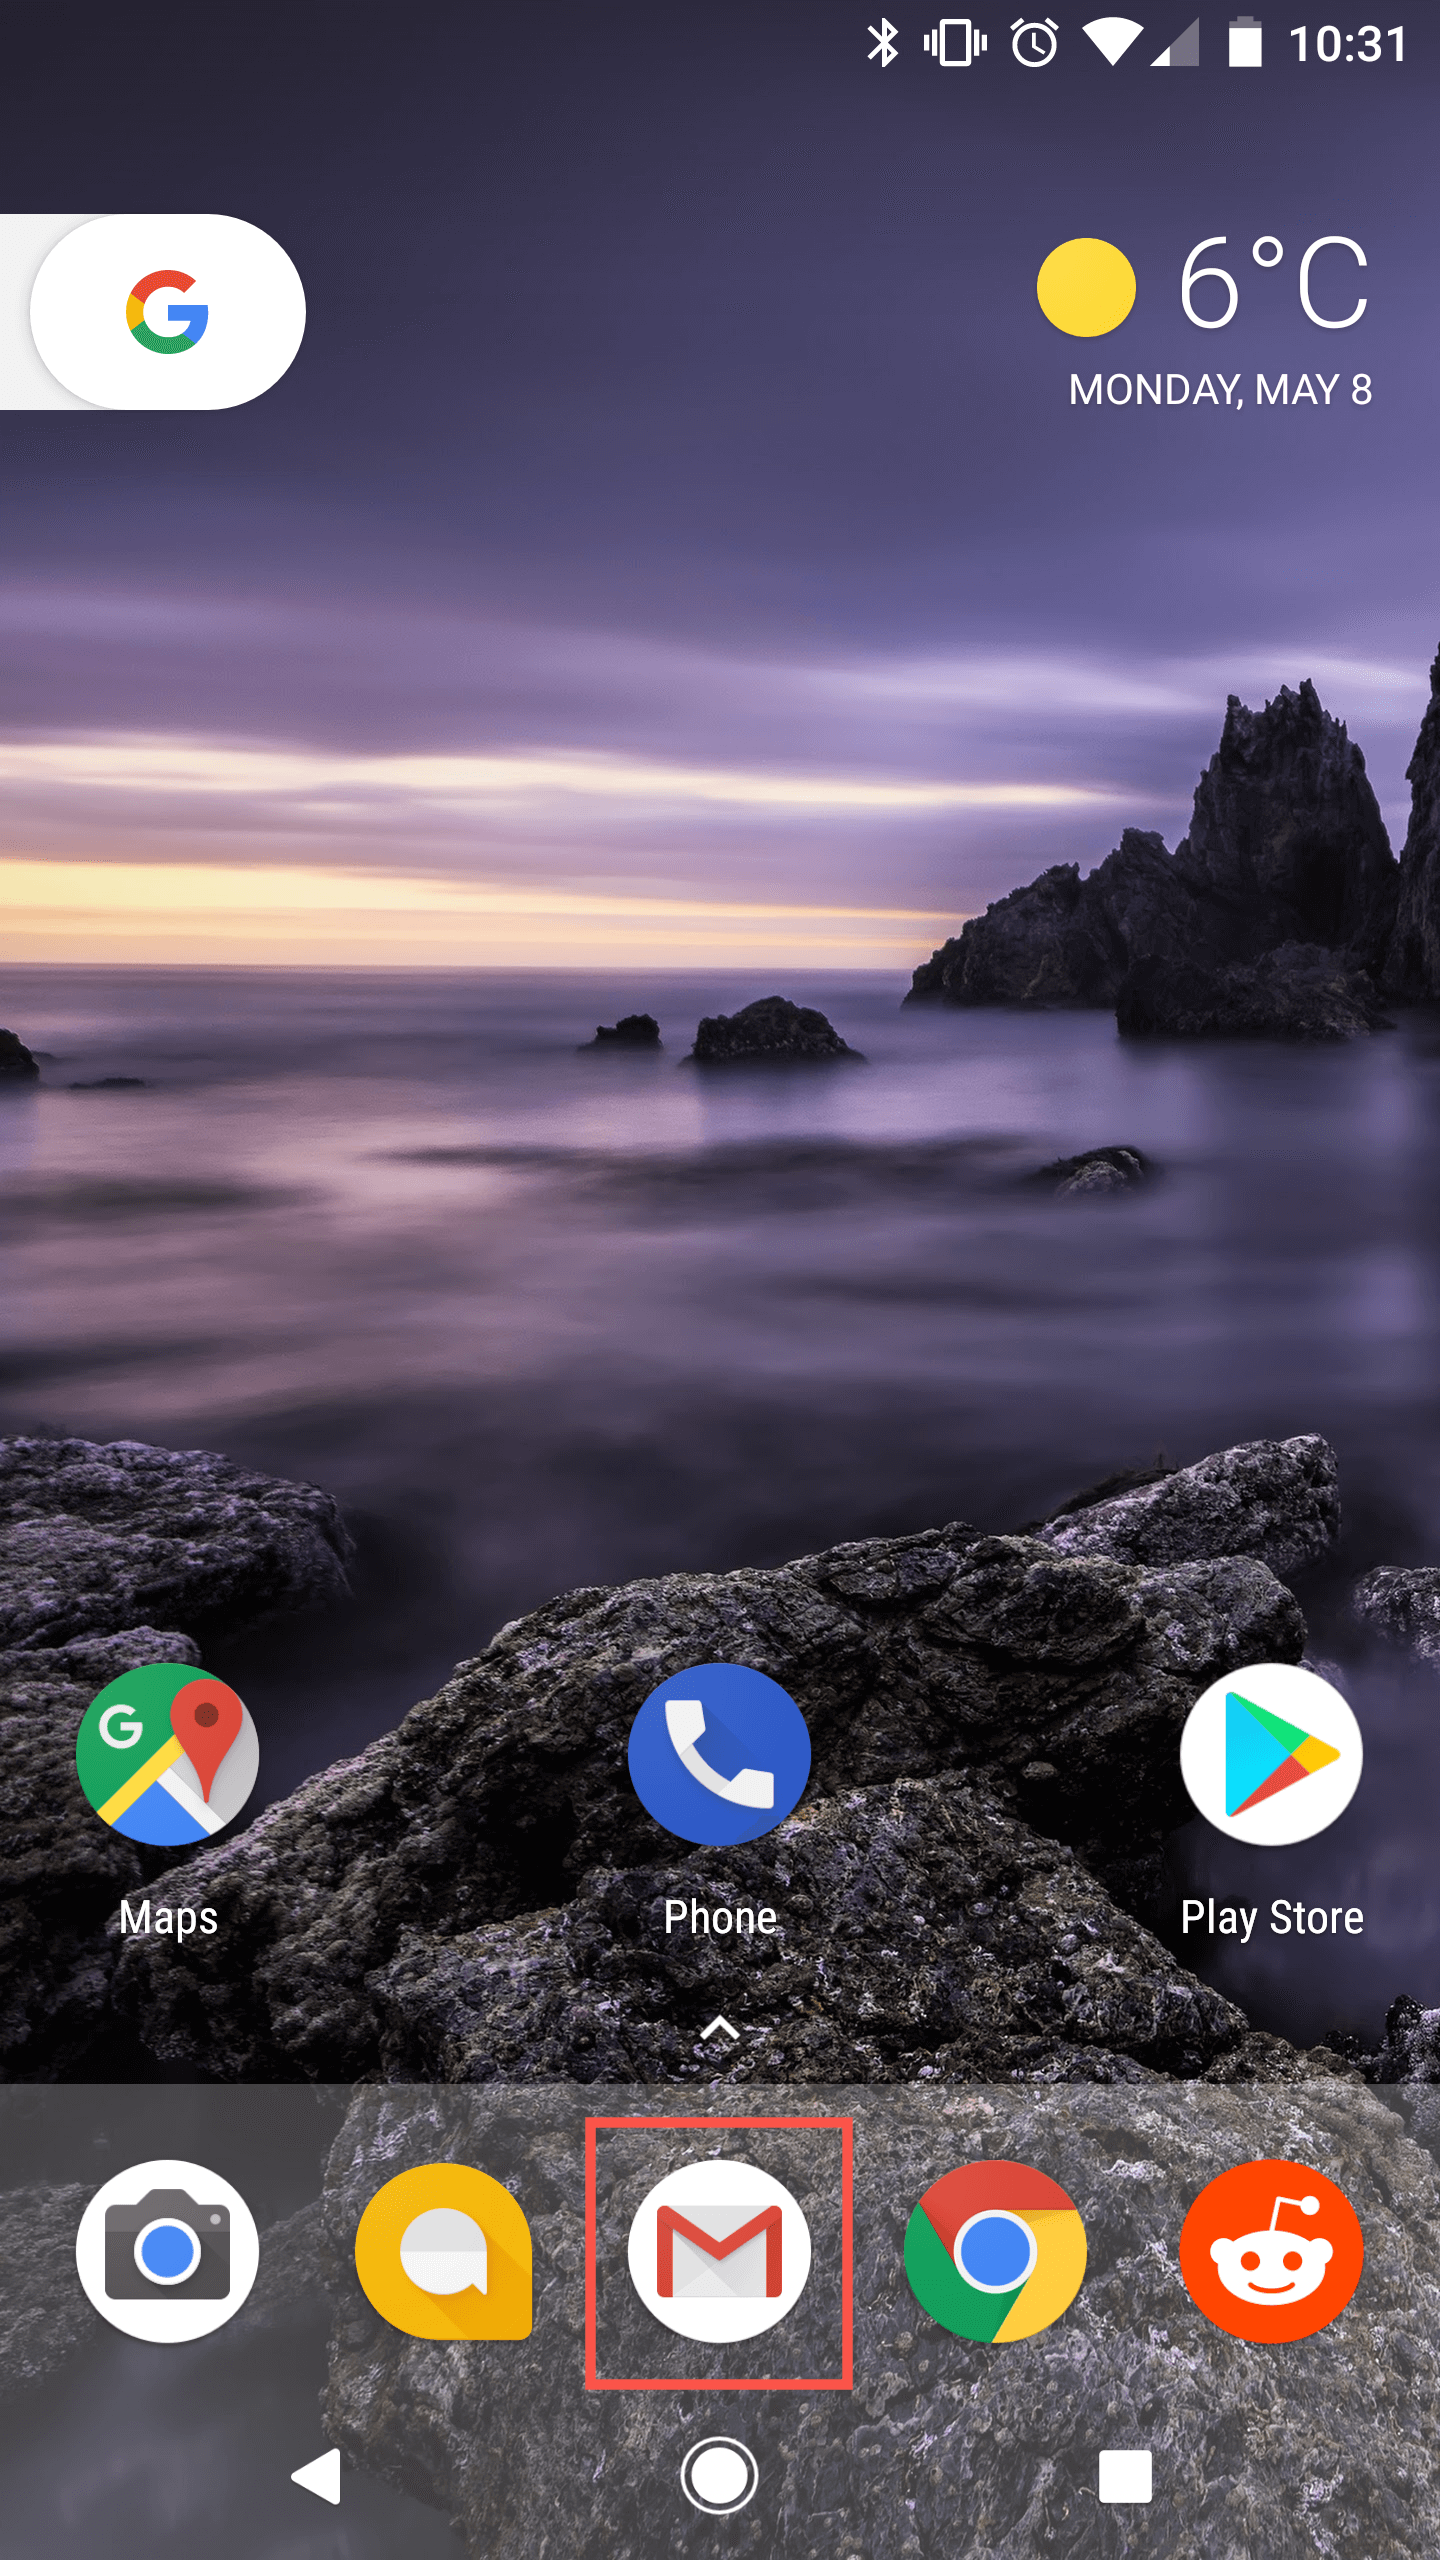
On the Home screen, tap the Email icon.
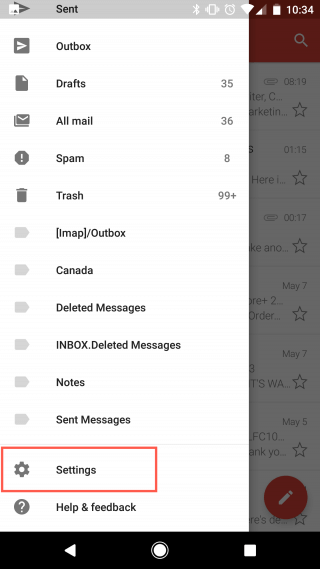
Open the menu with the hamburger icon ![]() at the top left of the screen. Select Settings.
at the top left of the screen. Select Settings.
If you’ve previously set up any email accounts, they’ll be displayed in the Settings menu.
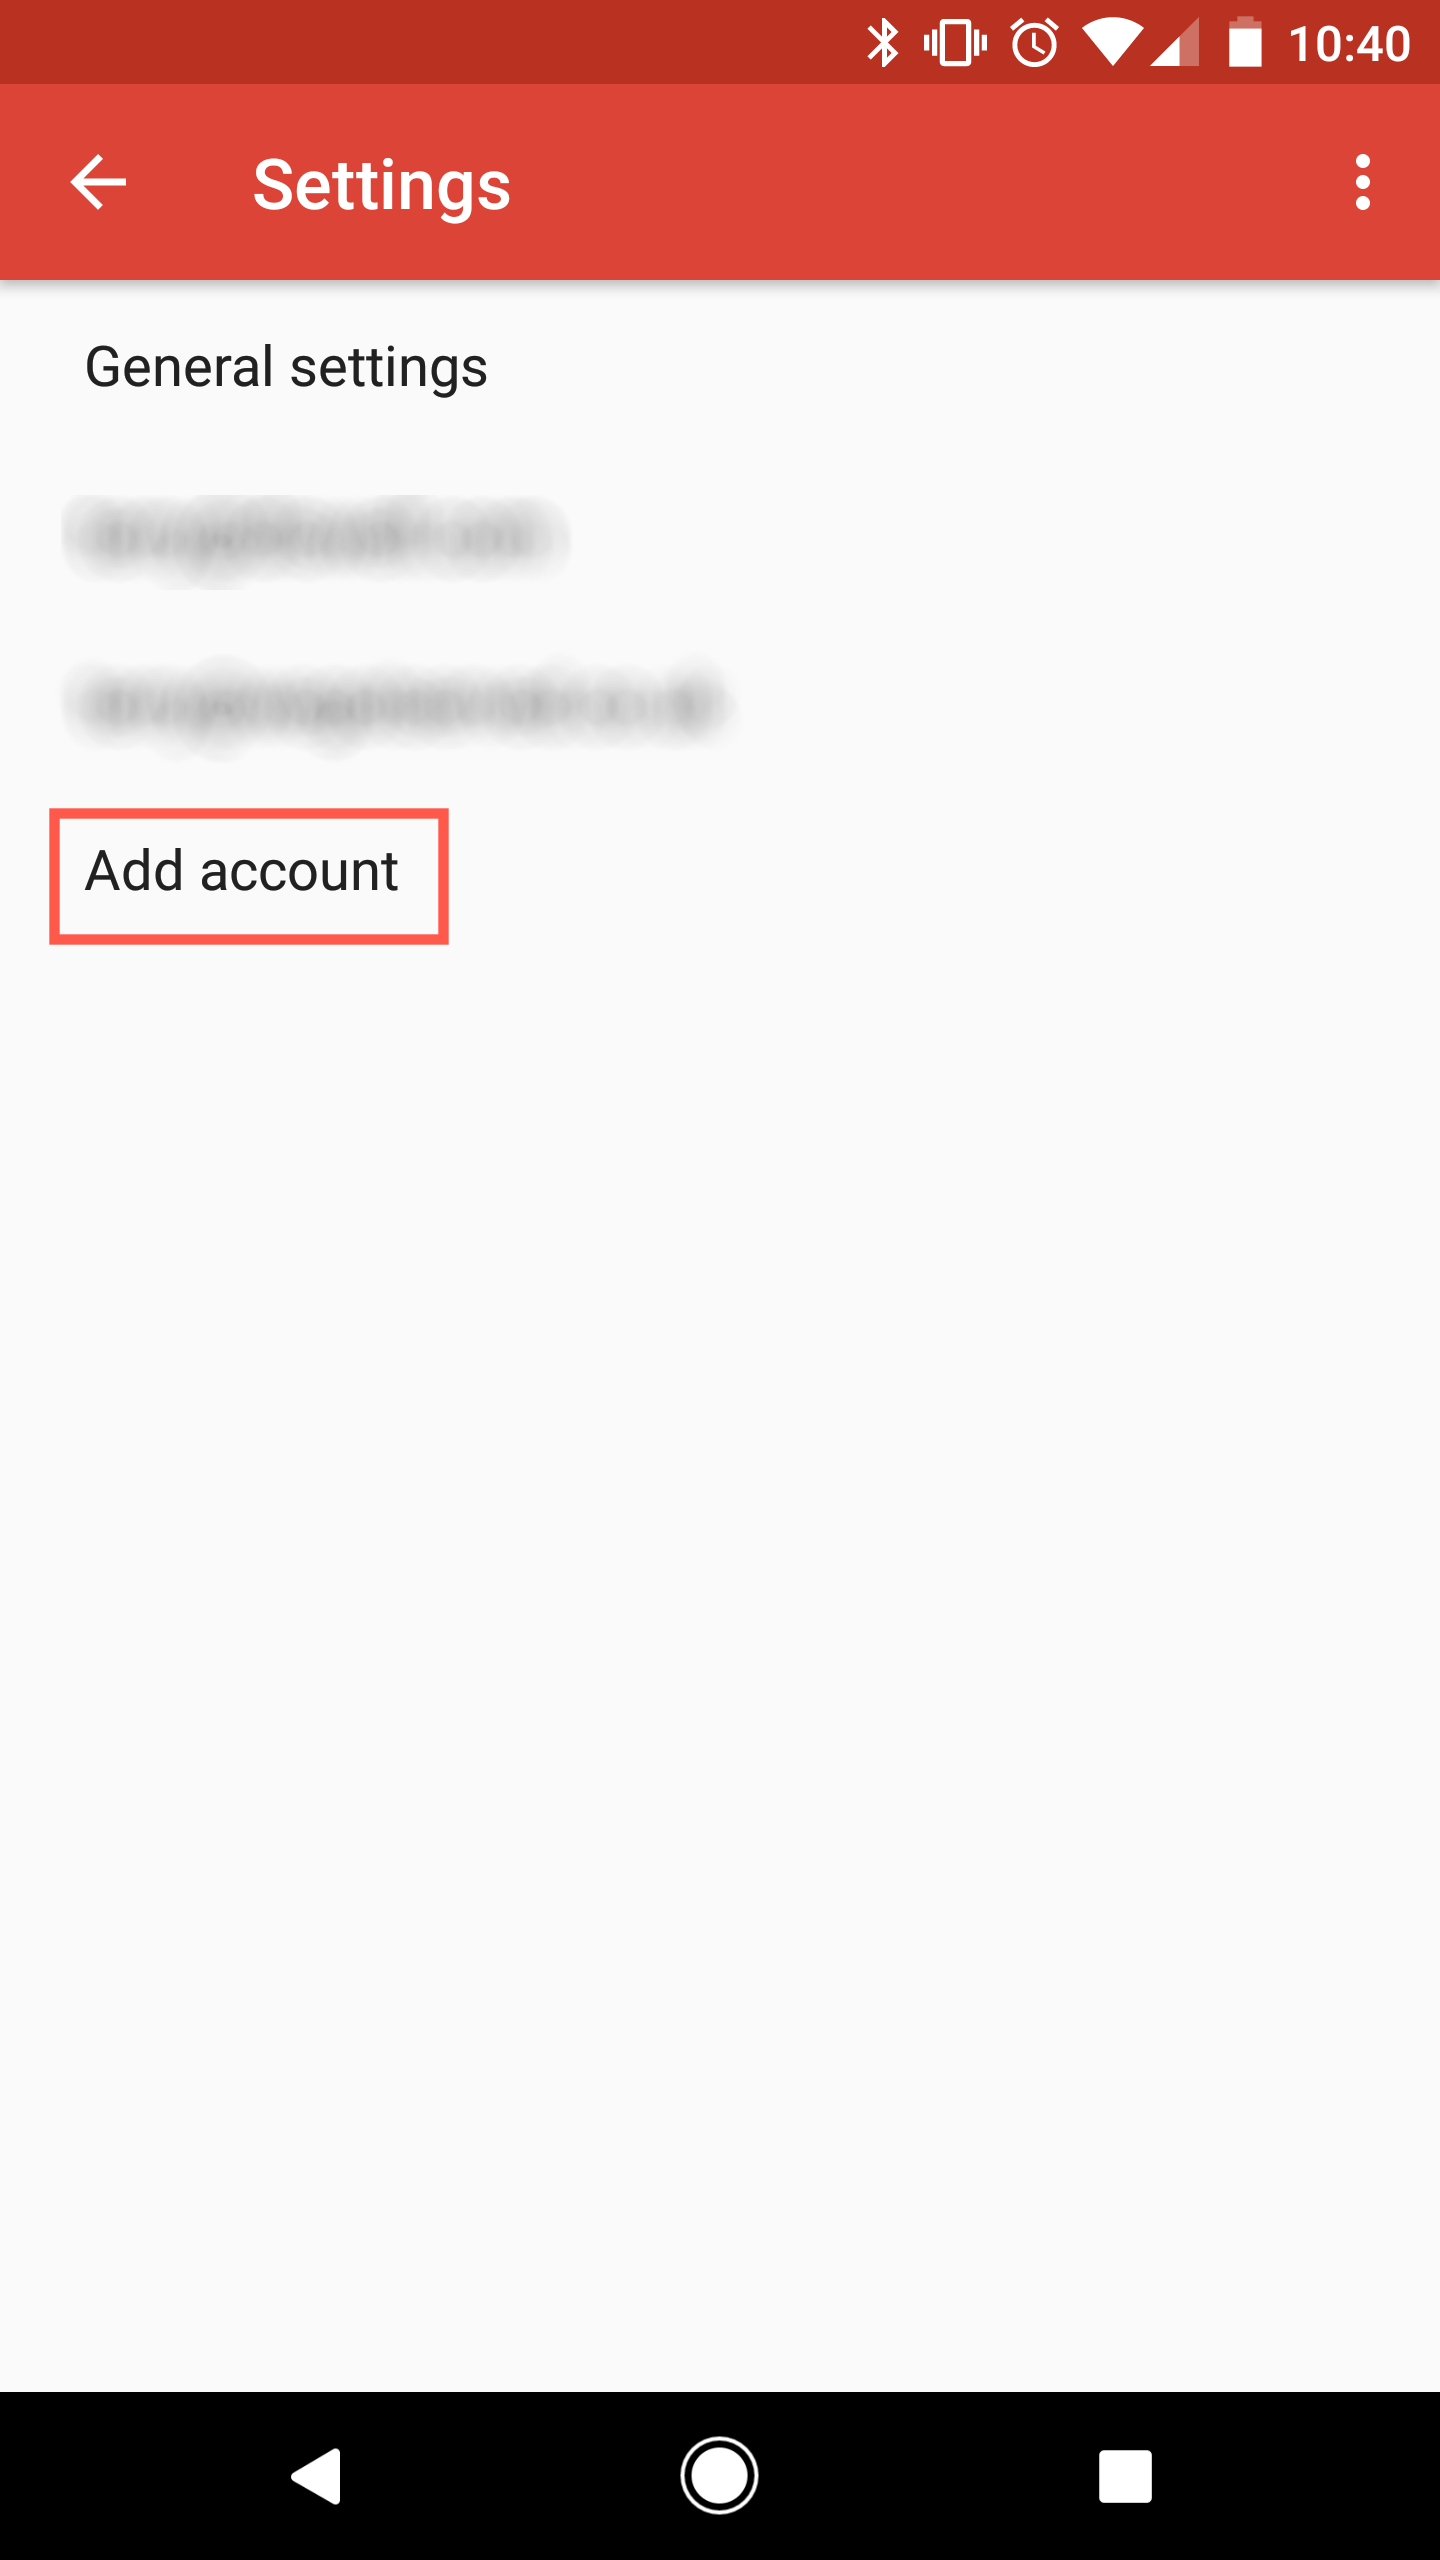
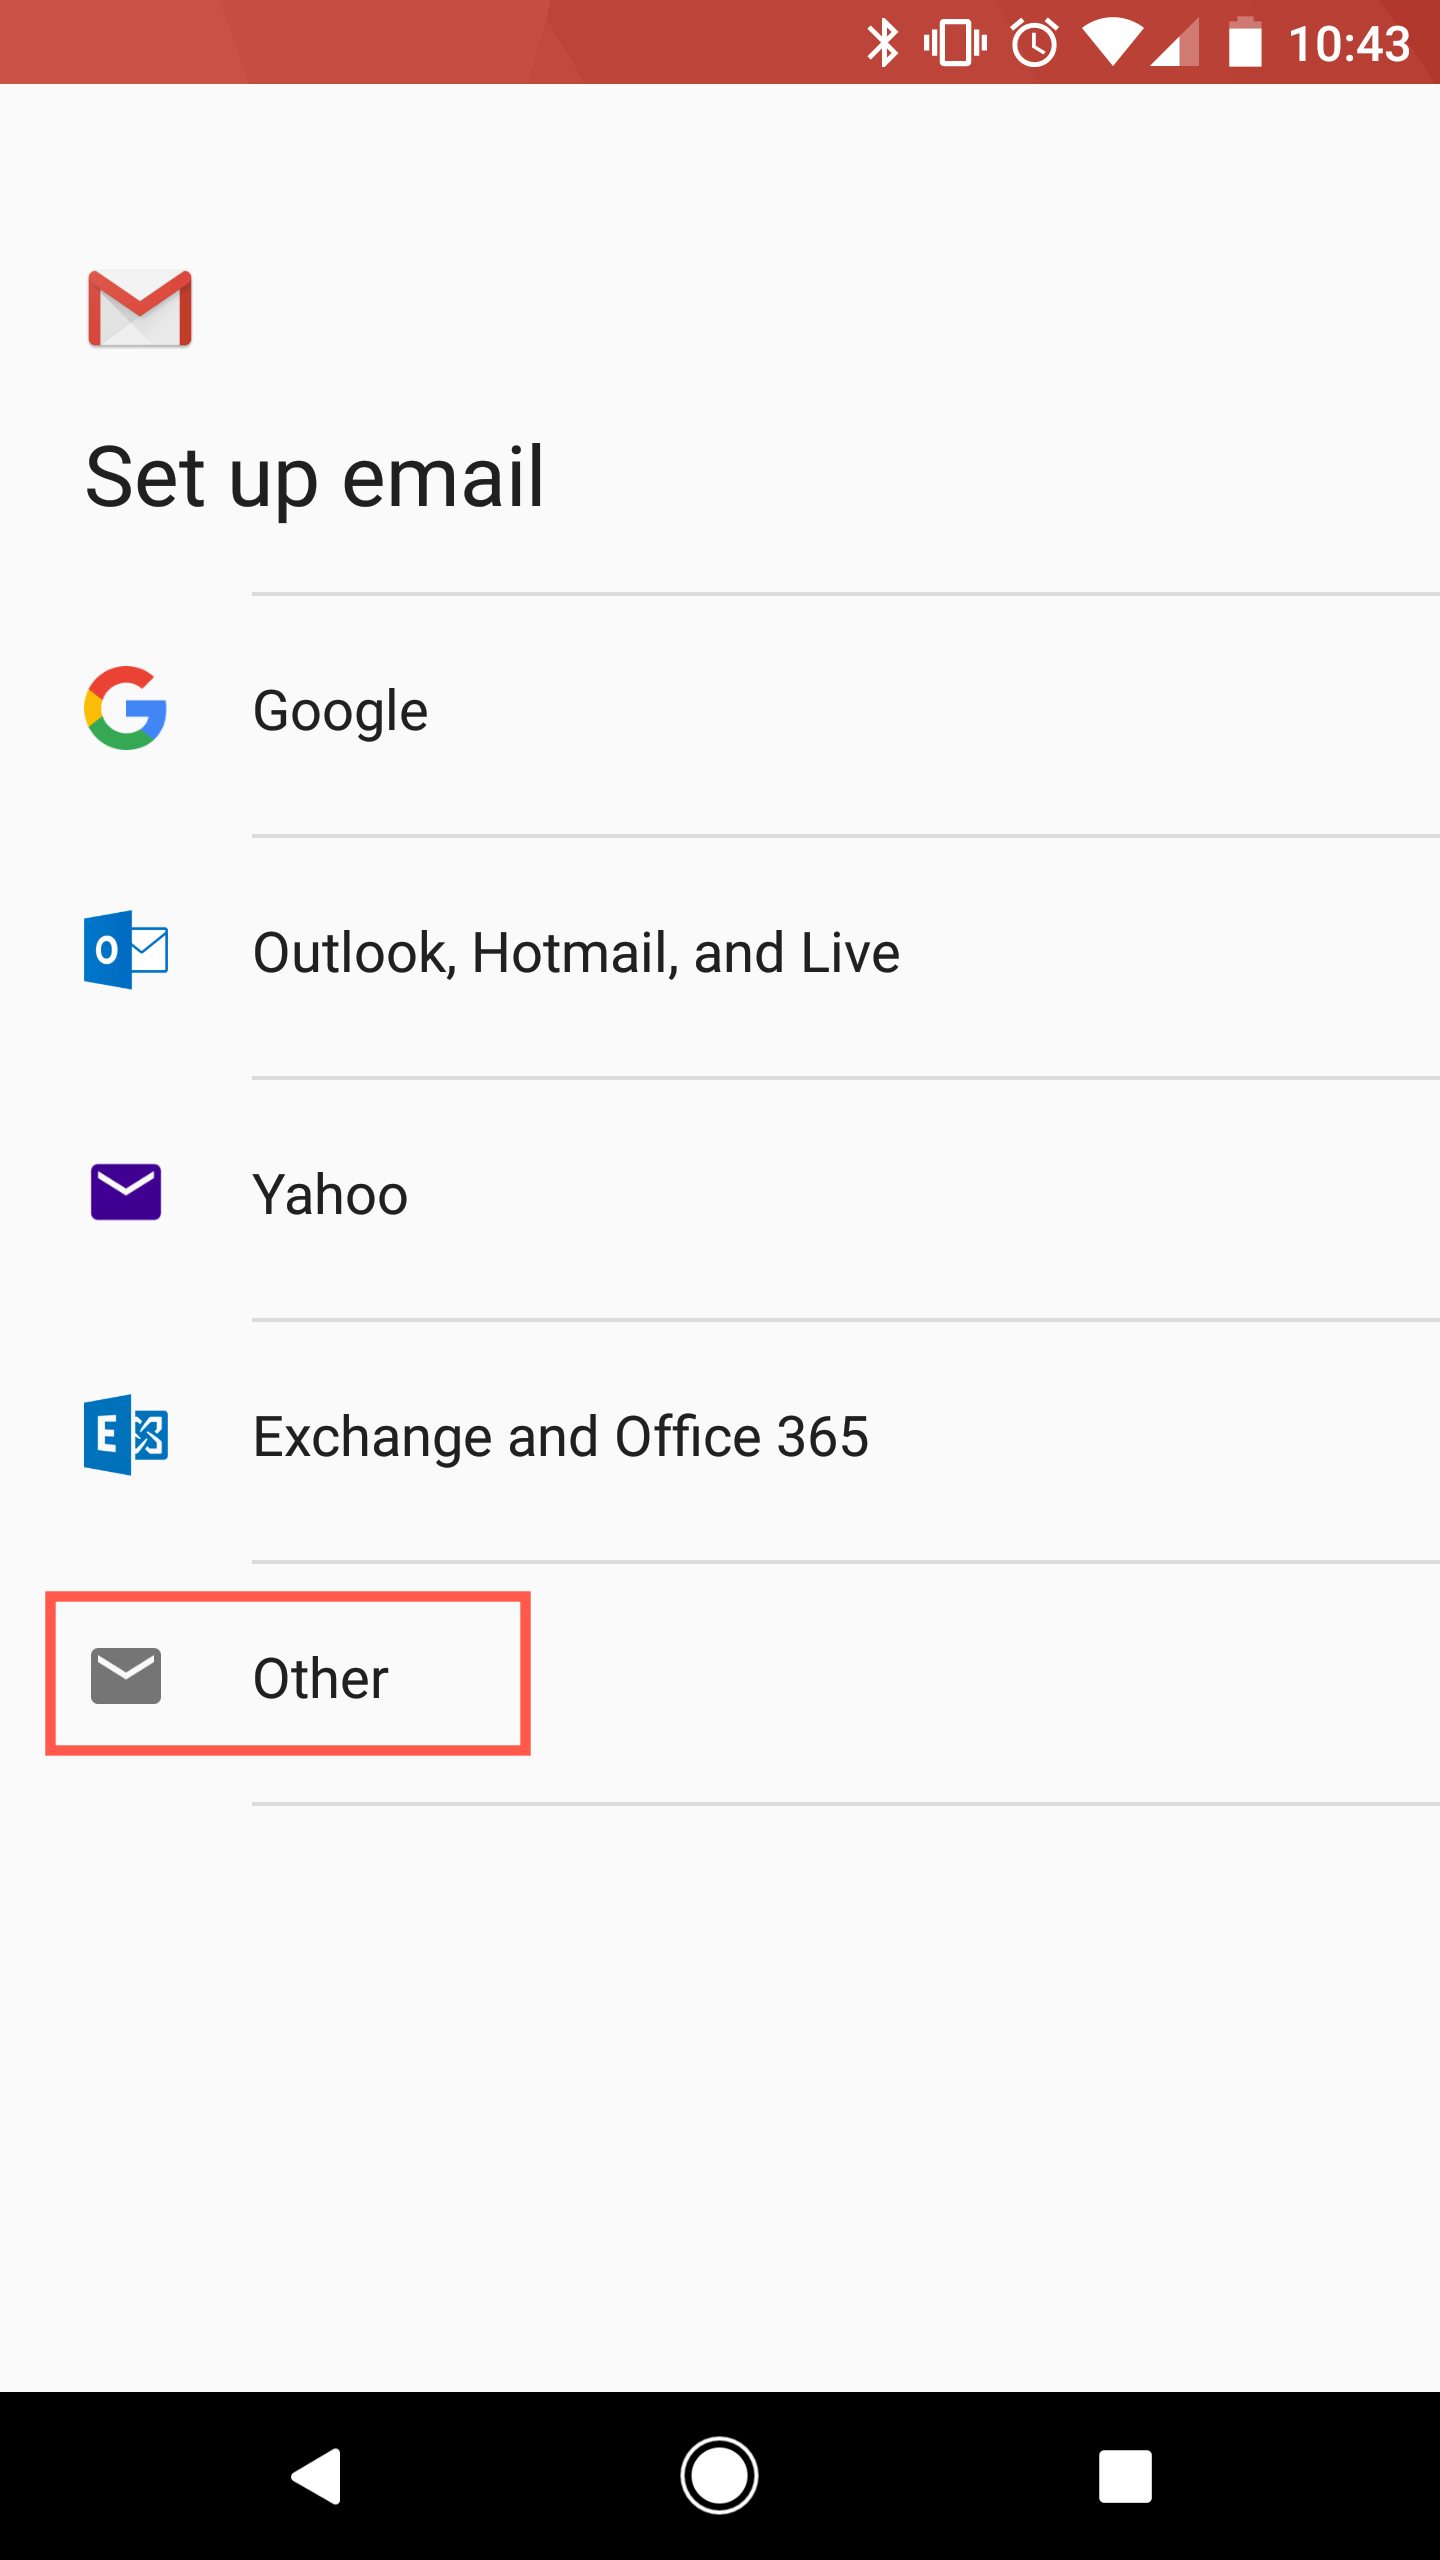
Select Add account to proceed. A list of email providers will be displayed, including Google, Outlook, Yahoo, Exchange and Microsoft 365. For POP and IMAP accounts, select Other.
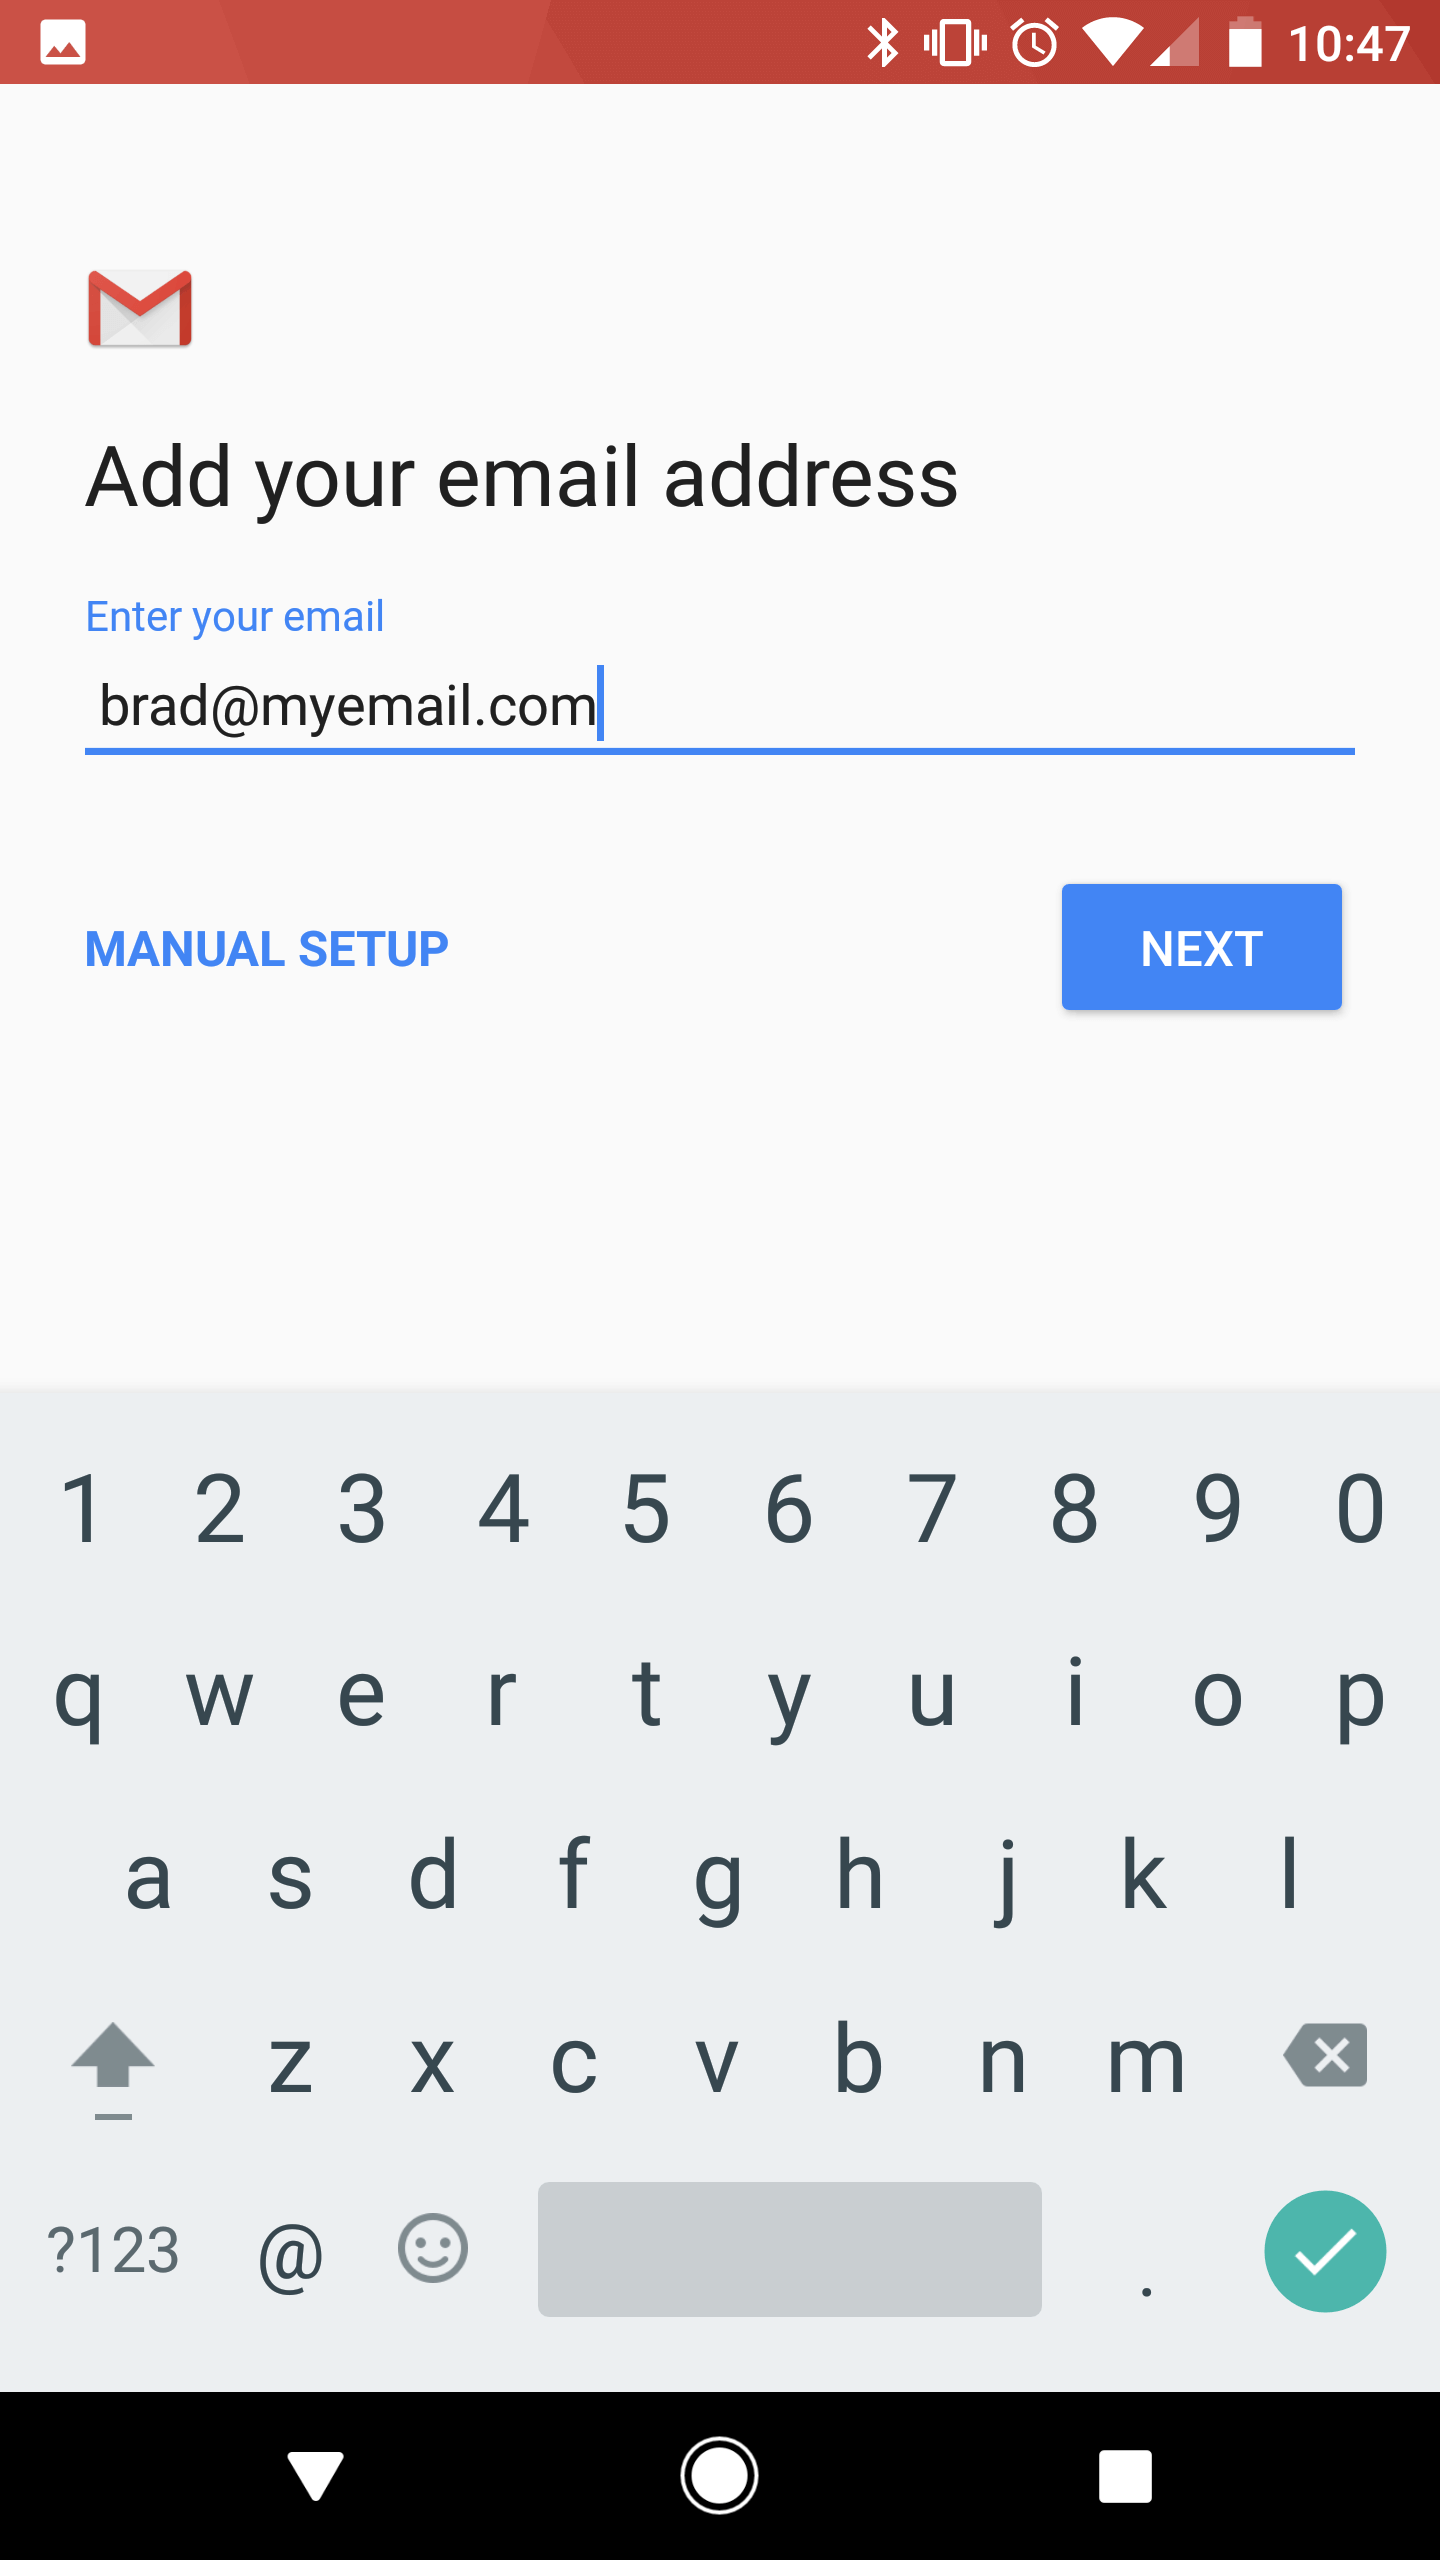
Enter your full email address. If you’d like Android to try to automatically retrieve and configure your server settings tap Next. Otherwise tap Manual Setup to configure them manually.
If you selected Manual Setup, tap the type of email account you are configuring. You can choose from Personal (POP3), Personal (IMAP) or Exchange accounts. Tap Personal (POP3) or Personal (IMAP), depending on the service your are configuring.
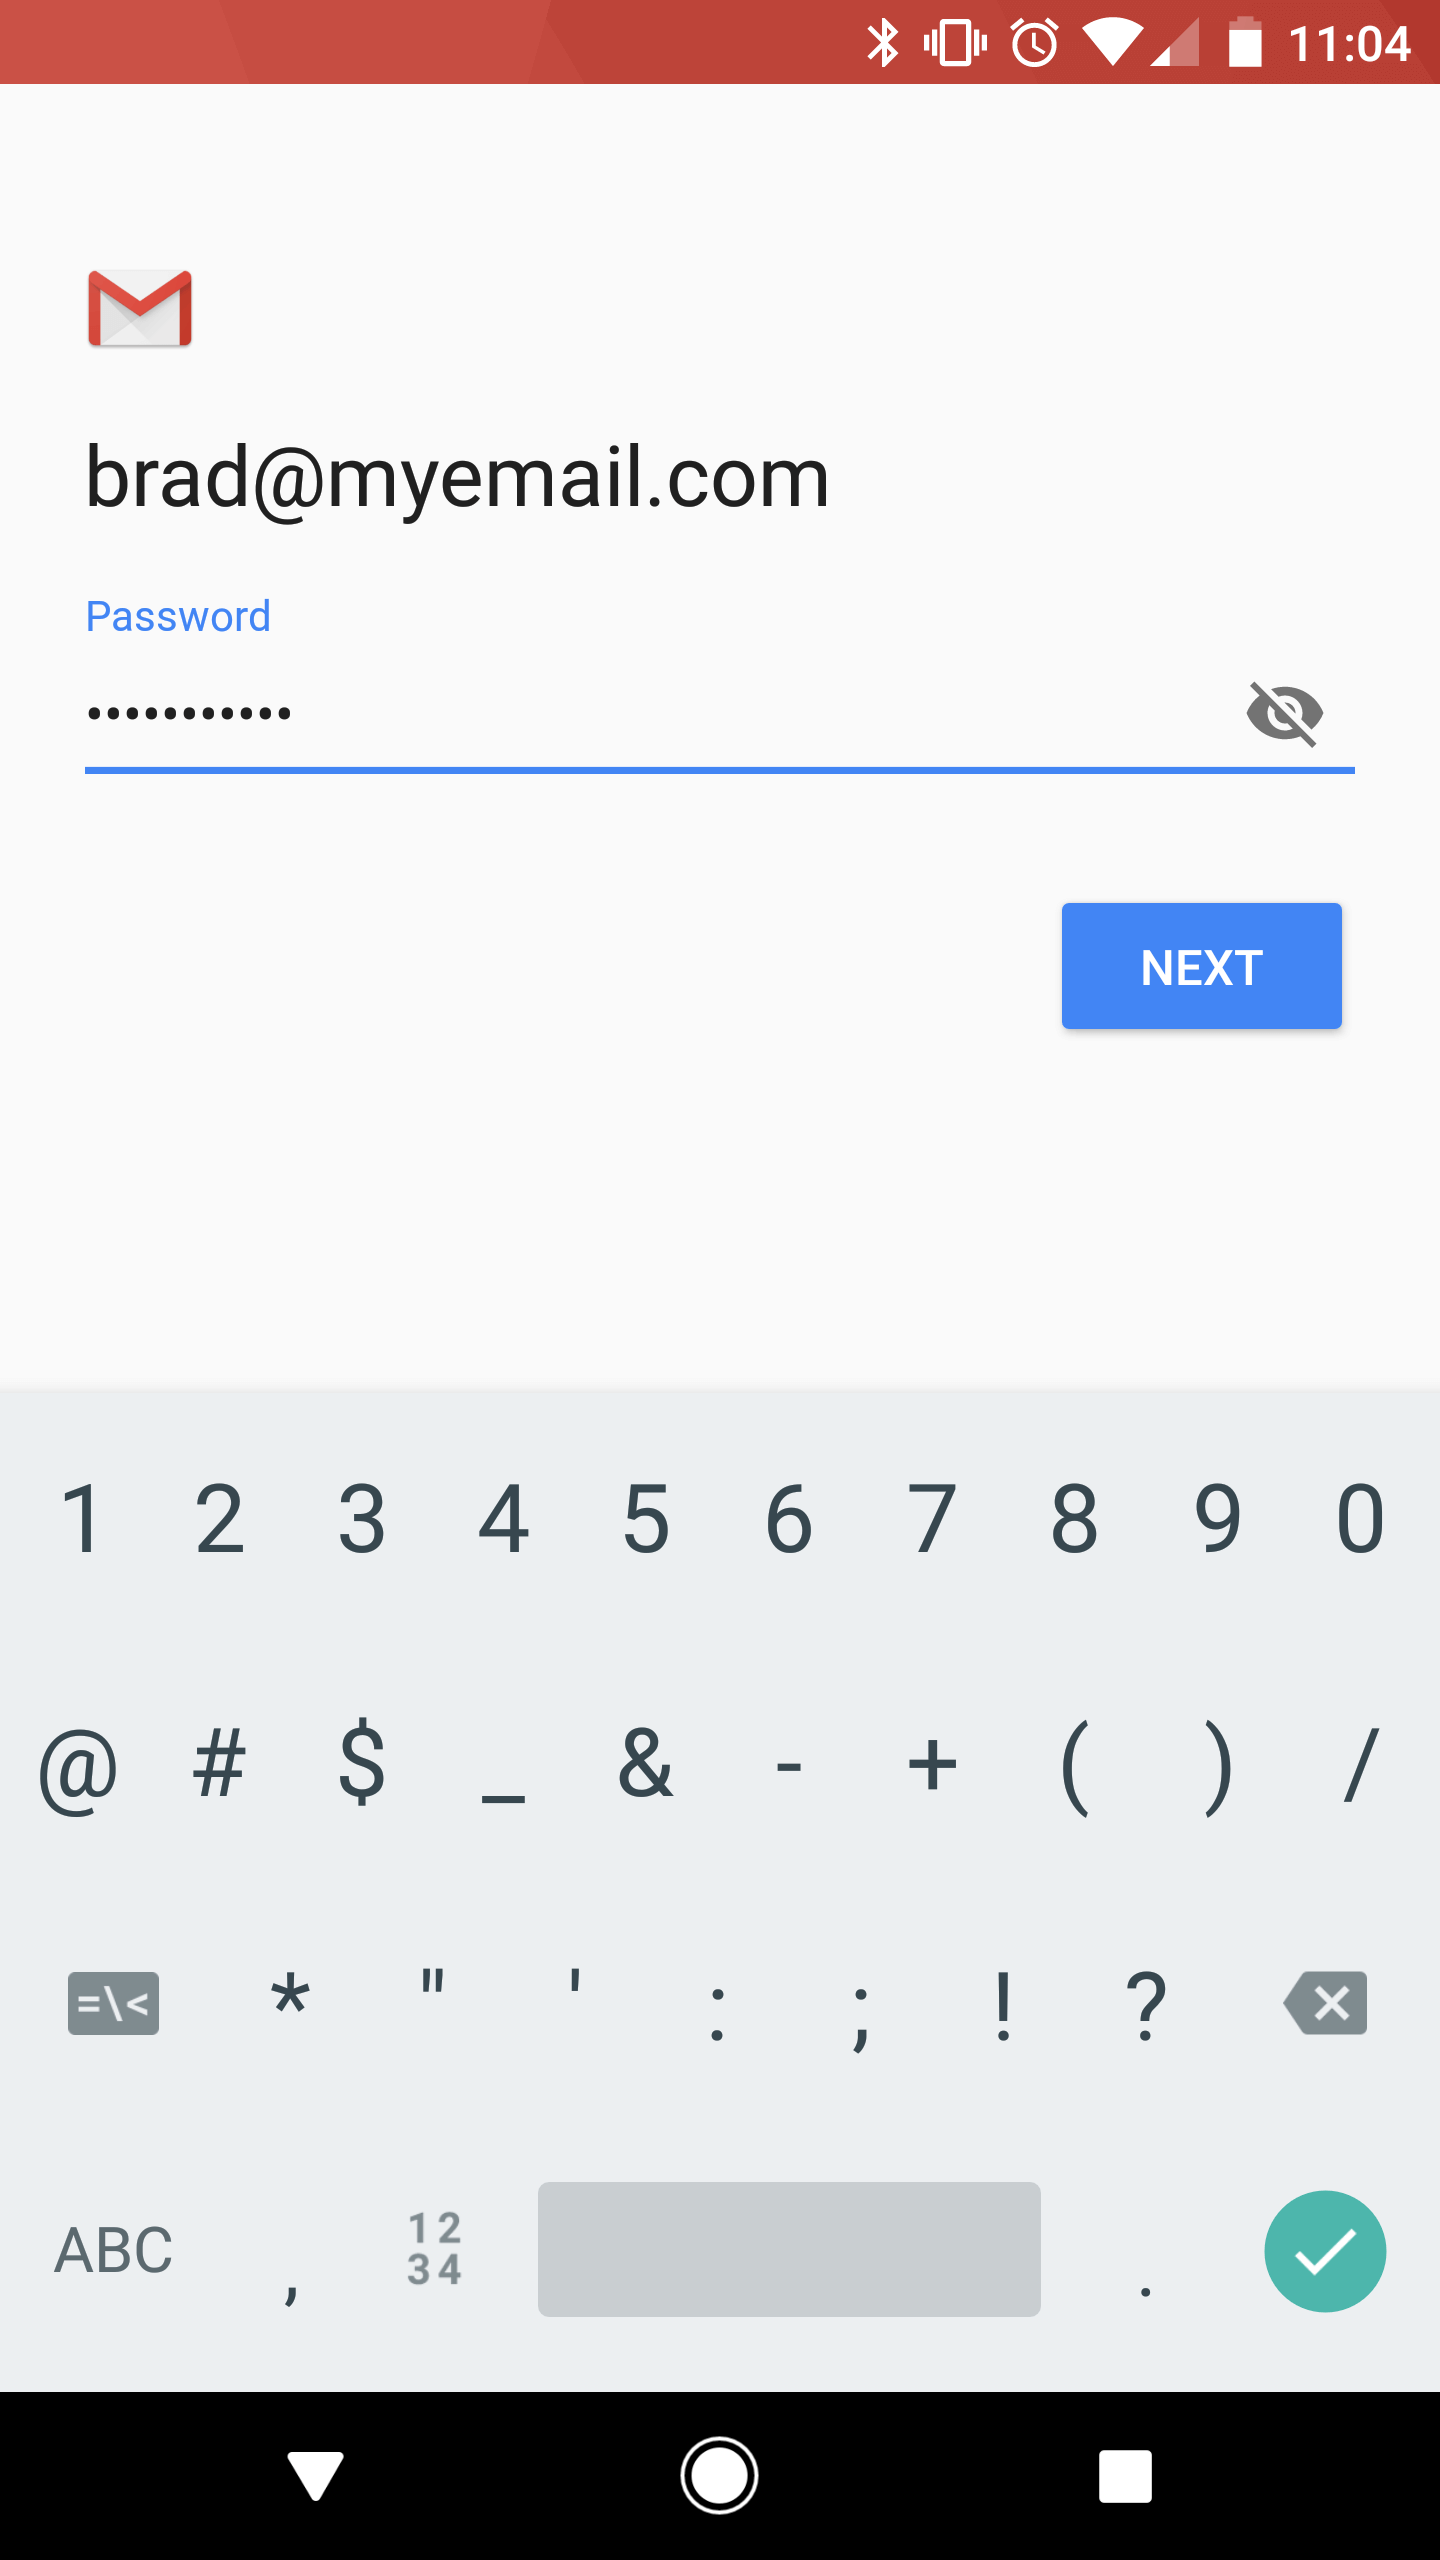
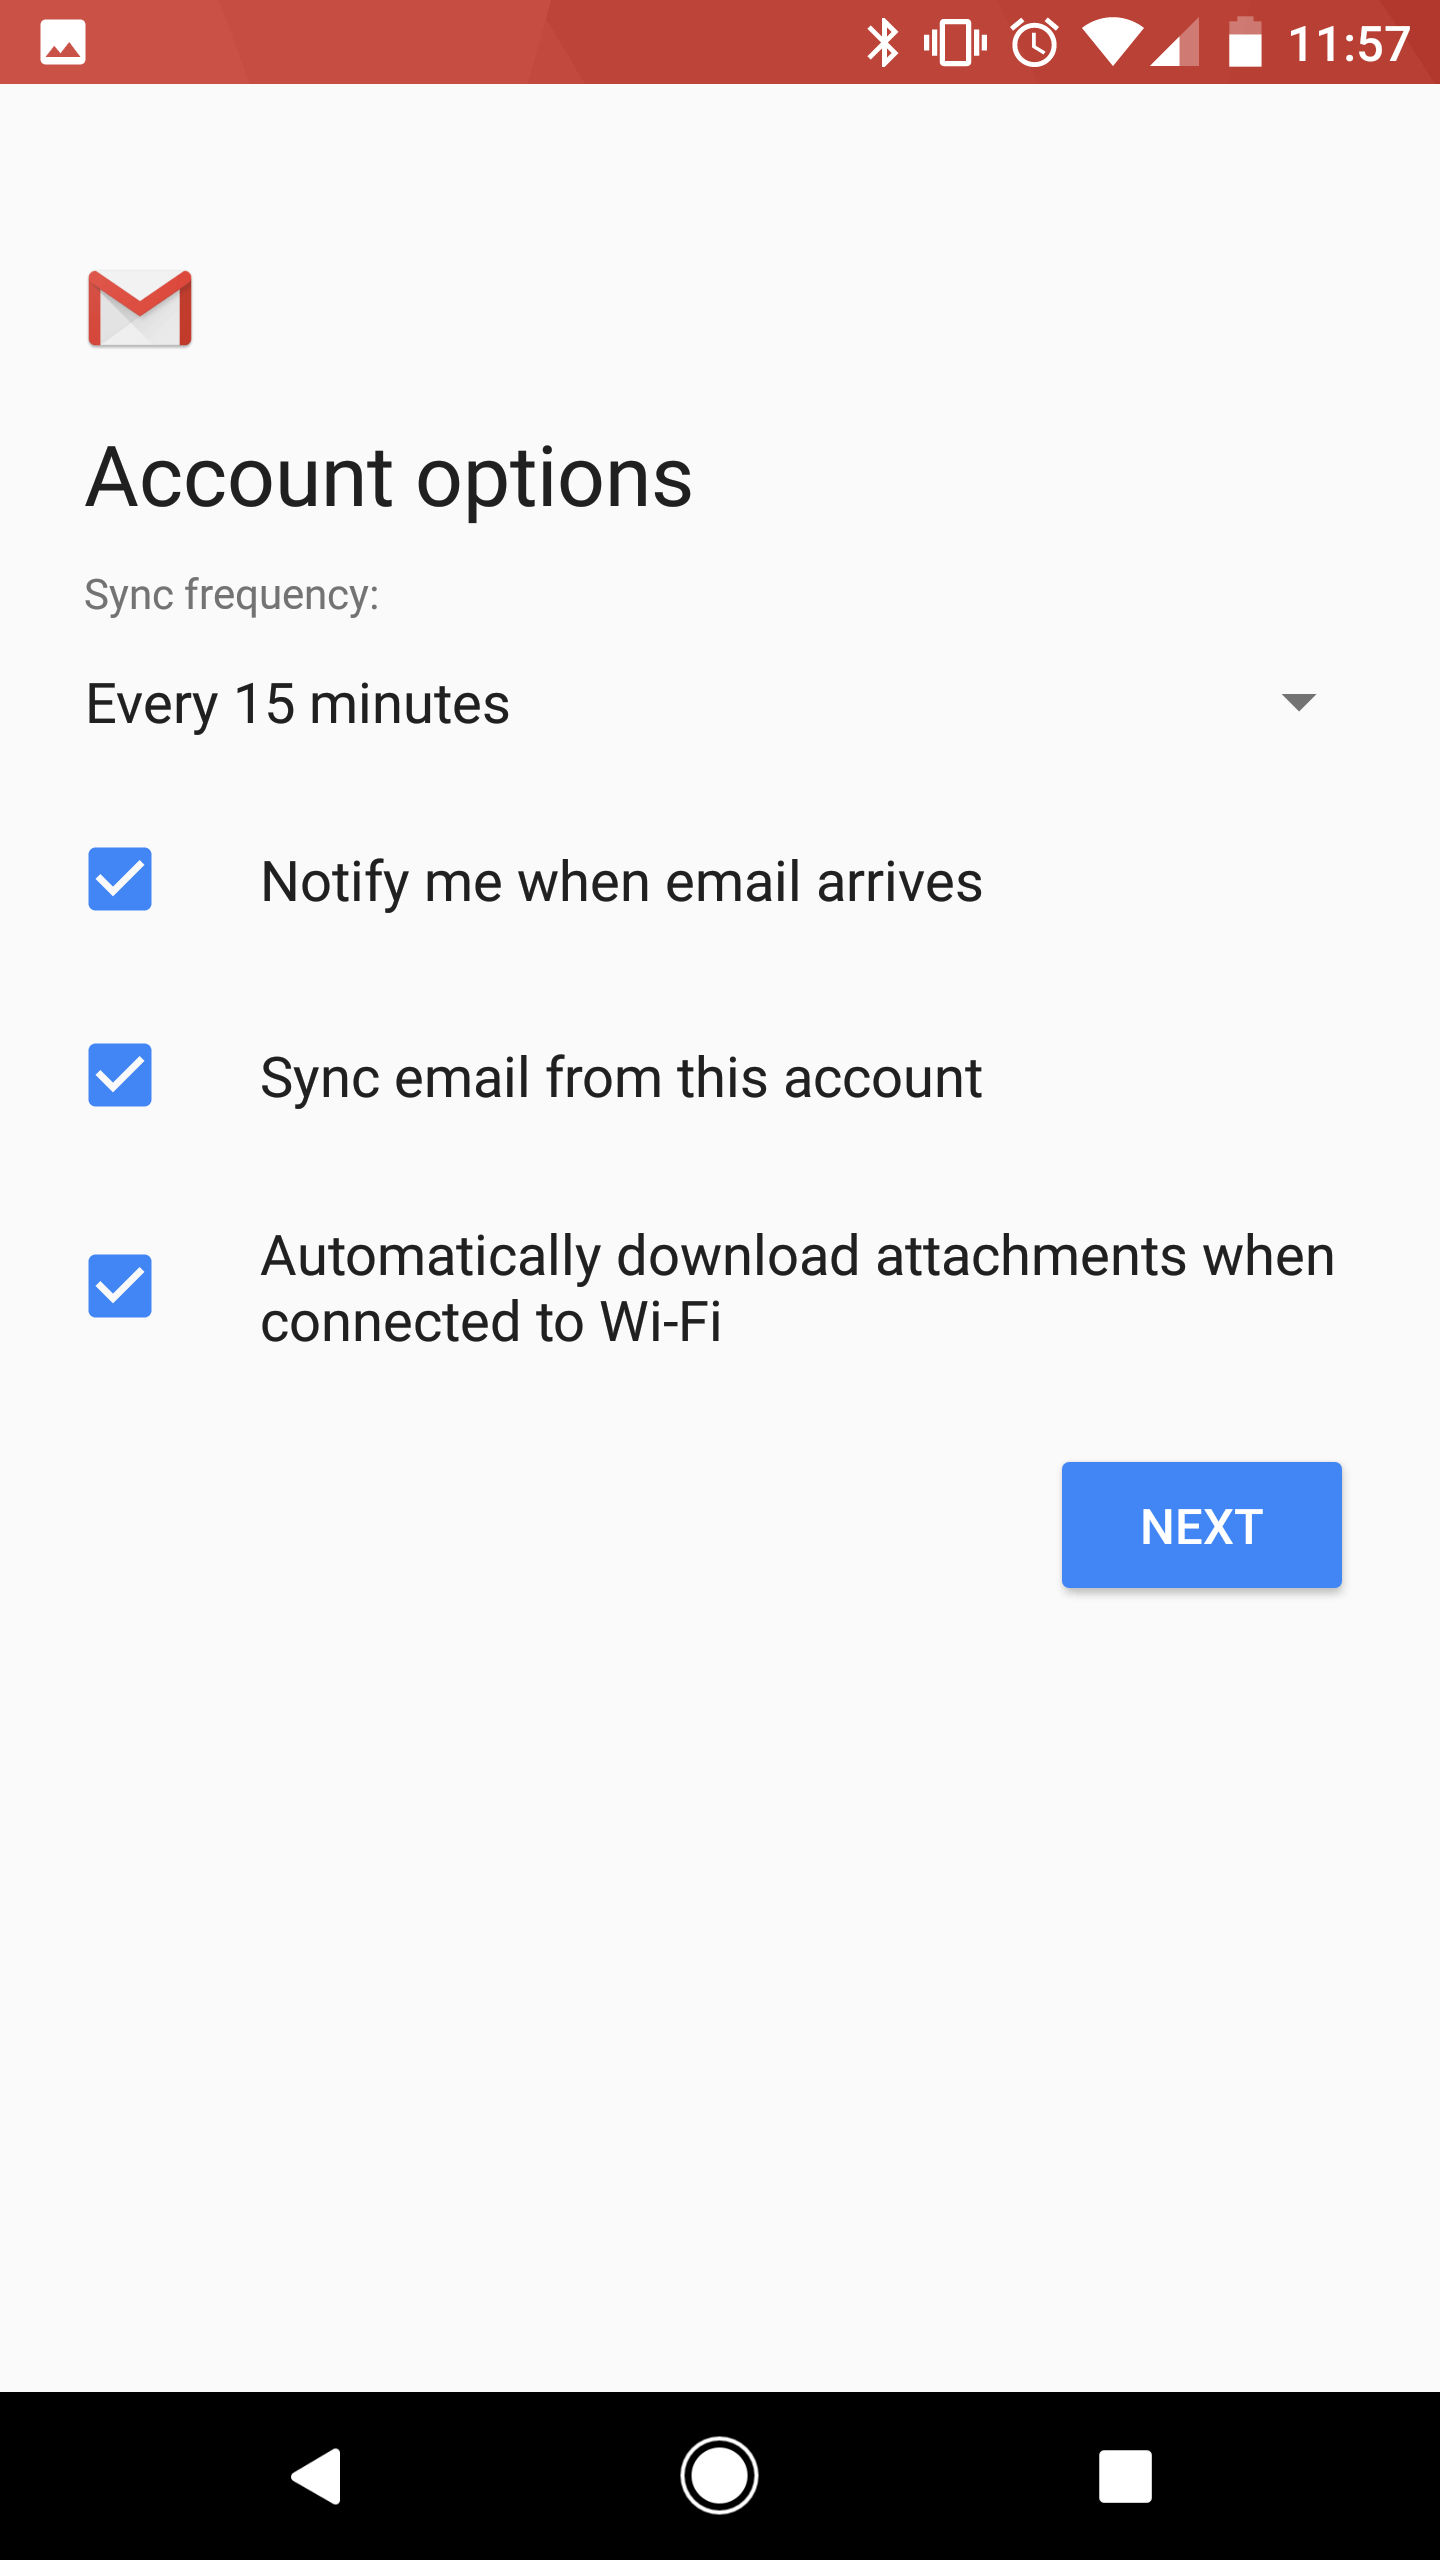
Now enter your email account password, then tap Next. If Android could automatically retrieve your server settings, you’ll be asked to confirm your Account options. Use the dropdown menu to select the Sync frequency (how often your device synchronizes email with the server) and attachment download preferences.
Click Next, then confirm the Account description and the sender Name you wish to appear on your emails.

Tap Next to complete your configuration.
Manual server configuration
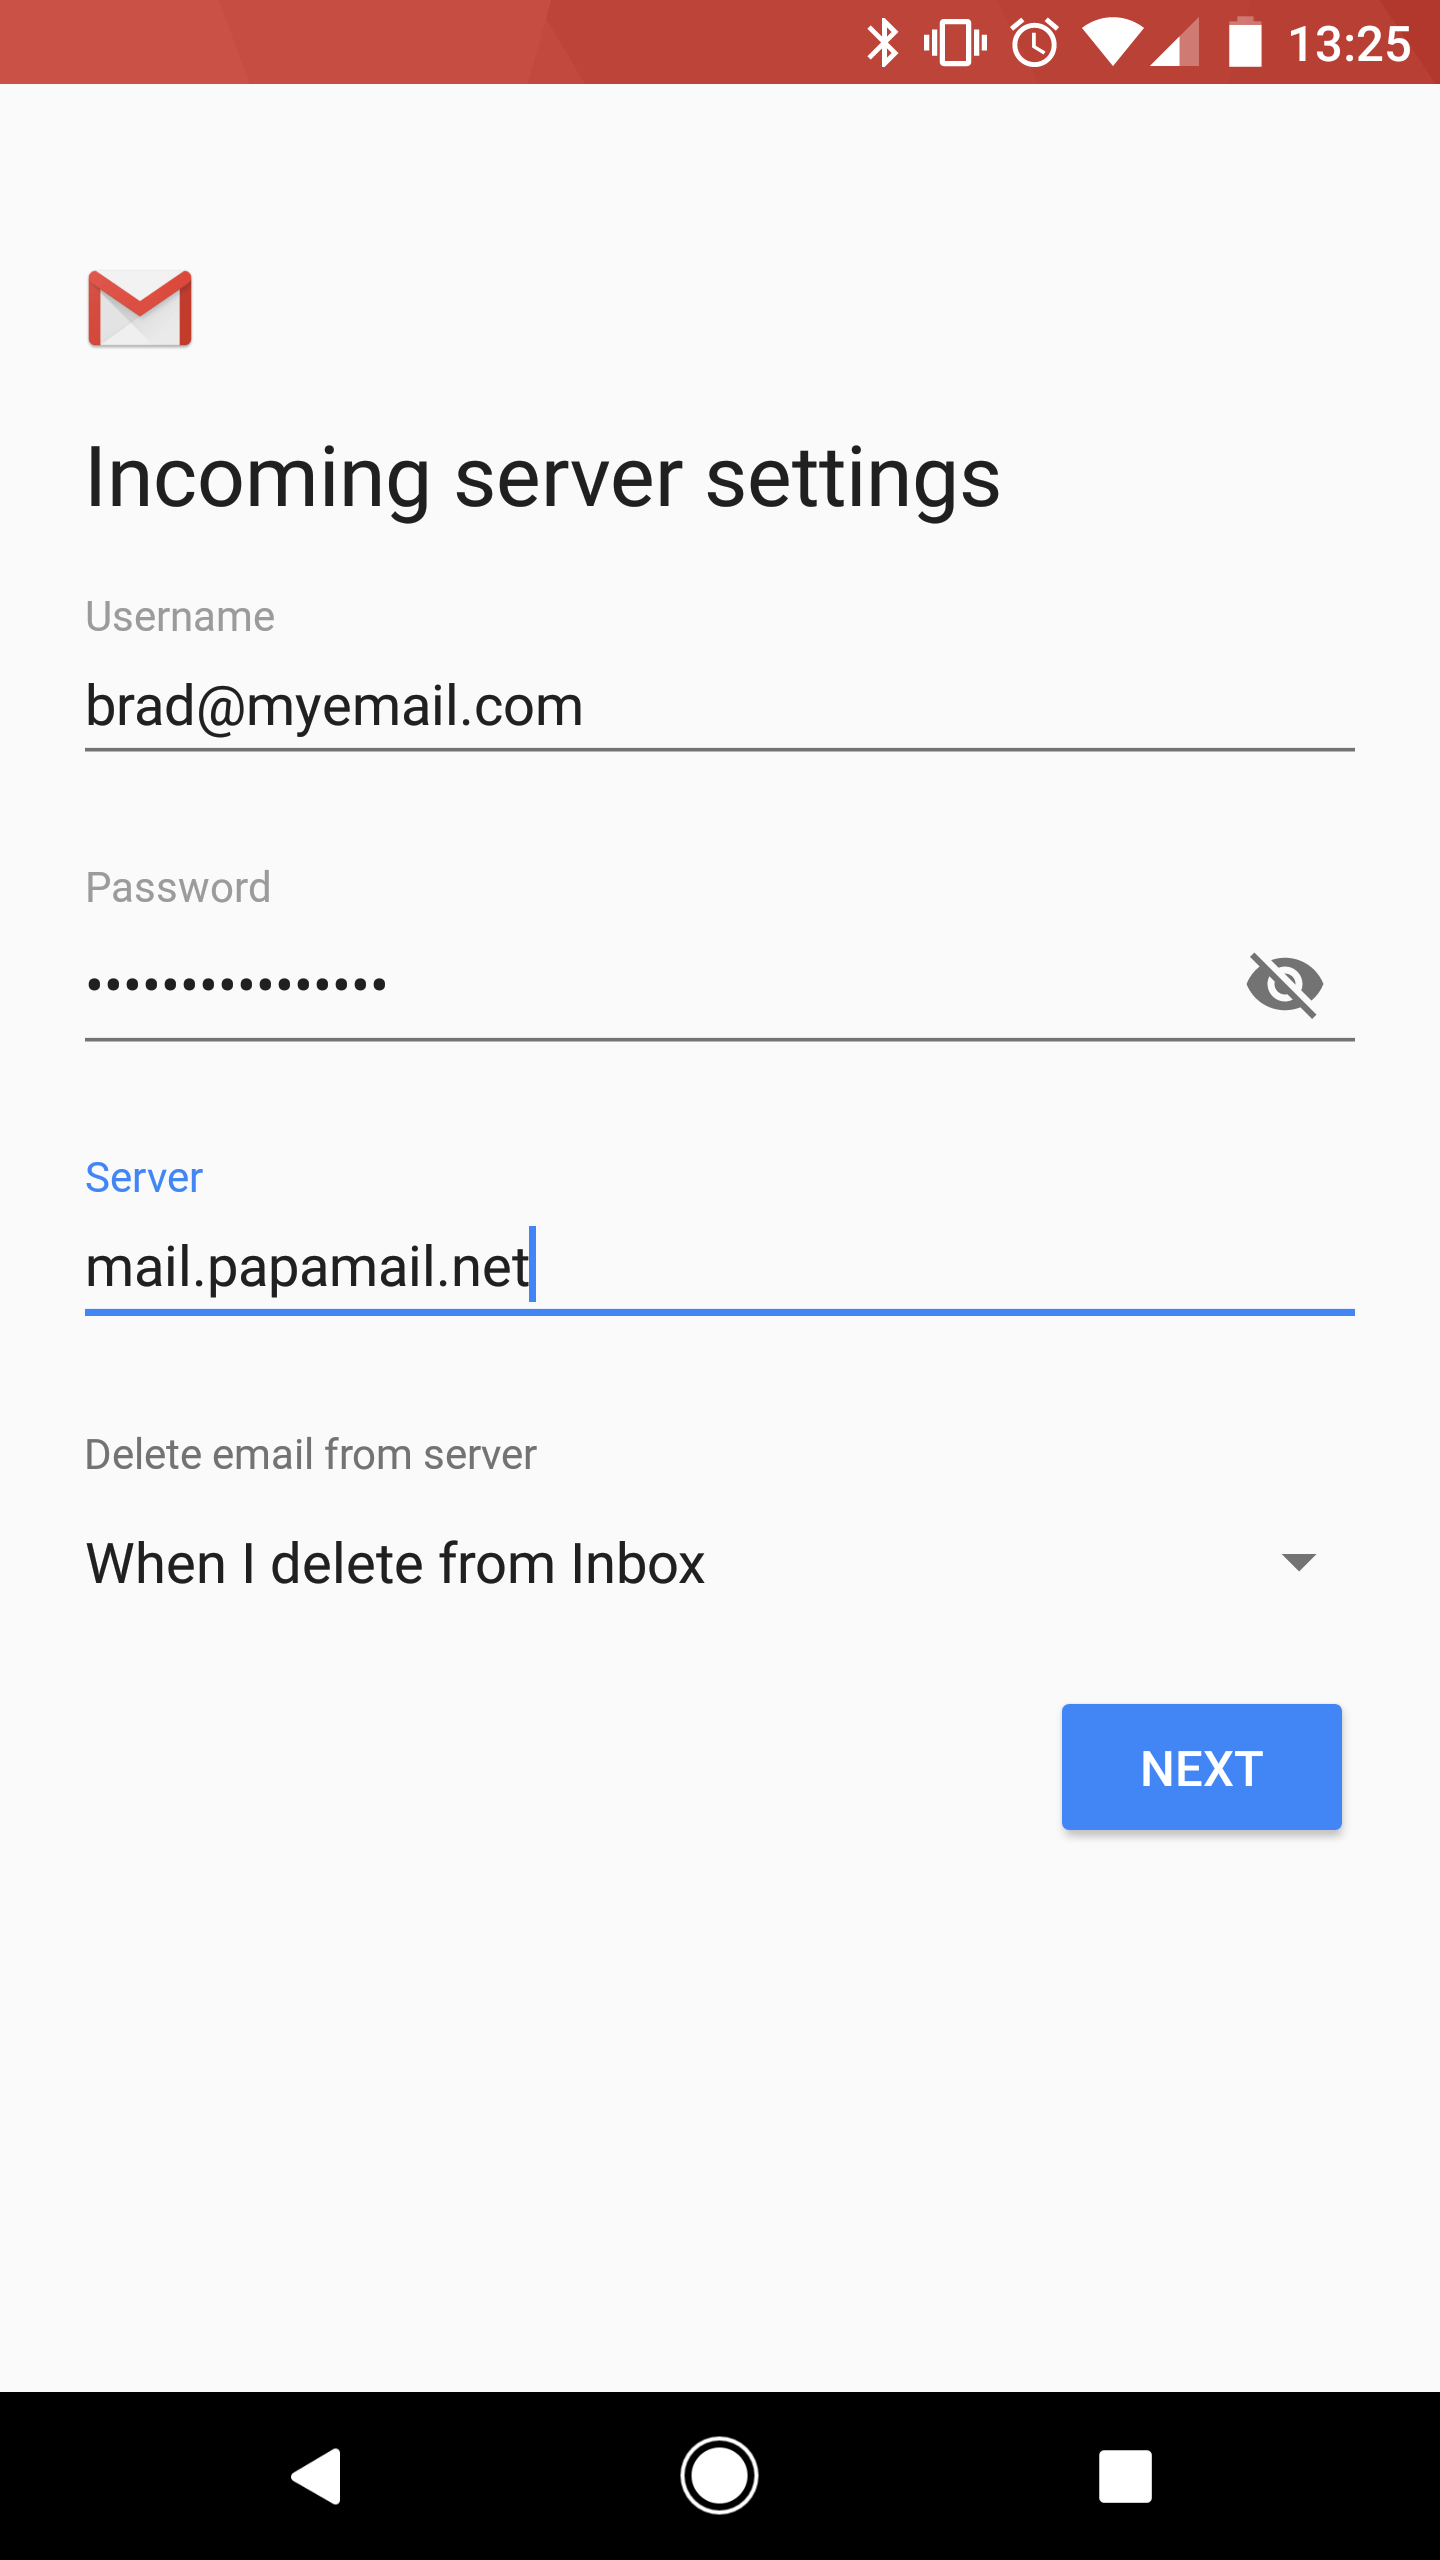
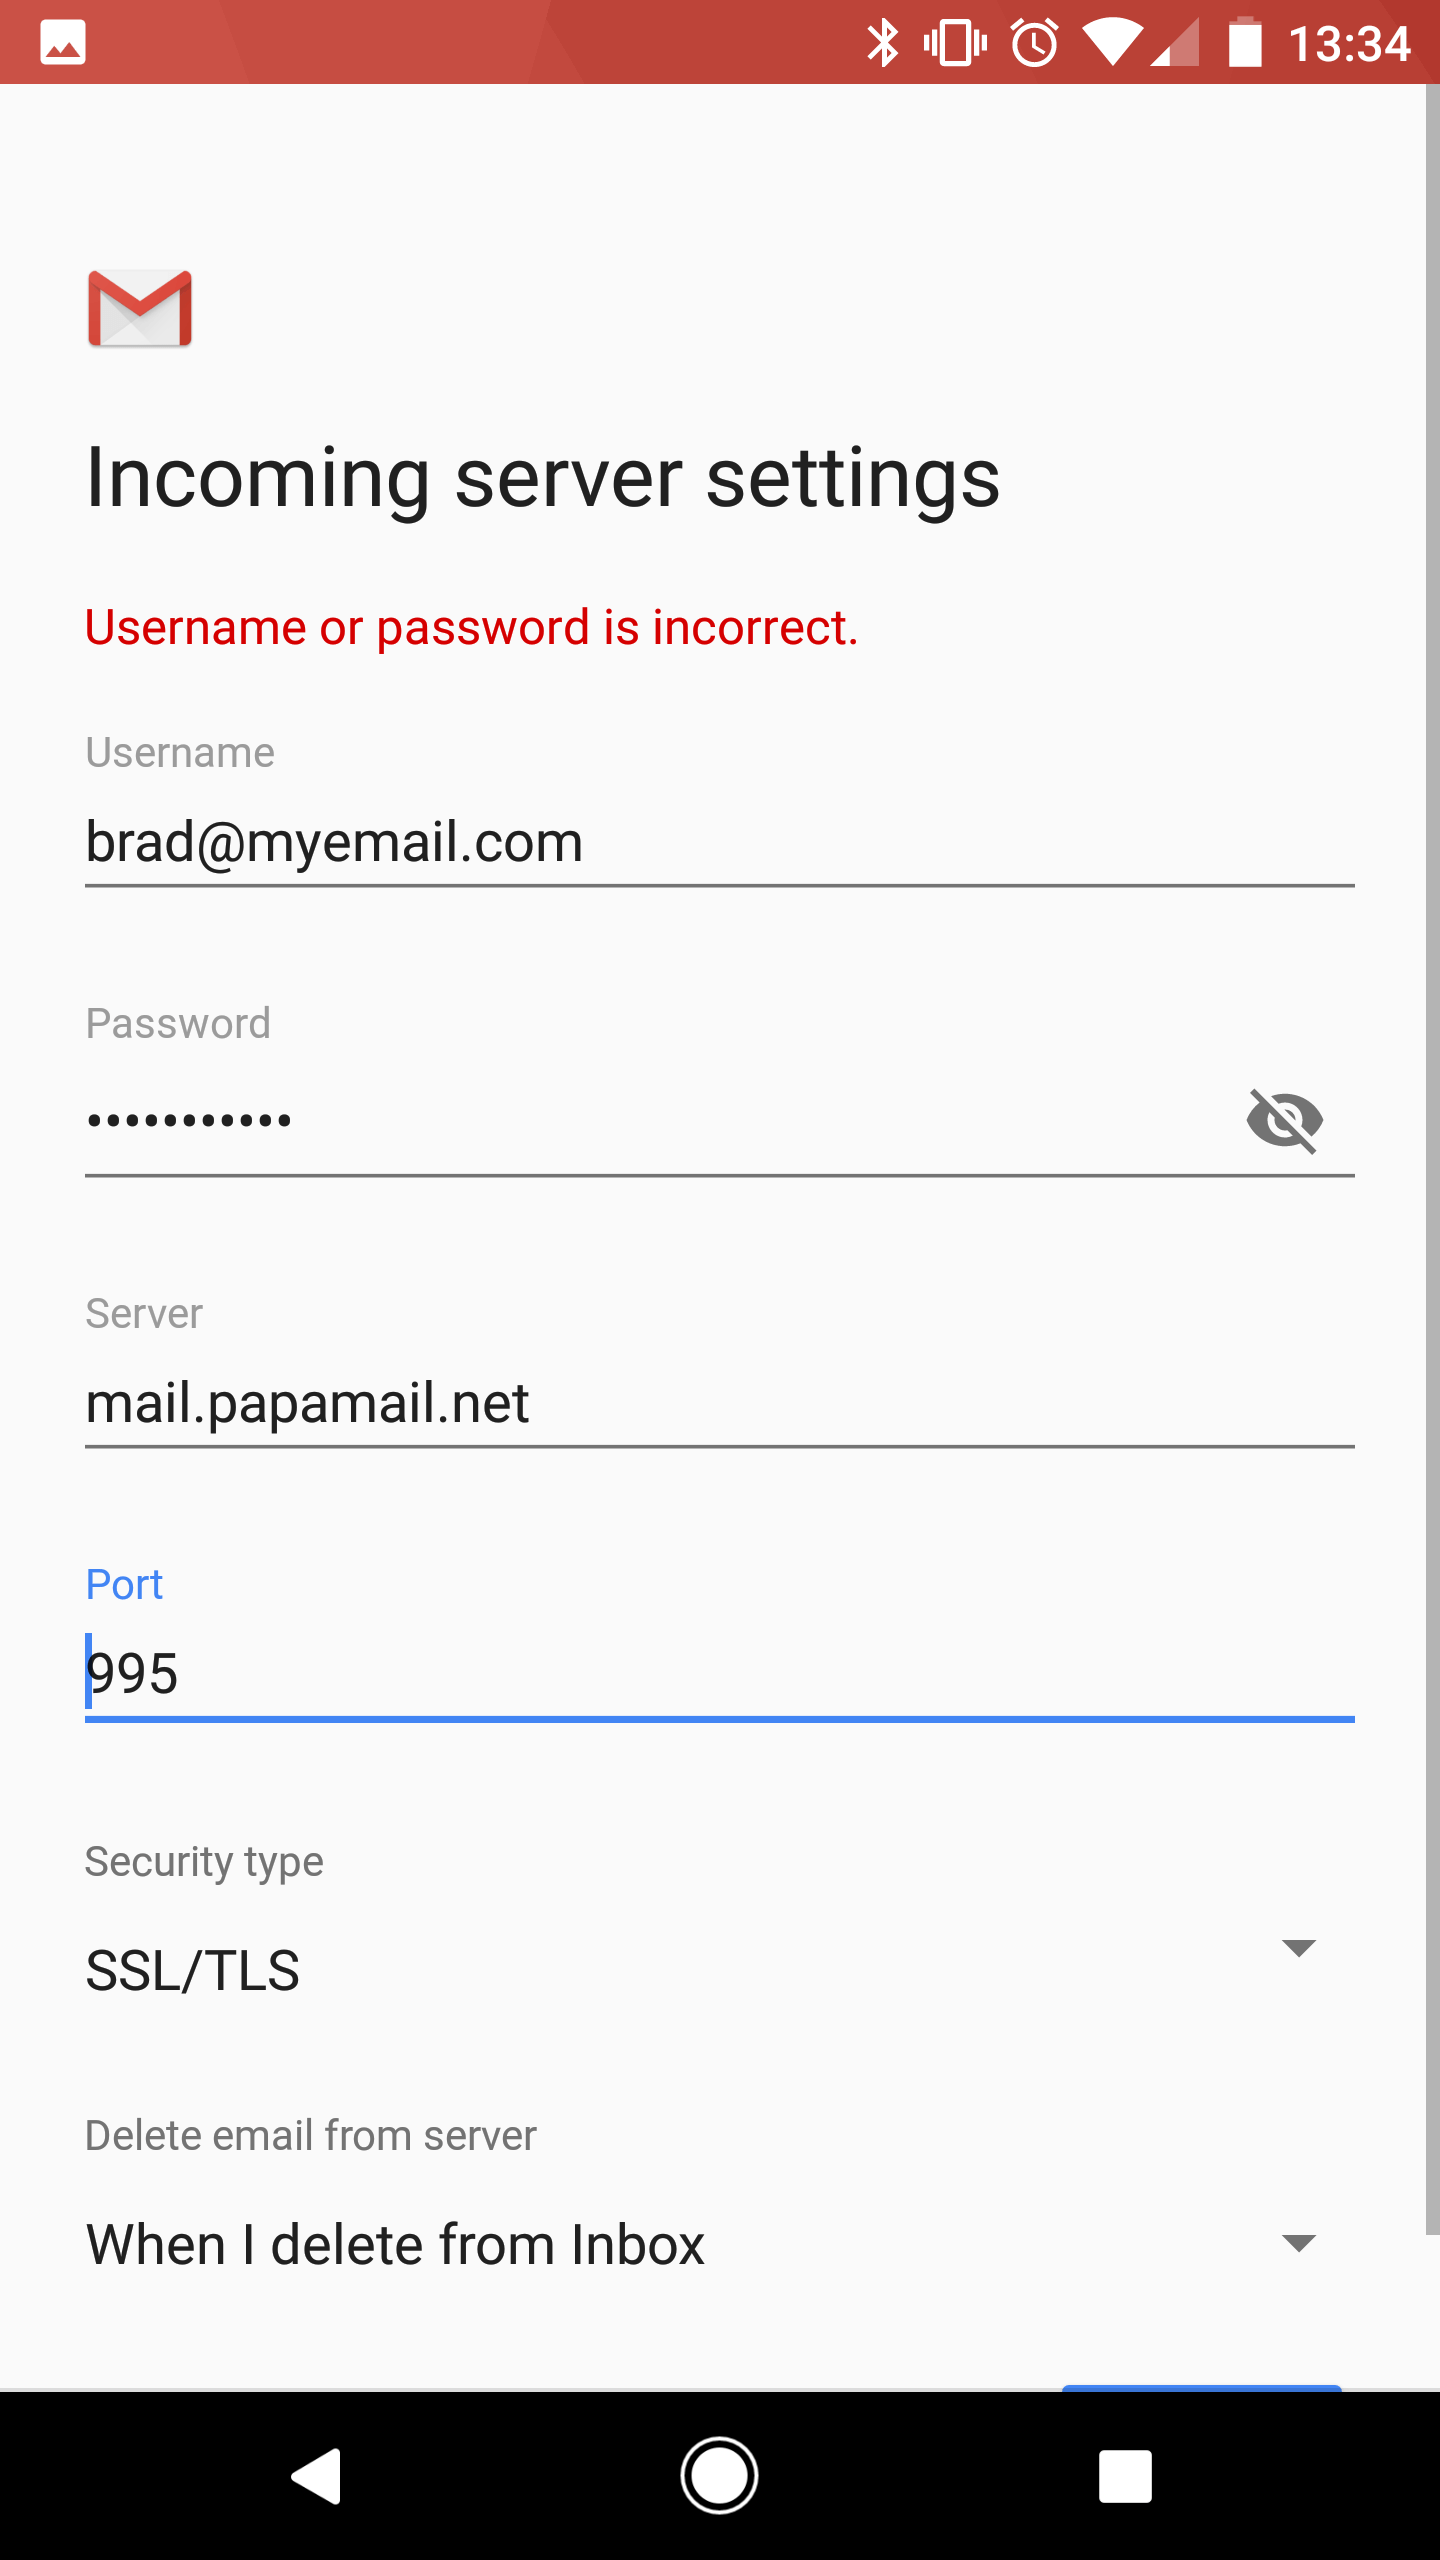
If you are configuring the account manually, you’ll be asked to confirm your Incoming server settings. Some details will have been pre-populated for you. Ensure the following details are correct:
- Username: Your email account username.
- Password: Your email account password.
- Server: For POP or IMAP accounts, use mail.papamail.net.
- Delete email from server: Use the dropdown menu to choose whether you’d prefer email to be deleted – When I delete from Inbox or Never.
Your incoming server settings will now be validated. You may be asked to confirm the Port number and Security type.
Ensure the Server Port is set to 995 for POP accounts, or 993 for IMAP accounts. Set the Security type to SSL/TLS, using the dropdown menu.
Tap Next to continue.
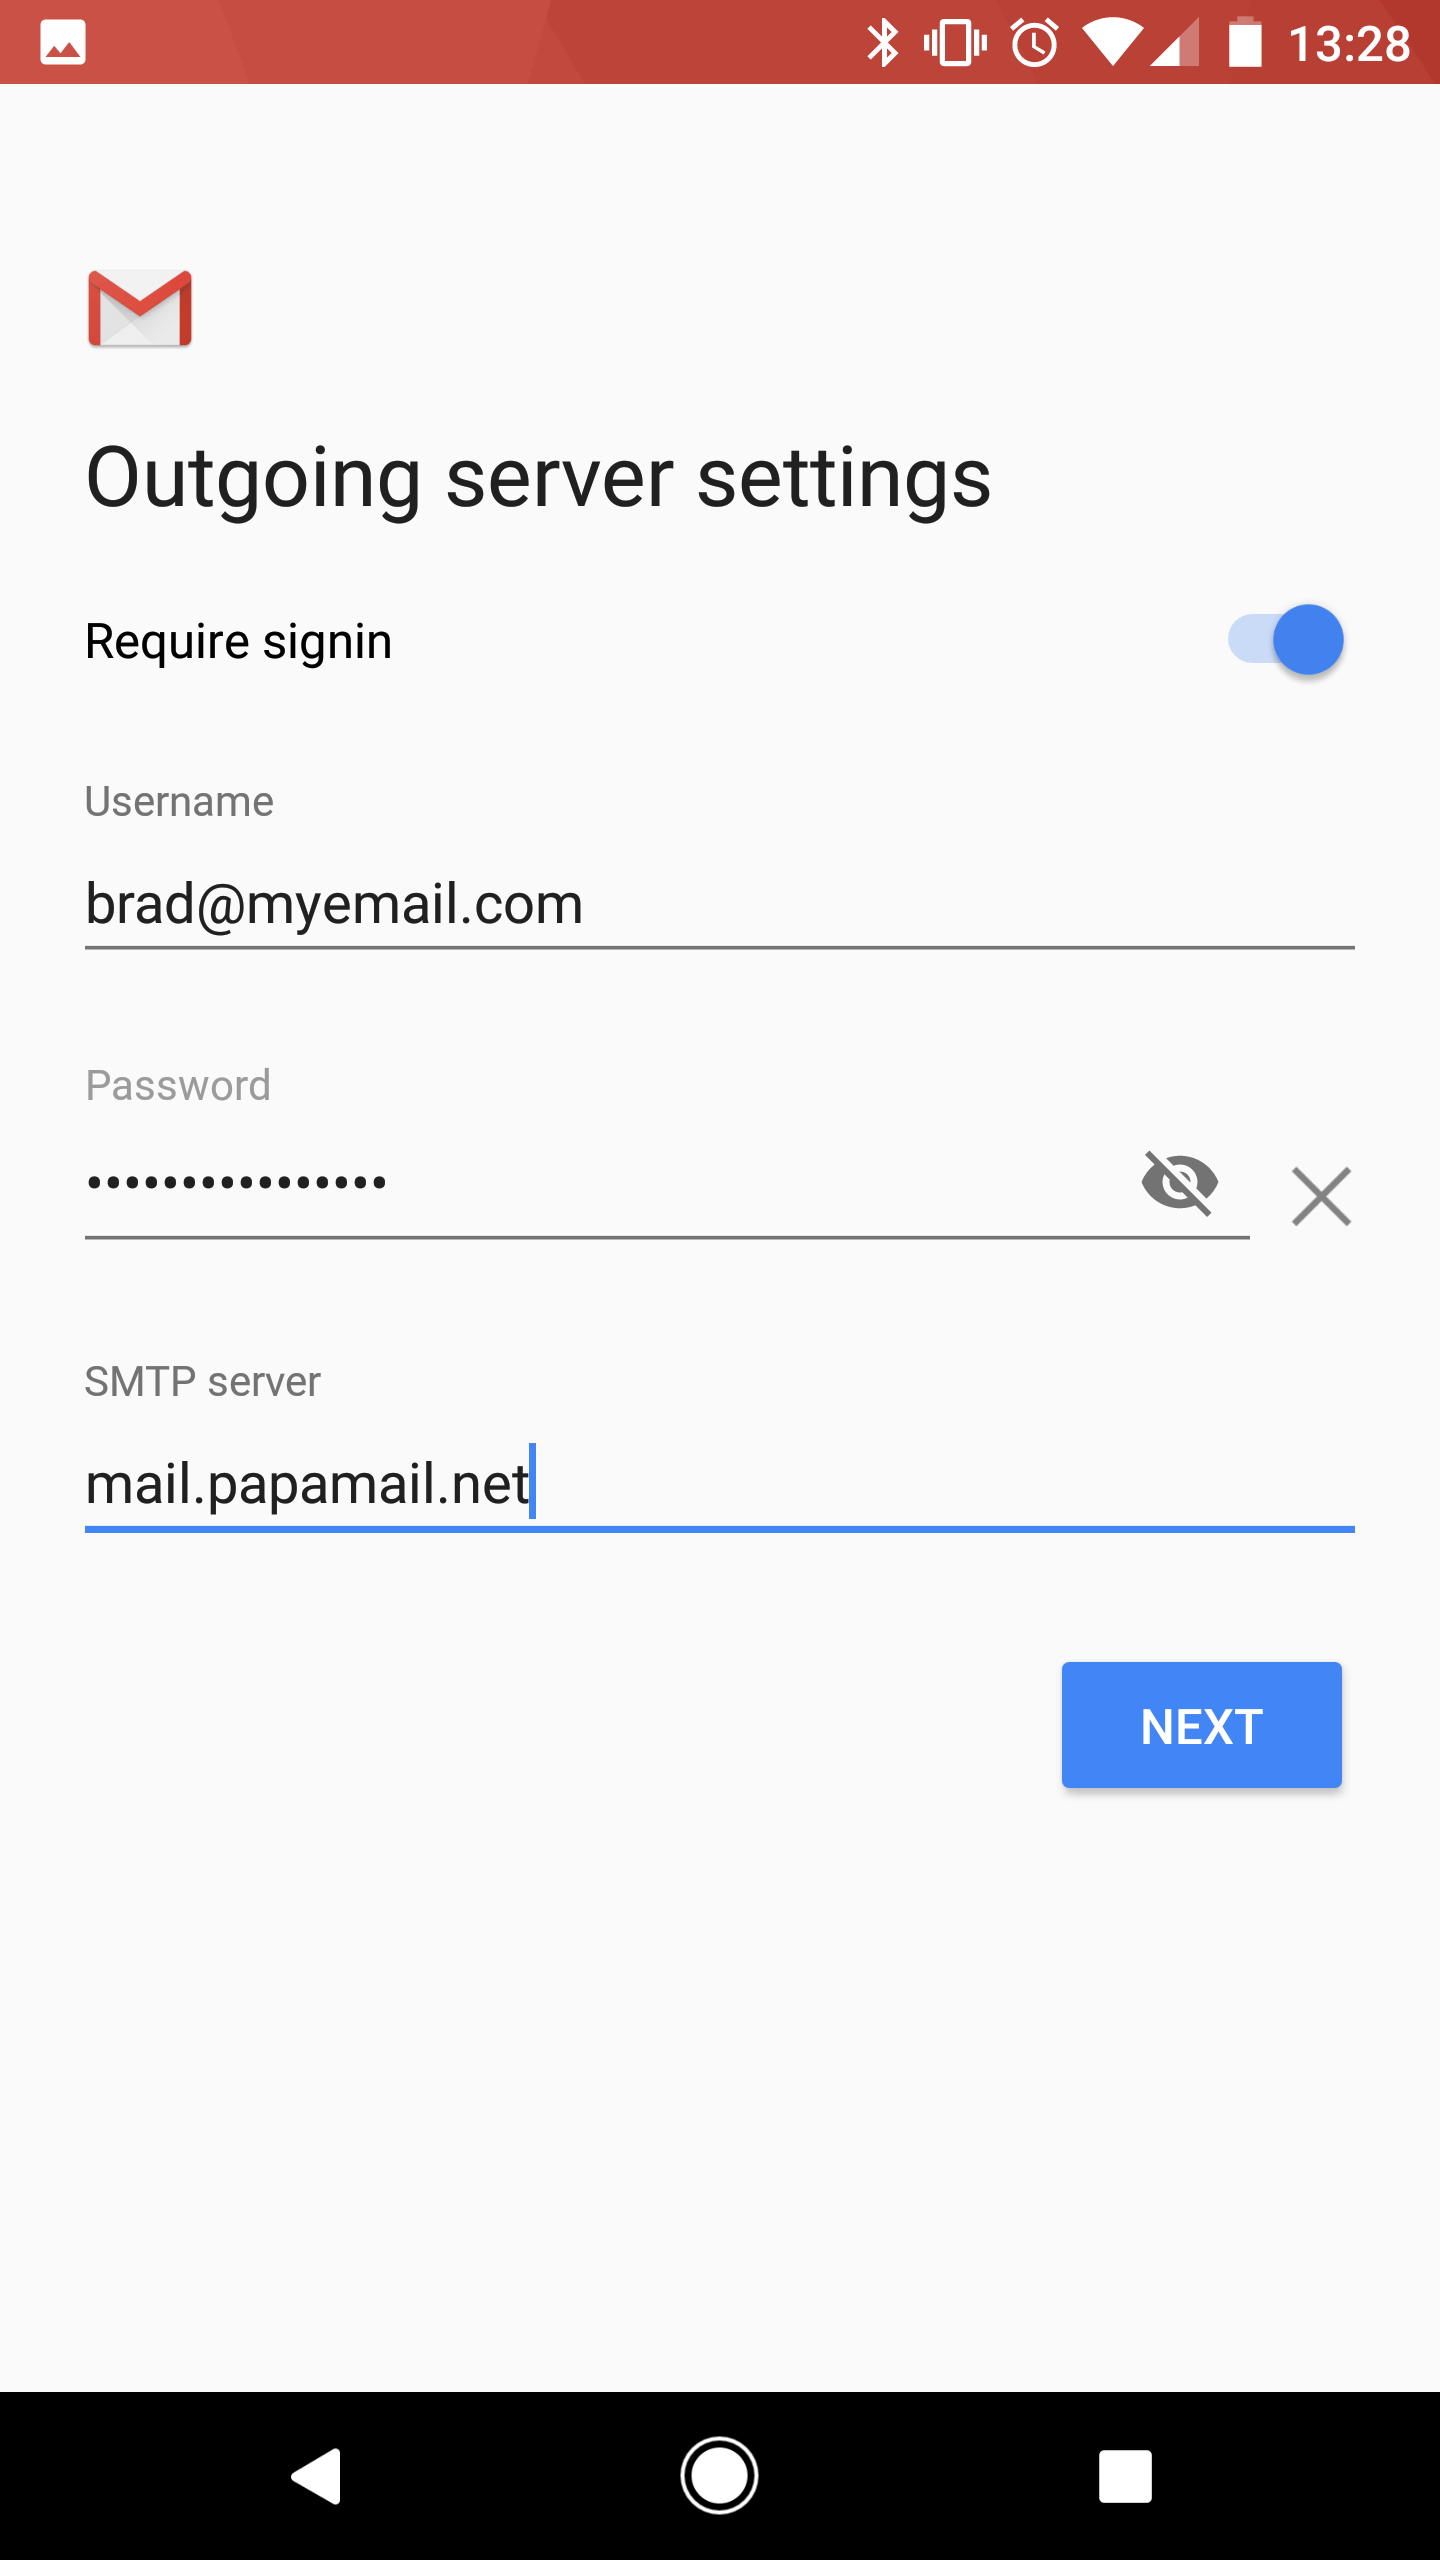
You’ll now be asked to confirm your Outgoing server settings. Again, some details will have been pre-populated for you. Ensure the following details are correct:
- Username: Your email account username.
- Password: Your email account password.
- SMTP Server: For POP or IMAP accounts use mail.papamail.net.
Your incoming server settings will now be validated. You may then be asked to confirm the Port number and Security type.
Ensure the server port is set to 465 for POP or IMAP accounts. Set the Security type to SSL/TLS, using the dropdown menu.
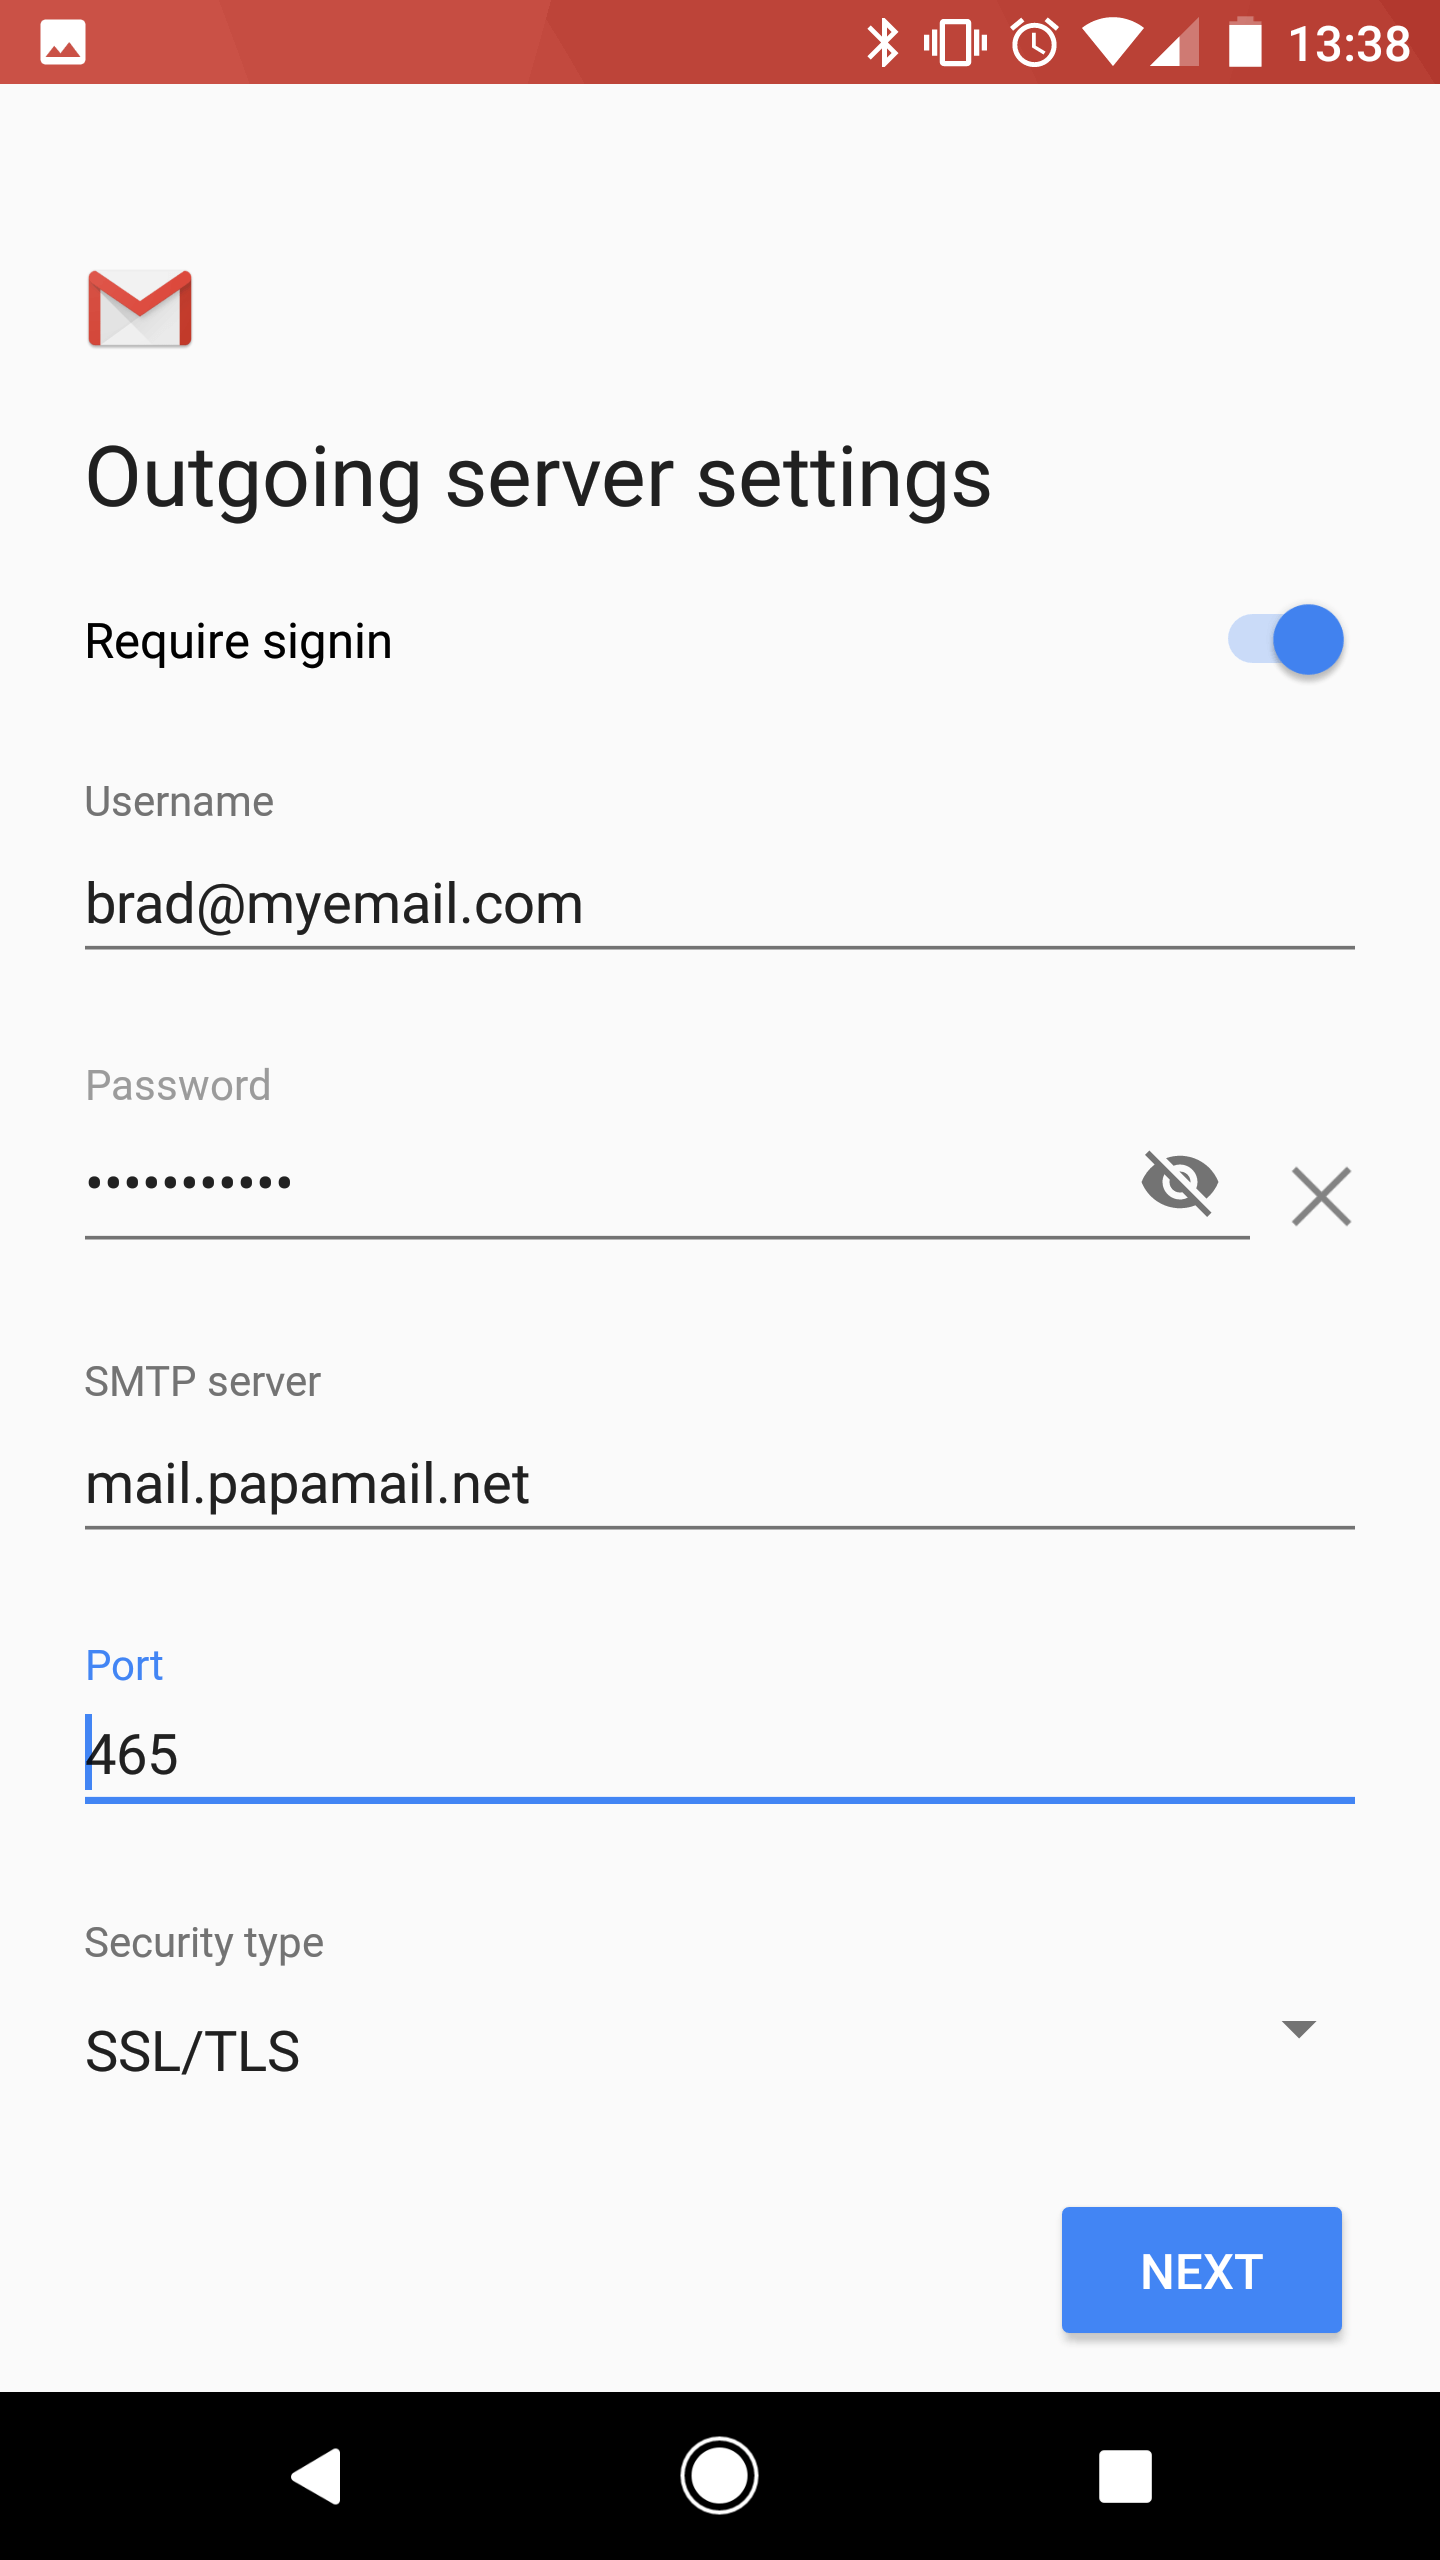
Your outgoing server settings will now be validated. Once verified, the Account options screen will be displayed.

Use the dropdown menu to select the Sync frequency (how often your device synchronizes email with the server) and notification preferences.

Finally, confirm the Account description and the sender Name you wish to appear on your emails.
Tap Next to complete your configuration.
If you notice any problems or if you need any help, please open a new support ticket from your HostPapa Dashboard.
