With HostPapa’s Text and Image editor, you can place images in your text documents, whether they are blogs, catalogues, guides, or presentations. Our Website Builder will give you stunning results with images that will impress your customers and visitors.
To learn how to access your Website Builder to get started, please visit this article.
Before we begin, we need to explain that an inline element displays in a line. This means the added element does not force the text after it to begin on a new line. As an example, when you bold more than one word in a sentence, none of the words will begin on a new line.
Adding images to your webpages
There is more than one way to add an image to your webpage in our Website Builder, and this article covers all three options:
- Preference One: From the Text & Images category, as an inline element via the Text element.
- Preference Two: Via the Image & Text element, where additional images can be added as inline elements
- Preference Three: Once again from the Text & Images category, but as a single Image element.
Please note that if you select Preference Three as your preferred method, you will not be able to add extra content elements in tandem with it, such as text or video. This is not the case with Preferences One and Two.
Uploading your images to get started
To upload your images, you can follow these steps:
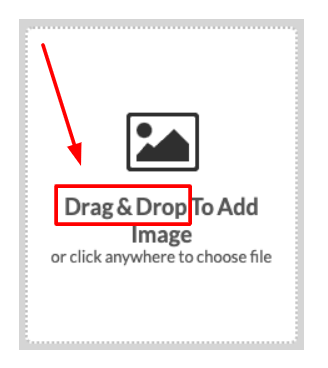
- Open the properties panel.
- Drag-and-drop your images or click inside the image area to choose a file from your hard drive or cloud storage.
- You can also choose the Add from URL option:

This option allows you to use an image that has been published on another site. If you would like to do this, the steps are:
- Copy the URL address of the image you want to use.
- Paste the address inside the URL field.
- Click on the Add Image option.
Note: If the image has either a hash symbol (#) or a question mark (?) in the URL address, you will need to use the drag-and-drop option to upload the image.
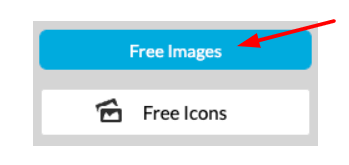
Another method you can use is the Image Library tab, where you can choose from a wide variety of Stock images.
Once your image is uploaded, it will automatically be set to a default size. You can choose to:
- Set your image to one of four sizes: small, medium, large, actual size, or a custom size of your choice.
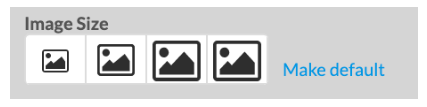
All altered images will appear in high resolution, and the original image is preserved in case it needs to be altered again.
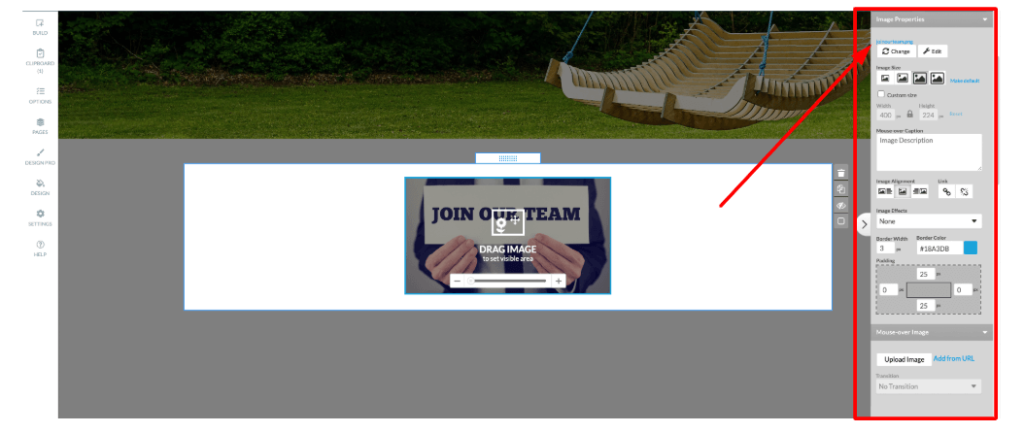
If you click on your image, you will be provided with an editing panel that opens on the right side of your screen. Here you will be given options such as:
- Customization
- Setting size
- Border
- Wrapping styles and effects
If you would like the text to appear once a mouse cursor is placed over the image:
- Place your cursor in the Mouse-over Caption box.

- Type over Image Description with the text of your choice. As the rollover captions are related to Search Engine Optimization (SEO), you should have the captions explain what the image is.
Adding extra modifications to your images
There is a large selection of changes that you can make to your images. Here is a list of the most important in the Image Properties box.
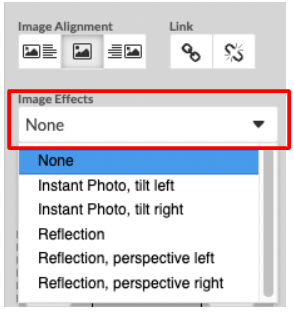
Applying alignment, links, and image effects
- If you select the Image Alignment option, you can decide to have text on the right or left of your image.
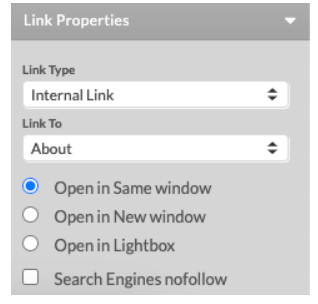
- The Link selection allows you to add a link. Once you decide to do so, a sub-menu will appear, which we will discuss in the next section.
- The image effects drop-down menu allows you to add a tilt, reflection, and other effects to your image.
As we mentioned, when you select the Link option, the following sub-menu appears at the bottom right of the menu.
Borders and padding
You can alter the space around your image by:
- Selecting the top, bottom, left, and right padding in pixels.
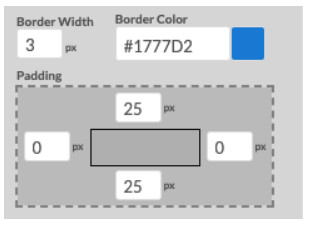
- There is also the option to add a Border to images. You can do this by:
- Specifying your image Border width in pixels and selecting the color you would like for the border color.
- Click on the Border Color icon to open a color toolbox, and you can apply or remove the border color.
Mouse-over Image
At the very bottom of the Image Properties menu, you will see the Mouse-over Image option.
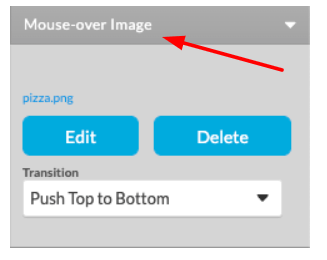
The Mouse-over Image tool indicates to site visitors that something will happen if an image is clicked. This can also apply to a link that has been added over an image.
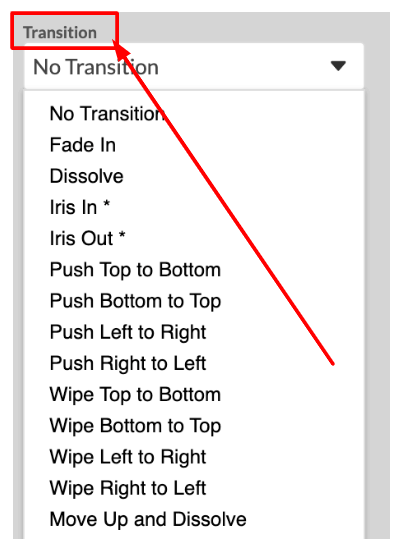
Transitions
If you would like to add a transition to a Mouse-over Image:
- Upload a second image file under the Mouse-Over Image option.
- Select a transition that will be used between the two images on your webpage.
If you need help with your HostPapa account, please open a support ticket from your dashboard.
