Protection Power Basic is included in the Growth, Premium, and Elite Web Hosting plans. It is also included in the Optimized WordPress Hosting plans. You can also purchase Protection Power Basic, Starter, Pro, or Premium separately. You can enable Protection Power through your HostPapa Dashboard.
How to enable Protection Power on your website
- Log in to your HostPapa Dashboard.
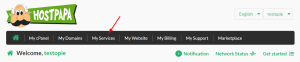
- Click on My Services.
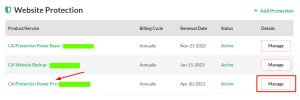
- Scroll down to Website Protection and locate Protection Power. Click the service link or click on the Manage button to expand.
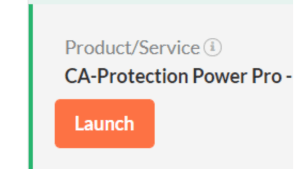
- Click the Launch button. A new window will open, and you will be logged into your Protection Power account.
To set up your Content Delivery Network and Web Application Firewall, follow the instructions in this support article. The Web Application Firewall is included in the Pro and Premium plans.
NOTE: If you have purchased separate Protection Power plans for your websites, our security experts will automatically enable these services for your account. For further information, please contact our support team.
To display the Protection Power Trust Sea on your website, please follow the instructions in this support article.
If you need help with your HostPapa account, please open a support ticket from your dashboard.