Once you’ve configured and activated your HostPapa email service, you can proceed to set up your email account in Outlook 2016 for Mac.
For easy webmail access, you can always use this URL https://mail.papamail.net/ from any browser if you’re subscribed to our Basic or Advanced email services. If you wish to access webmail on your shared hosting plan, you can do that via https://webmail.yourdomain.com or this one https://yourdomain.com/webmail from any browser.
The first time you run Outlook 2016 for Mac, you’ll see a welcome screen that looks like this.
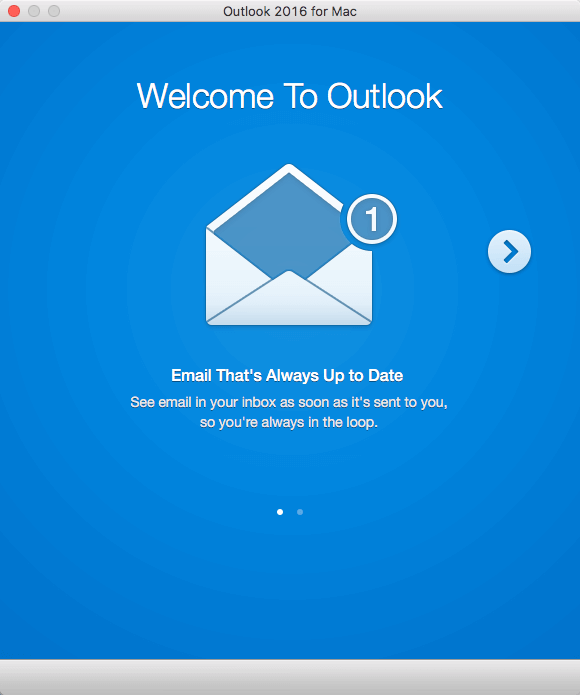
Click through the introductory messages until you see the Set up my Inbox panel.

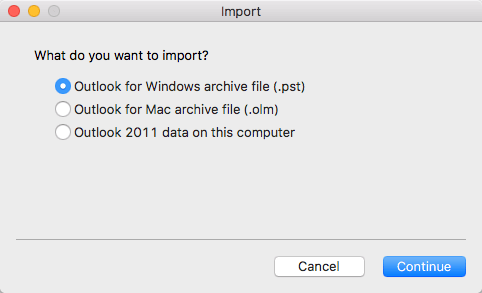
If you’ve previously saved your Outlook email configuration from an earlier release (in .pst, .olm or Outlook 2011 formats), you can use the Import button to automatically configure Outlook 2016.
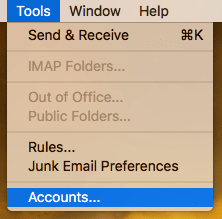
Otherwise, click Add Account. If you’ve previously completed the Outlook 2016 for Mac setup wizard, in the Menu bar go to Tools > Accounts to begin the account configuration.
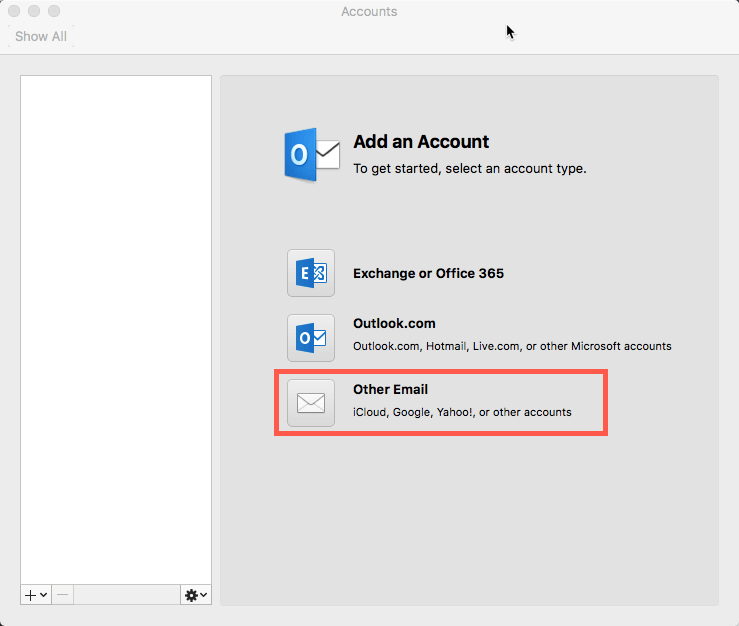
Outlook 2016 for Mac supports standard POP3/IMAP email accounts, Microsoft Exchange or Microsoft 365 accounts, as well as webmail accounts from a range of providers, including Outlook.com, Hotmail, iCloud, Gmail, Yahoo and more.
Set up POP3, IMAP, or other email accounts
For HostPapa email services, select Other Email.
Enter your Email Address and Password and Outlook will attempt to automatically retrieve your server details. If successful, your account will be set up and your email downloaded.
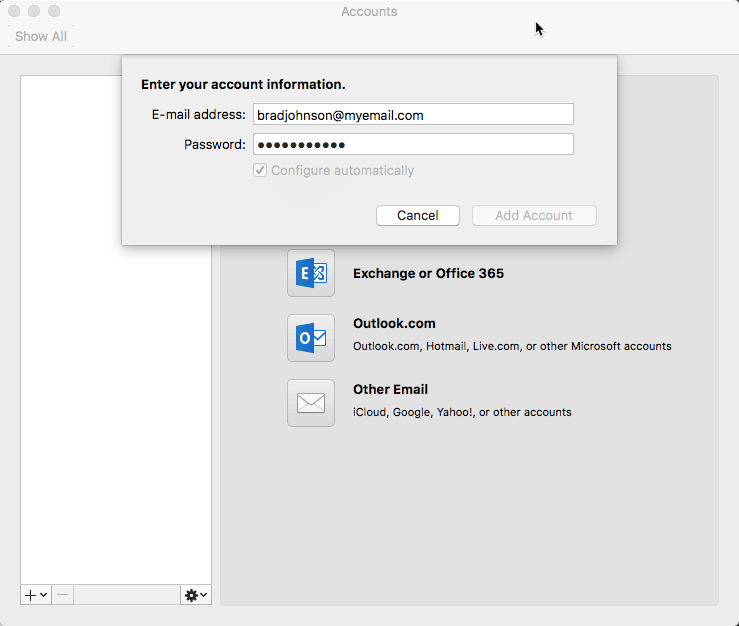
If the server cannot be found, you will need to configure your server details manually. For manual setup, ensure the box next to Configure automatically is unchecked. The panel will extend, showing additional configuration options.
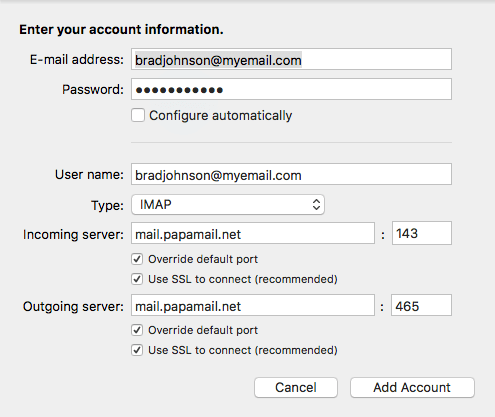
Enter the following details:
- Email Address: Your full email address.
- Password: Your email server password.
- User Name: Your email account user name.
- Type: Use the dropdown menu to select either POP or IMAP.
- Incoming Mail Server: For POP or IMAP accounts, use mail.papamail.net.
- Incoming Port: Check the box next to Override default port. Change the default port (143) to 995 for POP accounts, or 993 for IMAP accounts. Check the box next to Use SSL to connect (recommended).
- Outgoing Mail Server: For POP or IMAP accounts, use mail.papamail.net.
- Outgoing Port: Check the box next to Override default port. Change the default port (25) to 465 for POP or IMAP accounts. Check the box next to Use SSL to connect (recommended).
Click Add Account to complete configuration.
If you notice any problems or if you need any help, please open a new support ticket from your HostPapa Dashboard.
