Jetpack tools like Site Accelerator and Jetpack Boost can be beneficial. This guide provides several suggestions for upgrading your site’s speed and performance.
How to adjust and compress images
Images and videos can amplify the appeal and engagement of your web pages. However, an excessive number of images may lead to slower loading times, which could impact your website’s search engine rankings and the overall user experience (UX).
Why compress and adjust your images?
Understanding the reasons for perfecting images in WordPress is crucial before learning how to do it. Large, unrefined images consume substantial bandwidth and can lead to slower webpage loading times. For example, a mere four-second delay in page loading time can cause bounce rates to rise by 24 percent.
Compress your images
We suggest you use an online compression tool or preferred photo editing software for image resizing. TinyPNG is a widely used online compression tool, offering a free, user-friendly platform that is ideal for beginners.
Pinpoint areas for improvement
Jetpack Boost is quick and easy to install.
Go to Plugins → Add New.
Once activated, you can navigate to Jetpack → Boost in your WordPress dashboard.
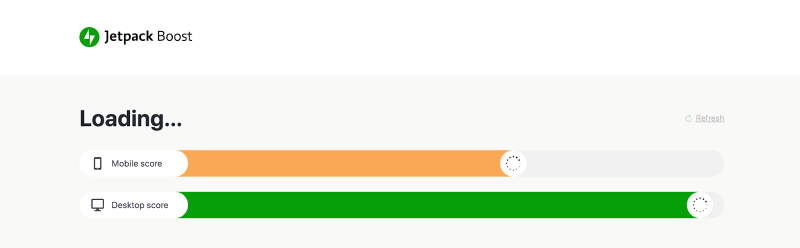
Here, you can generate a score that evaluates your current performance on both desktop and mobile devices. This process assists in pinpointing areas for improvement.
Additionally, you can customize your preferred settings for the plugin. For example, you may choose to activate CSS optimization or delay non-critical JavaScript, enabling a faster load time for your key styles and images.
To apply these settings, just slide the toggle to the desired option.
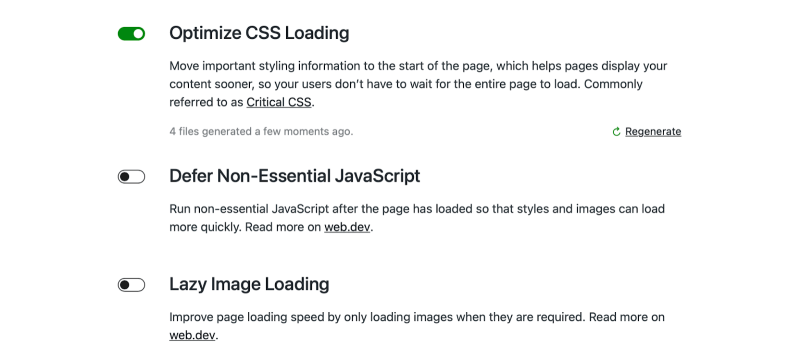
Defer Non‑Essential JavaScript
Postpone the loading of JavaScript that is not critical to the page’s functionality until all other elements have loaded.
If deferring JavaScript with Boost leads to unexpected behavior, it may be because the affected features depend on a specific order of the JavaScript files or require the files to be available to the page immediately.
Lazy image loading
The last option to consider is lazy image loading, a clever feature that increases speed by loading images only when necessary.
In essence, images located lower on your page will load once the visitor scrolls down to them. This process effectively lightens the load on your server.
Additionally, an advantage of Jetpack Boost is its set-and-forget nature. After initial setup, the plugin operates seamlessly in the background, ensuring your site’s performance works without interruption.
Enabling the cache feature
To enable the cache feature, activate the Jetpack Boost plugin and follow these steps:
- Start from your site’s WP Admin.
- Navigate to Jetpack → Boost.
- Locate the Cache Site Pages and use the toggle to enable the feature.
To confirm that the cache is functioning, check the wp-content/boost-cache/cache/ directory on your server for cached files.
Jetpack Boost can operate with other performance-heightening plugins. However, we advise you to avoid any feature overlap that could cause conflicts. This issue should be considered, especially with other caching mechanisms. For best results, it is advisable to employ only one caching solution at a time.
Jetpack’s image CDN
Serve your images through Jetpack’s image CDN.
A Content Delivery Network (CDN) is an effective tool that employs a network of servers to swiftly and efficiently present your site to visitors according to their geographic location. While any CDN can boost your website’s speed, Jetpack’s image CDN is distinguished by its unique Photon technology.
Here’s how you can get started:
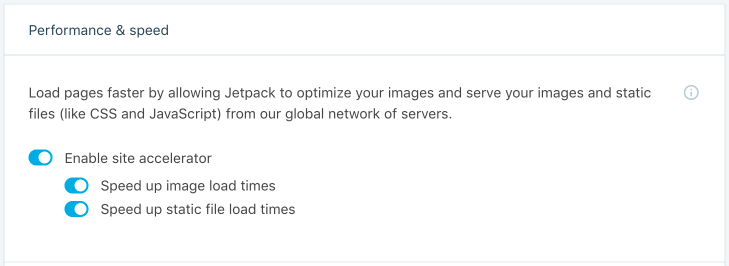
- Jetpack → Settings → Performance.
- In the Performance and Speed section, toggle on Enable site accelerator.
Thank you for following our guide on optimizing a website using Jetpack Premium.
If you need help with your HostPapa account, please don’t hesitate to open a support ticket from your dashboard.
