If you’ve purchased HostPapa Business Email for multiple users, you will need to set up each mailbox individually. These instructions apply to both Business Email Basic and Business Email Advanced plans.
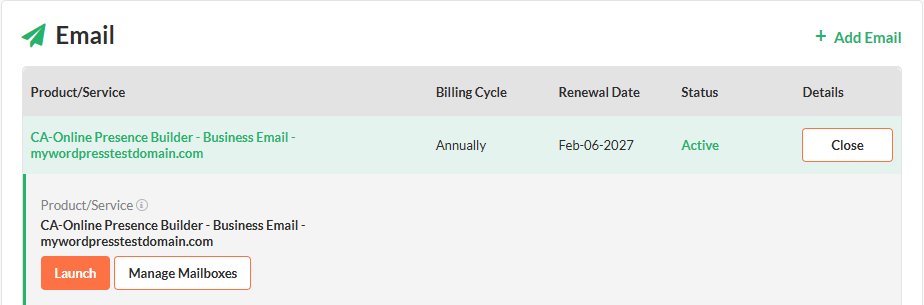
To create a new mailbox, edit an existing mailbox, or delete a mailbox you no longer need, log in to your HostPapa Dashboard and choose My Services from the nav bar.
Scroll down to the Email section, expand the mail service you want to manage by choosing Manage, and then proceed by clicking Manage Mailboxes. This will open your mailbox admin panel.
Instructions to create a new mailbox follow immediately below or you can jump to:
How to Edit a Mailbox
How to Delete a Mailbox
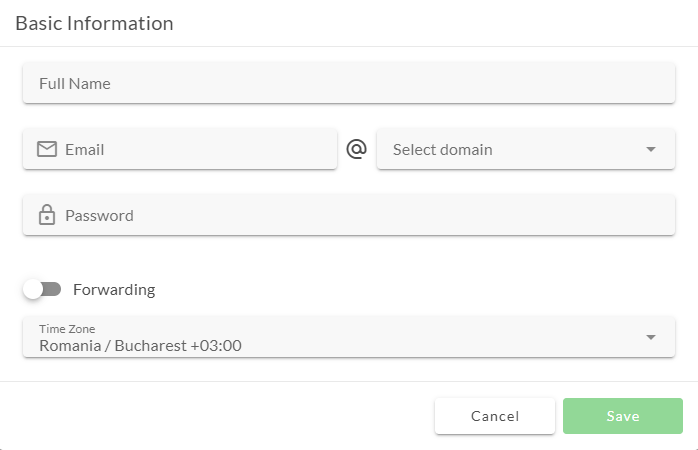
How to Create a Mailbox
1. In the Mail Manager section, choose New Email Account.

2. Fill out the Full Name, Email, Domain, Password, and Time Zone for the new mailbox. If you are using the email account for forwards, toggle the Forwarding switch.
How to Edit a Mailbox
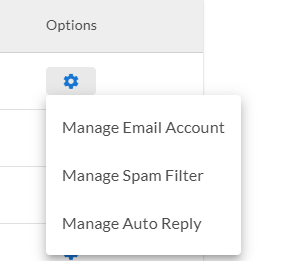
1. To edit a mailbox, select the cogwheel and choose the Manage Email Account option.
2. This will open the mailbox editor window where you can change any of the settings.
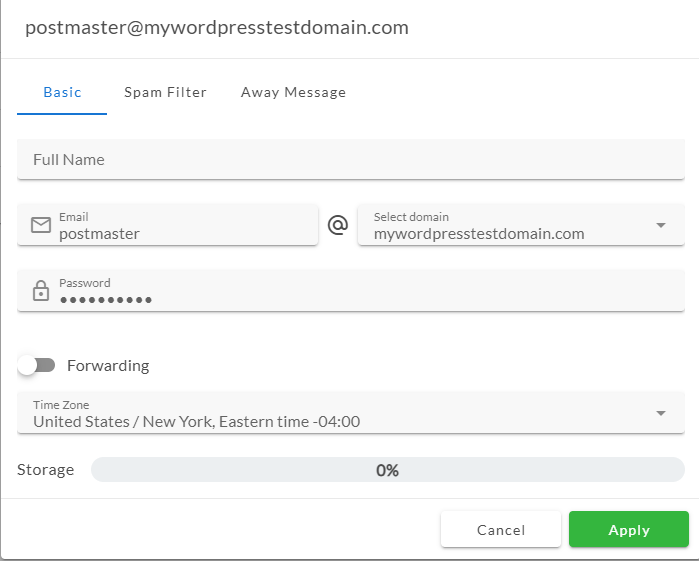
3. Choose Apply to save your changes or Cancel to continue without saving.
How to Delete a Mailbox
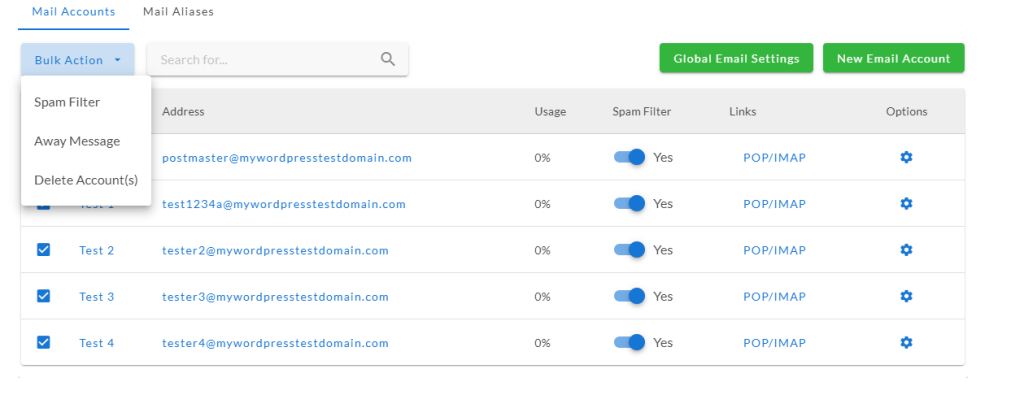
1. To delete a mailbox, select the checkbox on any mailbox you want to remove.

2. Then choose the Bulk Actions dropdown, then choose Delete Account(s) to permanently delete the selected inboxes.
For more help with HostPapa Business Email, review our Knowledgebase articles or open a support ticket from your HostPapa Dashboard.
