Plesk’s Failed Request Tracing feature allows you to troubleshoot website issues. IIS Failed request files, which contain the requested URL, the HTTP status code, and more, are available in the Plesk interface. In this article, we’ll show you how to do failed request tracing in your Plesk account on Windows. You can view a list of failed requests in your Plesk control panel.
To trace failed requests, follow these steps:
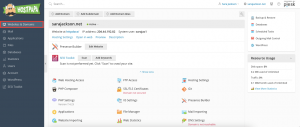
- Access your Plesk control panel through your HostPapa Dashboard.
- Go to Websites & Domains.

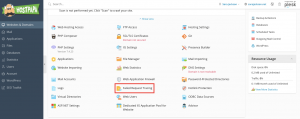
- Click on Failed Request Tracing.

You can click on any failed request files to view contacts, download files in a ZIP archive, or remove unnecessary files. Start a new trace by specifying the HTTP status codes and the IIS components that failed request files will be created for. You can edit these changes at any time once a trace starts.

If you need help with Plesk, please open a support ticket from your dashboard.
