This article will show you how to create, manage and restore a new backup in Plesk. To avoid losing your content after accidents or malware attacks, we highly recommend keeping backup copies of your site.
Plesk backup manager will allow you to keep several backups of your configuration and content, which you can store locally or move to remote FTP storage.
Creating a backup in Plesk
1. Access your Plesk control panel through your HostPapa Dashboard.
2. Go to Account.
3. Click Back Up Websites.
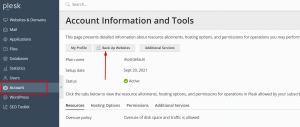
4. In Backup Manager, click on Back Up.

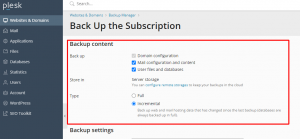
5. Configure the backup details by selecting the content you want to backup, the server storage (if you’re going to keep them in the cloud), and the type.
6. Scroll down to the backup settings to leave comments and exclude log files or specific files from the backup. You can also add an email to get a notification once your backup is completed.
Note: Some accounts may not include the email in the backup due to the email directory size. If this is your case, please request email data restores from the HostPapa support team.
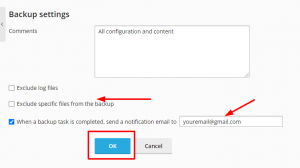
7. Click Ok to create your backup.
Restoring a backup in Plesk
1. Access your Plesk control panel through your HostPapa Dashboard.
2. Go to Account.
3. Click Back Up Websites.

4. Click on the backup you want to restore.
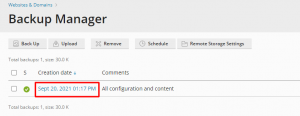
5. You can restore the entire backup or choose a specific object to restore like DNS, sites or files to domains.
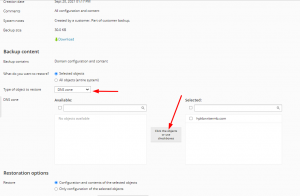
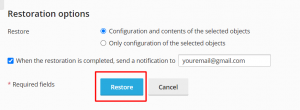
6. After setting your restoration options, click Restore.
If you need help with Plesk, please open a support ticket from your dashboard.
