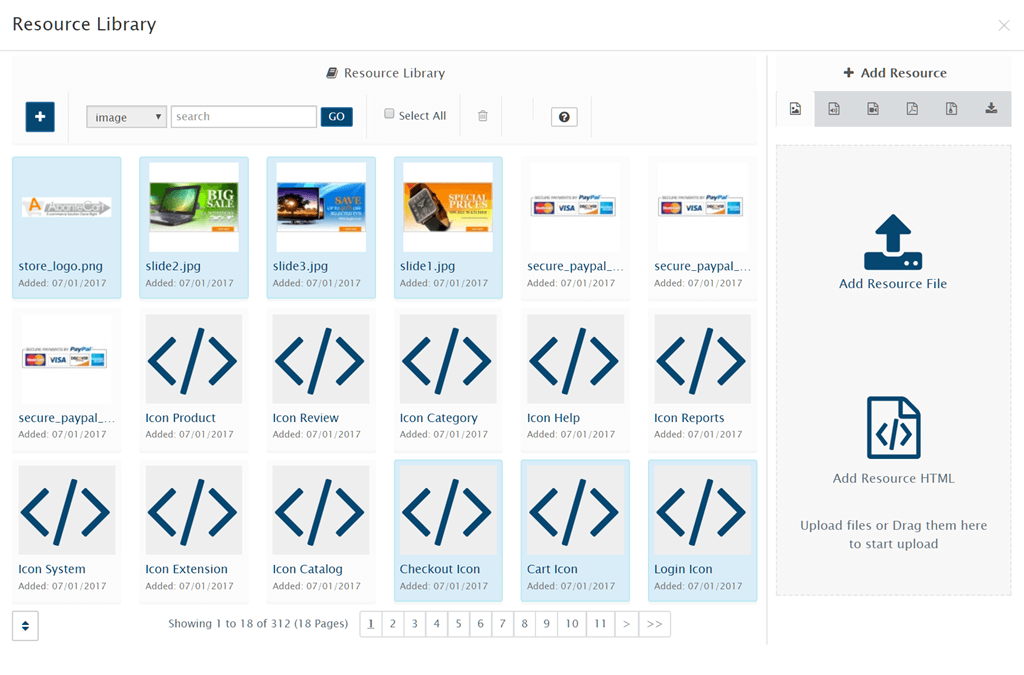
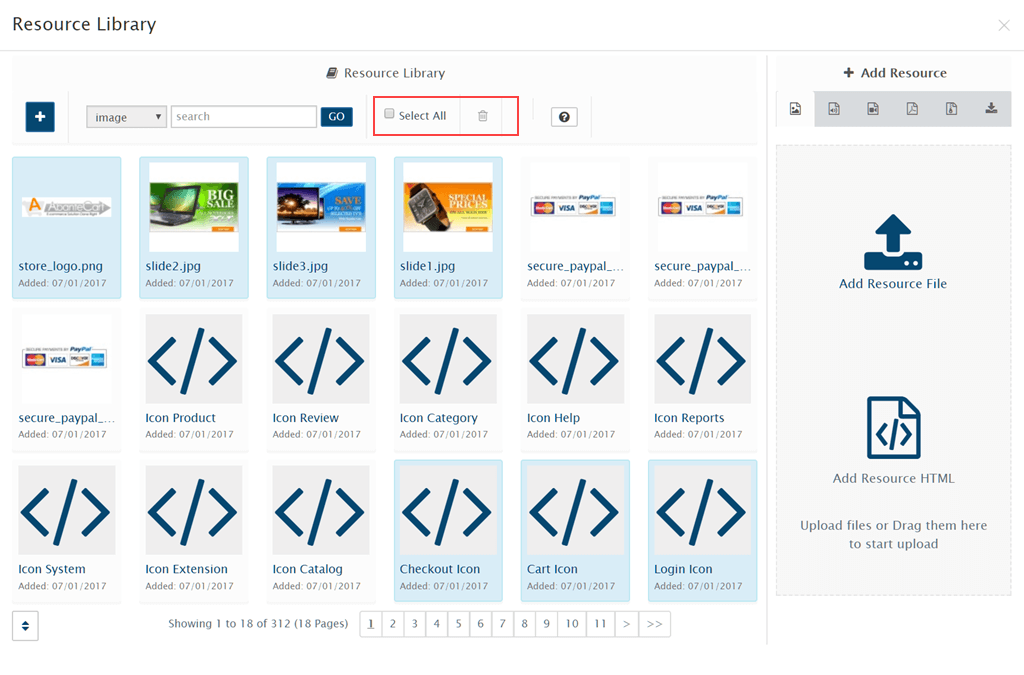
As your AbanteCart store begins to grow, you will be able to save time creating new pages or adding new product lines by taking advantage of the integrated resource library. The resource library provides a convenient way to store, manage and map media resources across your stores.
Think of the resource library as a repository for media. Files, HTML snippets, images, even JavaScript code can be stored in the library and quickly mapped to multiple products, categories and more.
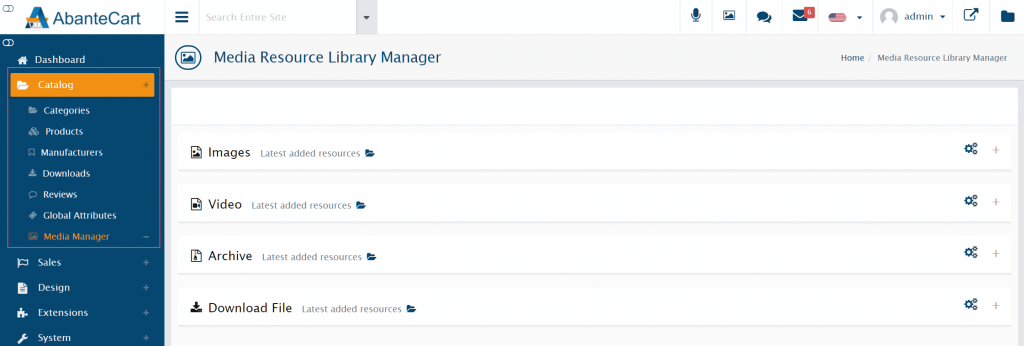
To check out the resource library, head to Catalog > Media Manager. You can also access the library from product and category pages.
Assets are grouped into four sections, which can be toggled using the -/+ buttons to the far right. The sections are Images, Video, Archive (used for Zip or other archived files) and Download. The gear icon allows you to change the configuration of each section. You can alter the name, default icon and, importantly, the file types allowed in each.
By default, the resource library shows the most recently uploaded files. Click on a section name to view the full set of assets available.
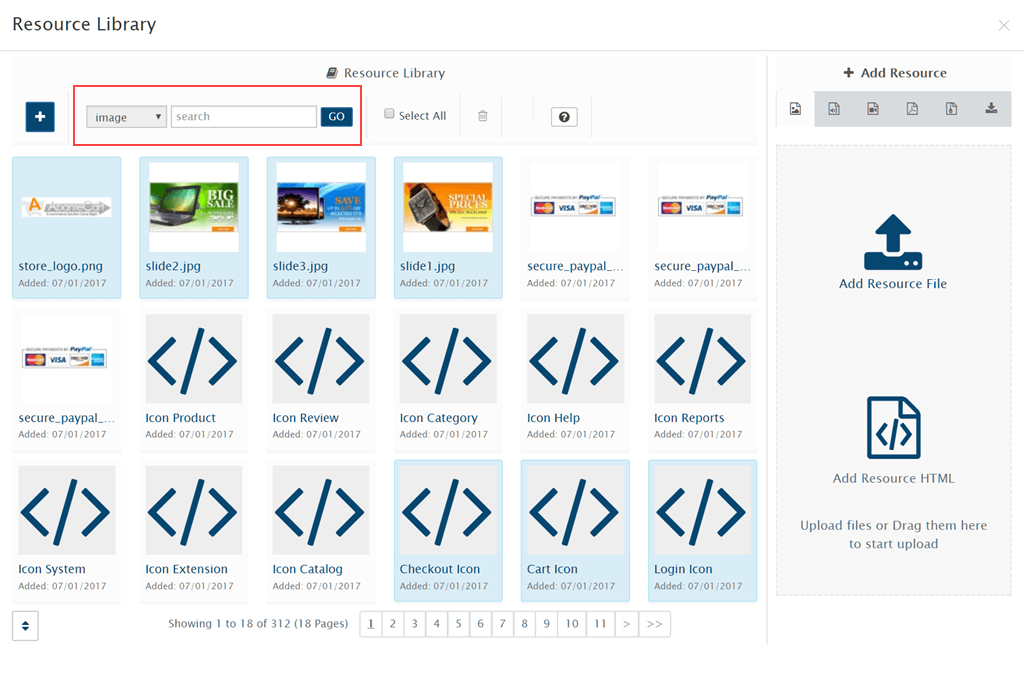
As the top of the page, you can use the Search bar and file type dropdown menu to locate a specific asset.
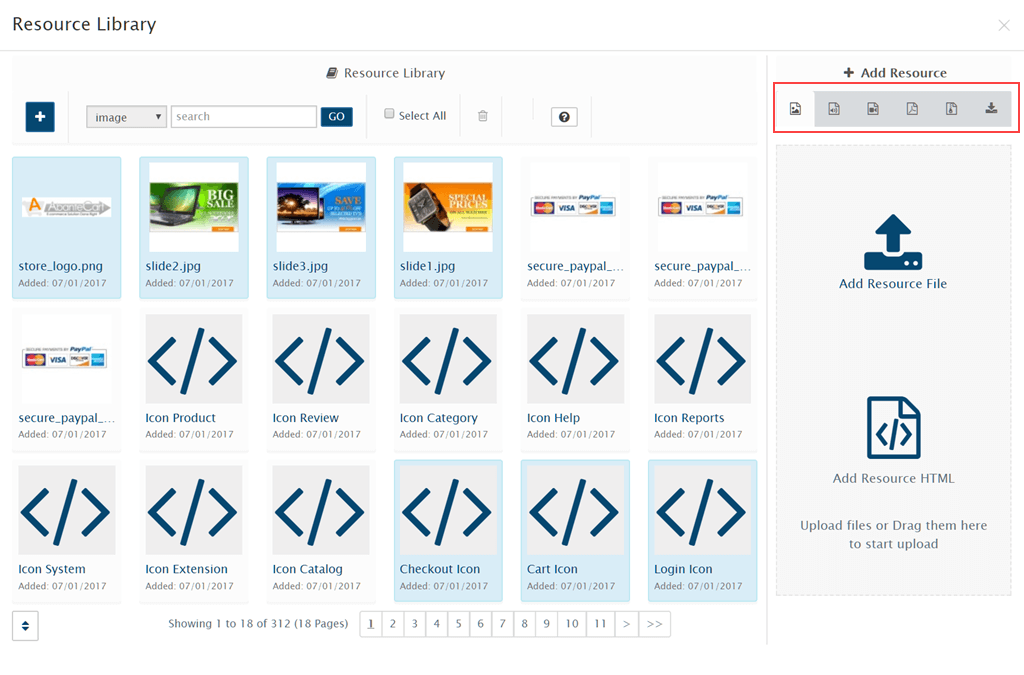
On the right, under + Add Resource, use the icons to filter the main page view by file type.
You’ll also see a Select All and Trashcan icon at the top of the page for deleting assets.
Uploading assets to the resource library
You can upload assets to the resource library in multiple ways. Dragging and dropping a file on the Add Resource File panel to the right of the page is easiest. Select a file type using the icons above, then drag and drop your file.
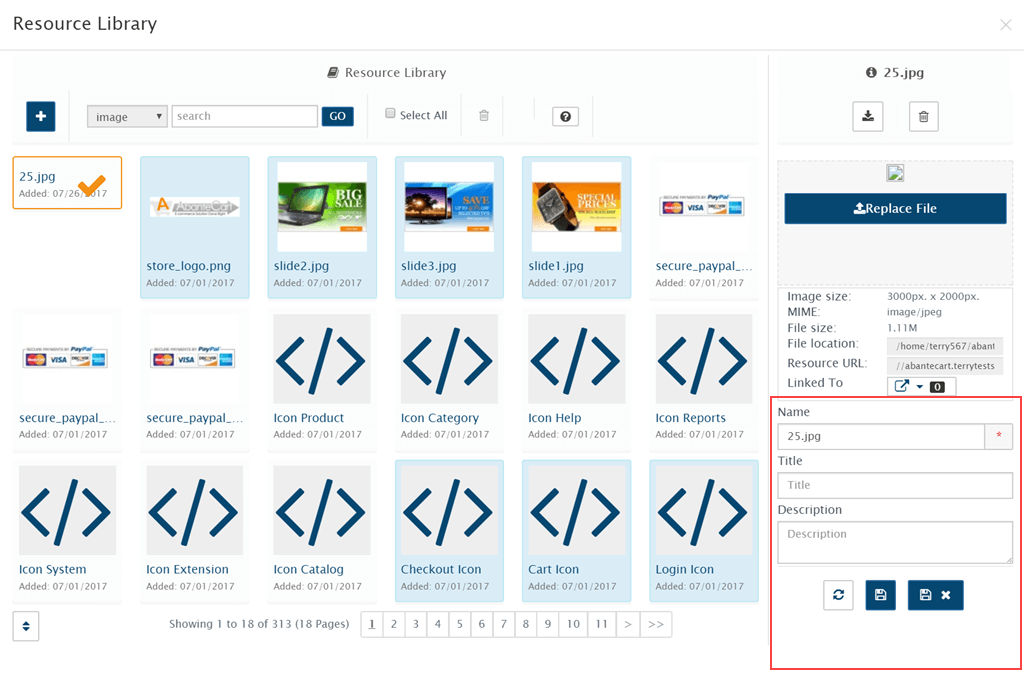
Once uploaded, you’ll be able to edit the file name, title and description which will allow you to find it more easily in the future. Be sure to click the Save button at the bottom of the panel once you’ve made your changes.
You can also click the Add Resource File icon to browse your local computer for an asset to upload.
If you experience issues with file uploads, particularly with large assets, it may be due to your server configuration. Please try reducing the file size or contact us via a support ticket to discuss your problem
Adding resources with HTML
If you wish to add an asset using an HTML snippet – for example, an image stored on another website or server, click the Add Resource HTML icon.
Enter the HTML snippet in the Resource HTML box and complete the remaining fields. The snippet must be a full HTML tag, not just a URL. For example:
<img alt=”Ideal Open Source eCommerce Solution” src=”https://www.abantecart.com/templates/abantecart/images/shopping_cart_logo.png”>
Click Save to upload the asset to your server.
Adding YouTube videos to the library
You can embed YouTube videos to products by storing their Embed codes in the resource library. Locate the embed code for your chosen video at YouTube (via the Share tab).
It should look something like this:
<iframe src=”https://www.youtube.com/embed/HQ7GHJUaFGt” frameborder=”0″ width=”640″ height=”360″> </iframe>
In the AbanteCart resource library, select the Video icon, then add the embed code in the Resource HTML Tab.
Complete the remaining fields and click the Save button.
To display the video within a product listing, you need to create a layout block for it, then enable that block in the default product layout page.
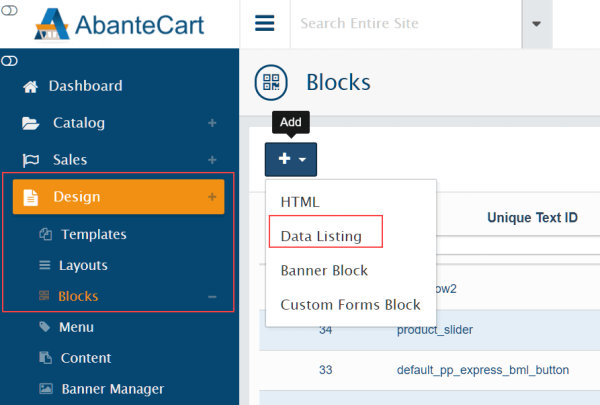
To create the block, head to Design > Blocks. For this example, the type of block you will be creating is a Data Listing Block. Click the arrow next to the Add (+) button at the top of the page and select Data Listing.
Now complete and save the Create Block form, ensuring that you select Media from the Listing Data Source menu and video as the Media Type.
Before you can view the video on the storefront, the new block needs to be added to a layout. Head to Design > Layouts and select the Default Product Page layout.
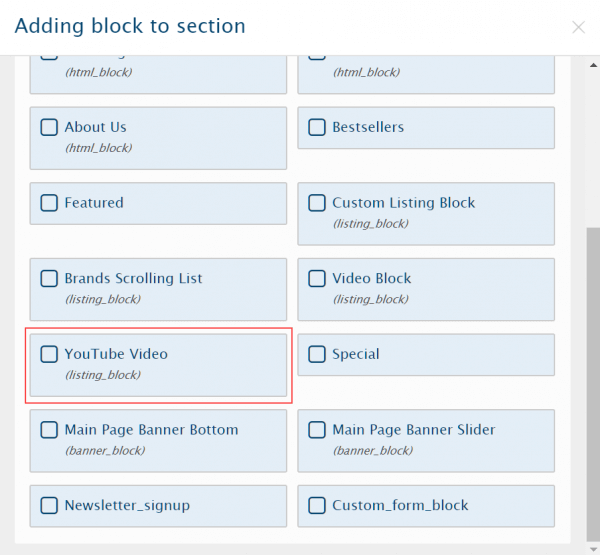
Click the Add + button at the top of the block in which you wish to embed the video, then select your new block. If the block is greyed out when added, head back to Design > Blocks and ensure the Block Status is set to On.
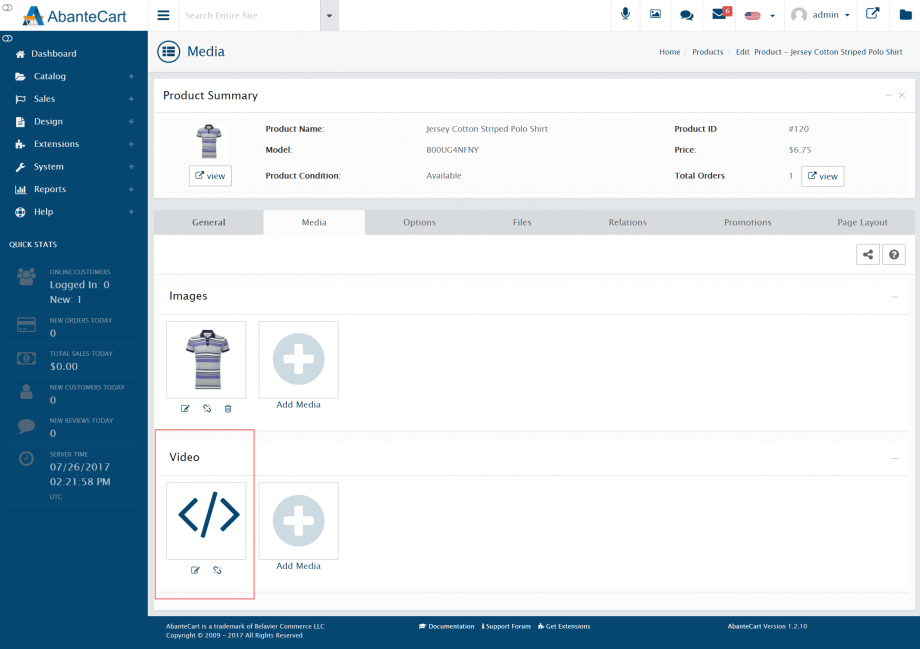
The final step is to link the embedded video file with one or more products. To do so, search for the product to which you wish to link the video in Catalog > Products. Click the Edit icon and select Media from the dropdown menu.
Scroll down to the Video section and click the Add Media button.
Use the Resource Library button to locate and link the embedded video.
You should now see the linked video file in your product listing. Head to the storefront to ensure the video block is visible and working correctly.
For further questions or if you need help, please open a support ticket from your HostPapa Dashboard. Follow this link to learn how.
