Once you’ve built up your customer base, you can consider grouping them into clusters for marketing and promotional purposes. Every customer can be part of a customer group, allowing you to offer various privileges according to criteria you specify.
For example, you can offer discounts, special promotions, tax rates and shipping rates to different customer groups. You could also send out tailored newsletters to different customer groups.
To review your customer group settings, visit Sales > Customer Groups in the AbanteCart administration dashboard.
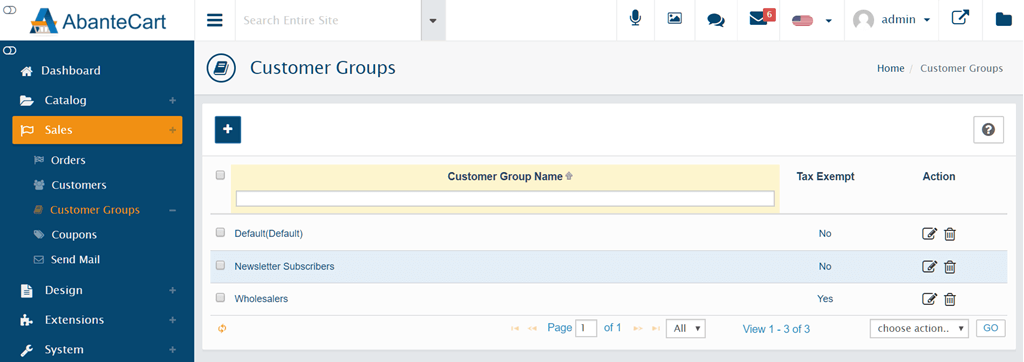
In this example, you can see that there are three groups already configured. A default group, which includes all customers, and two specific groups for Newsletter Subscribers and Wholesale customers. If you have many groups, you can use the filter at the top of the page to locate a specific group. Use the Edit button to the right to edit an existing group or the Delete button to remove a group.
To add a new group, select the Add + button at the top of the page.
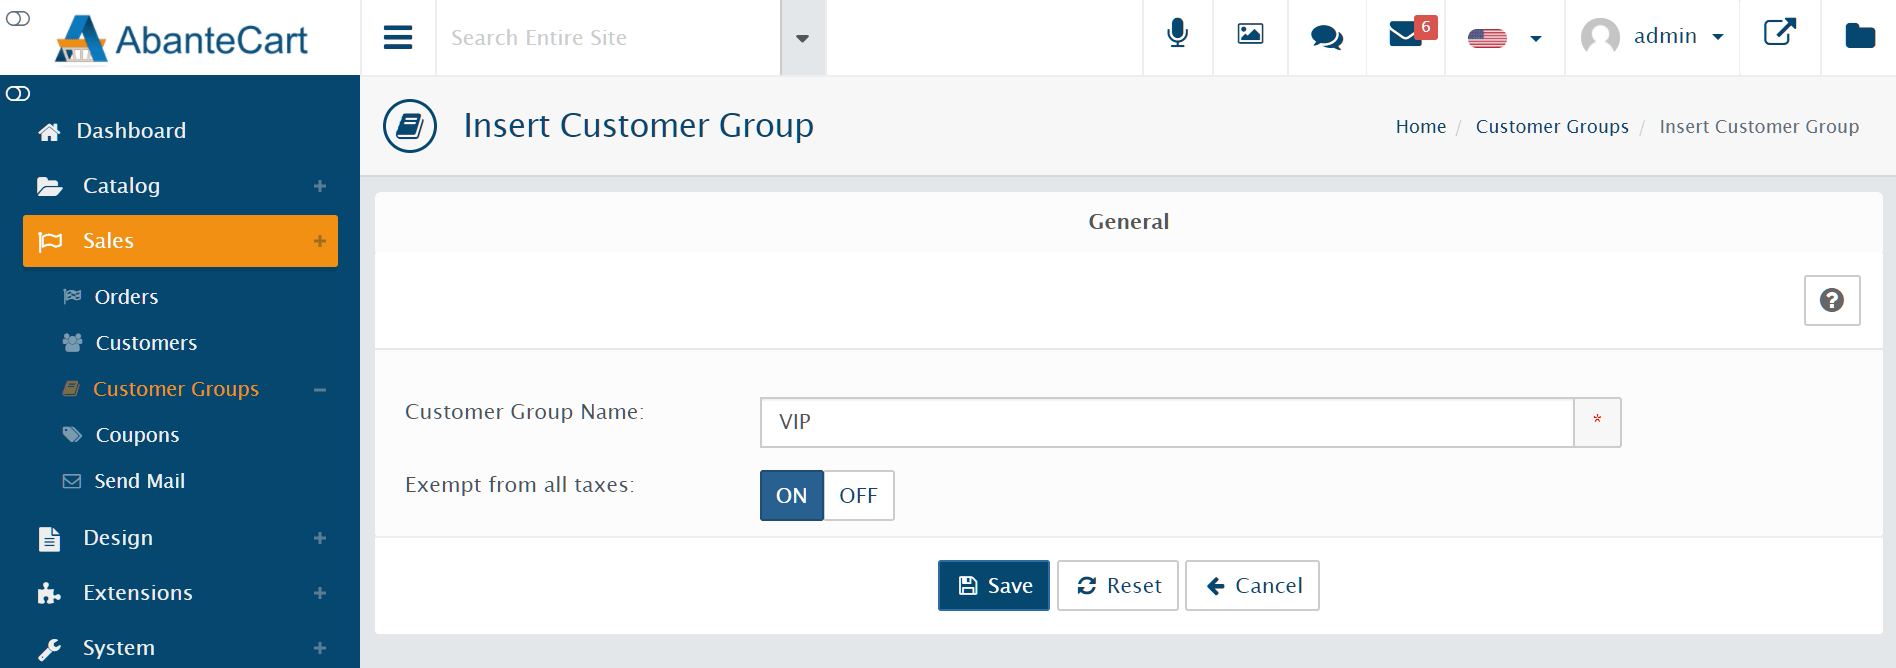
Enter a group name and use the adjacent button to determine whether this group will be tax exempt. Click Save to continue.
Once you’ve configured your groups, head to Sales > Customers to assign your customers to a group. You can use the Select Group dropdown menu at the top of the page to filter customers by group.
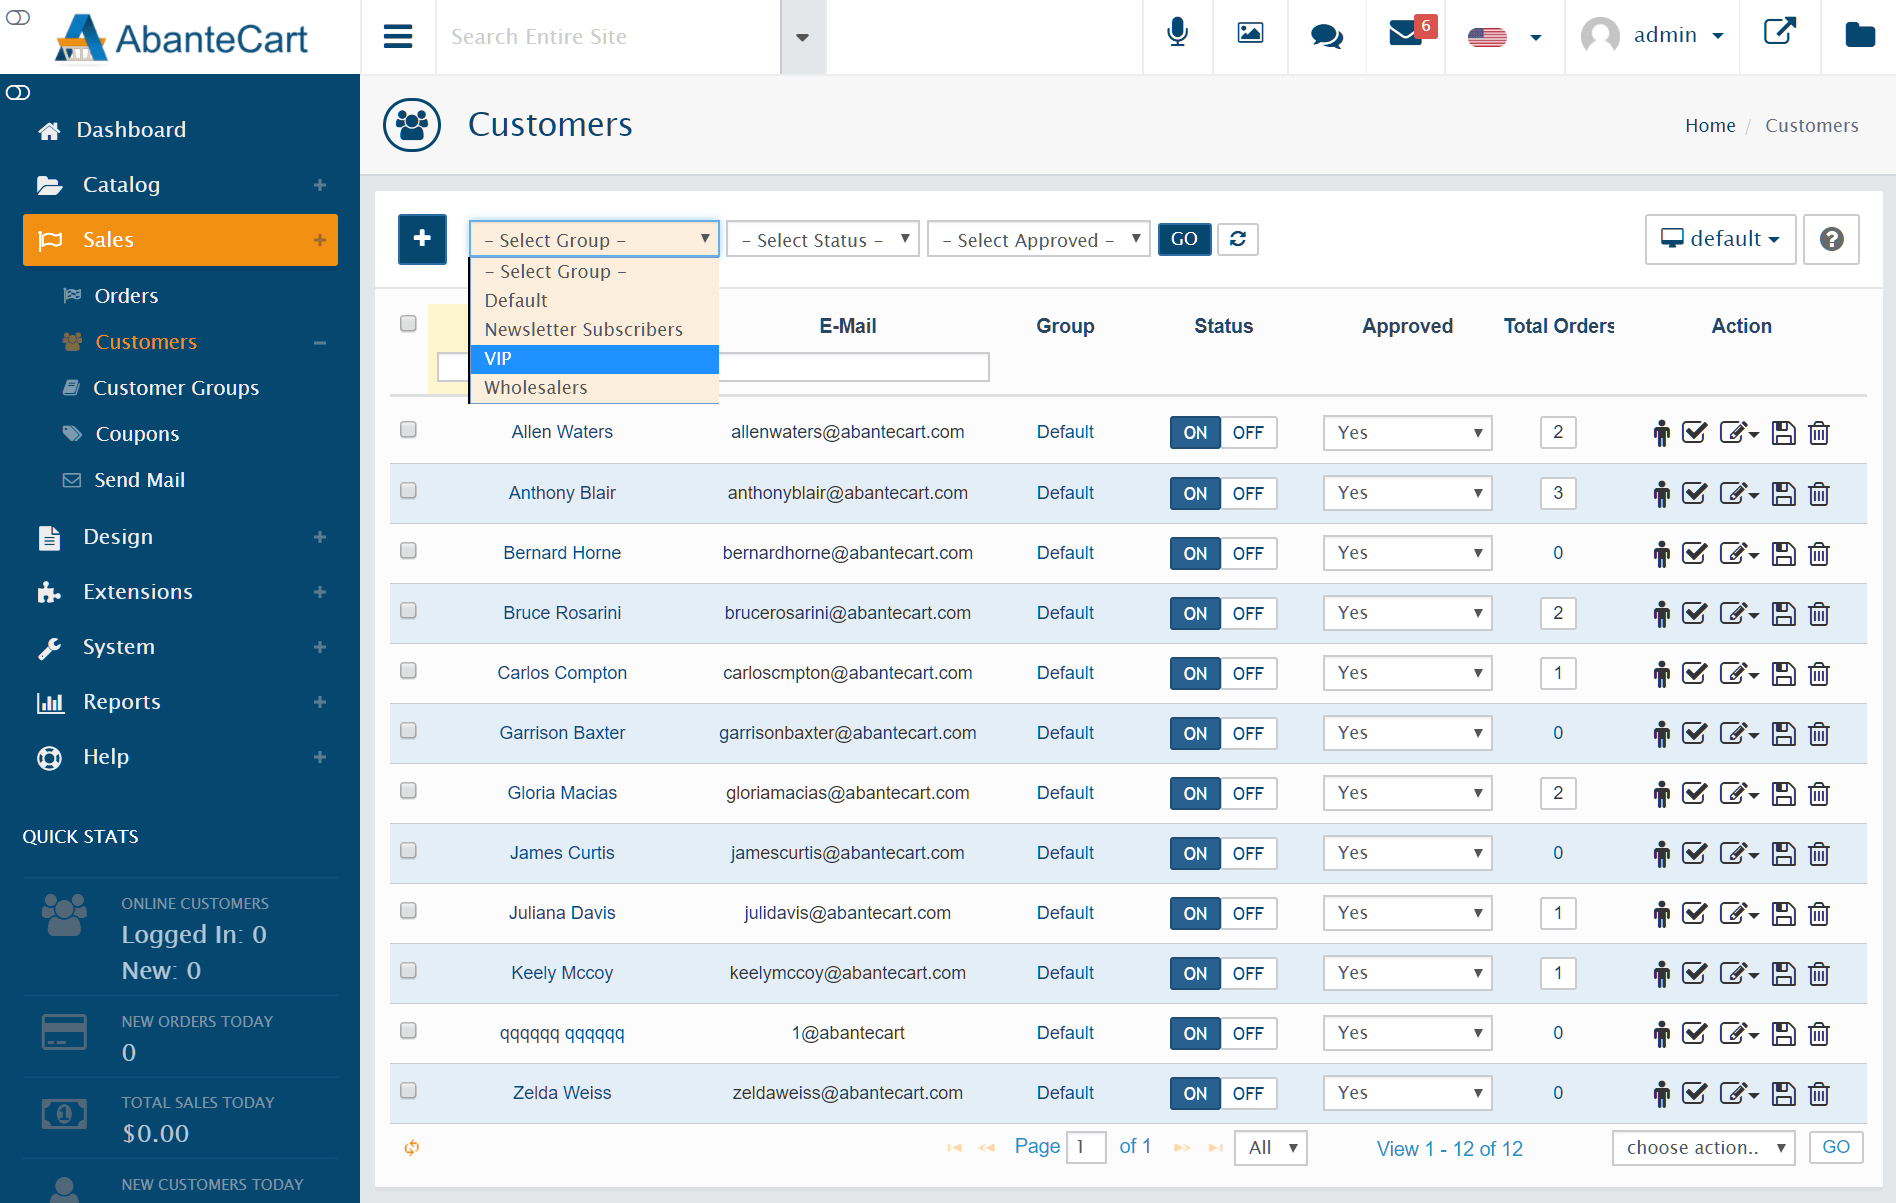
Find the customer you wish to place in a group and select Edit > Quick details.
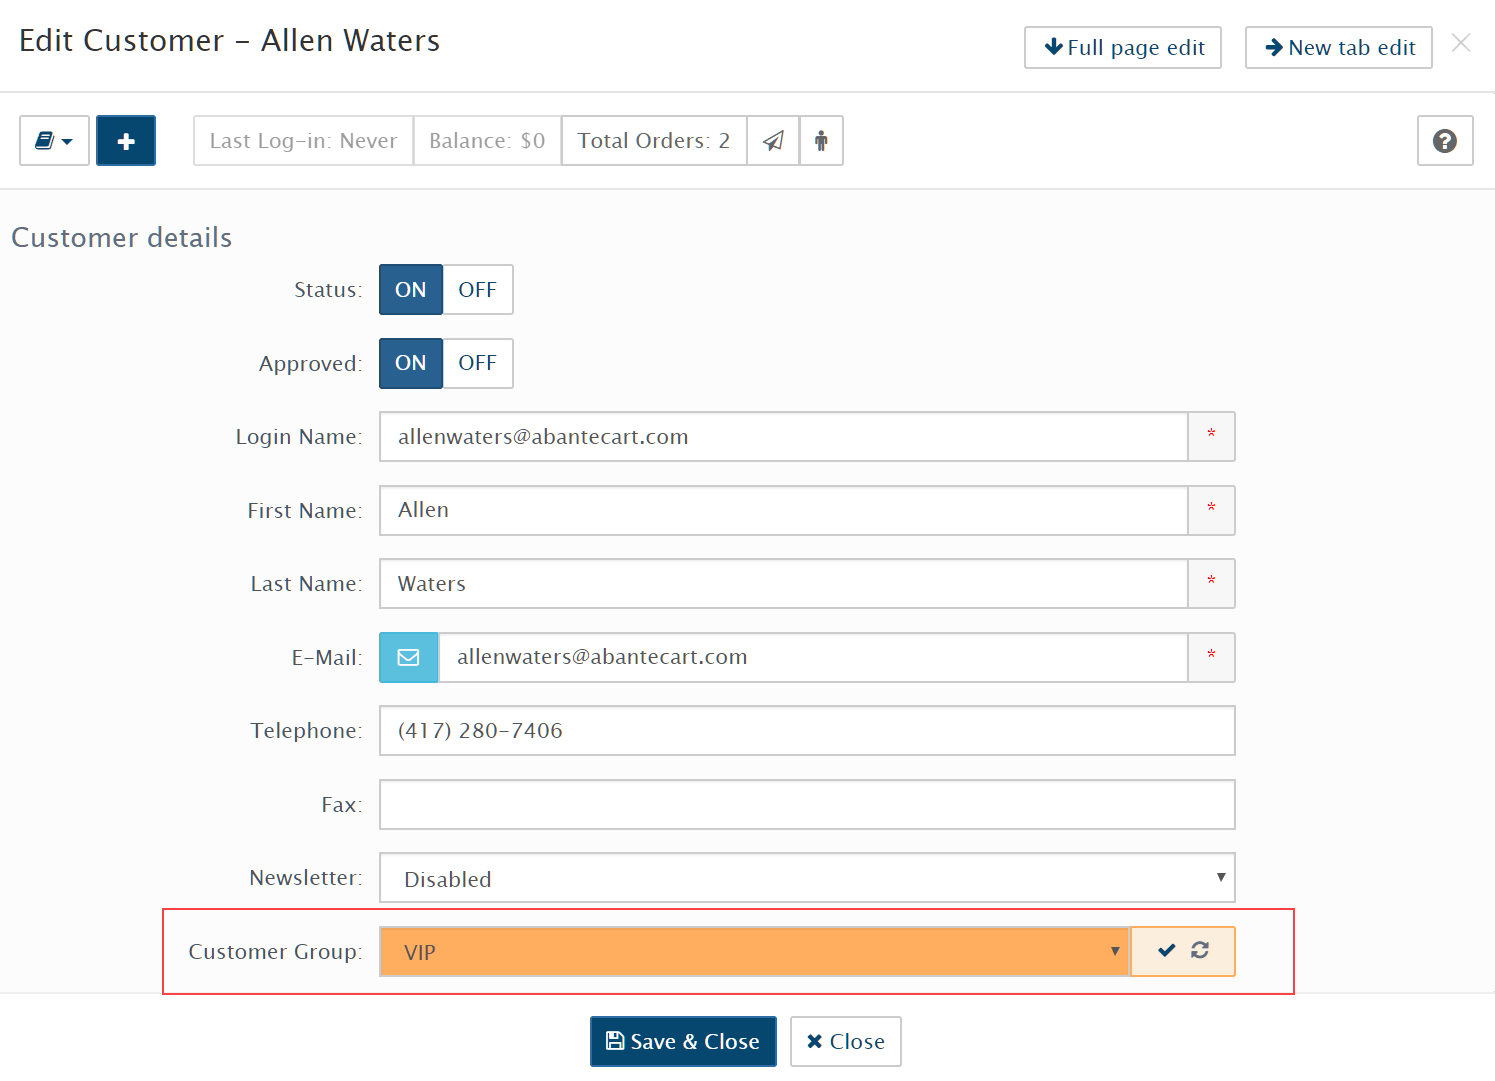
Look for the Customer Group dropdown and select the group in which you’d like to place the customer. Complete the edit with the Save button.
For further questions or if you need help, please open a support ticket from your HostPapa Dashboard. Follow this link to learn how.
