A container is used in web design to group content into structured sections. Containers control layout, alignment, and spacing. They help organize, center, and style related elements together. Using containers improves webpage consistency, readability, and accessibility. Containers also support responsive design, adapting content for different device screens.
HostPapa’s Website Builder makes it easy to use containers. With a simple pop-up menu system, you can easily design a website to your exact specifications!
To learn how to access your Website Builder to get started, please visit this article.
Why use containers?
Containers are very convenient and can be used to add extra sections to a webpage. Containers are also good at refreshing the look and feel of a website. When used with an appropriate image background and text, containers have a modern and attractive look. This quality means containers are ideal when rejuvenating a website.
The Container Elements sub-menu is in the Build tab, accessible from the menu on the left side of your screen.
Each element in the sub-menu has its own sample content. The elements also allow the placement of any additional content that is available in the Build menu.
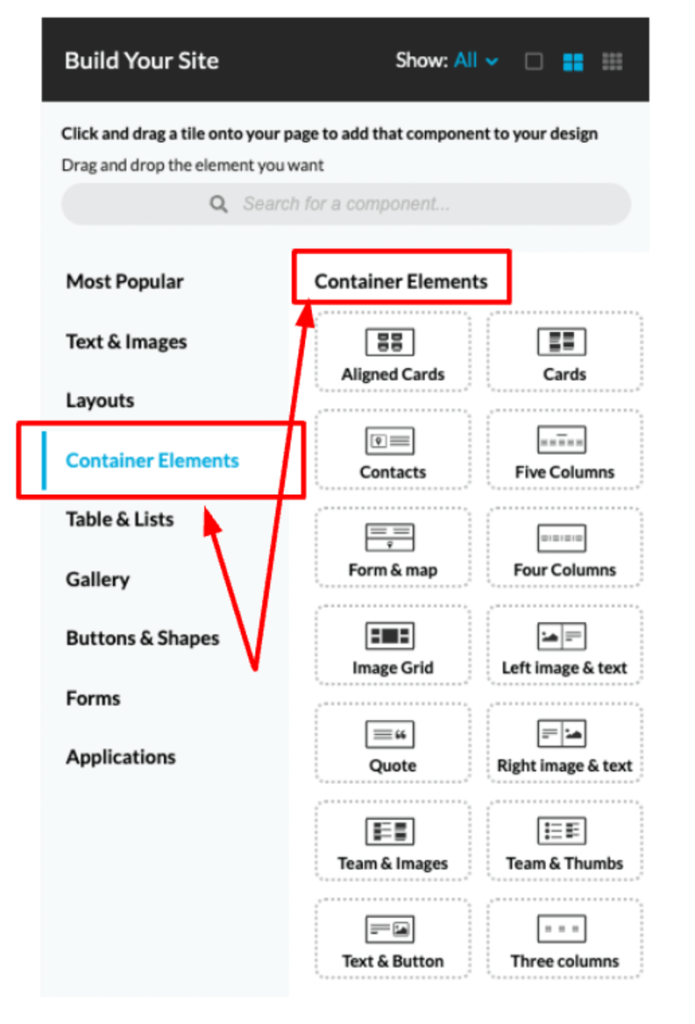
To add a Container Element to your page, please:
- Move your mouse over the desired preset.
- Click on the dotted square rectangle.
- Drag the element to your desired location.
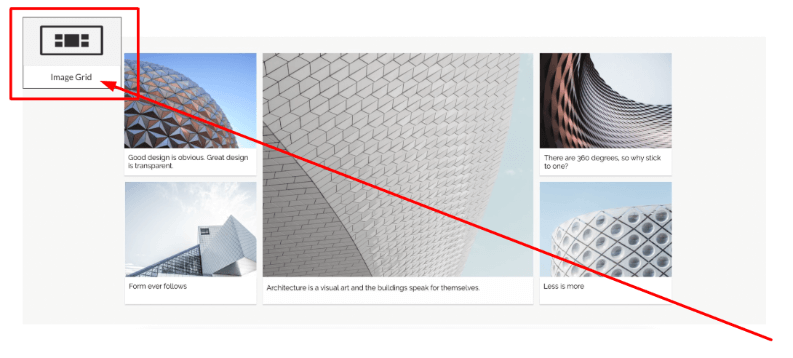
Each element icon and name gives a preview of the content it offers. Blue lines appear on the page to display where your element can be placed.
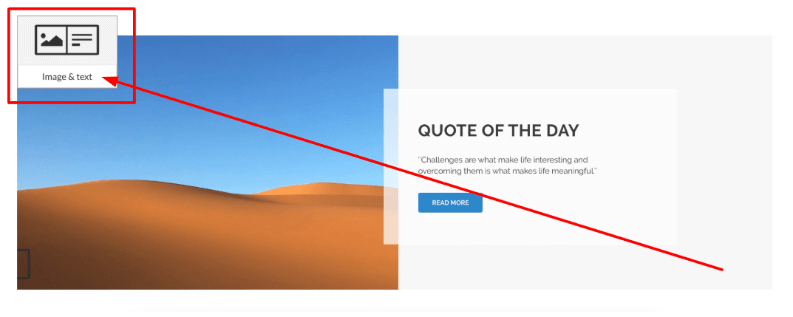
As you place the element, the page will refresh, and the element-specific menu will open on the right. This menu is universal for all Container Elements. You can also adjust the background and background behaviour in the menu.
Please note: Each Container Element contains an HTML snippet necessary for the element’s functionality. We don’t recommend modifying or deleting it unless you are certain.
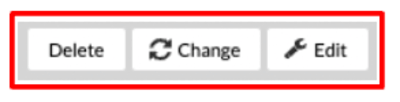
At the top, you’ll find the options to delete, change, or edit the current background image.
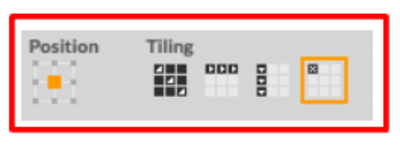
Below that, you can adjust the position by clicking on the grey squares on the grid. The orange square represents the current position.
The Scroll option allows you to choose between the default Scroll and Fixed. The Scroll is chosen by default, and the image will scroll along with the page. The Fixed option keeps the image in the same position as the page is scrolled, creating a shift in position.
You can also adjust the Background Color. The color, however, will not be visible if a background image is used.
The Container Type drop-down determines the width of the container’s background. The Fluid option will allow the image to spread the entire width of the page. Fixed will crop the sides accordingly.
If you need help with your HostPapa account, please open a support ticket from your dashboard.
