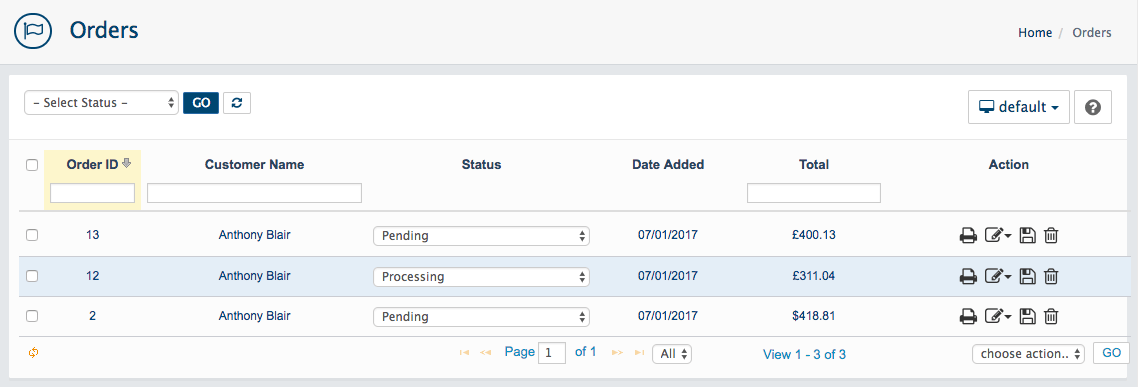
AbanteCart is equipped with a range of features to manage your store’s customer accounts. In the administration dashboard, visit Sales > Customers to get started.
Add a new customer account
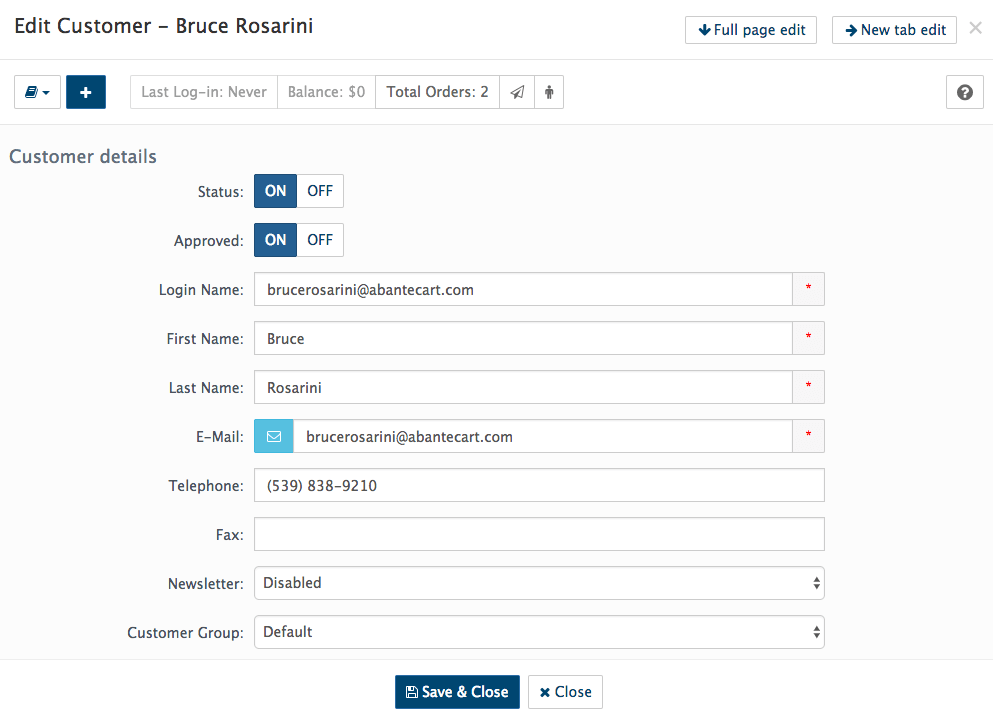
If you wish to add a new customer to your store, use the Add button (+) at the top of the page.
You can then complete the Customer details form with the personal information typically captured during registration at checkout. You can also select a customer group (used for discount eligibility) and manually subscribe the customer to your newsletter.
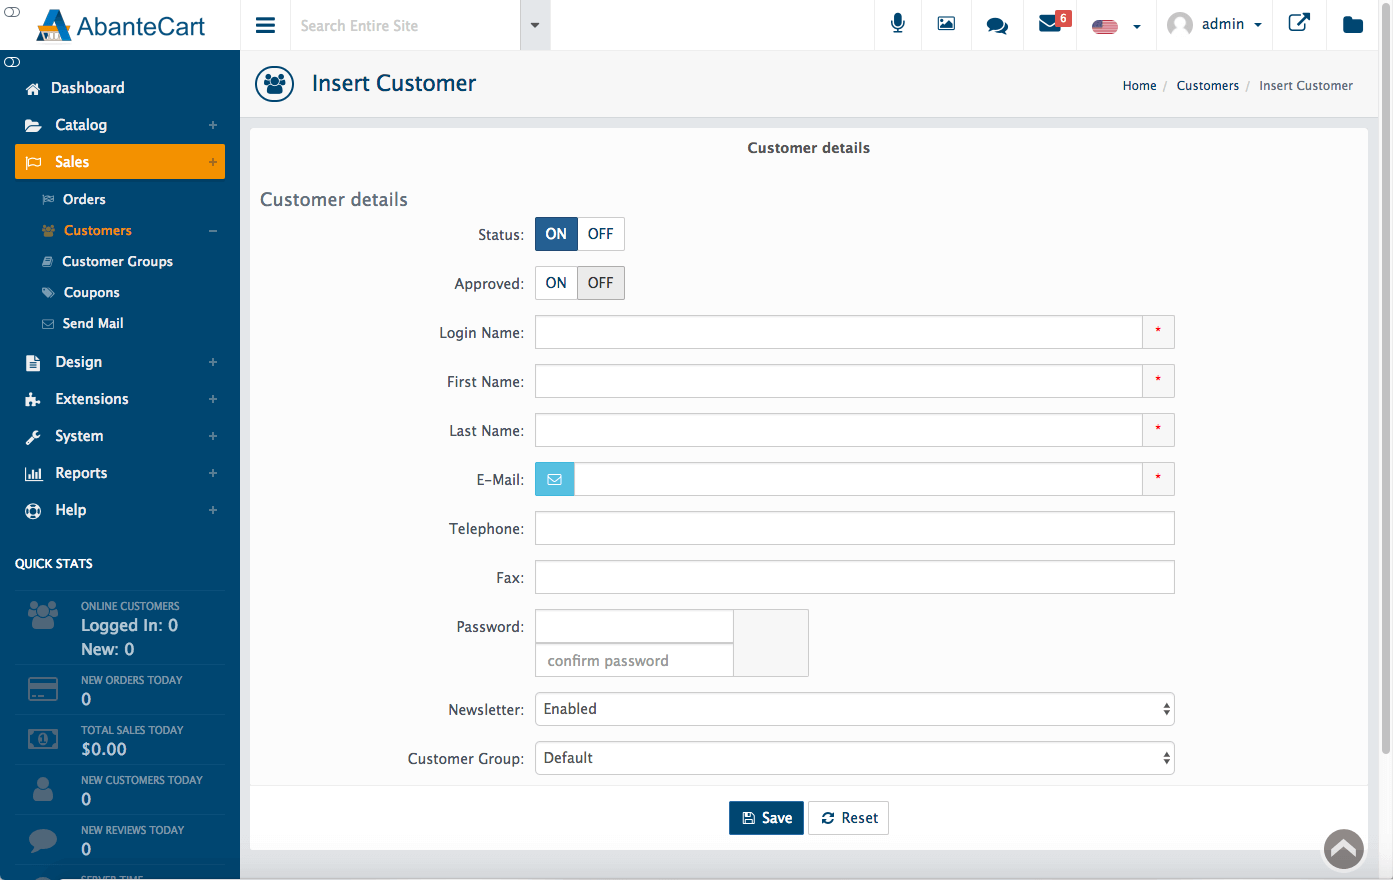
When you’ve completed the form, click the Save button at the bottom of the page to continue.
Send an email to the customer
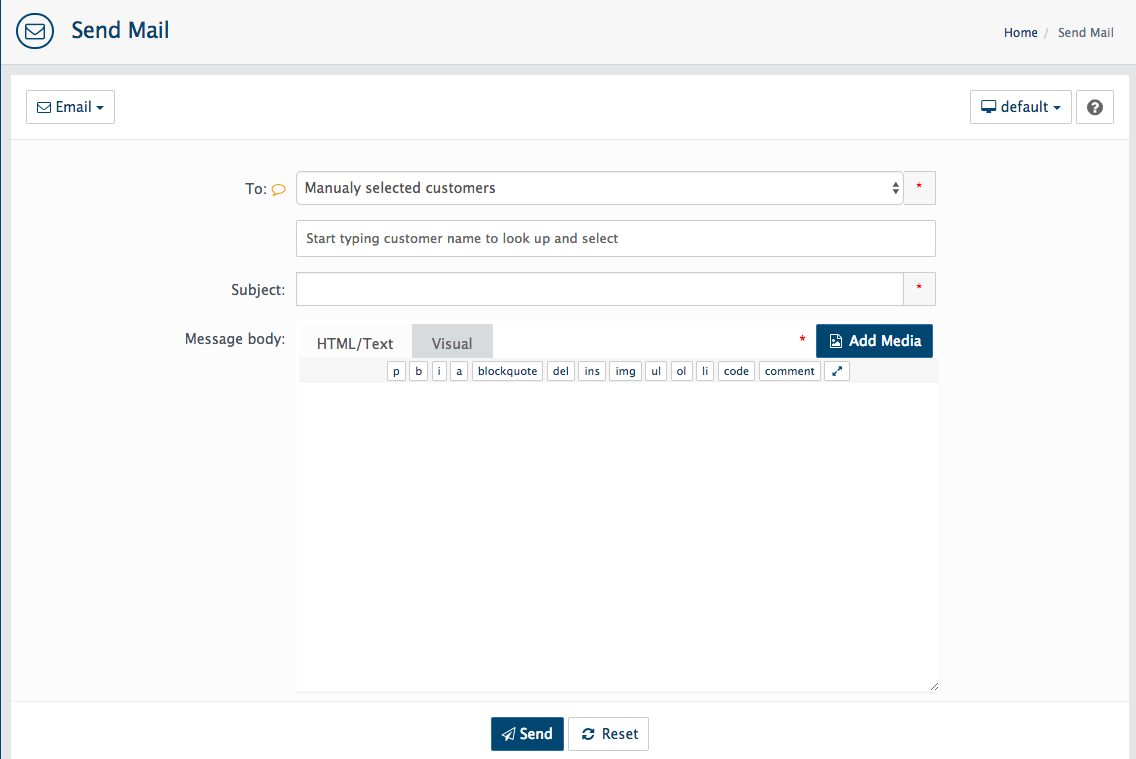
If you wish to contact a customer via the store, from the Sales > Customers page, click on the customer’s E-mail address to open a short web form. You can use this form to send a message to an individual customer, a group of customers or all customers via the To dropdown menu. Enter a subject and message (HTML or plain text is supported), then click Send.
Manage account status
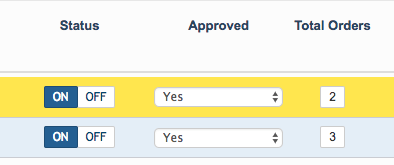
You can use the status buttons in each listing to manage the customer account.
- Delete a customer account – click the trash can.
- Enable or disable a customer account – select Yes or No in the Approved dropdown menu.
- View all orders made by a customer – click the Total Orders entry.
Log in to the store as a customer
You can act on the customer’s behalf by using the Person icon to log in to the storefront using the customer’s credentials.
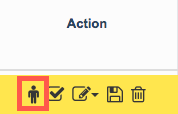
This takes you to the customer account details screen in your storefront, where you can perform any relevant action as if you were the customer.
Edit, save, or delete a customer account
If you wish to edit, save or delete a customer account, you can do so using the three icons on the far right of the Sales > Customers page.
![]()
Clicking the Edit button allows you to view a list of options. Choose to edit the customer’s record via a Quick View popup that provides quick and easy access to the most common fields.
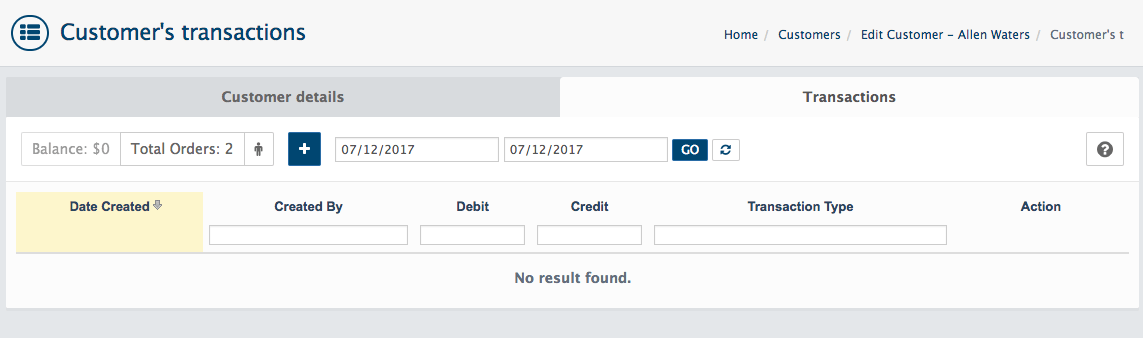
The Customer details selection provides full access to the customer’s record and transactions details.
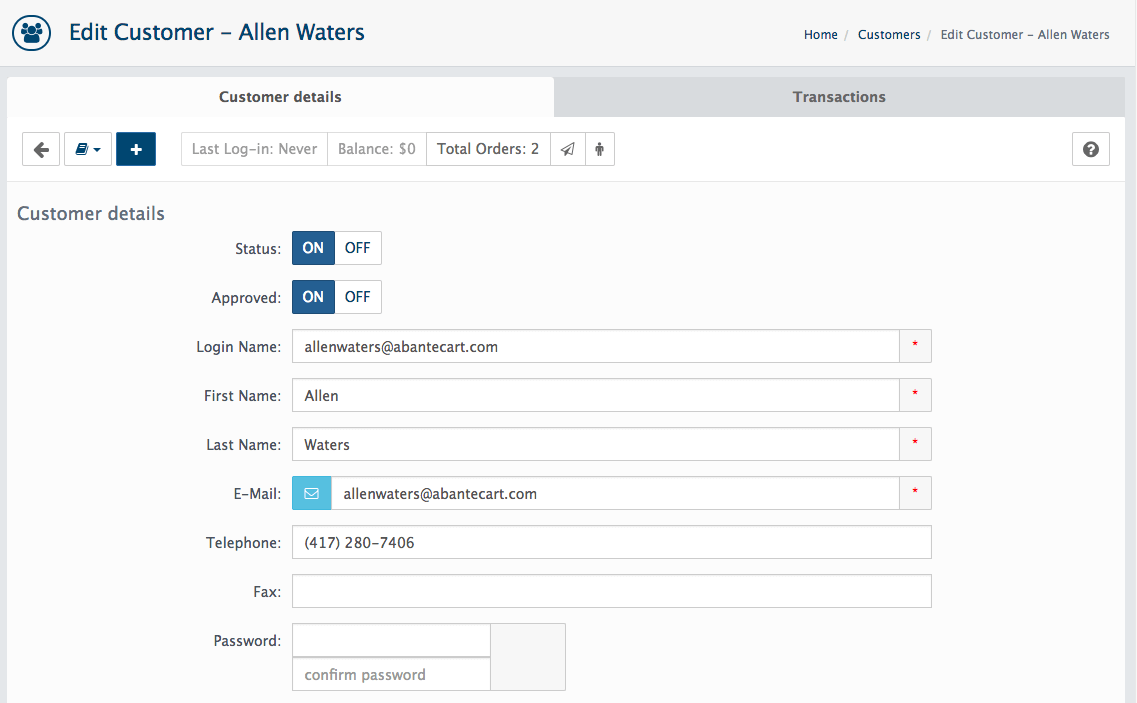
Alternatively, use the Transactions link to jump straight to the customer’s order history.
Other customer account settings
Head to the System > Settings > Checkout page to configure additional customer account settings.
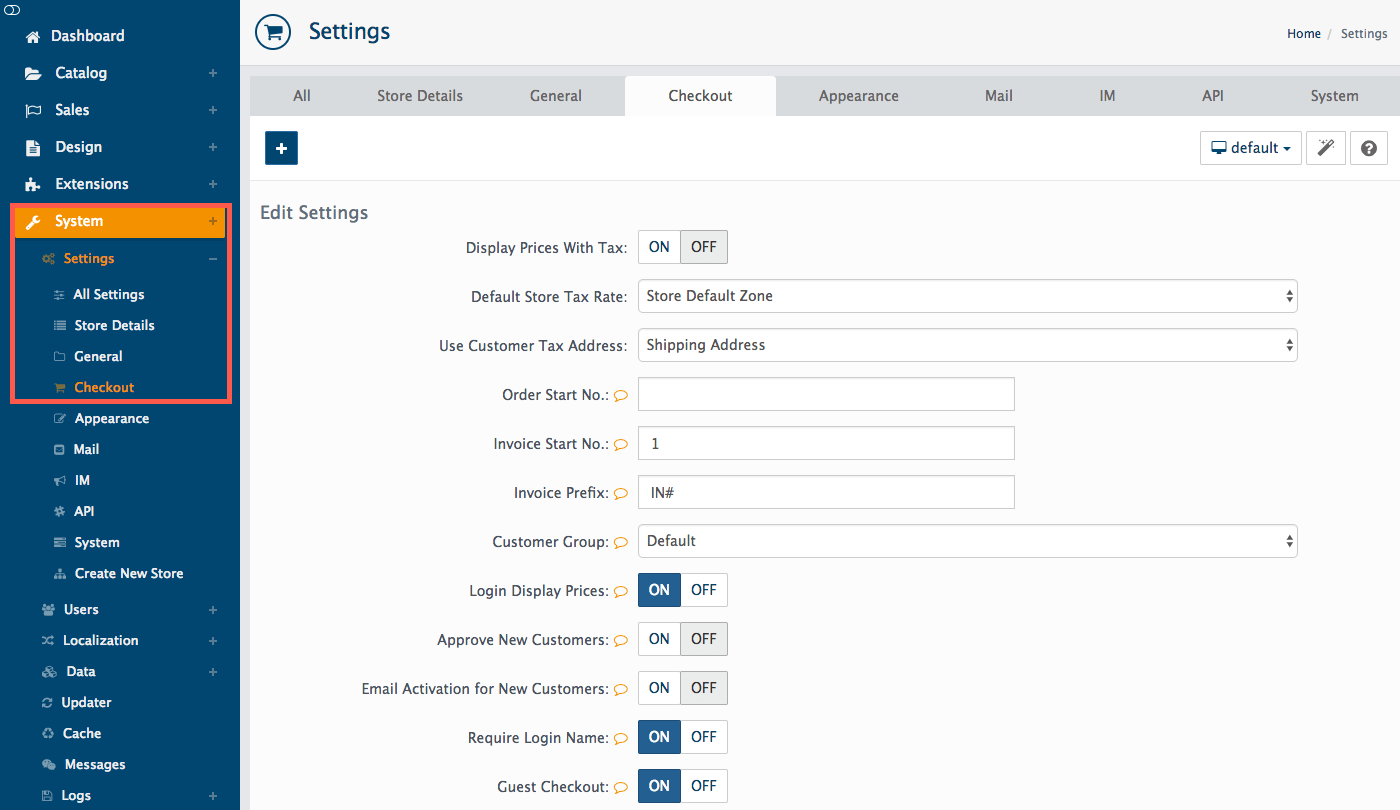
- Force a customer to log in or register at checkout – disable the Guest checkout.
- Set the default customer group for new customer accounts – use the Customer Group dropdown menu to select the default group.
- Configure the default approval status for new customers – toggle the Approve New Customers setting as required. When set to On, customers will see an approval pending page after registration. Accounts will require admin approval before activation. Once approved, the customer will receive a confirmation e-mail.
- Verify new customers with an activation email – use the Email Activation for New Customers setting to force customers to verify their email address after registration.
To learn more about AbanteCart’s features, head to the HostPapa knowledge base.
For further questions or if you need help, please open a support ticket from your HostPapa Dashboard. Follow this link to learn how.
