Admin Interface is part of HostPapa’s Website Builder. An intuitive control system, Admin Interface makes it easy to design and alter your website. In this Knowledge Base article, we’ll take you through the controls within Admin Interface that power Website Builder.
To learn how to access your Website Builder to get started, please visit this article.
At the end of this special Knowledge Base article, HostPapa will also give you nine tips on how to plan your new website!
Getting started with the Admin Interface
Admin Interface helps you to manage any aspect of your site. Once you log in to edit your website, you’ll see what is known as the Admin View. Here, you can add, edit, delete content, manage applications, access databases, and more besides.
The Admin View looks very similar to what your visitors will see when they visit your website.
The Left Menu
All Admin options are stored in the Left Menu.
From the Left Menu, you may add all types of content:
- File Area.
- Form.
- HTML Snippet.
- Image Gallery.
- Section Group.
- Text and Image.
You can also Manage Pages, access Application Settings, and edit Site Settings.
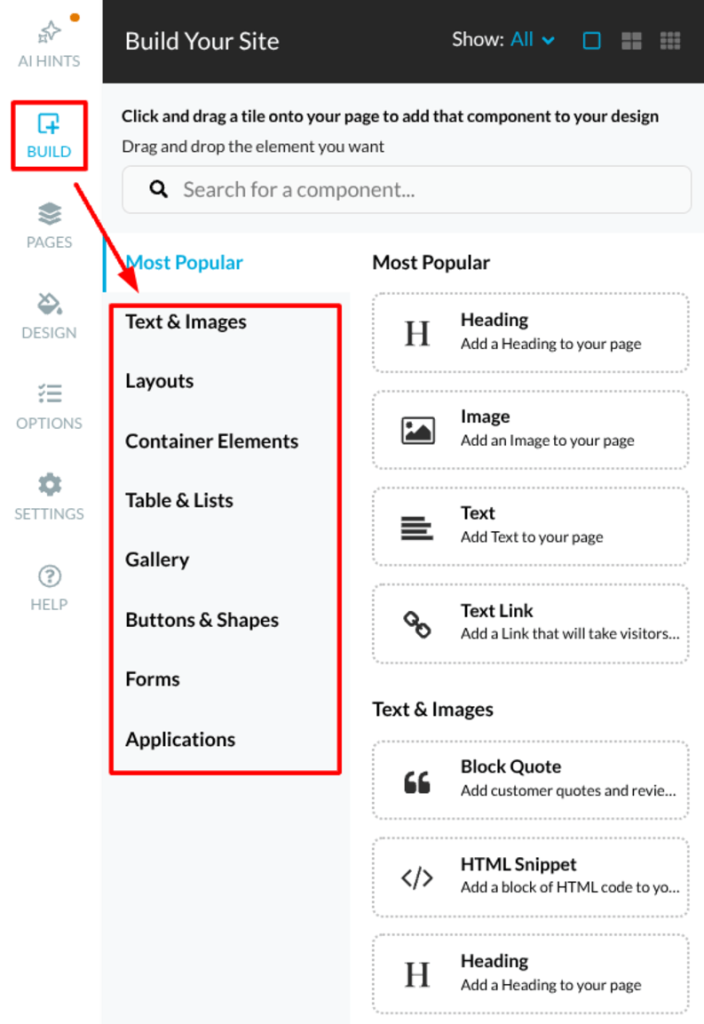
The Build Your Site tab
In the Build section, you can find all elements that can be placed on a page, such as:
- Text & Images.
- Layouts.
- Container Elements.
- Table & Lists.
- Gallery.
- Buttons & Shapes.
- Forms.
- Applications.
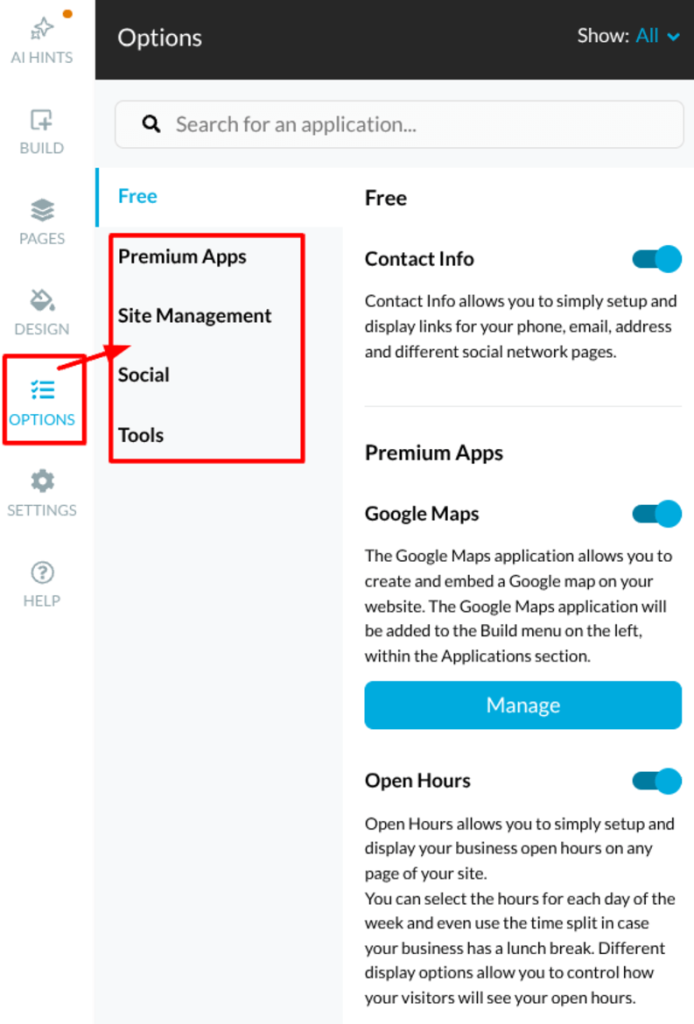
The Options tab
In the Options section, you can locate all applications and manage some of them. The contents of the Options section includes:
- Free Applications (Free Apps).
- Premium Apps.
- Site Management.
- Social.
- Tools.
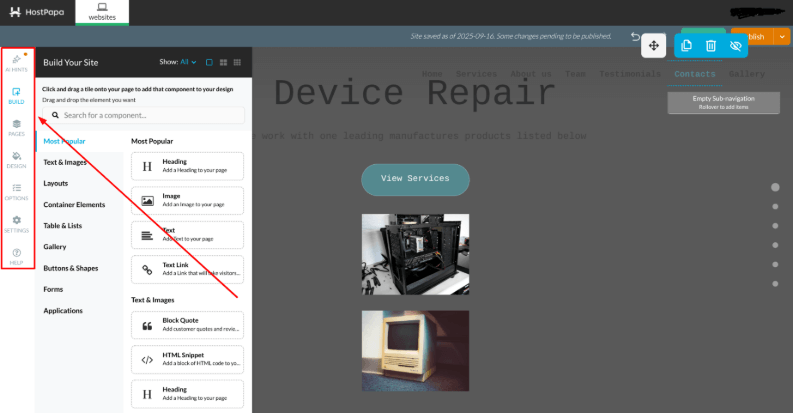
Dragging and dropping elements
When you select the content you wish to add, a blue rectangle will appear, indicating the locations where your content can be added. You’ll need to hover over the page with your mouse in order to drag–and–drop your content.
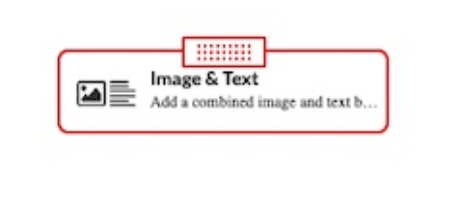
For example, if you decide to use the Build tab and select an Image & Text block, you’ll be presented with the image below:

If you try to position your block on a part of the webpage that will not accept the block, you’ll see the blue rectangle change colour to red.
The Top Admin Menu
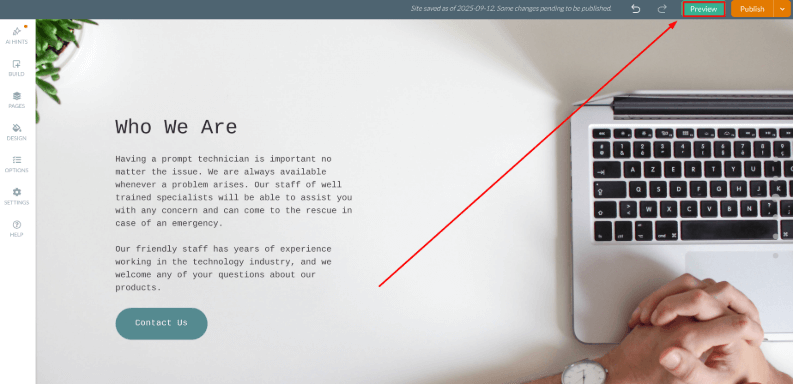
At the very top of each webpage, you’ll see the Top Admin Menu. It has options to preview what visitors to your website will see.
- Click the green Preview button.
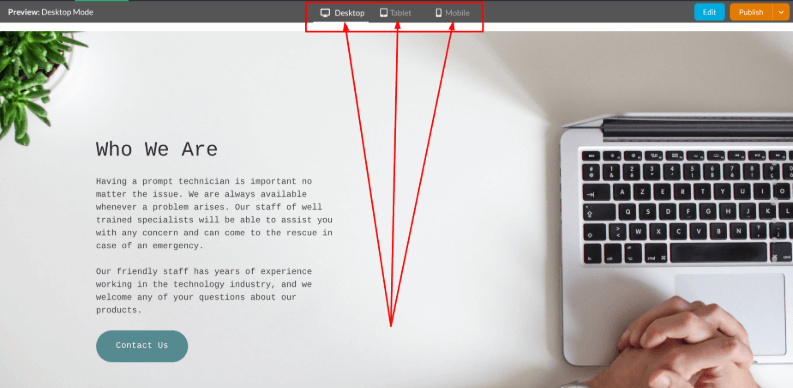
- Choose which view you would like to preview, depending on the device:
- Desktop.
- Tablet.
- Mobile.
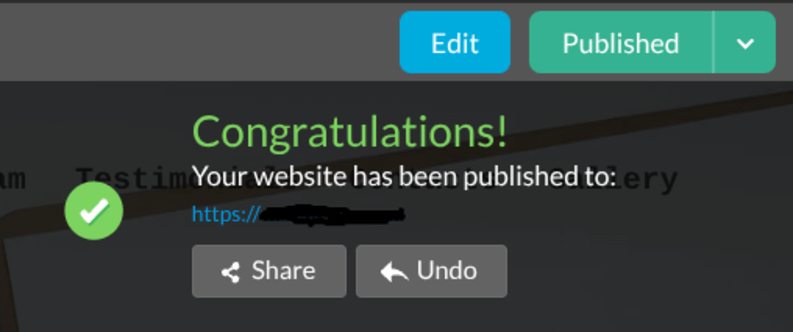
You can also publish your website:
- Click the Publish button.
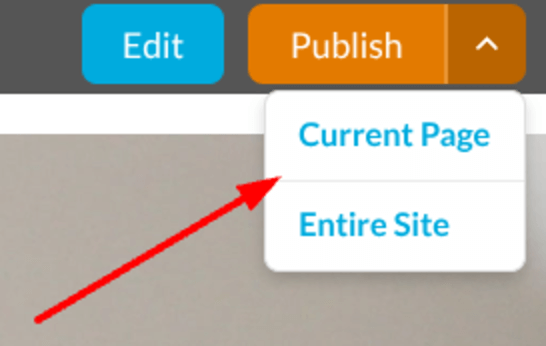
If you click the Publish button, a confirmation notice will appear. The notice will include the URL of your published page, together with a link to share the page. The Publish button will change colour from orange to green, depending on whether all changes have been published or not.
Please note: Once you click the Publish button, all changes made to the Admin view will also be seen by people visiting your website.
Nine tips on how to plan your new website
Planning a new website can feel overwhelming, but preparation guarantees success. A well-structured process maintains focus while saving time and energy. Careful planning reduces costly redesigns and makes the results more productive. By setting goals and following clear steps, you can achieve results.
First, define the purpose of your website to guide all of your later decisions. Ask questions like who the website serves and what they need. Collect ideas about its primary role: selling, educating, or informing. Clarity prevents distractions and confusion.
Next, identify your target audience as it affects design choices. Demographics, such as age, profession, and interests, will influence the tone and layout. Knowing your users means content speaks directly to them and attracts their loyalty. Audience research makes your website relevant, credible, and more appealing.
Then, perform competitor research to discover what works in your industry. Study their websites for layout strengths and weaknesses. Competitor gaps create opportunities for your site to stand out from the crowd. Use findings to shape features that better serve your target audience.
Afterward, set clear goals that define your website’s main achievements. Goals might include increased sales, higher engagement, or brand awareness. Use SMART goal guidelines: Specific, measurable, achievable, relevant, and time-based. Goals help align your content, design, and measurements for success.
Additionally, create a sitemap to establish the website’s visual and structural organization. List every page and how each connects for easier navigation. This outline makes sure nothing is missed during the build process. A sitemap helps communication with designers and developers for a smoother project.
Furthermore, plan the content carefully, as it drives user action and decisions. Content must match your goals and suit your audience’s expectations. Balance between text, images, videos, and interactive tools to engage visitors. A planned approach prevents gaps, inconsistencies, and lower-quality delivery later.
Moreover, choose design elements based on your brand identity and purpose. Select colors, typography, and layouts that communicate values to your audience. A consistent design fosters trust, recognition, and engagement among viewers visiting your website. A strong design inspires confidence, repeat visits, and lasting brand impressions.
In addition, consider functionality and technology for usability. Make sure your website is mobile responsive with fast load times for a good User Experience (UX). Think about integrating tools like payments, forms, or search-friendly elements. Technology choices influence scalability, security, and the future usability of your site.
Finally, establish a testing and launch plan before going live publicly. Test usability, performance, and compatibility across several devices. Collect user feedback to help refine features before full release. A staged launch reduces risks and delivers a polished website experience.
Nine planning tips recap
- Define your website’s purpose.
- Identify your target audience.
- Perform competitor research.
- Set specific, measurable goals.
- Create a practical sitemap.
- Plan and structure your content.
- Choose matching design elements.
- Consider functionality.
- Establish testing and launch.
Quick checklist for planning
- Audience clarity and purpose identified.
- Sitemap created and reviewed.
- Engaging content drafted in advance.
- Technology choices aligned with growth.
- Testing strategy prepared before launch.
If you need help with your HostPapa account, please open a support ticket from your dashboard.
