To help you stay organized, HostPapa’s Website Builder comes with a built-in Appointment Scheduler.
The Appointment Scheduler will help you sort through your upcoming appointments by the staff member concerned. It will also manually book an appointment if needed.
To learn how to access your Website Builder to get started, please visit this article.
Managing your appointments
To get started managing your appointments:
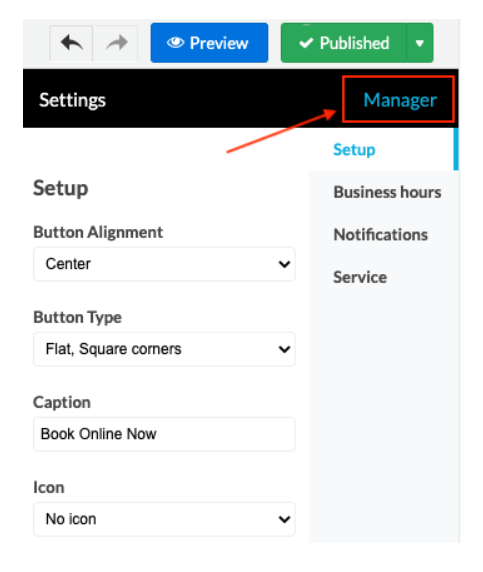
- Click on the Appointment Scheduler element on the webpage.
- Click on Manager at the top right corner of the right menu.
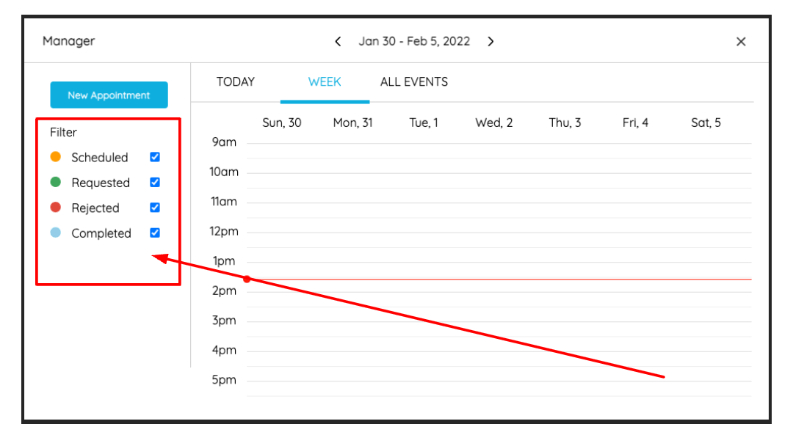
In the Manager view, you will now see a Filter where you can look for the following types of appointments:
- Scheduled
- Requested
- Rejected
- Completed
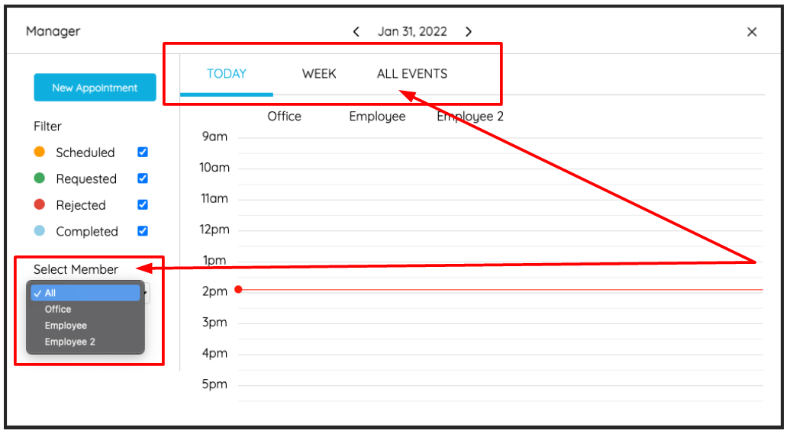
Sorting appointments
Your appointments can be sorted based on when they will take place:
- TODAY
- A CERTAIN WEEK
- ALL EVENTS
Also, via the drop-down menu on the left, you can sort your appointments based on the staff member who will be dealing with them.
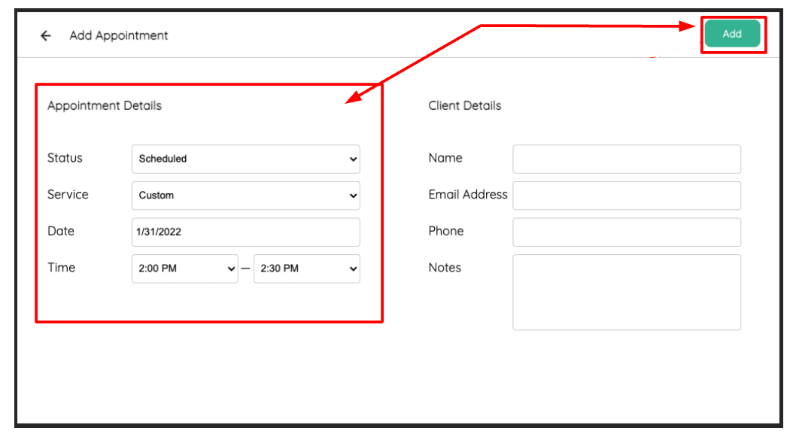
Manually adding new appointments
Suppose a client schedules an appointment with you over the phone rather than the Internet. In that case, you may be left worrying about double bookings. This is easily avoided by following two steps:
- Closing out any time slots that have been filled in via your Appointment Scheduler application.
- Clicking the New Appointment button, then filling out the appointment details before clicking Add.
If you need help with your HostPapa account, please open a support ticket from your dashboard.
