No matter how many email accounts you have, adding them to your account is simple. HostPapa has put together an easy-to-follow guide to help you add your favourite email right into your Website Builder.
To learn how to access your Website Builder to get started, please visit this article.
By adding an extra email, you can carry over information and orders easily. To get started, simply:
- Go to Preferences.
- Select Mail Accounts.
- Choose one of the email clients that is displayed.

A form will now appear that asks you to fill in your:
- Email address
- Username
- Password
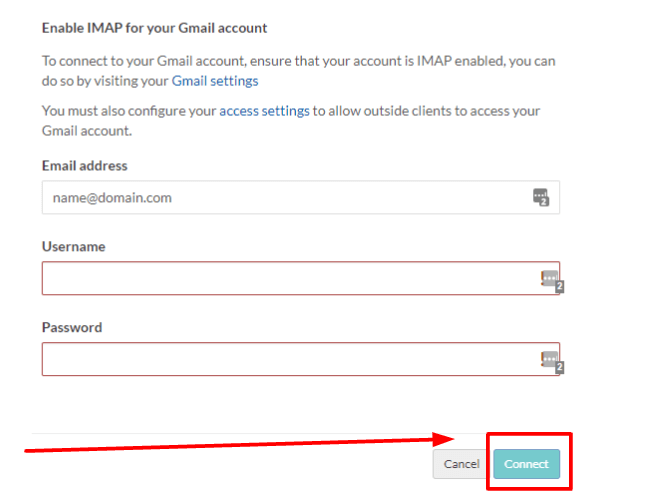
Once you’ve put your details in the fields, please select Connect.
Please note: If you change something in Webmail while in your Gmail account, the changes will be reflected in the account you are using.
For example, suppose you have a Yahoo email account connected to Webmail, and you make changes within the Webmail environment. In that case, they will be reflected in your Yahoo email account.
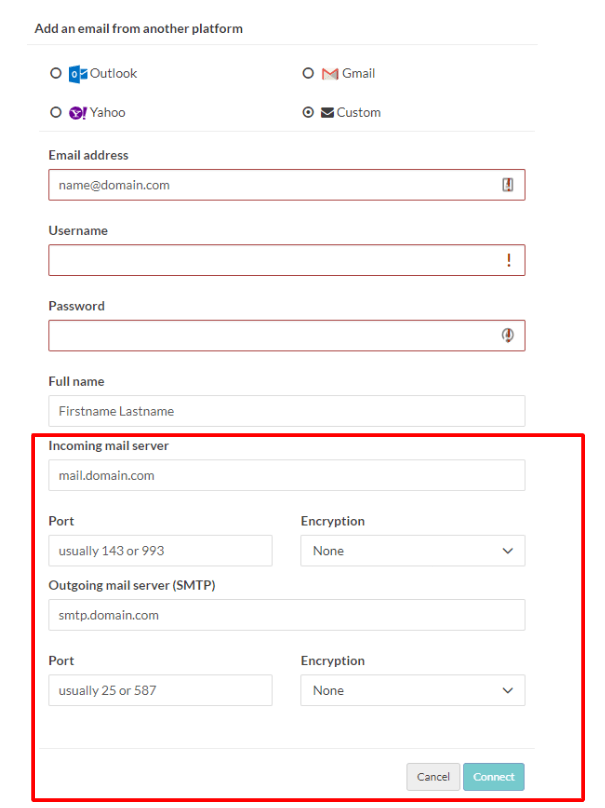
Setting up a custom email account
You can easily set up a custom email account by choosing a custom account or domain. In doing so, you will see the following form displayed:
To complete the custom email form above, it’s recommended that you:
- Go into the account settings of the email you would like to add.
- Check that there is a Preferences section in the email you are adding.
- Find the required information to complete the custom email form.
Within the email you are adding, you should be able to locate:
- The incoming mail server
- Port
- Encryption
- Outgoing mail server and port
One final check
Please be sure to check that POP/IMAP is enabled in your email account settings.
If you need help with your HostPapa account, please open a support ticket from your dashboard.
