In this support article, we will show you how to easily enable DNSSEC for a domain with your cPanel VPS. Just follow these steps:
How to enable DNSSEC
To enable DNSSEC for cPanel users on VPS, you need to turn on the Manage DNSSEC feature in WHM’s Feature Manager interface.
Note: If you don’t need to get the feature available inside the cPanel control panel for all users, you can skip to “How to activate the DNSSEC for the domain on the server side”.
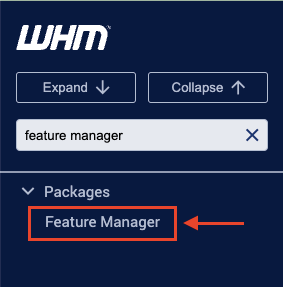
- Go to WHM » Home » Packages » Feature Manager.
- Within the drop-down menu, you need to select the feature list that you want to modify/edit:
Usually, it’s the default features list, but you may have your own feature list enabled for the custom packages on VPS. In that case, you need to modify the list that you want to have the DNSSEC feature enabled for in the cPanel control panels of the accounts configured with that particular package or repeat the task for all your packages if you want to enable it for all of them.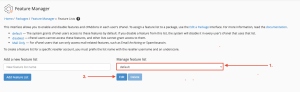
- In the opened window, use the “search” field to search for the DNSSEC feature:
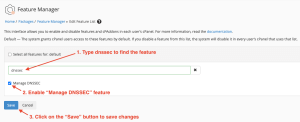
- Once done, click on the “Save” button to save changes. You should see the successful green window afterward.

How to activate the DNSSEC for the domain on the server side
Option A – From the root WHM control panel
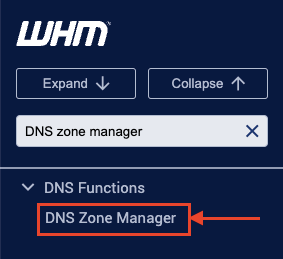
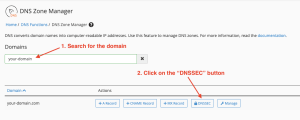
- In the root WHM control panel, navigate to the “DNS Zone Manager”:
- Search for the domain and click on the “DNSSEC” button:
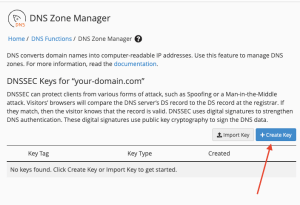
- In the new window, click on the “+ Create Key” button:
Option B – From the cPanel control panel
Note: This option is available only if you enabled the DNSSEC feature in the feature manager.
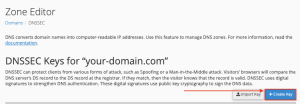
- Navigate to the cPanel control panel -> “Zone Editor”.
- Find the domain you want to enable the DNSSEC for and click on the “DNSSEC” button.

- Click on the “+ Create Key” button:
- On the new page, either confirm the creation of the keys using the default formats or customize the keys view using the “Customize” button:
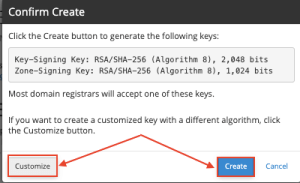
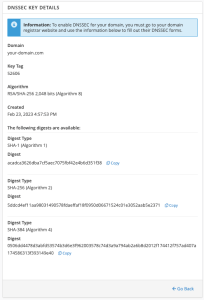
- Once done, you will get the below output, and can use the generated keys on the domain registrar-side (if the domain is registered with us, our team can set the key for you) to finish setup:
Note: If you are unsure which type of key you need, you can skip the “Customize” button and create the default keys set for the domain using the “Create” button so that you can select the required key later from the generated set of keys.
If you need help with your HostPapa account, please open a support ticket from your dashboard.
